One-Minute Edit: Remove Backgrounds with AI
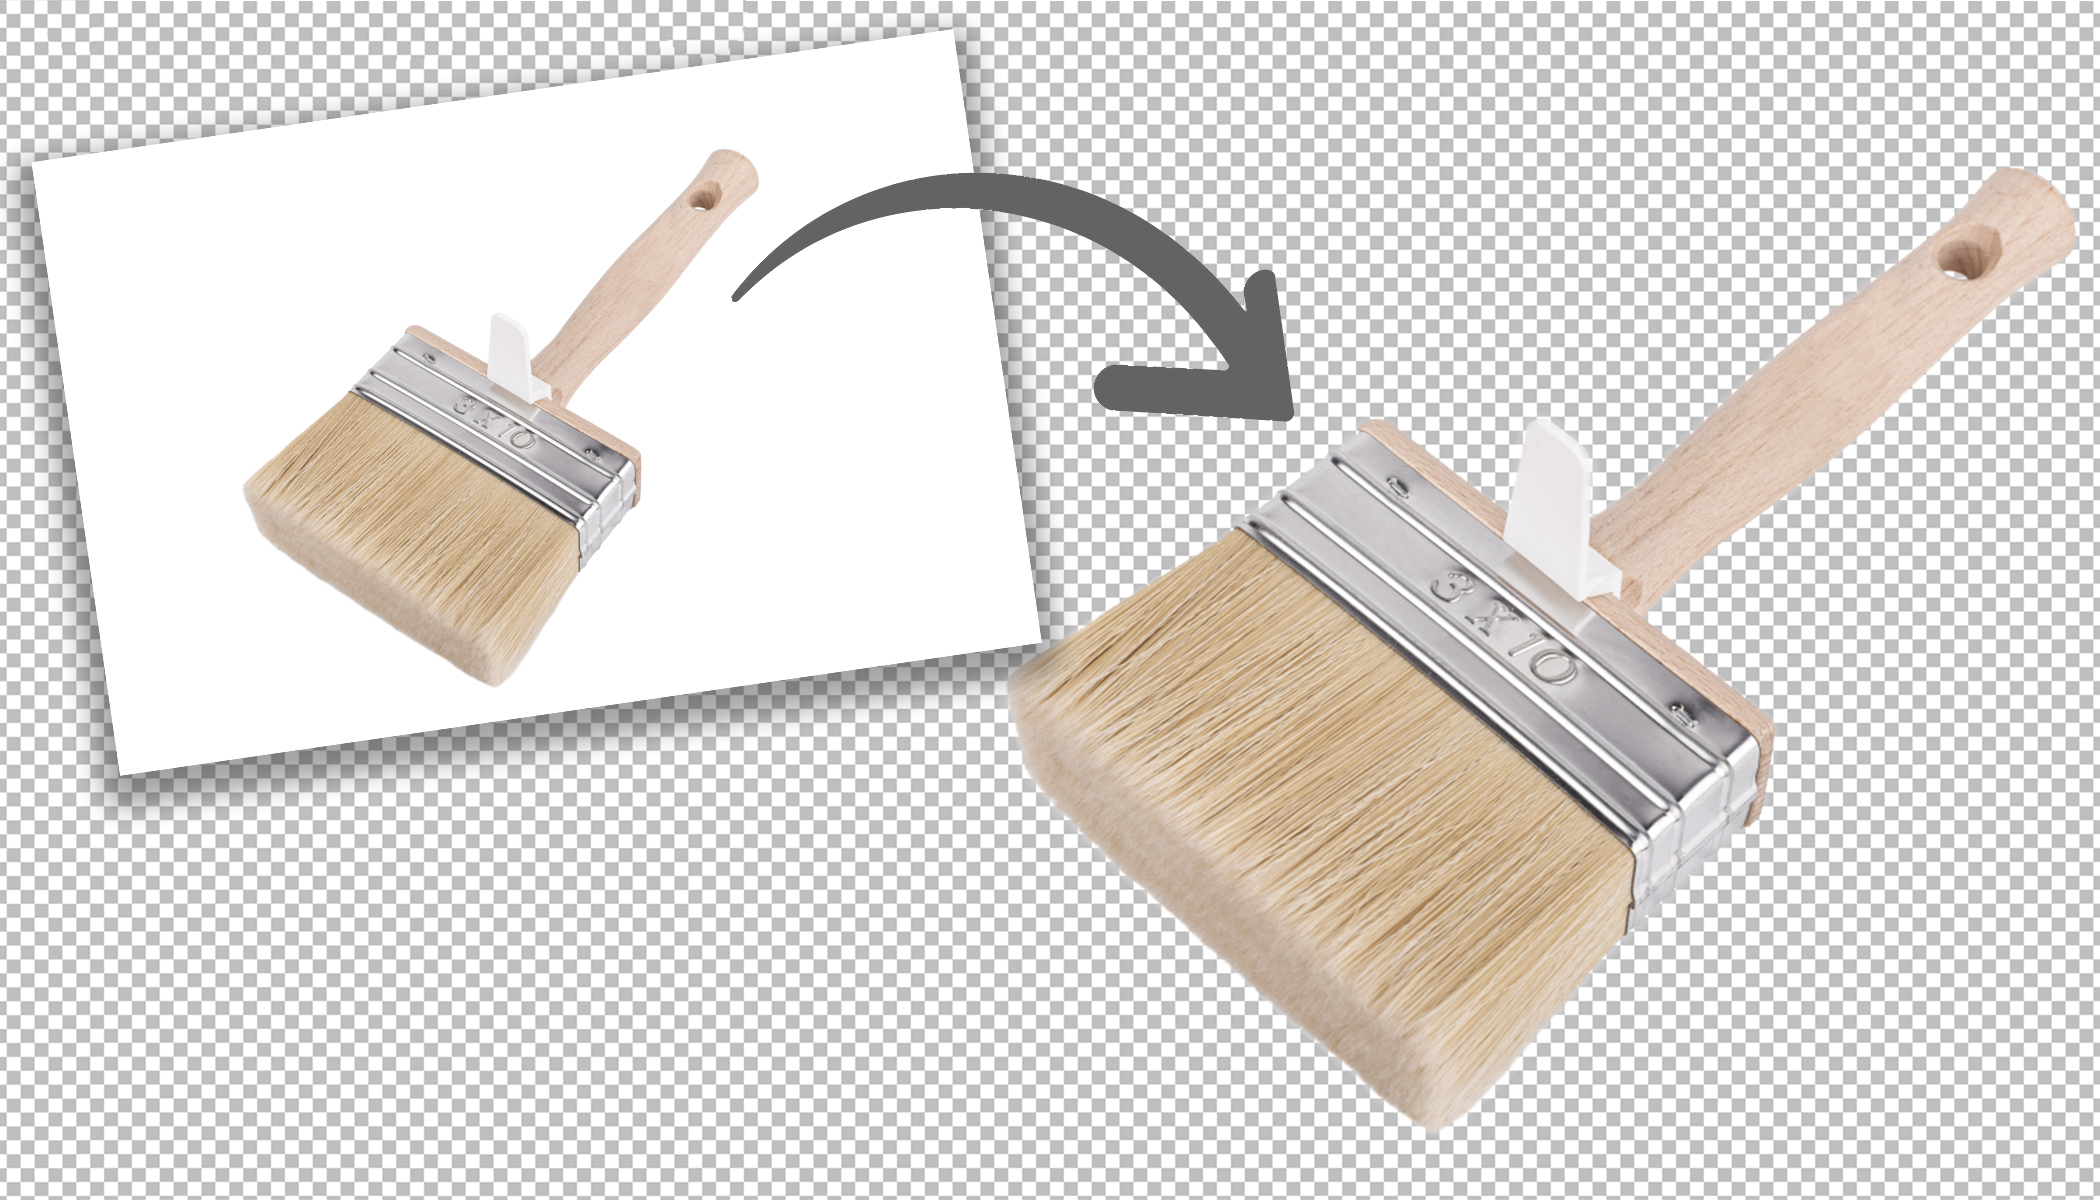
Need to remove the background from a photo but don’t want to spend time manually selecting the subject? With Zoner Studio’s AI-powered tools, you can do it in just a few clicks. AI automatically detects the main subject and removes the background for you.
In this tutorial, I show you how to remove the background of a product photo correctly and preserve its transparency. You can then use the photos easily in other graphics.
Browse the pictures to see each step, or read the captions beneath the gallery. This adjustment is simple enough for complete beginners. If you don’t have Zoner Studio yet, you can try it free for 7 days.


Remove backgrounds in Zoner Studio using AI
1. Open your photo in the Editor module
Find the photo from which you want to remove the background in the Manager module. Then, open it in the Editor.
The Editor contains tools for further editing, including a tool for automatically removing backgrounds.
2. Use AI Remove Background
Find the AI Remove Background tool in the Editor. You can find it under the Adjustments icon.
Zoner Studio uses AI to automatically detect the main subject and separate it from the background. There’s no need to manually select the subject.
3. Choose a transparent background
In the dialog box that opens, check Replace background with transparency and confirm your selection.
The background will be removed, leaving a transparent area in its place. This is useful when you want to insert the photo into a graphic or place it on a different background.
4. Save the photograph as a PNG
Finally, select Save As… and choose PNG as the file format. This step is important because PNG preserves background transparency.
If you save the photo in a format that doesn’t support transparency, such as JPEG, the transparent area is not preserved. Always choose PNG when you want a transparent background.
Key takeaways
You can remove backgrounds in Zoner Studio using AI with just a few clicks. Open the photo in the Editor, select AI Remove Background under the Adjustments icon, and choose Replace background with transparency in the dialog box.
The most important step is saving the photo in PNG format. This preserves the transparent background so you can use the photo in graphics or place it on a different background.