Organize Photos Easily With Zoner Studio’s Catalog
Do you want to know why Zoner Studio has a Catalog, how you can use it, and how it can improve your photography workflow? If you want to learn about using the catalog in Zoner Studio, you’ve come to the right place. Learning to use the catalog will make working with your photos quicker and easier.
One of Zoner Studio’s biggest advantages is that it is based on a directory structure. It also boasts a catalog that simplifies working with the pictures folder. Learning to use the catalog effectively means you don’t need to waste time clicking through your pictures folder or wait for all the previews of larger files to load in the Browser.
What is the catalog?
The catalog is a database which constantly monitors the folders you add and stores all photo information. This happens whether you want to show thumbnails in a folder or search in your photos. Zoner Studio doesn’t need to load the whole file because the catalog stores photo information and metadata.
In order to “catalog” your photos, you must add the folders to the catalog, ideally those you use most often. This way, the catalog will automatically load information not only from the images that are already in the folders, but also those added to them in the future.
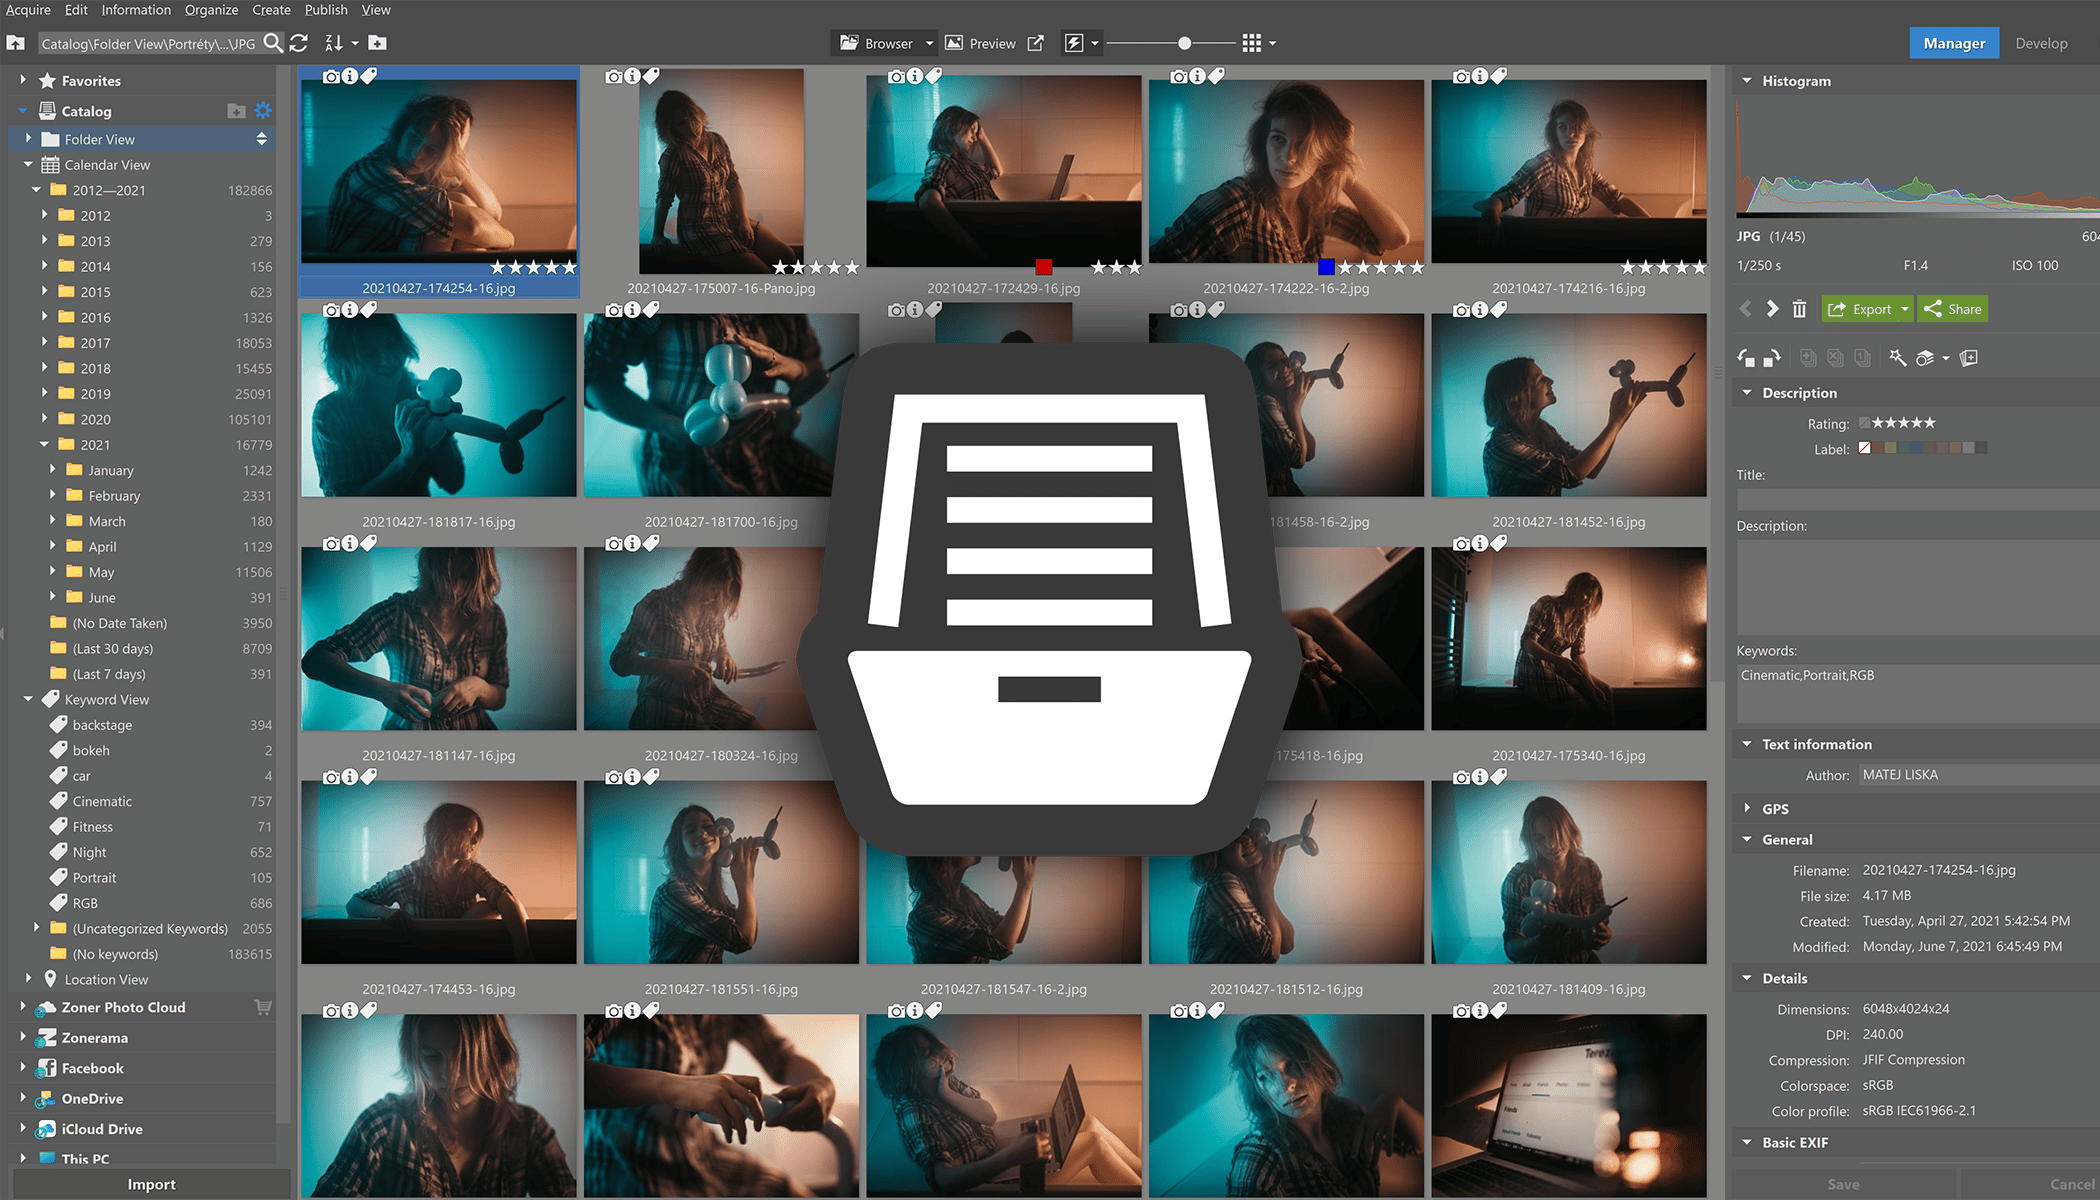
The catalog and folders you’ve added can be found in the Manager module in the Navigator in the left side panel.

Cataloged images are displayed in the following ways:
- Calendar View
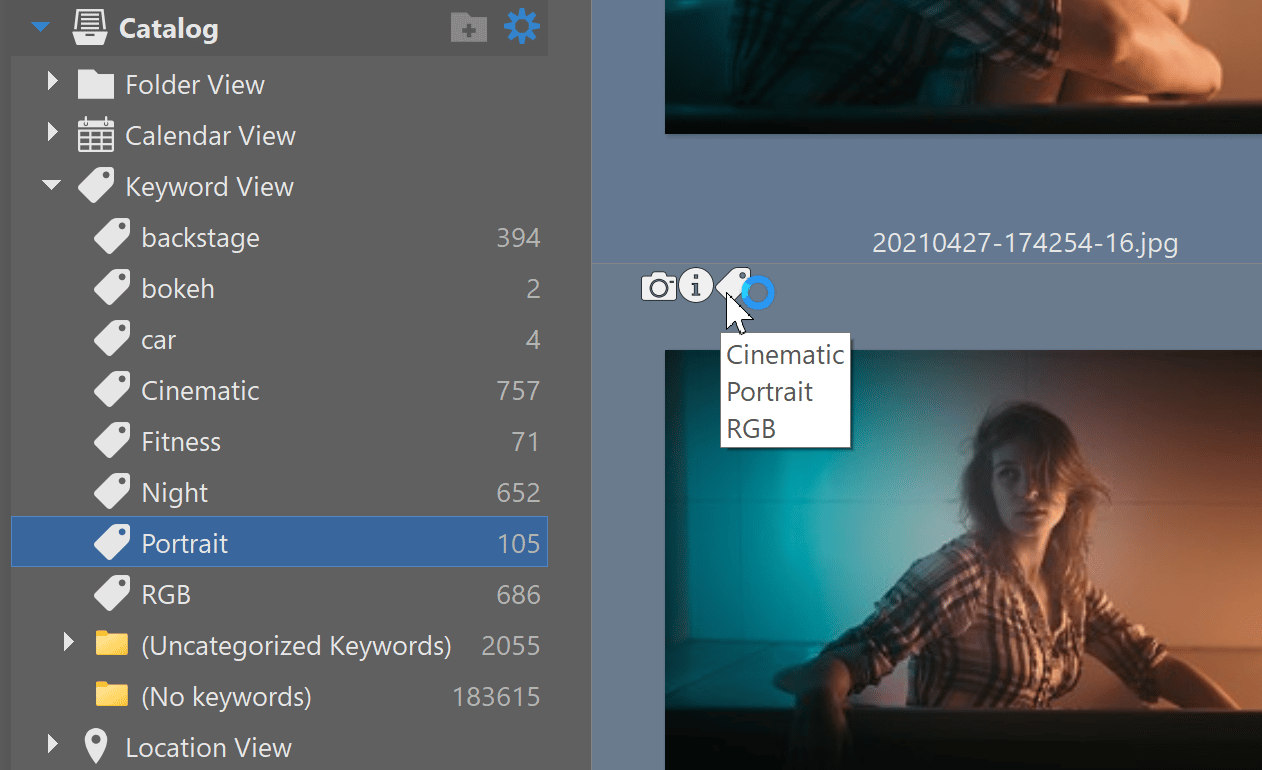
- Keyword View
- Location View
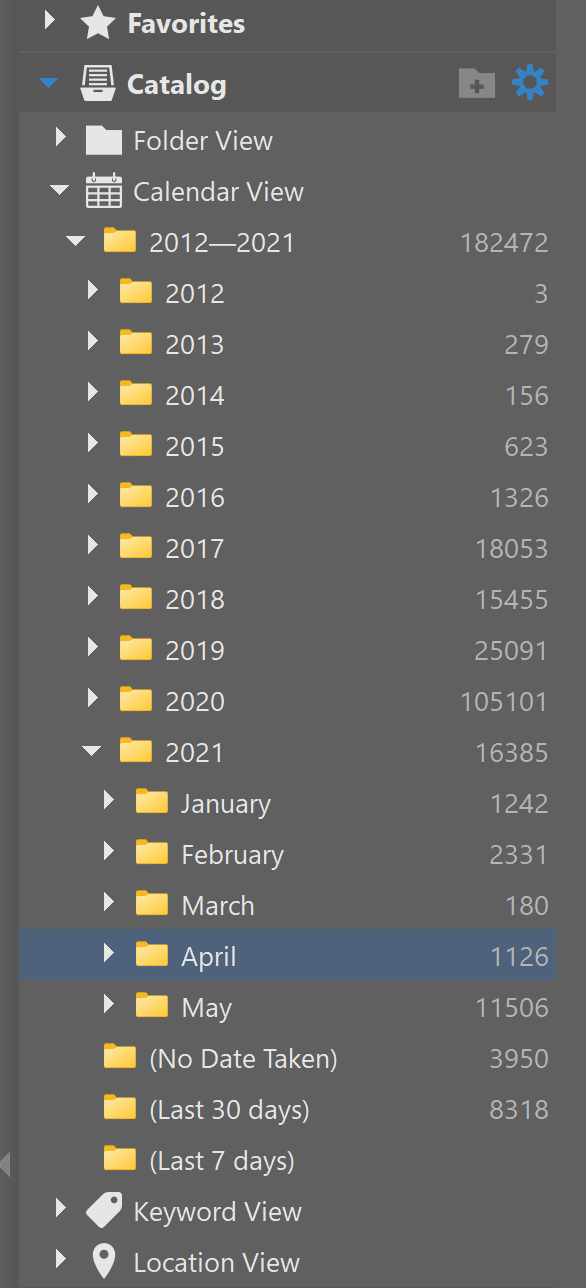
The Calendar View displays photos according to the date they were taken. This can be very helpful when searching for certain photos. The Keyword View folder is useful for displaying photos with specific keywords, as well as assigning keywords to other images. Location View displays photos in their folders according to where they were taken.
Setting up the catalog
Adding folders to the catalog is simple – click the add folder icon directly in the Navigator.
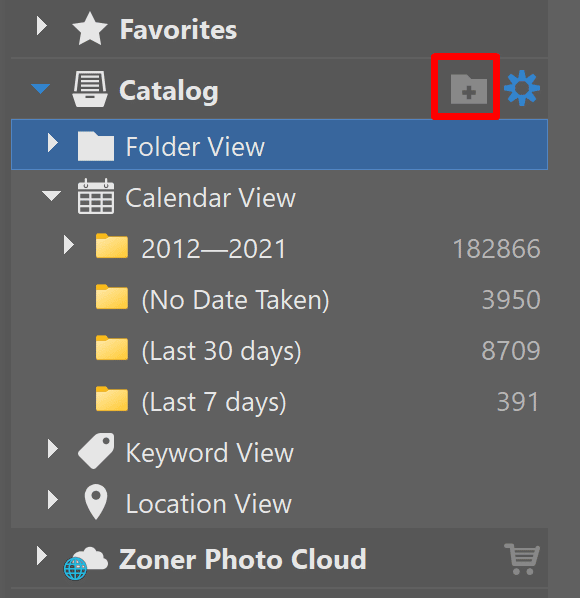
Then, just choose which folders you want to add to the catalog. Zoner Studio will load them, including their subfolders, and you don’t need to worry about anything else.
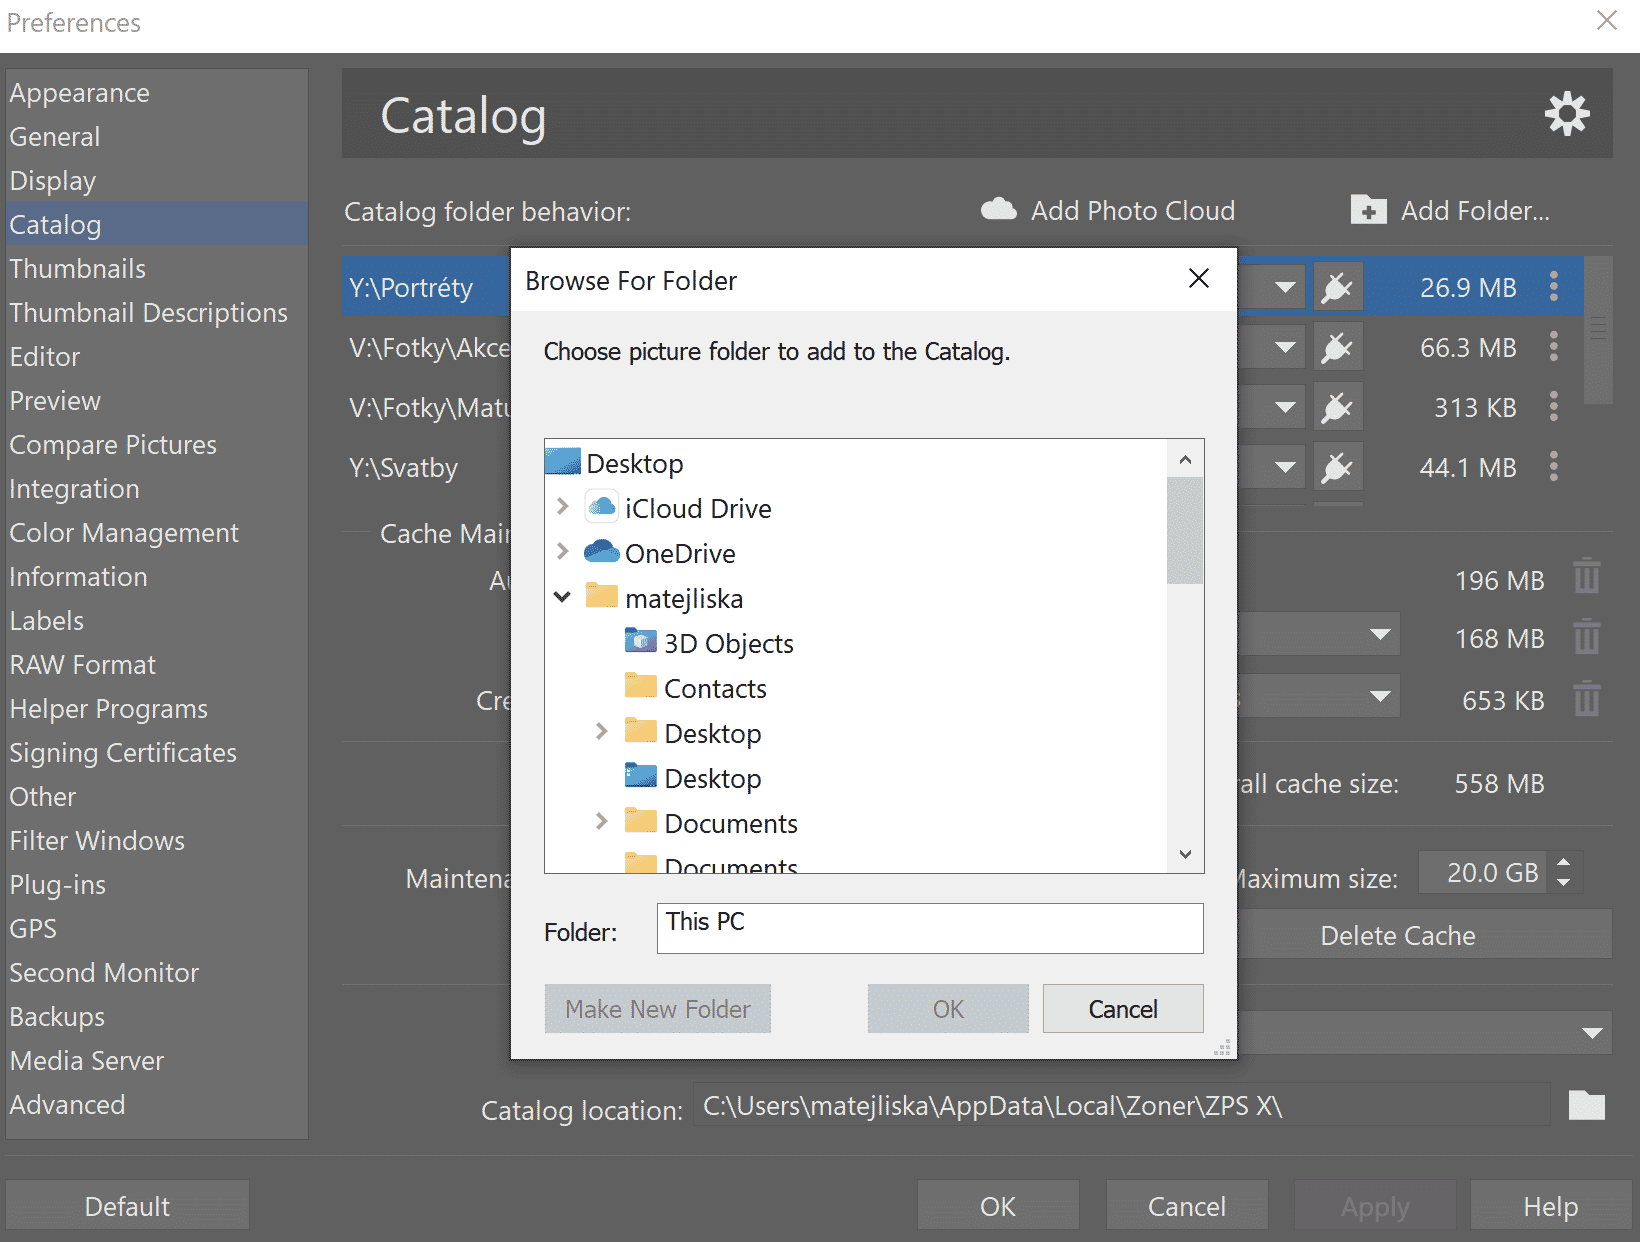
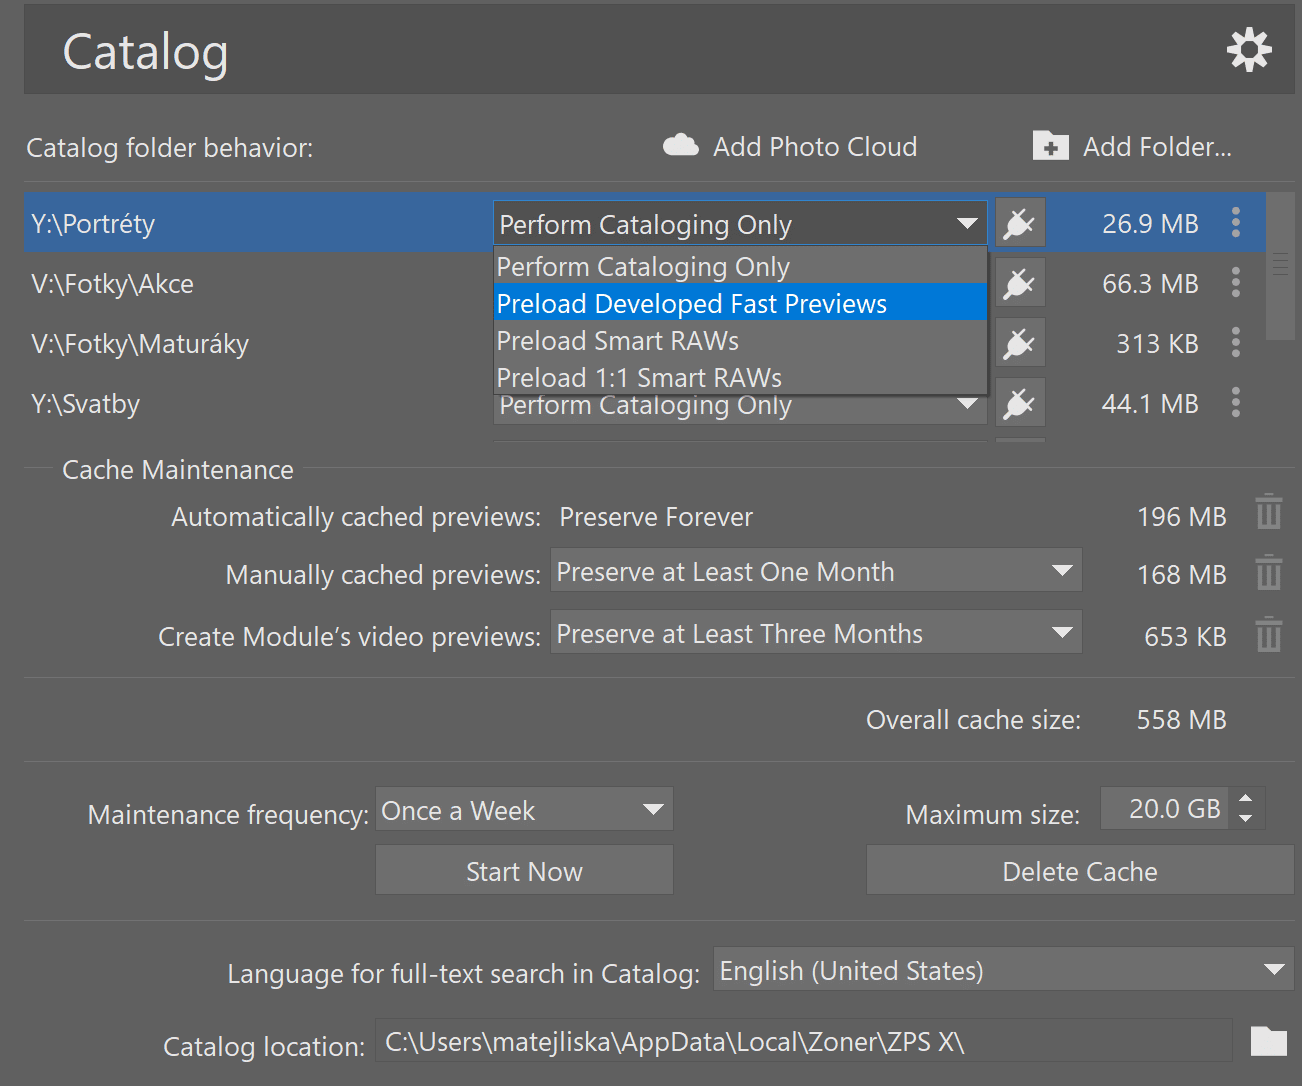
You remove folders by clicking the More icon to the right of each folder. In this window, you’ll also set how the photos in the folders will load. For photos you don’t work with often, Perform Cataloging Only is enough. For faster loading of photos you work with every day, we recommend Fast Previews.
For faster and more faithful work with RAW files, you can try Preload Smart RAWs (or even 1:1 which are smart previews in full resolution). Just keep in mind that these options will take up significantly more space on your hard drive. The catalog will, among other features, expedite video-related tasks as well. It facilitates video loading and interactive thumbnails.
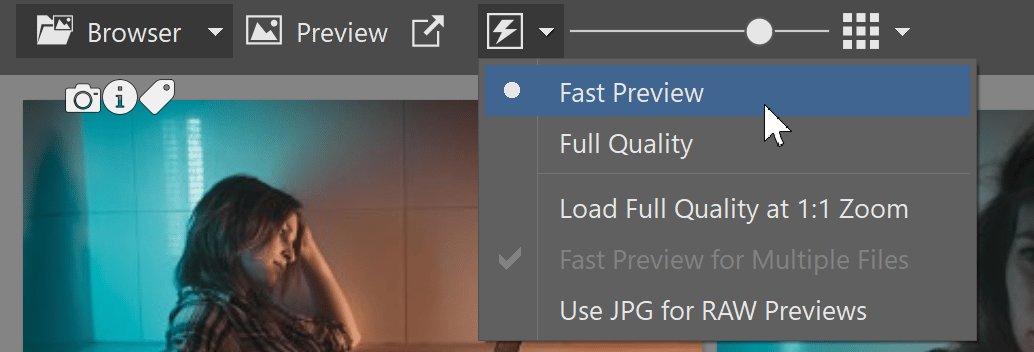
Also, set the quality of photos for browsing. If you have fast previews selected in the catalog and you choose Fast Preview in the Manager module, browsing will be significantly faster.
Organize your pictures folder to make working with the catalog even better
Using the catalog to work with your photos goes a long way if you also organize your photos using colored labels, ratings, or keywords.
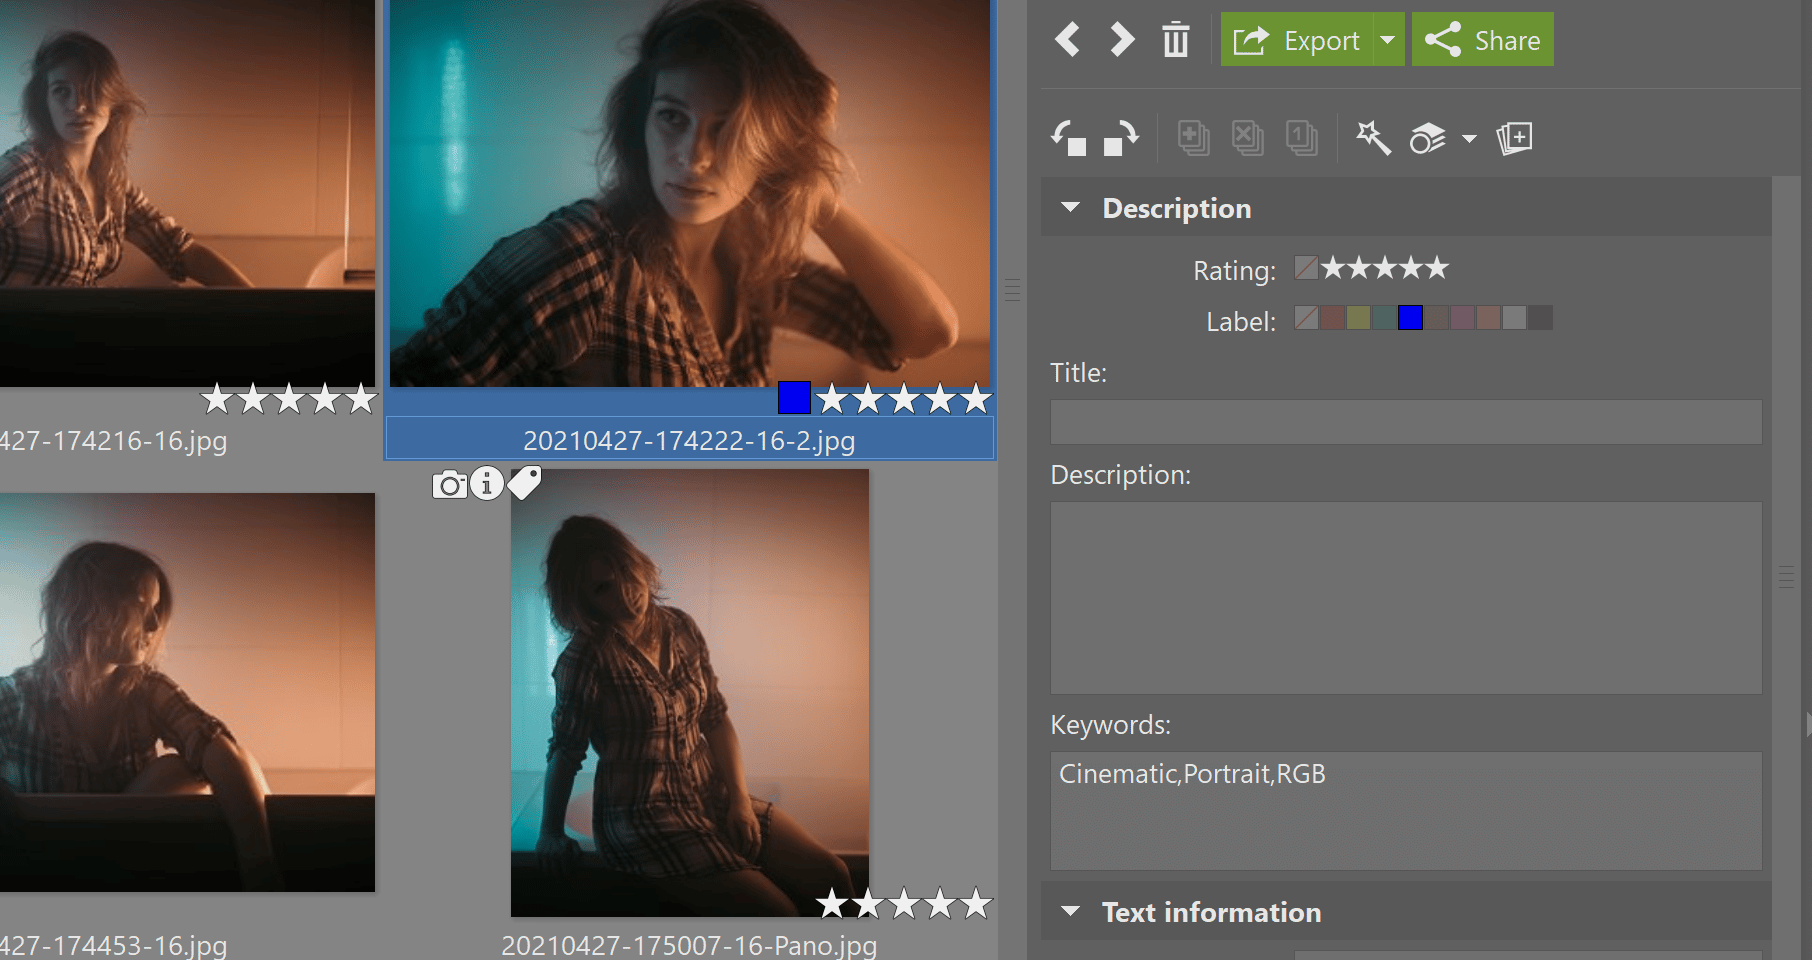
Keywords are a particularly useful tool for when you need to find a specific photo, such as one of your grandparents or a trip to the mountains, but you can’t remember what year they were taken in or what folder they are located in. If you use keywords, the Zoner Studio catalog can easily find your photos.
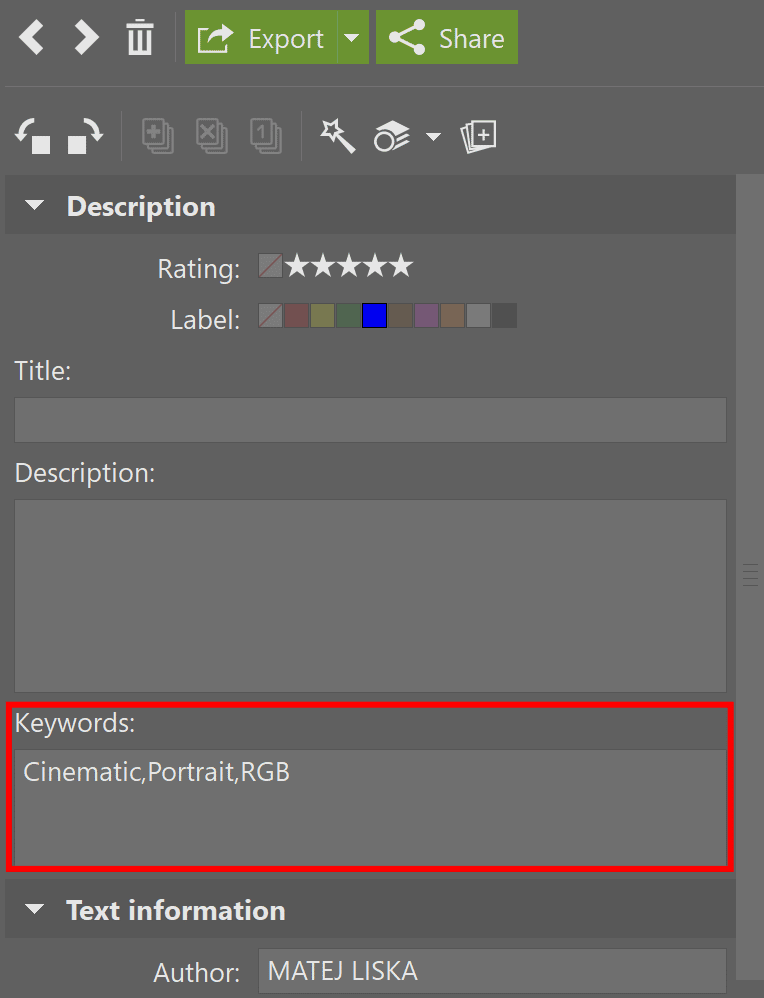
Simply add keywords to the photo’s description in the right side panel, or by dragging from the keyword tree in the Navigator.
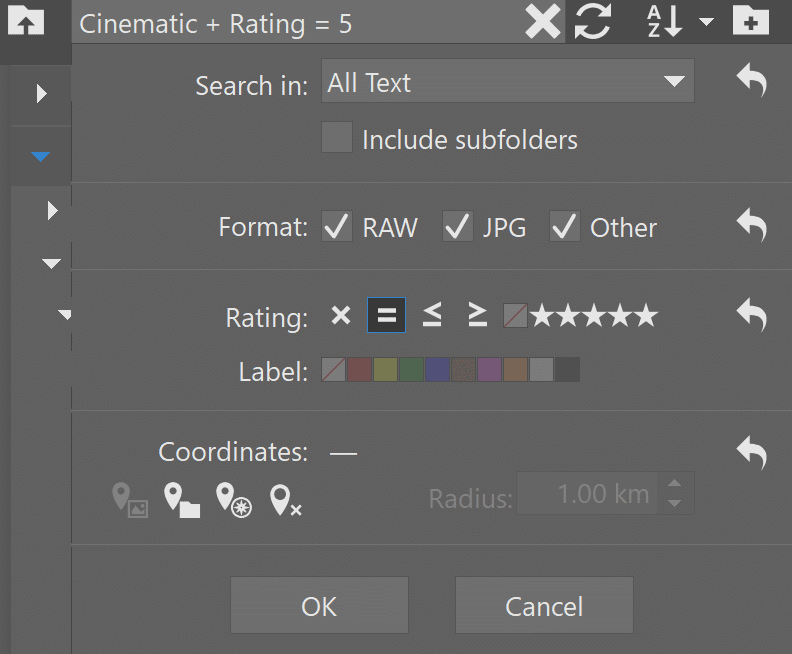
Quick Search
Quick Search shows you precisely the images you need. You can search all folders including subfolders and choose images with a certain rating, such as those with more than three stars or those with a specific colored label. You can also search the path using the file name or by geolocation if you have GPS coordinates assigned to your image.
Access Quick Search by using the keyboard shortcut Ctrl+F or by clicking the search box in the upper left section of the Browser.
Adding your pictures to the Zoner Studio catalog means it doesn’t need to load any other information while searching, making the search much faster.
Try using the Zoner Studio Catalog for yourself. Download Zoner Studio free for 7 days and see how using the catalog makes your photography workflow quicker and easier.