Photography in Churches: All About Stabilization, Aperture, and Solid Ground
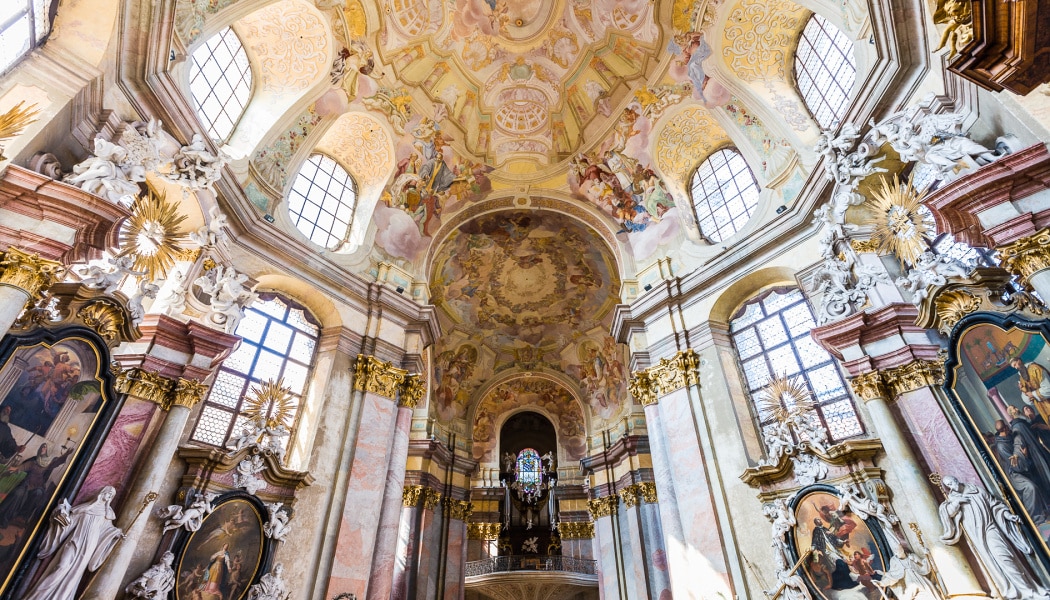
Spiritual buildings have impressive atmosphere, and they are a frequent destination for curious visitors. But taking good pictures inside them is not easy. You often have to struggle with a lack of light. However, there are several tricks for dealing with this. Take a look at how to get the best pictures from church interiors that you can.
Not only is photography in churches difficult, sometimes it’s completely forbidden. This especially applies for the cathedrals of Europe. So pay attention to the signs at the entrance. At some churches, you’ll have to forget about taking pictures. But even when it’s allowed, be respectful towards others. You’ll generally be there alongside people who are praying or contemplating, and it’s rude to disturb them.
Troubles With Tripods
Meanwhile in some churches, photography is allowed, but only without a tripod. Even when it’s allowed, I find shooting with a tripod in churches to be unpleasant. I feel like tripods have too large of an impact here on what’s happening around me. I’ve only used a tripod in one case. I truly needed the pictures, and I had signed, official permission.
I’ll leave the question of “tripod or not” up to you. It’s partly about your experiences here. And I’ll be glad if you share them in the comments.
But since using a tripod is often impossible, or you simply don’t have one with you, you’ll usually need to shoot without one.
Not All Churches Are Alike
The disadvantage of taking pictures without a tripod is clear—you can only use short exposures. Otherwise your result will be blurry. This can be a problem, since there’s generally not a lot of light in churches.
But there are large differences among individual buildings here. Photography goes differently in a large and bright cathedral than in a dark corner of a small rural church.
The weather also plays a large role here. Wait for a sunny day if possible. This will fill the church with light nicely, and you might encounter pretty lighting effects as well.
The following two pictures illustrate the differences. The first shows a large, bright cathedral. It contained 30× (!) as much light as the second, much smaller church.
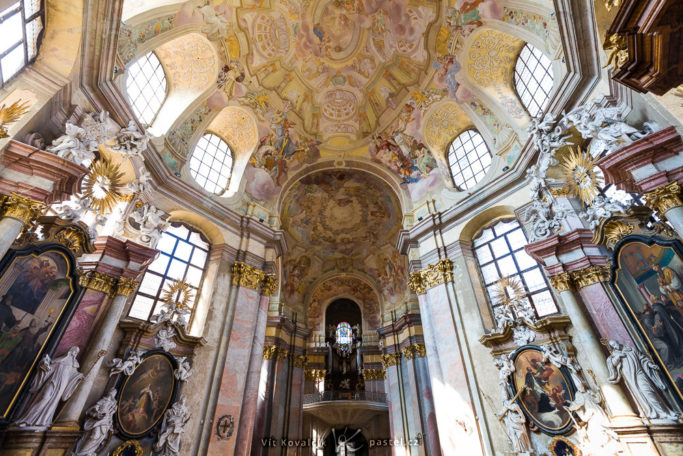
Canon 5D Mark II, Canon EF 16-35/2.8 II, 1/20 s, f/5,6, ISO 160, focal length 16 mm
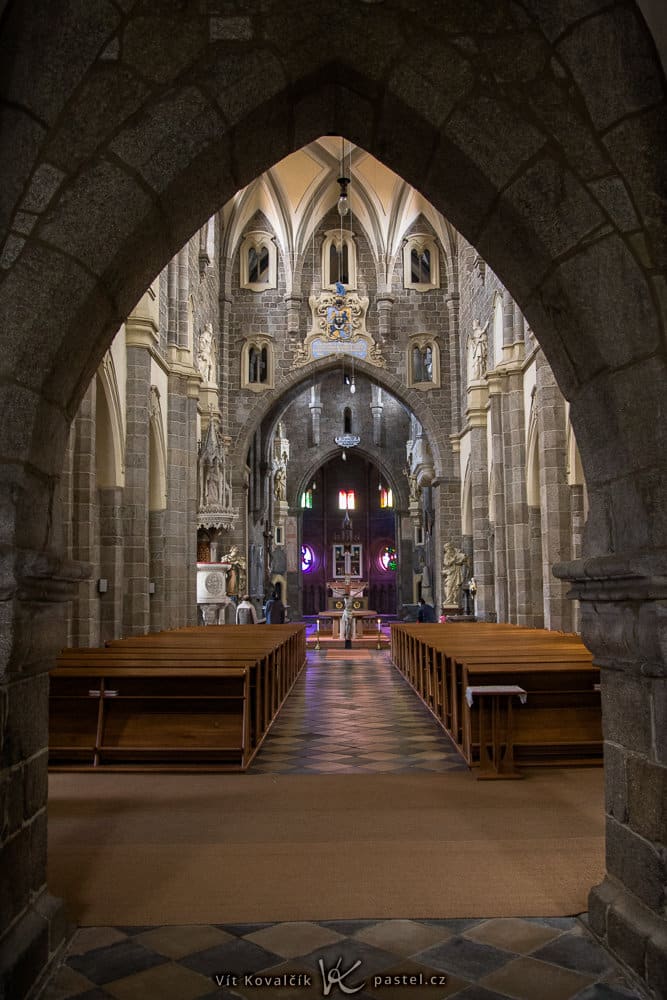
Canon 40D, Sigma 18-50/2.8 MACRO, 1/15 s, f/4, ISO 1600, focal length 18 mm
Fast Lenses: Only Sometimes
You can handle low-light conditions with the help of a fast lens. But think carefully before using one, since they have disadvantages too. True, it will let you reduce your ISO and thus decrease noise, but your depth of field will decrease too.
I took the following picture with an f-stop of f/1.4. But because it was so dark, I had to use a relatively high ISO. The fully open aperture forced me to focus on just the altar, and so the floor remained blurry.
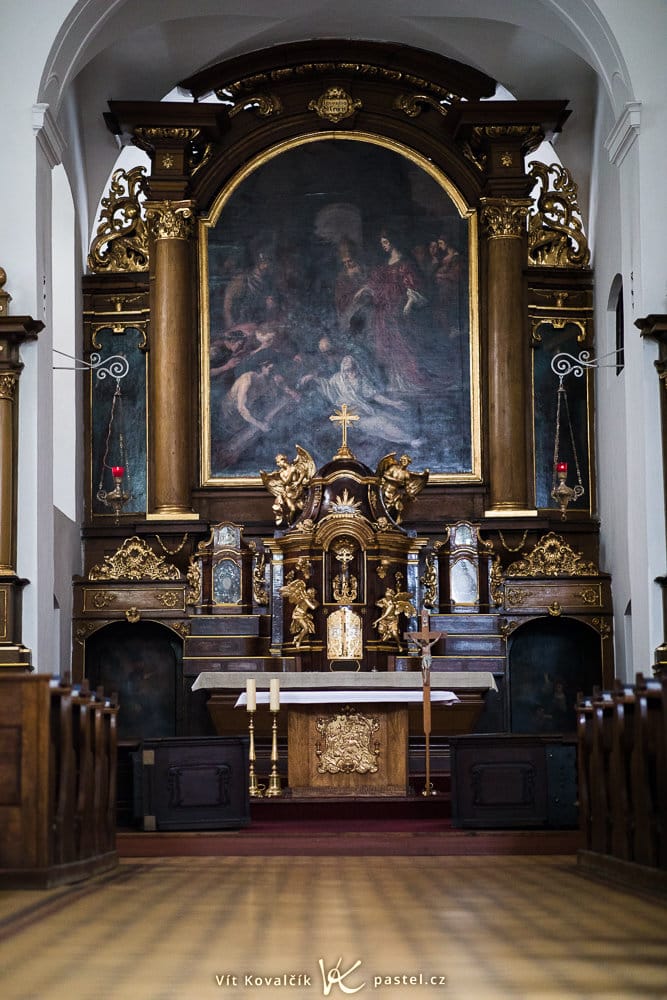
Canon 5D Mark IV, Canon 85/1.4 IS, 1/160 s, f/1.4, ISO 2500, focal length 85 mm
But don’t be afraid to use low depth of field to your advantage. A church environment offers lots of room for experimenting here.
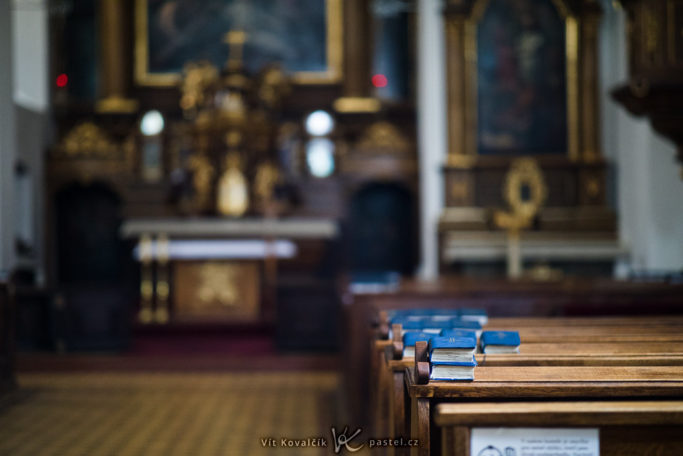
Canon 5D Mark IV, Canon 85/1.4 IS, 1/125 s, f/1.4, ISO 4000, focal length 85 mm
You’ll mainly run into a lack of depth of field when using long focal lengths. For wide lenses, the complications aren’t so large, because they have so much more depth of field even at wide-open apertures. Despite this, with an f-stop of f/2.8, you usually won’t have everything sharp enough. So try to at least stay in the range from f/4 to f/5.6.
Learn to Love Image Stabilization
In dark interiors, having a stabilizer in your camera or lens will come in handy. It will let you shoot with much longer exposures, because it suppresses the blurring caused by hand-shooting.
As a rough estimate, you can normally manage a time of 1 divided by your lens’ focal length. For example with a 24mm lens, this is a time of roughly 1/24 second. But a stabilizer can extend this by even five times or so. It depends on the specific type and on how firmly you can hold your camera.
It also pays to try your luck and take several identical shots in a row. Most of them will be motion-blurred, but you might find one sharp shot among them. Don’t expect miracles, but with a little luck you can manage even much longer times than you’d expect.
I needed five attempts for the picture below. Not even a stabilizer got me a sharp picture with a time of 1/4 second and a focal length of 85 mm.
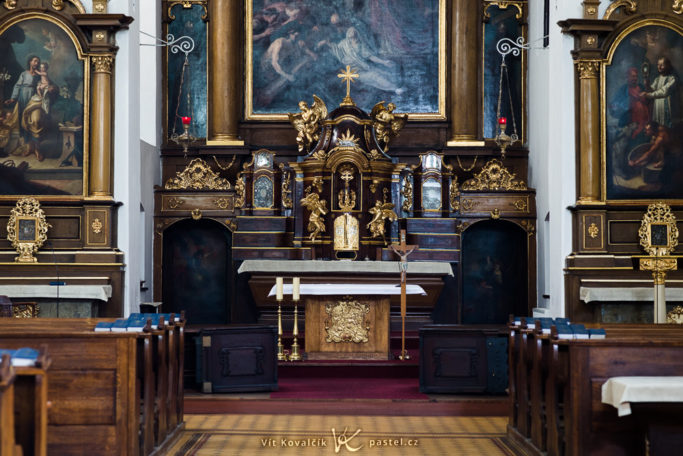
Canon 5D Mark IV, Canon 85/1.4 IS, 1/4 s, f/3.5, ISO 800, focal length 85 mm
Shooting wide offers you a great advantage here. Even without stabilization you can take sharp pictures with even relatively long exposures.
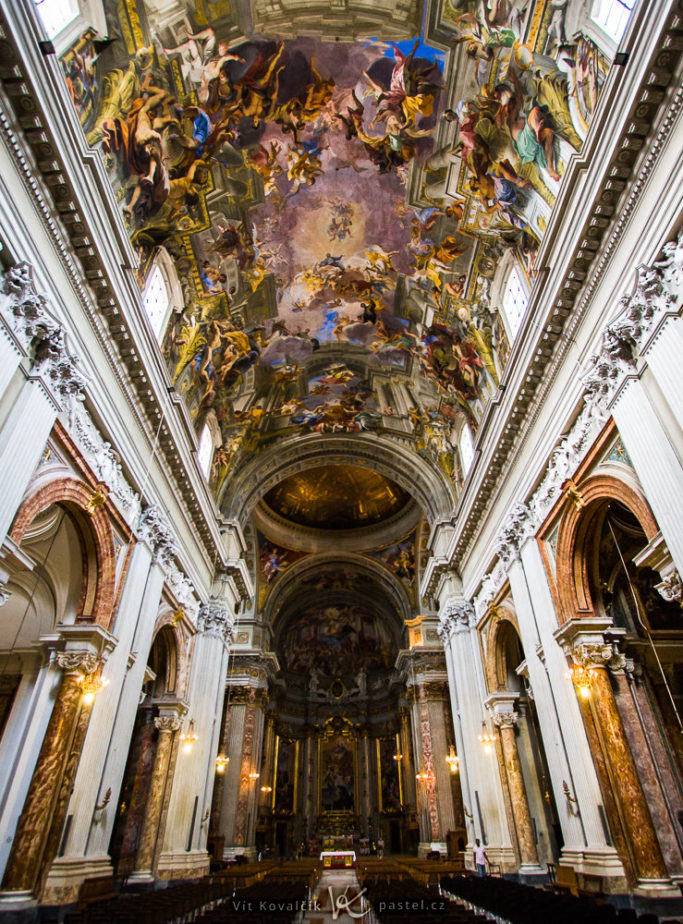
Canon 40D, Canon 10-22/3.5-4.5, 1/10 s, f/3.5, ISO 800, focal length 10 mm
The Tripodless Tripod
However, there’s another way that you can get longer times than usual without a tripod. You can try leaning against a wall or a pillar. You can also instead try laying your camera on some kind of surface.
In a church, that will mean a pew, or perhaps the floor. That can give you some interesting compositions as well.
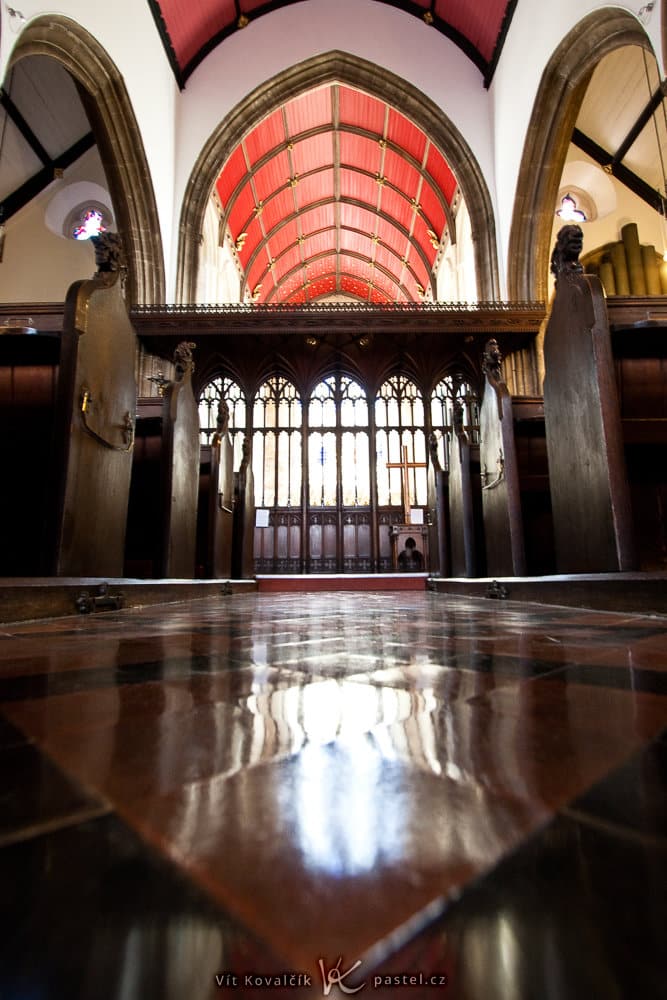
Canon 40D, Canon 10-22/3.5-4.5, 1/5 s, f/4.5, ISO 800, focal length 10 mm
Large Dynamic Ranges
When taking pictures in churches, you might run into a large dynamic range in your scenes. They will often include both dark corners and illuminated windows. Your camera’s automated systems then don’t know how to deal with the situation.
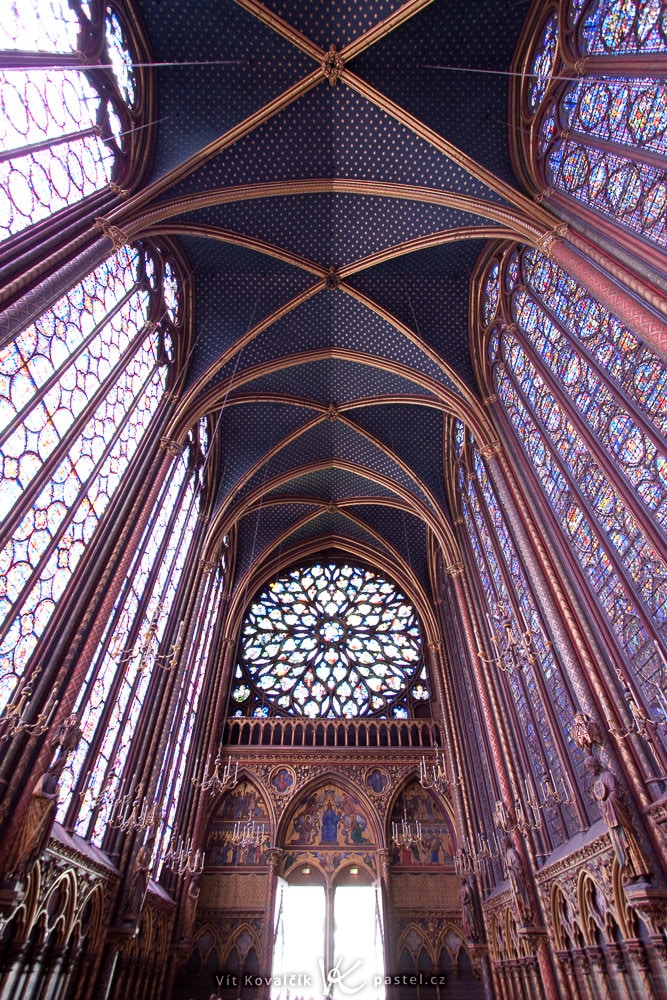
Canon 40D, Canon 10-22/3.5-4.5, 1/15 s, f/4.5, ISO 800, focal length 10 mm
It doesn’t have to be an especially serious problem; it depends on the specific church, weather, and even picture. Take a look at the picture above. The windows on the right side are exposed correctly, but the left side is overexposed. That’s because the left side is where the sky itself is brighter.
To resolve problems like these, you might try using HDR after taking multiple source shots. You then combine them in Zoner Studio to get the correct exposure. But for HDR you’ll want to take your source shots from a tripod.
Another way to take pictures inside a dark-and-light church is to take one dark picture in which all the details you want will be preserved even in the light areas. Then brighten the dark areas on a PC to get a balanced exposure.
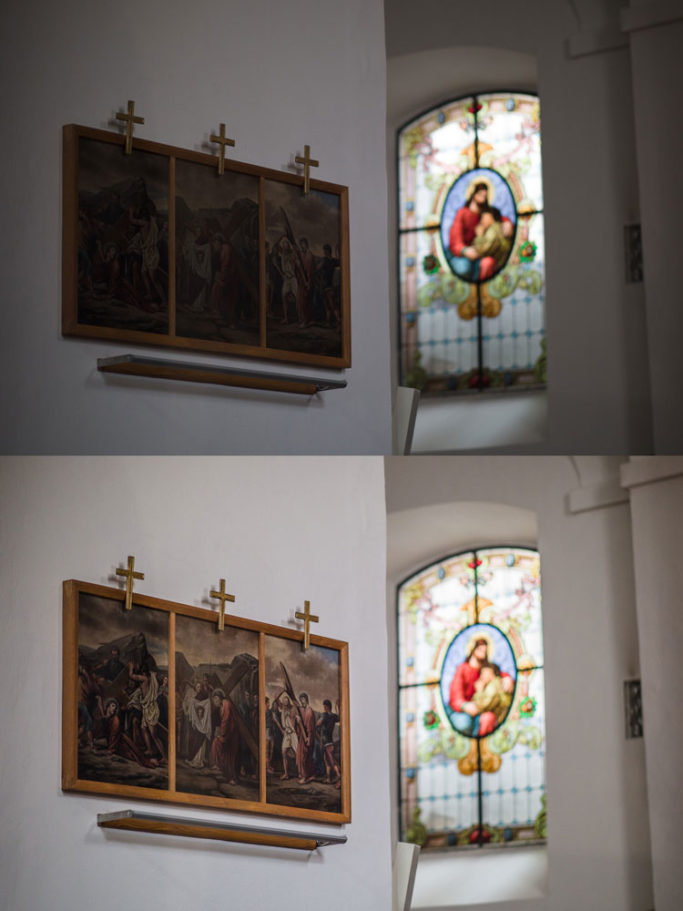
Canon 5D Mark IV, Canon 85/1.4 IS, 1/125 s, f/1.4, ISO 500, focal length 85 mm
Endless Inspiration
You can find sacred structures in every village, town, and city. They conceal great photographic opportunities, and you can take countless interesting pictures there. Just keep our tips in mind, and you’ll get one impressive picture after another.