Portrait Lighting II: Master Portrait Photography Under Natural Light
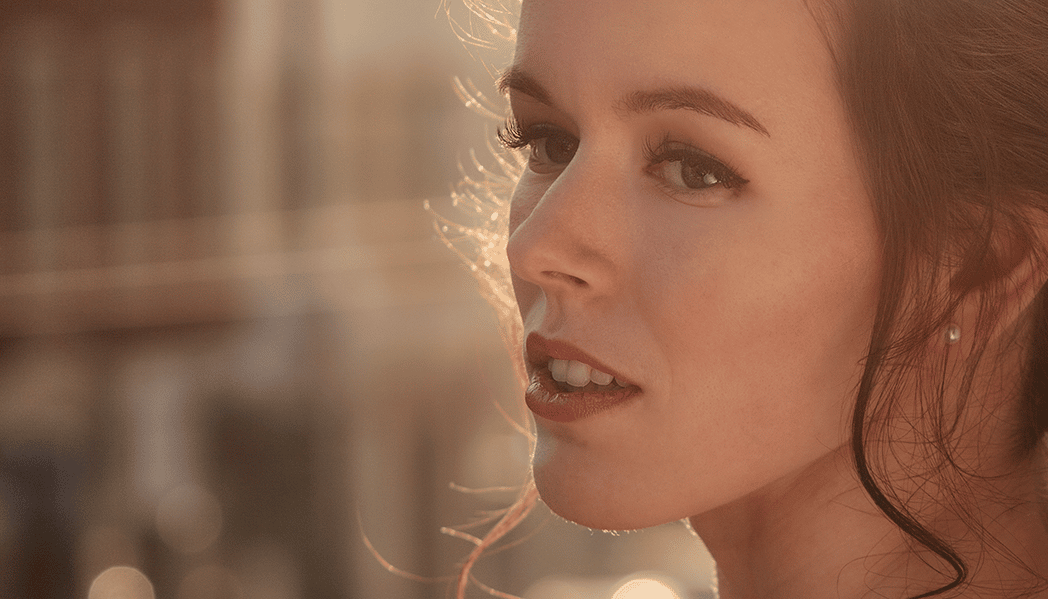
For many photographers, taking portraits under natural light is the simplest and most common option of all. That way you don’t have to worry about equipment costs. However, you do have to take into account the characteristics of natural light and subordinate your subject’s placement and your exposure settings to these.
When you’re shooting portraits under natural light, you can make do with just your camera alone. But working this way does have the downside of restricting your creativity, because natural light has some fixed properties that you have to adapt to. And what’s more, it can change quickly and unpredictably.
The Sharp Noon Sun Will Be a Problem
Over the course of the day, you’ll see changes in the light’s intensity, color, quality, and direction. And you have only very limited means for directly influencing these.
Still, using the exposure settings for your camera (aperture, shutter, and ISO), you can cover just about any light conditions. But you’ll always have to take those conditions into account. So you can’t, for example, use a low f-stop on a sunny day to separate your subject from their background, because then the photo would be overexposed.
According to the basic exposure guideline that’s called the Sunny 16, at noontime when the sun is shining the brightest, with an ISO of 100, a cloudless sky, and an exposure time of 1/100 second, the correct f-stop is f/16.
So if you set these exposure values in your camera, you’ll get a well-exposed portrait. But keep in mind that the background behind your subject will be very visible, because the photo will have a large depth of field.
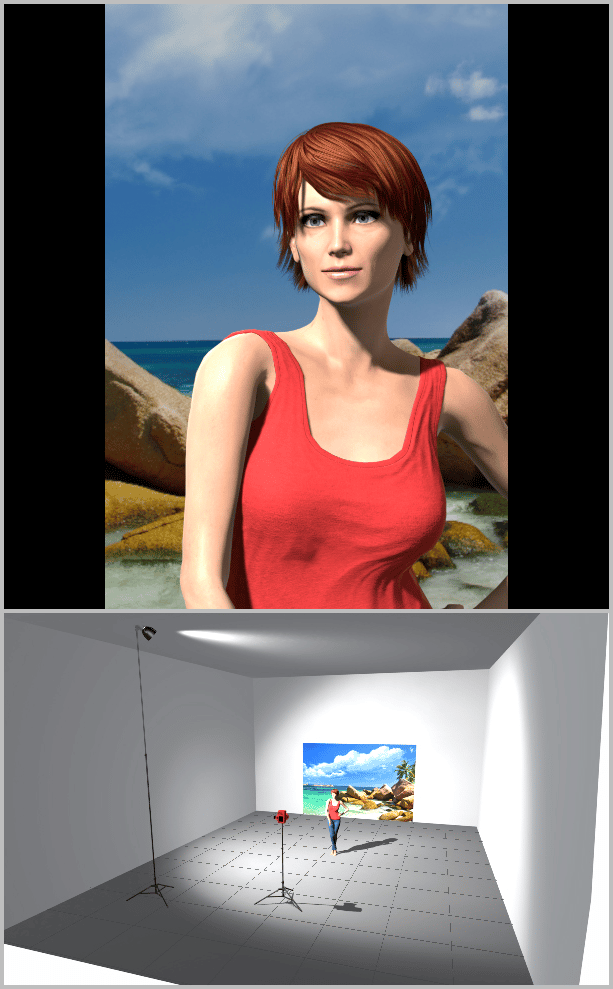
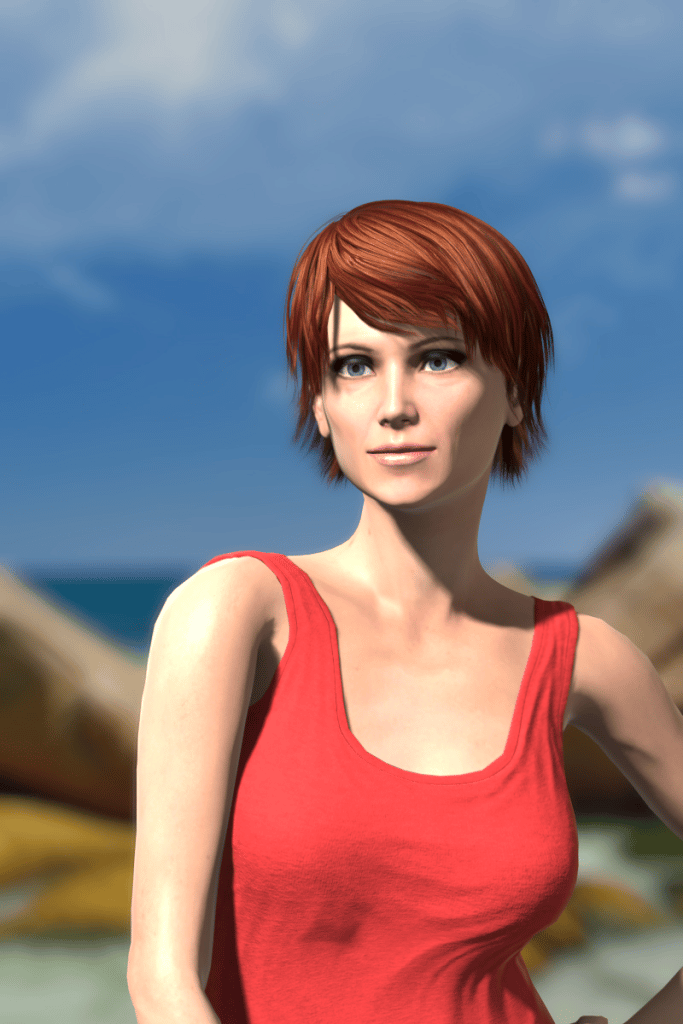
Only advanced cameras will let you use an exposure time that’s as short as was used in my last illustration. For basic DSLRs, you can generally find minimum times of around 1/2000 to 1/4000 of a second.
If your camera doesn’t let you use a short enough exposure, then it’s time to use an accessory that can influence natural light—specifically, that light’s intensity. I’m talking about a neutral density (ND) filter.
With this type of filter, you reduce the amount of light passing through the lens. This lets you set a lower f-stop while keeping the same exposure time. In my example, after applying an ND filter with a 3 EV correction, you could use a shutter speed of 1/800 s, which practically every camera can handle.
To some extent, a polarizing filter can serve the same role as an ND filter; it can usually reduce light input by 1 to 2 EV.
Diffuse the Light
Your daytime picture-taking situation changes dramatically the moment the sun hides behind the clouds. Its light’s intensity drops by 2 to 3 EV, and its quality improves—it’s dispersed and stops producing ugly contrasts on your subject.
The only property that will see some mild degradation is light temperature. Ignore it, and your subject’s surroundings will be desaturated, and your pictures will feel colder.
But fortunately you can very easily compensate for this via your camera’s white balance settings. Just set the white balance to Cloudy (the cloud icon).
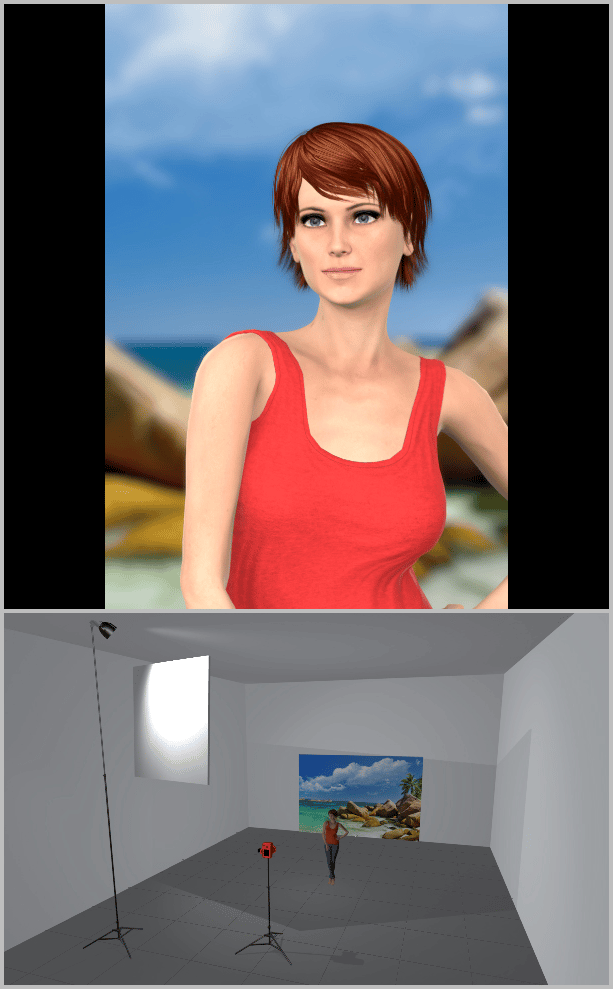
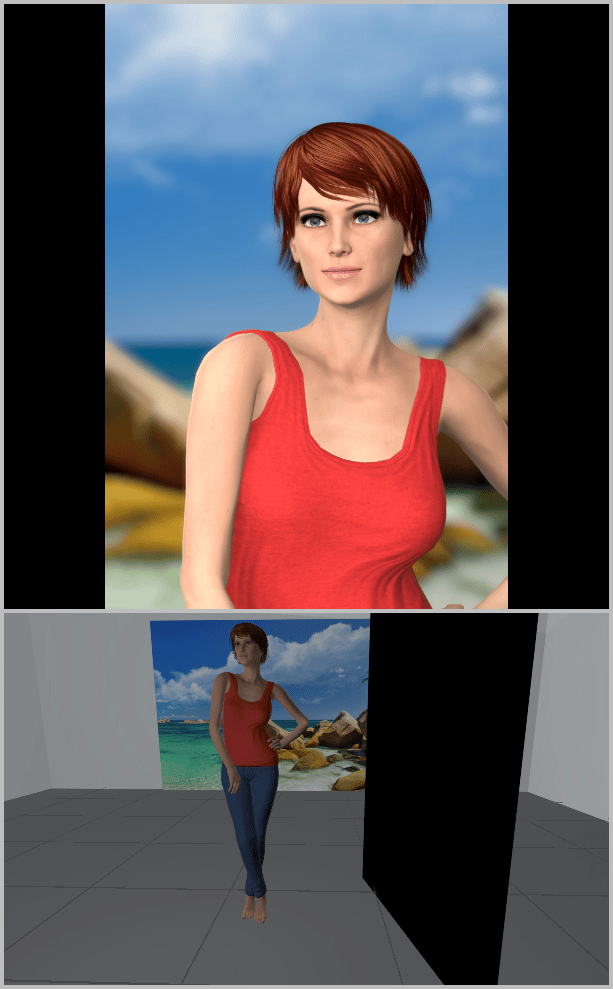
The illustrations above naturally lead us on to two important accessories through which you can influence light characteristics. The first of these is a diffuser.
You can buy this diffusion device in a photo supplies store in the form of collapsible panels in all shapes and sizes. You can also get superb light diffusion from ordinary tracing paper, although that paper isn’t as widely available today as it was in pre-digital times.
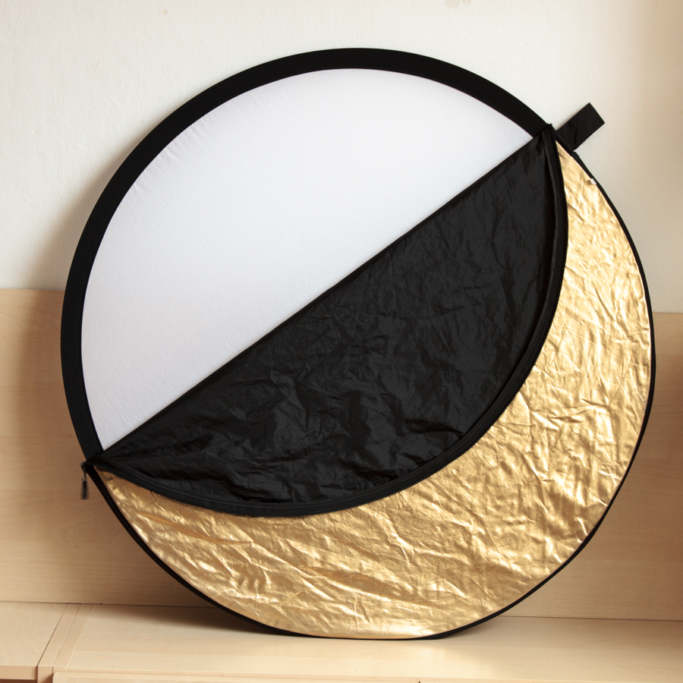
Curtains and translucent drapes are also classic examples of diffusion surfaces. Meanwhile 5-in-1 reflectors are also very popular; these cheap and portable accessories offer a diffusion surface and four reflection surfaces, including black, in a single accessory.
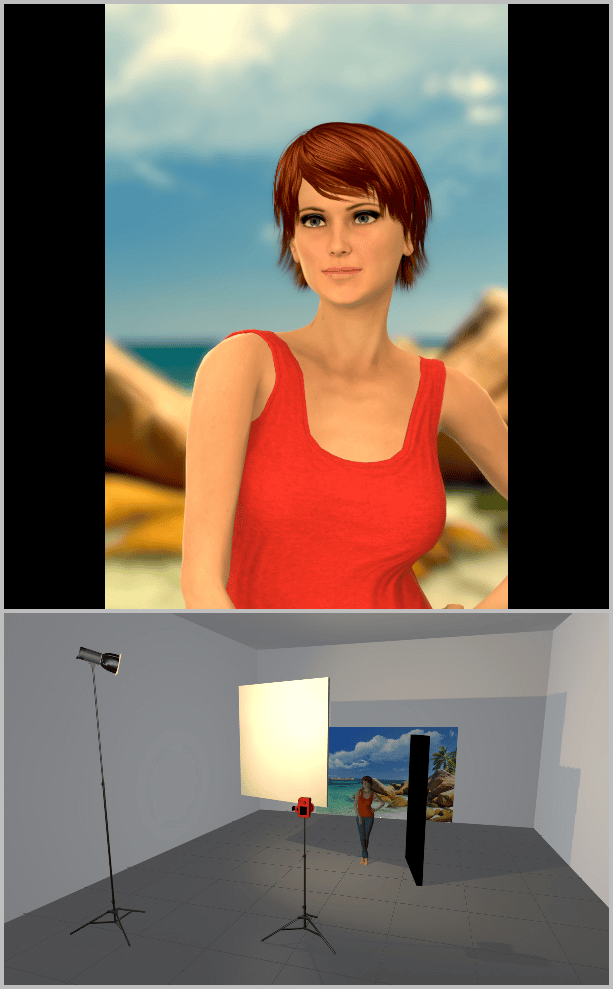
You work with a diffusion surface by placing it between the sun and your subject. The closer the diffusion surface is to your subject, the stronger its light-diffusing effect.
Then place a black reflector on the side of your subject that faces away from the sun. This will emphasize the shadow side of your portrait.
However, using these accessories tends to take some effort and require the help of at least one assistant. And yet there is also the possibility of buying a special arm for your tripod to hold and position your reflection and diffusion surfaces.
The Best Times for Outdoor Portraits: Morning and Evening
Taking pictures during the day when the sun is high in the sky and gives off bad light is demanding, and the results won’t always be great. You also often need long preparations and an assistant to help with diffusing the light.
In the morning and evening, when the sun hangs low over the horizon, things are different. The Earth’s atmosphere, which contains a large amount of evaporated water, also works as a perfect diffuser. And at the same time the light is tinted towards pleasant warm shades.
If you get up early to take your pictures, you can even make use of the morning mist, which gives your pictures a great atmosphere.
But getting up at 4 a.m. in the summer so that you’re ready to take pictures by 5 isn’t for everyone. So generally you’ll be trying to at least use the golden light of the evening.
Seek Open Shade
However, sometimes you don’t have a say in when you’ll take your pictures. Sometimes you can’t even bring accessories and an assistant with you to adjust the light quality. Weddings are a good example. In this kind of situation, you’ll have to count on having only limited time to shoot your portrait, and having to do it in the worst possible light.
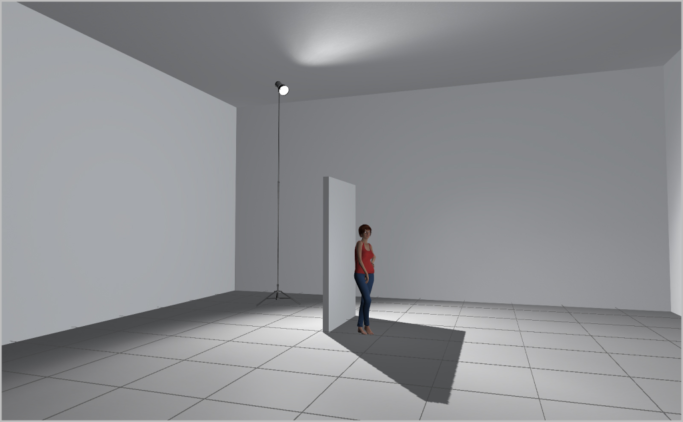
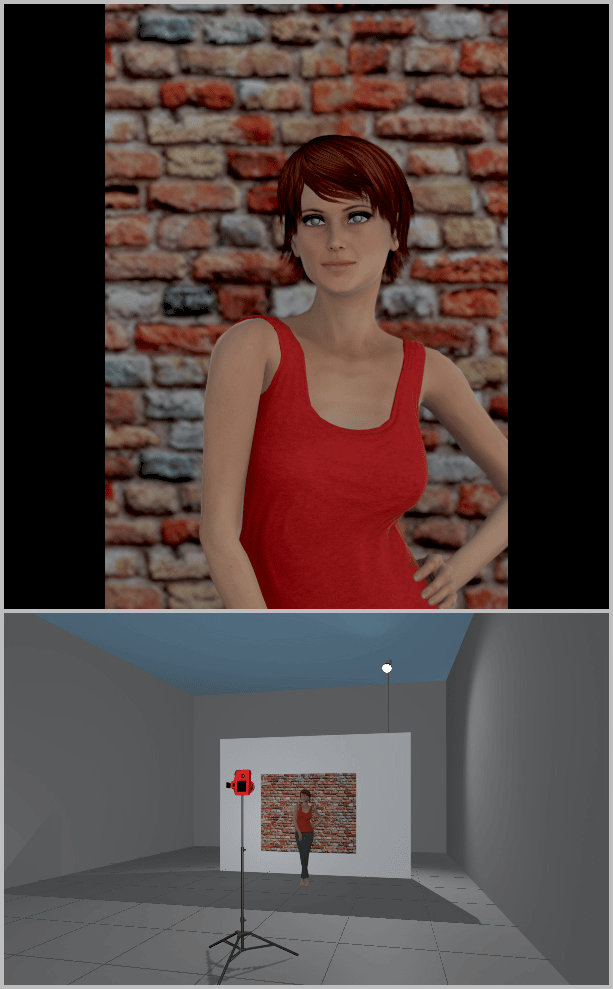
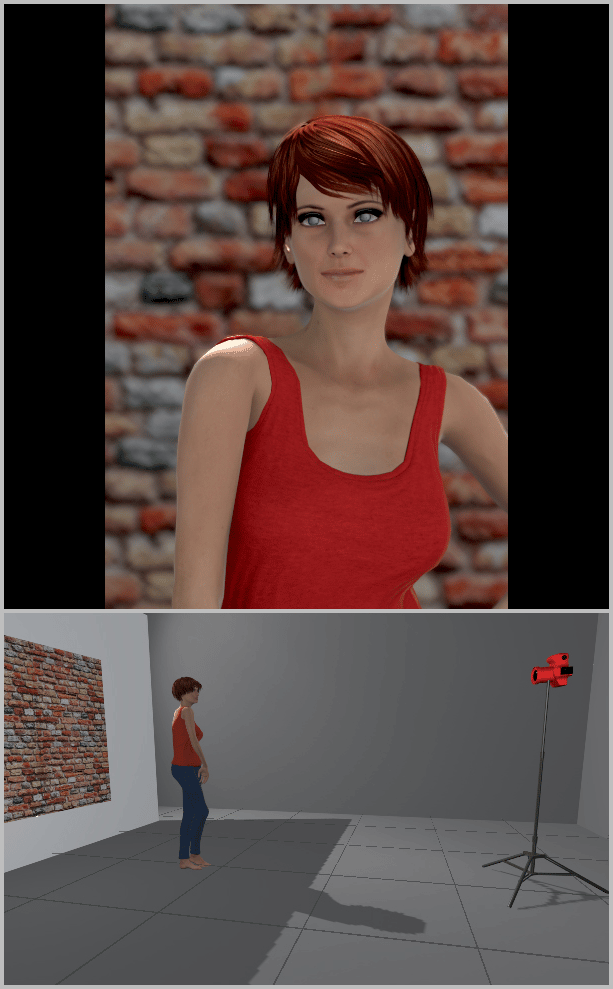
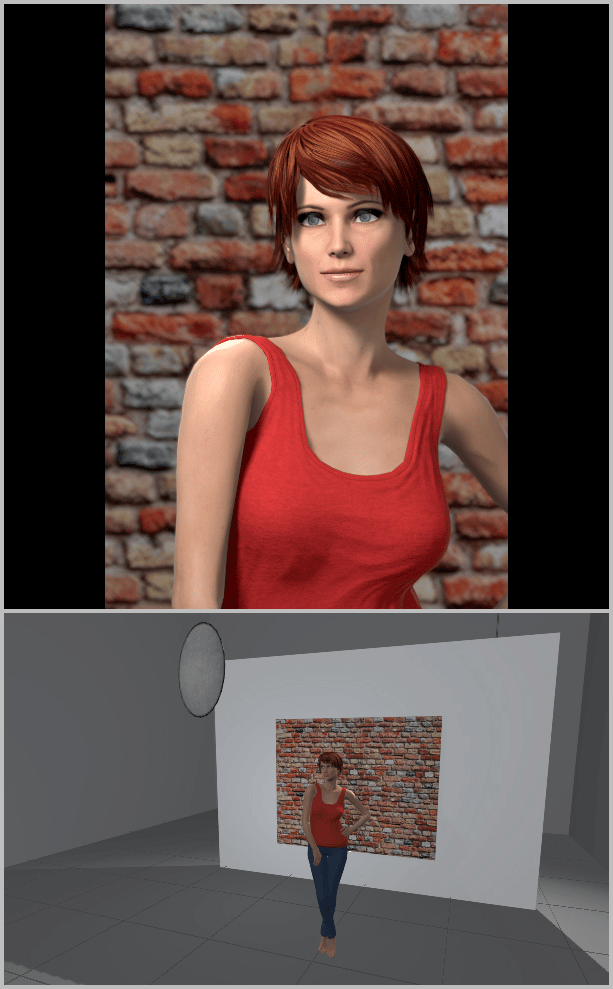
The most appropriate way to deal with such a situation is to place your subject in what’s called “open shade.” Vertical structures and other vertical objects cast this kind of shade. When you step into it, you’re standing in shadow, and yet you have the open sky above you.
Shoot in Closed Spaces
When you’re taking pictures in natural light, you’ll get the best results in closed spaces.
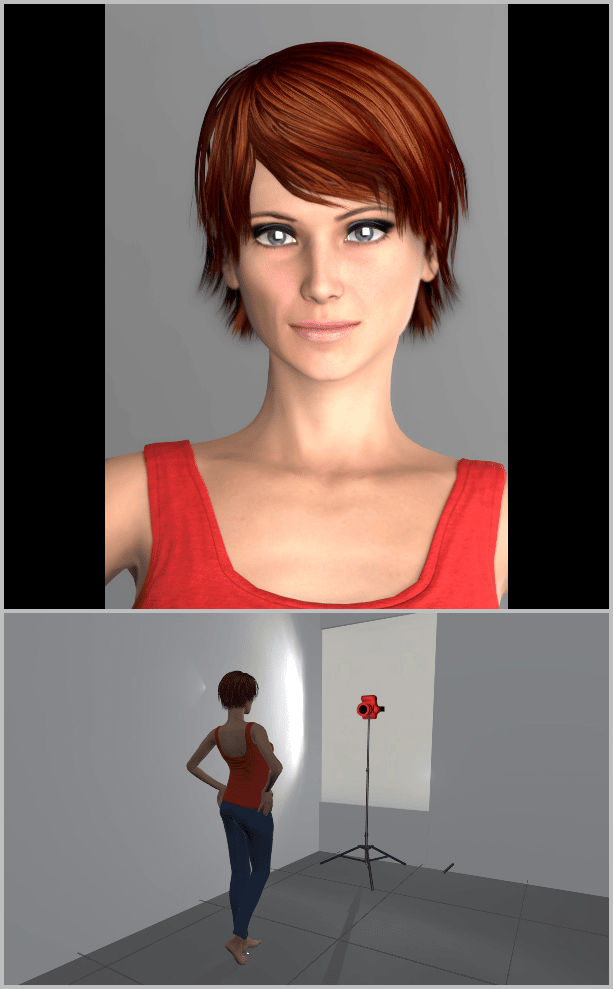
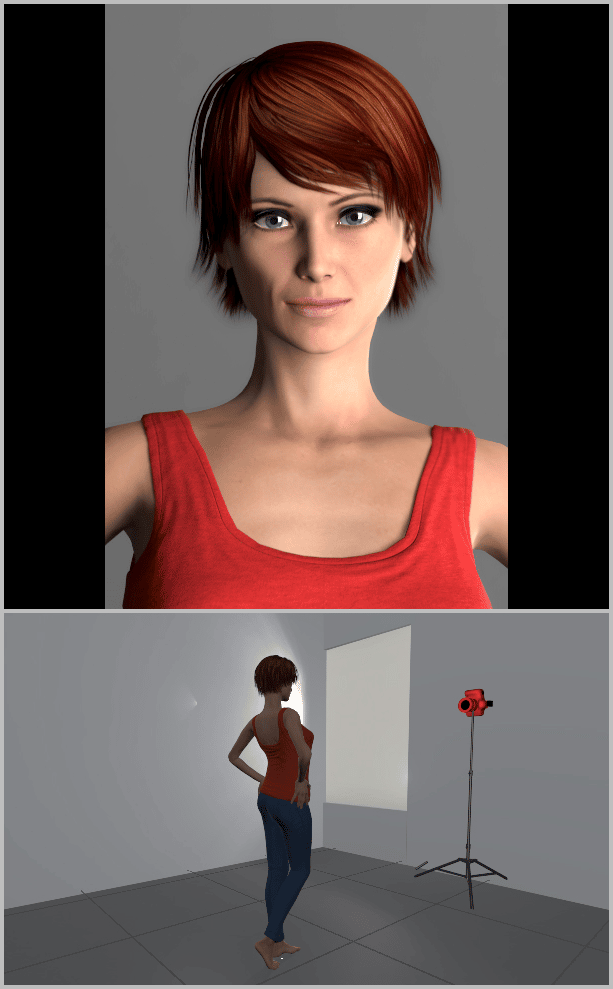
If you place your subject in a relatively dark room with a large, spacious window, the window will take on the role of a giant softbox. Ideally the sun shouldn’t be shining onto it directly. That’s why photo studios have their windows facing north.
But if the window is under direct sunlight, you can cover it with some kind of diffusion surface. That way you can direct the light towards your subject however you need. You’ll just be moving your subject around the light source instead of moving the light source around your subject.
In Bad Light, Use Artificial Lights to Help
Shooting portraits in natural light is mainly demanding because you have limited possibilities for adjusting that light. But with the right equipment, you can do it.
In the next article in this series, you’ll learn about work with artificial (permanent and flash) light. While that does mean a larger investment into equipment, you have this light entirely under your control.
But you’ll get the very most creative freedom out of a combination of natural and artificial light, as you’ll learn in the last part of our series of articles on portrait photo lighting.