Discover New Possibilities for Retouching: Learn the 5 Ways to Remove Distractions
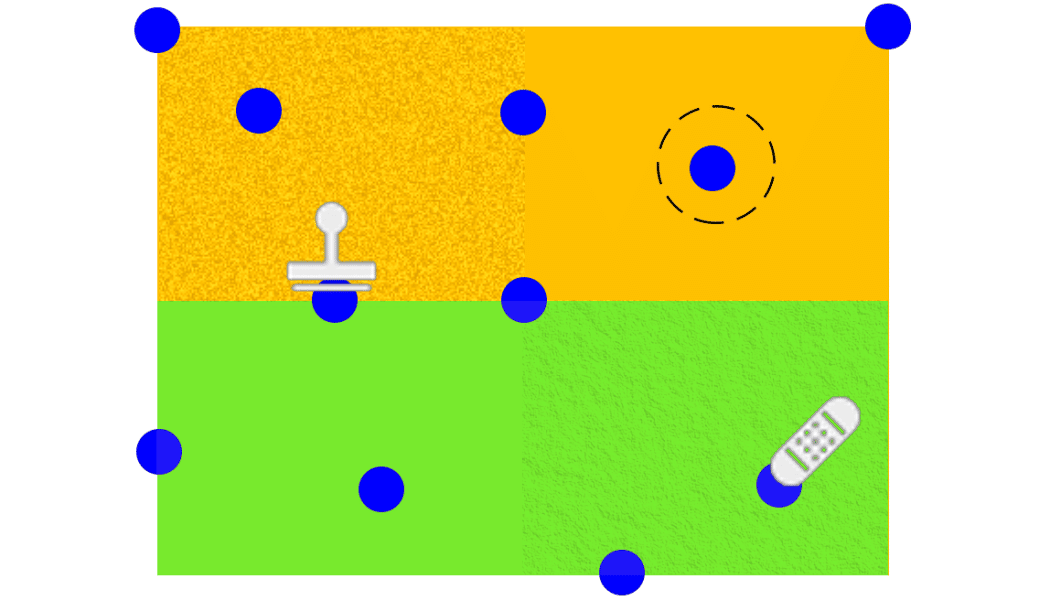
A truly compelling picture won’t have any distractions that might steal attention from its subject. But sometimes you just can’t avoid having distractions in the shot. Fortunately you can get rid of them easily with retouching. And you’ve got several ways to do it.
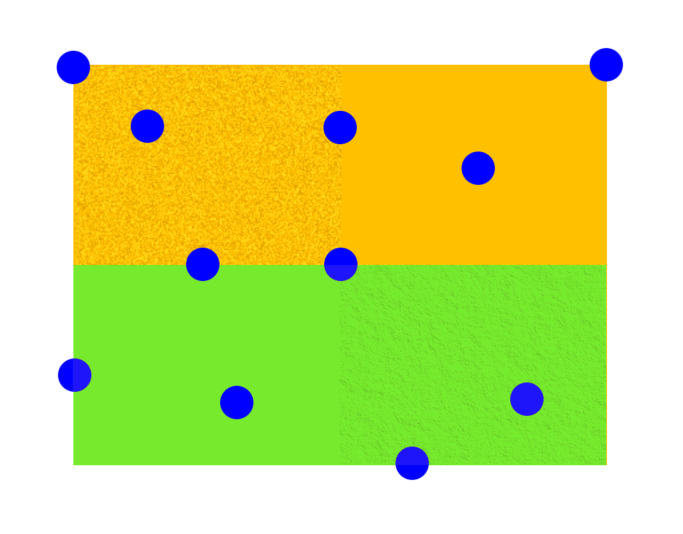
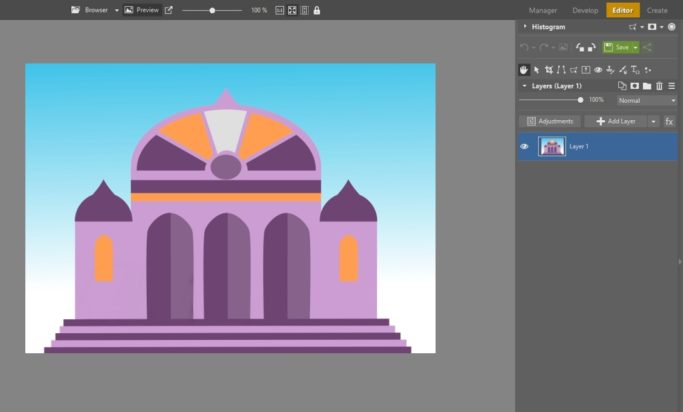
In fact, choosing among the various retouching tools can be confusing sometimes. After all, not everyone knows which one to use when. So let’s take a look using a sample image with a variety of colored and structured areas.
Zoner Studio has five ways to remove unwanted objects from a picture:
- the Clone Stamp (S),
- the Healing Brush (J),
- Fill with Surroundings (Shift+Del),
- Copy (Ctrl+C) and then Paste in Same Place (Ctrl+Shift+V) (using layers),
- and Multi-exposures > Remove Moving Objects
You can find most of these functions in the Editor. The Clone Stamp and the Healing Brush are, however, also in the Develop module, which enables non-destructive edits. But to keep things clear, we’ll be staying within the Editor for these two.
Retouching Using the Clone Stamp
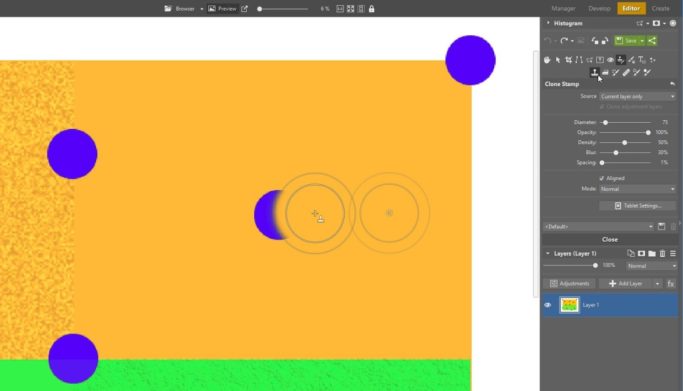
The oldest tool for erasing unwanted elements from a picture—and a very effective one—is the Clone Stamp (S). In some cases, work with it can take more time and effort than work with more modern tools, but on the other hand it can help you with situations that other tools can’t handle. You’ll find the Clone Stamp in the Retouching Tools group.
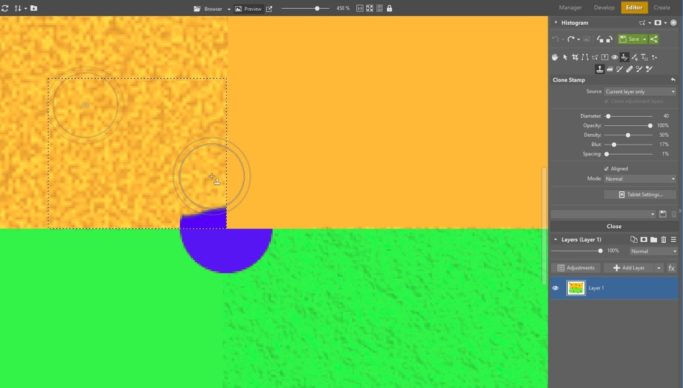
The way it works is simple: it takes the picture material in the source location and copies it to the target location. You can set the Stamp’s:
- Brush Diameter,
- Opacity (sets how visible the edit is),
- Density (sets how much it is applied in one pass of the mouse),
- and Blur (sets how sharply the brush fades out at the edges).
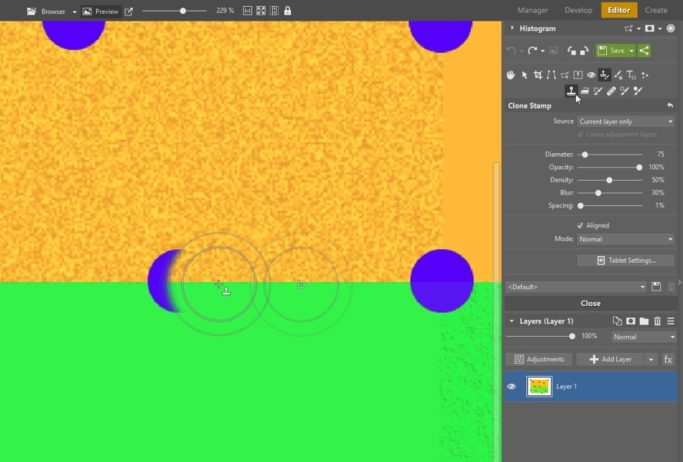
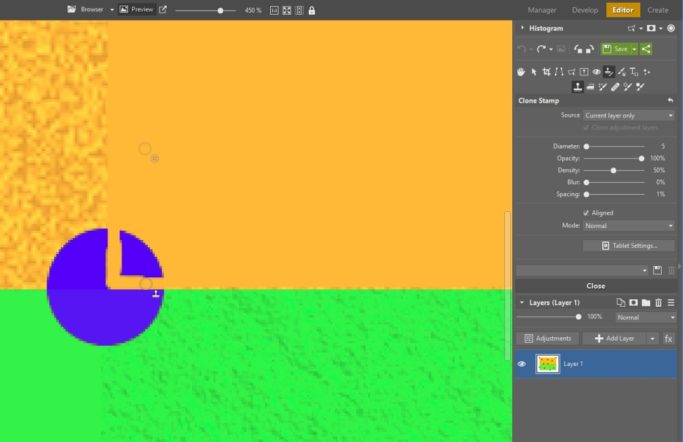
To select the source region for cloning, hold down the Ctrl key and click in the picture. Then release Ctrl and click to start brushing the source region into the area you want to cover.
This click also sets the spacing between the source and target regions. The program keeps this spacing as you continue working with this tool, which you’ll appreciate for example when removing lines from a picture. To change the spacing at any time, select a new source region.
How to Retouch Photos Using the Healing Brush
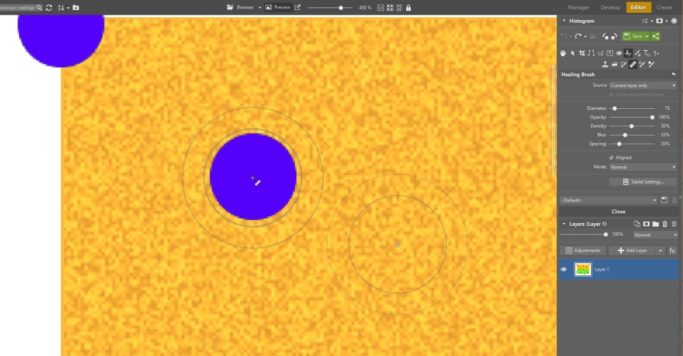
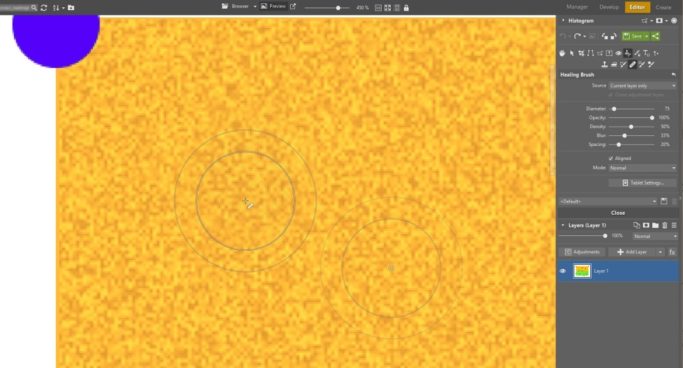
Work with the Healing Brush (J) is similar to work with the Clone Stamp. However, unlike the Clone Stamp, it copies texture only. It ignores the source location’s coloring, and tries to reconstruct the color from the retouched element’s surroundings.
So use it for jobs like retouching away skin defects, where it can for example replace a birthmark with skin texture and adapt the retouched area to its surroundings.
When you’re removing something in full, and that something is all in one place, this tool does a great job.
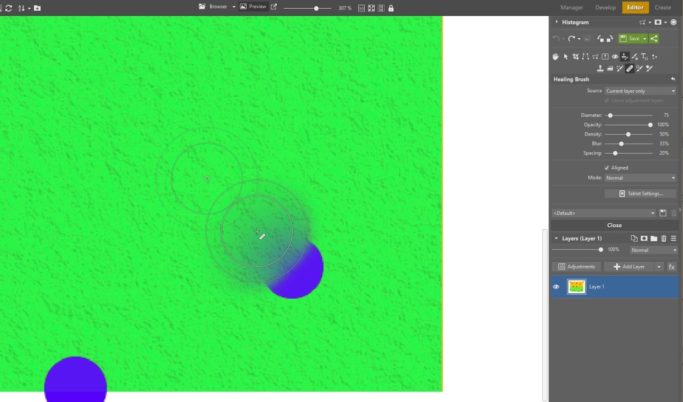
The trouble comes when you need for example to retouch away only part of an element, or when there are multiple colors in its surroundings. Because the Healing Brush takes the colors from the retouched location’s surroundings, you run the risk of bringing unwanted colors into that location.
In general, the closer to the edges you are when retouching a photo, the harder it is to use the Healing Brush. In these cases it’s better to use the Clone Stamp.
Retouching Using the Fill With Surroundings Function
All modern photo editors offer a fairly powerful intelligent tool for removing unwanted elements automatically. In Zoner Studio, you can find this tool in the Selection menu under the name Fill with Surroundings (Shift+Del).
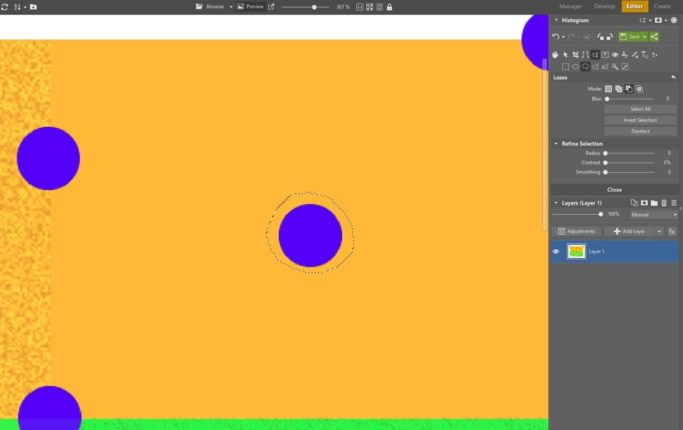
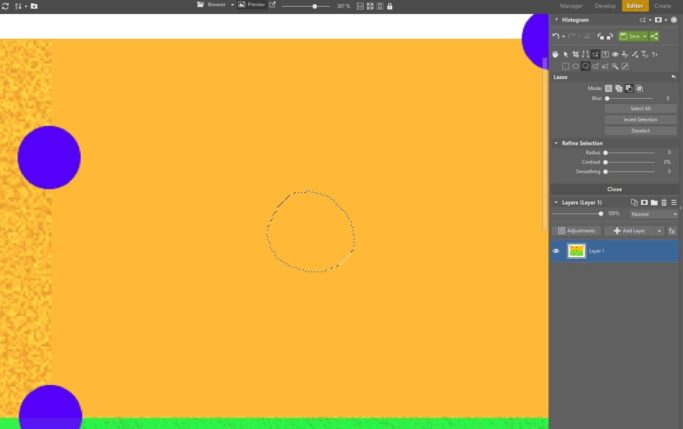
Before using it, you’ll first need to make a selection around the unwanted element using a selection tool or tools. Zoner Studio will analyze the selection’s surroundings and will determine what’s mostly behind the removed element based on the results of this analysis.
If its surroundings are simple, this function works superbly.
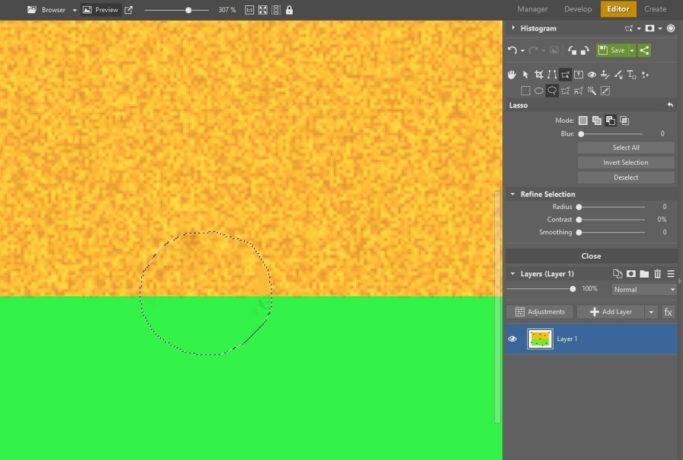
When things are more complex, the result is not so perfect.
But this doesn’t mean that you should abandon this function. It often pays to first use Fill With Surroundings and then fine-tune any remaining imperfections using the Clone Stamp or the Healing Brush. You can retouch much faster this way.
“Patching” Your Photos
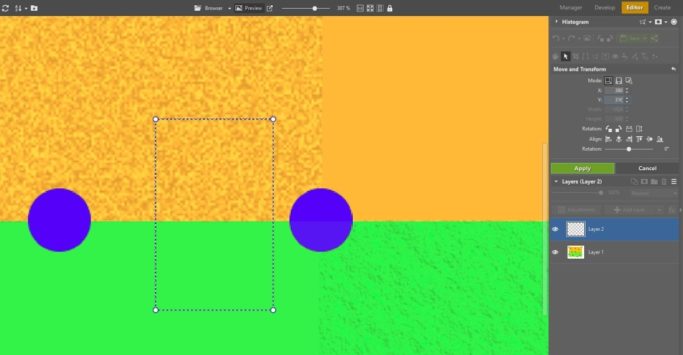
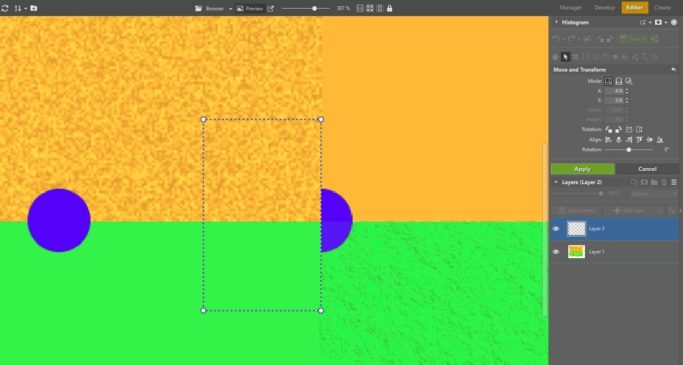
Work with layers can also make retouching easier. Just select a part of the picture with a clean background using a selection tool of your choice, and then copy it into a new layer using Edit > Copy (Ctrl+C) and then Edit > Paste in Same Place (Ctrl+Shift+V).
Then use the Move and Transform tool to shift the contents of the new layer (the patch) and resize them if needed, and/or use the layer’s mask to hide the parts of the layer that you don’t need.
For a more visually effective patch, you can fade out the mask’s edges by painting in the mask using a gray brush. This makes it merge more smoothly with the original picture.
Retouching via Exposure Blending
The tools described so far will help you remove motionless objects. But if you know before you take the shot that there will be moving objects in the scene, you can adjust your shoot accordingly and gain the ability to remove these.
A classic example here is photographing tourist attractions with people constantly moving around them. In this situation, take a series of pictures over a longer period of time. Then the tourists will likely be in somewhat different positions in each shot. And so they will gradually reveal all the parts of the landmark you’re photographing.
It’s ideal here to use a tripod and shoot in manual mode so that all the shots have the same exposure settings. If you are using a semi-automatic or automatic mode, work with one where the aperture does not change. (Your shots should all have the same depth of field; this will ensure that.)
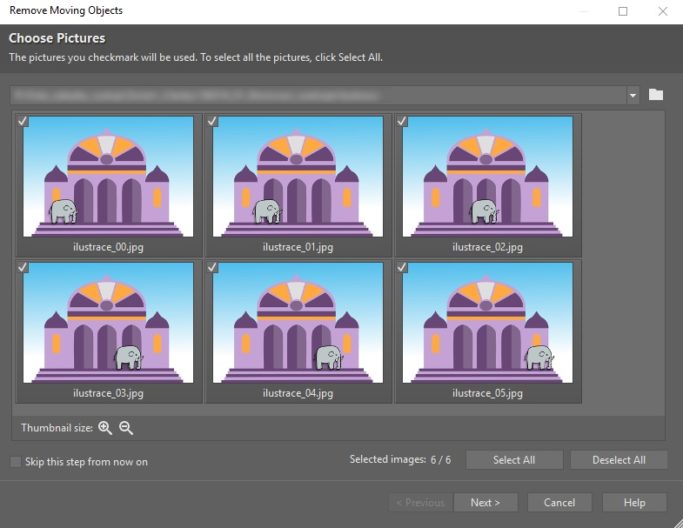
Once you’ve prepared these shots, open them in the Manager in Zoner Studio. Then in the top-left menu, use Create > Multi-exposures > Remove Moving Objects. In the window that appears, pick your source photos. Then click Next to continue.
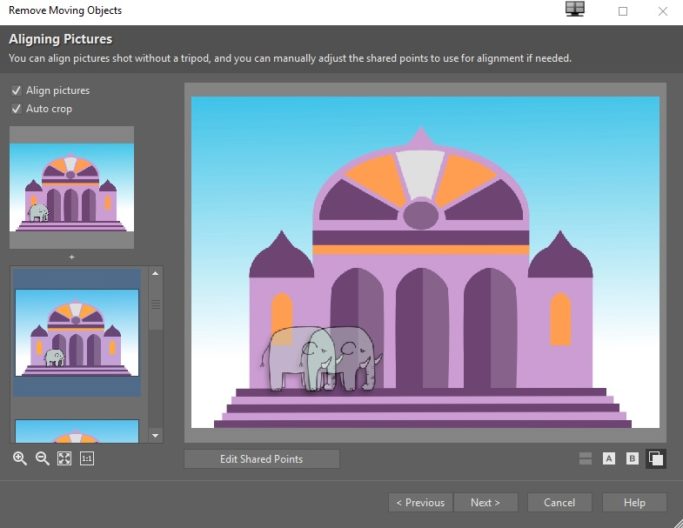
If you weren’t using a tripod during your shots, you can have the program align them now.
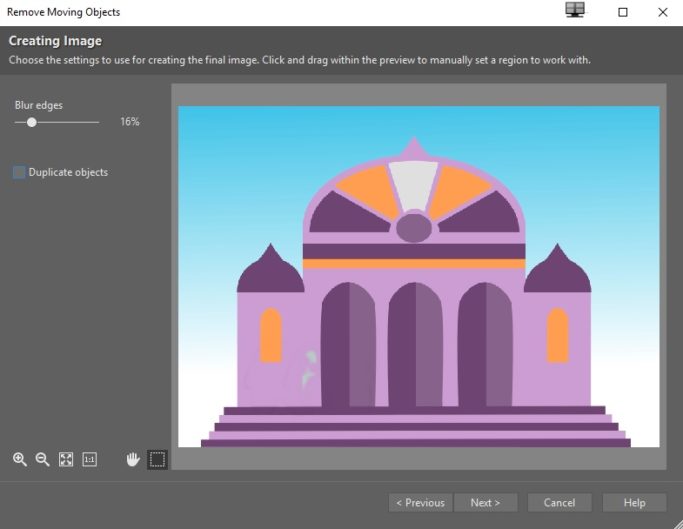
Then in the next step, use the Blur Edges slider to adjust this function’s effects.
Then save the merged image or use Open in Editor. In the Editor you can fix any defects that have arisen and improve the picture’s exposure and colors. For more complex scenes, artifacts—“ghosts”—may appear. But you’ll fix them easily using the Clone Stamp and the Healing Brush.
Try Combining the Retouching Tools
Each of the tools presented here has its strong and weak points. So don’t be afraid to combine them to get the best effect you can. What’s ideal here is to start by using Fill With Surroundings or the described patching technique, and then touch up the details using the Clone Stamp or the Healing Brush.
But everyone prefers a slightly different approach. So don’t be afraid to experiment and find your own work method. Just download Zoner Studio, try it free for 7 days, and get to work.
