Sort Your Pictures More Easily—With Help from Keywords
You know the situation: you need to find a specific photo, but it’s lost among your piles of other pictures and folders. Or you do find it, but only after spending dozens of minutes. And yet there’s a way to organize your photos using keywords so that you can find any one of them in just seconds.
Good photo organization is (or at least should be) fundamental for every photographer. It can significantly reduce the time you spend looking for a photo, as long as you know e.g. its author, shot location, and/or keywords.
And keywords (you can also call them “tags”) are among the most handy photo organization tools out there. They’re a great way to enrich photos with information on:
- their genre,
- the name of people or titles of objects in the picture,
- other headwords that can’t be covered using the file or folder name.
Meanwhile there’s no threat that you’ll lose this information by renaming the files. And also, using keywords you can find photos easily, and above all quickly.
Assign Keywords to Your Pictures
When you’re organizing your photos, first think about what you photograph the most often. Write a list of some appropriate keywords based on that.
Then assign them to your pictures. Zoner Studio will help you here—it lets you edit photos’ metadata, including their keywords. You have two options for this.
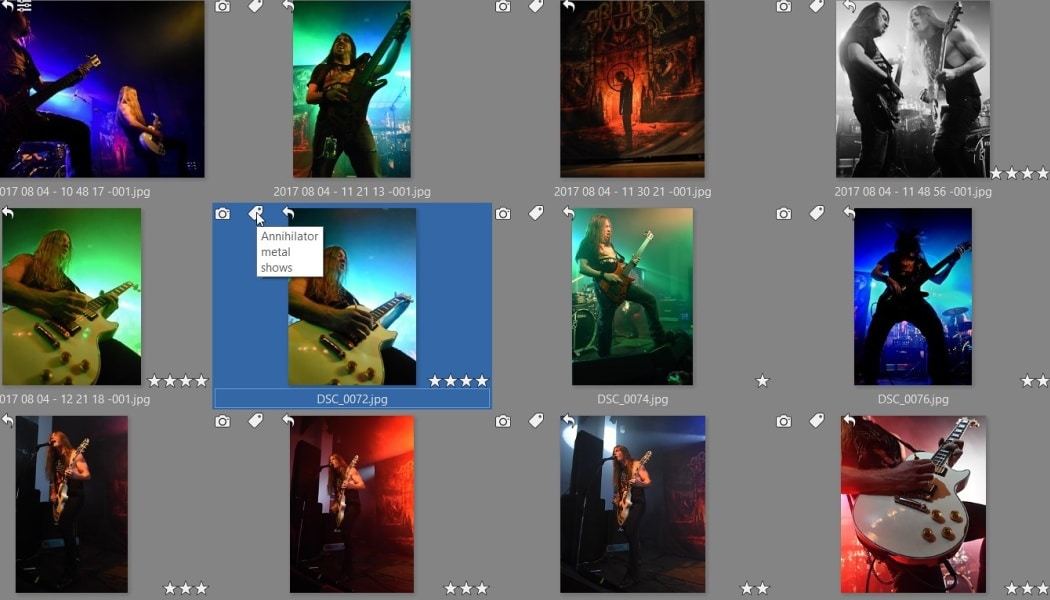
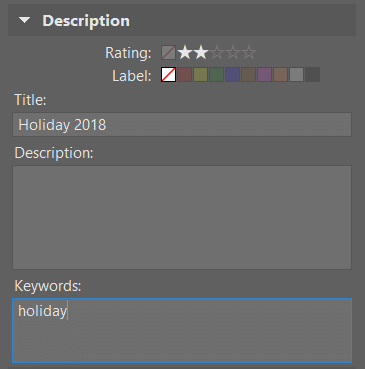
- In the Zoner Studio Manager, mark the photos to which you want to assign a given keyword. In the right panel, click in the Keywords box and enter the appropriate term. You can also add several keywords at once.
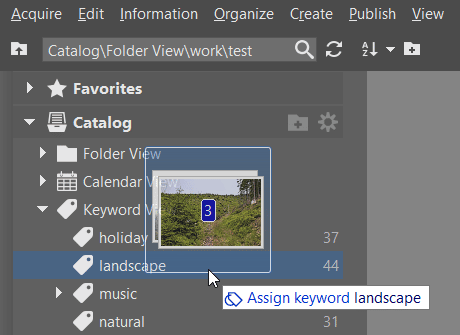
- If a given keyword already exists, you’ll find it in the left panel in the Catalog group under Keywords. In that case, you can just select the pictures to which you want to assign the given keyword and drag them onto it.
When you’re working with keywords, you’ll sometimes run into the situation where some of them have a star by them. This can happen when you’ve selected multiple pictures. The star indicates the fact that only some of the selected pictures contain that keyword.

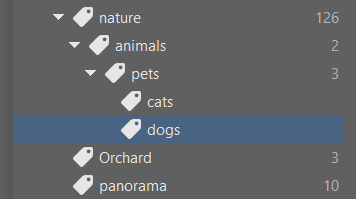
Categories Make Your Work Easier
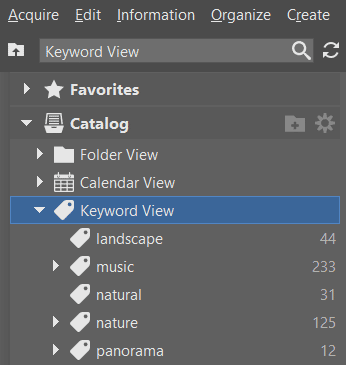
To make organizing your photos even easier, create categories. You can then sort your keywords into them.
These might be genres like Landscape or Reportage, or more general terms like People, Animals, or Events. It’s all up to you what categories you create.
Keep in mind meanwhile that categories can also serve as keywords.
You can create categories in Zoner Studio’s left panel in two ways:
- Right-click on the Keywords item and choose the New Keyword option.
- Drag one keyword onto another. You can nest keywords into each other.
You can add sub-categories to categories in the same way. This creates an easy-to-navigate structure that makes your organizing work easier.
Where Are Keywords Stored?
When you’re organizing photos using keywords, it also depends on whether you’re adding them to JPG or RAW photos.
For JPG, the metadata is added to a special section of the photo file itself—the EXIF block. In Windows you can’t even view this block without some special tools. If you don’t delete the picture or change the keywords in Zoner Studio, then there’s no risk that you’ll lose them.
When you’re working with RAW, the situation is a bit more complicated. Here the data is stored to a separate file. It has an “.xmp” extension.
So watch out that you don’t delete your XMP file. In fact, it doesn’t even just contain keywords; it also contains ratings, exposure data, and any edits that you’ve made to the picture in the Develop module. When you’re developing a RAW file, this information is written through into the resulting image (most often a JPG).
If you shoot to both RAW and JPG simultaneously, that doesn’t mean that you have to enter your keywords twice. Just use the Group RAW and JPG feature in Zoner Studio. The keywords (and other information) for each picture are then written to both formats simultaneously.

Tag Your Photos While You’re Downloading Them
Ideally you want to add tags to your photos right while you’re downloading them onto your computer. You don’t need to tag them completely right away; basic terms—categories—are enough.

Assign other keywords while you’re sorting your pictures. It’s all up to you how many you assign to each photo. So don’t be afraid to be detailed and use everything that you might need in the future. No matter whether that’s the names of people in the photo or perhaps the event where it was shot.
Searching by Keywords
The simplest and fastest method for finding a photo you need is to use searching in the Zoner Studio catalog. This doesn’t look through the files themselves, but through a virtual catalog of them instead, and so it’s fast.
Just add your photo folders to the Catalog. Then you can list pictures in Zoner Studio’s left panel by:
- Folder,
- Timeline,
- Keywords,
- or Location.
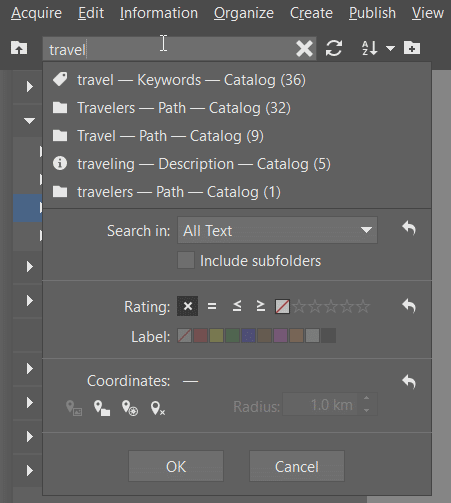
To search among your photos, click the box with the magnifying glass near the top left of the Manager, or use the Ctrl+F shortcut. Choose where to Search in and enter the phrase you’re looking for in the search box. Zoner Studio immediately finds all of the photos with the given keyword (or e.g. author or location).
Keyword searches also work in any Windows file manager. That’s because these can make use of photo files’ EXIF blocks. But keep in mind that this will take longer than in the Zoner Studio Catalog.
Thanks to keywords, you’ll never have to worry that you won’t find the photo you need. But don’t just take our word for it; try it for yourself. Download Zoner Studio, try it 7 days for free, and get your photos organized.