Three Ways to Make Black And White Pictures
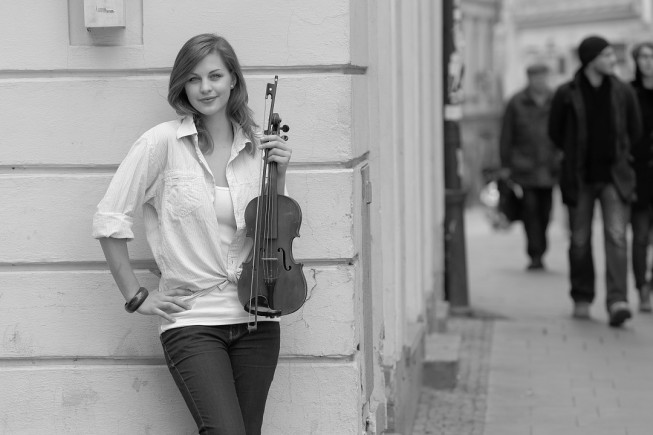
Black and white photography is an undying genre that was born alongside photography itself, and has easily survived the arrival of color film. Conversion of color digital photographs to black and white via software is still very popular today. We’ll take a look at three ways to use Zoner Studio to make a color photograph black and white. Let’s make some black and white pictures easily!
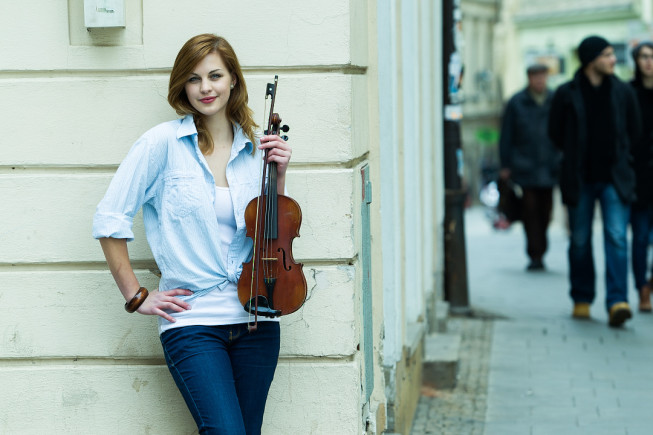
Most cameras are able to take pictures in black and white mode. However, this type of black and white photograph is often drab, washed-out, and short on contrast. It’s true that more recent cameras have started to improve this situation. But it’s so easy to convert a color photograph to black-and-white—and so hard to do the opposite! That’s why it’s better to take pictures in color and convert them on a computer.
Selected tools in the Zoner Studio Editor module offer ways to convert to black and white.
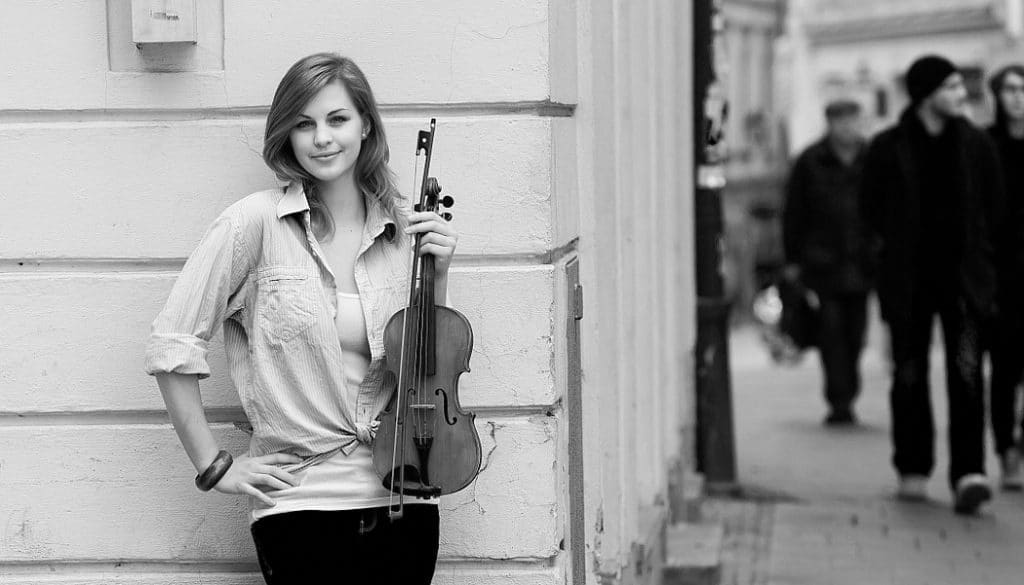
1) Grayscale conversion
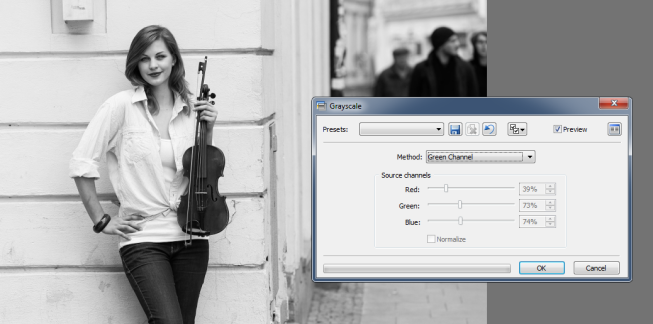
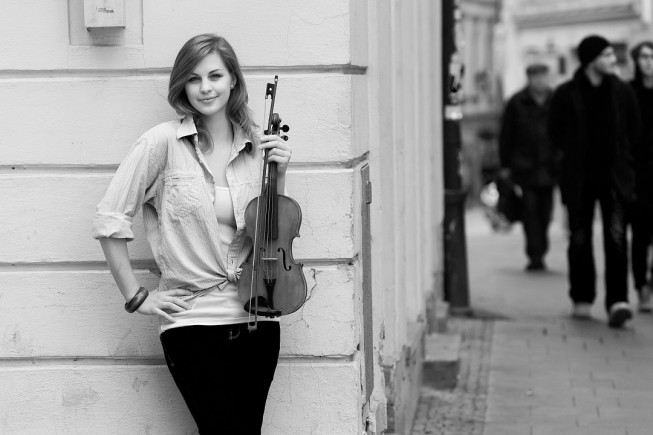
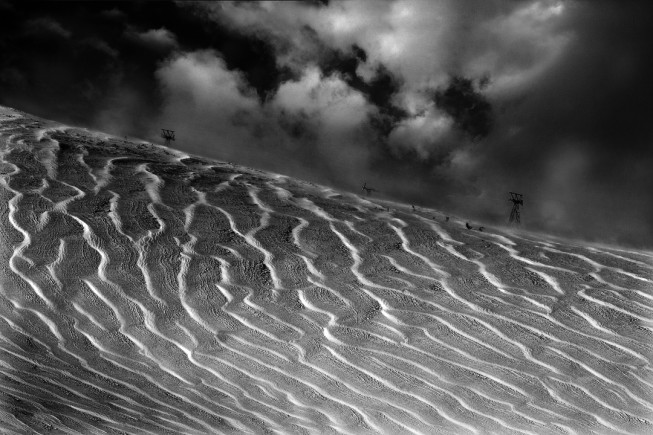
You can find the Grayscale function in the Effects menu, or use the Ctrl + G keyboard shortcut to call it up. In the Grayscale window, choose the option that best fits the given photograph. Use color channel mixing during conversion to achieve some advanced tricks. Each channel emphasizes a different color in the black-and-white result. For example, you can use the green channel to emphasize reds, making it useful for portraits and pictures with people in them. Meanwhile the red channel emphasizes blues, making it useful for landscape photographs.
2) Desaturation Conversion
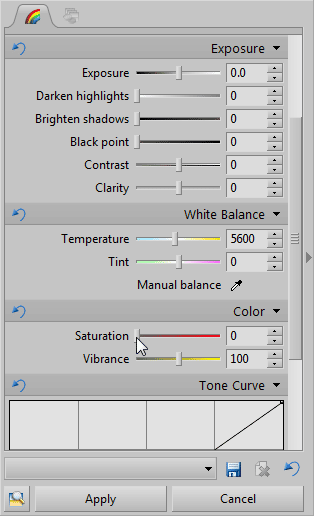
Another great way to convert your pictures to black and white is the Saturation slider in Quick Edits, in the Side Panel to the right of the Editor workspace. (Use the View menu’s Side Panel to show the panel if it’s hidden.) Use this slider to reduce the saturation all the way to zero. Then fine-tune the photograph using the Exposure section, found higher up above Saturation.
The most useful controls here are: Clarity—to emphasize details, Brighten shadows—for when a photo has very strong shadows, Darken highlights—to reduce blown-out (overexposed) areas, Black point—to fix pictures short on black tones, and of course Contrast. It depends on the type of photograph. You can also instead use Tone Curve, found in the lower part Quick Edits. This is a quick and simple approach.
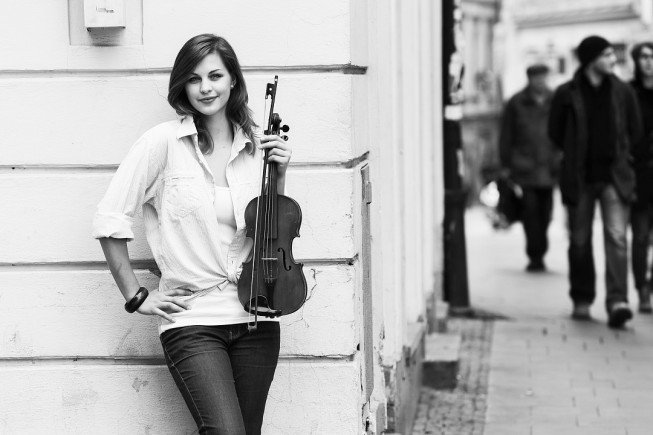
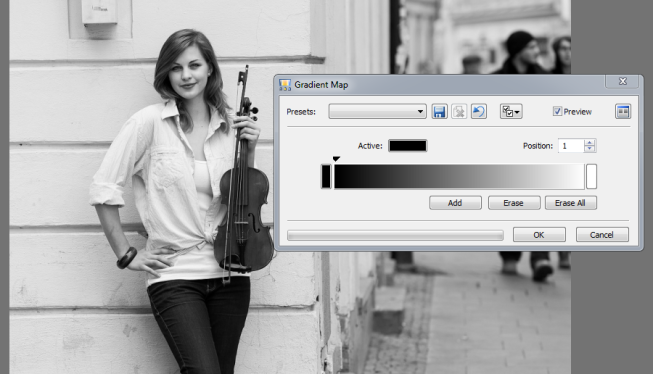
3) Conversion using Gradient Mapping
The Gradient Map function is also found in the Effects menu. Use this command and then use the window to set the two ends of the final color spectrum to be used. In other words, the “black” and “white” colors. You can also use this function to give the output a color tone, like pale blue, beige, etc.
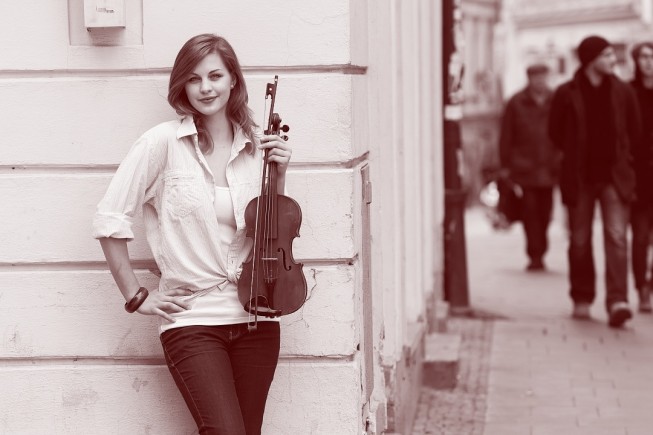
All of these three methods can be combined and refined as needed. For example, you can get some interesting results by combining Grayscale with the Clarity control in Quick Edits. It’s important to keep an eye on the histogram during your work, as we mentioned in a previous article.
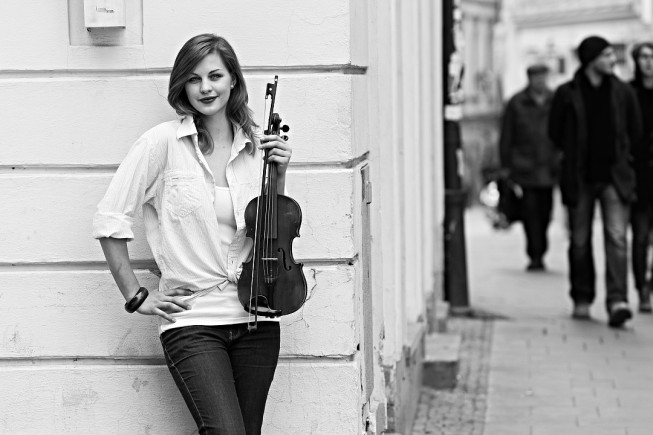
Black and white photographs demand a well-balanced histogram even more strongly than color photos do. A bad conversion can easily leave you with a gray blur. It’s definitely best to get the white balance and exposure right while the photo is still in color, and convert it only after that. Try to keep a small overlap between the right edge of the histogram and the blowout region, and a similar mild overlap in the shadows.
Automatic Conversion
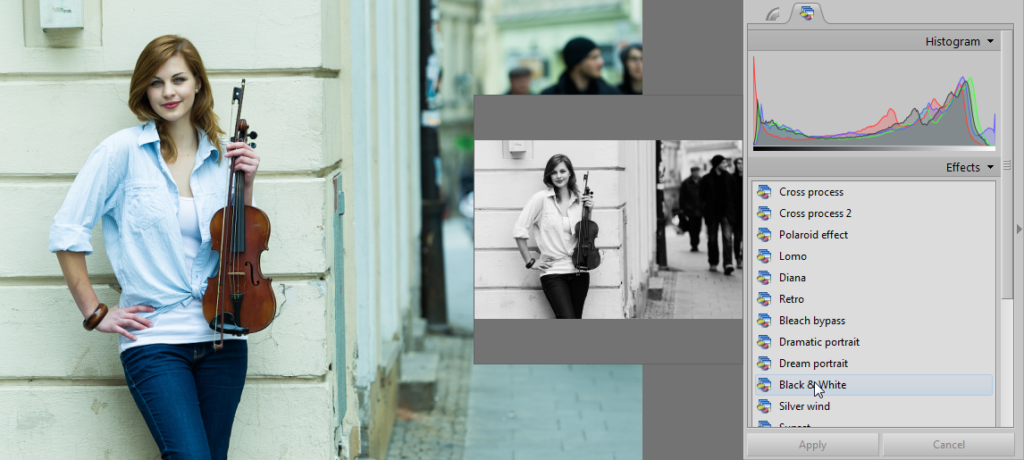
For relatively reliable conversion, you can also use the Quick Filters tab of the side panel—it has a Black & White filter. Then just click Apply or press Enter. Quick, easy, and almost no work.
