Tips for Editing Cat Photos
Chasing your pets around your home while trying to get their picture is a great way to spend an afternoon! Cats have a mind of their own and won’t listen to you. They may look at you like you’re crazy, all while quietly judging you. But cats are so photogenic, we are willing to put up with some of their quirks for the sake of some awesome photos. But how do we go about editing the photos? Take a look at some basic editing tips for cat photography.
In addition to facial symmetry, cats possess amazing symmetry overall. They move gracefully, have beautiful curves, and, when their coat is full, a great variety of colors.
I have a Russian Blue tomcat at home and I have to say, he’s adorable. Anytime I look in his direction, I reach for something to take his picture with. Yes, my mobile phone is full of cat photos. However, sometimes a mobile phone doesn’t do his true beauty justice. It’s time to grab my camera and take some photos that will be properly edited too.
How to take cat pictures
Taking cat pictures is certainly more complicated than taking dog pictures because a dog will listen to you. It’s also more challenging than taking pictures of slower animals that won’t run away at the slightest distraction. Still, it can be done. I definitely recommend using a long focal length. Imagine you are a photographer in the jungle photographing jaguars. Only this time you’re creeping around the living room carpet hoping your cat isn’t more interested in you than the bird at the window.
I take cat pictures on my 80-200mm lens and I find this to be the perfect lens size for maintaining the right amount of distance. You can always use a shorter focal length. If your cat is a bit calmer and lets you, try macro photography of your cat’s eyes, ideally from the side. Cats move a lot so be sure to use a short shutter speed.
We also recommend using treats to get your cat to go where you want. More tips on cat photography can be found in the article, How to Take Cat Photos That Will Attract and Amuse.
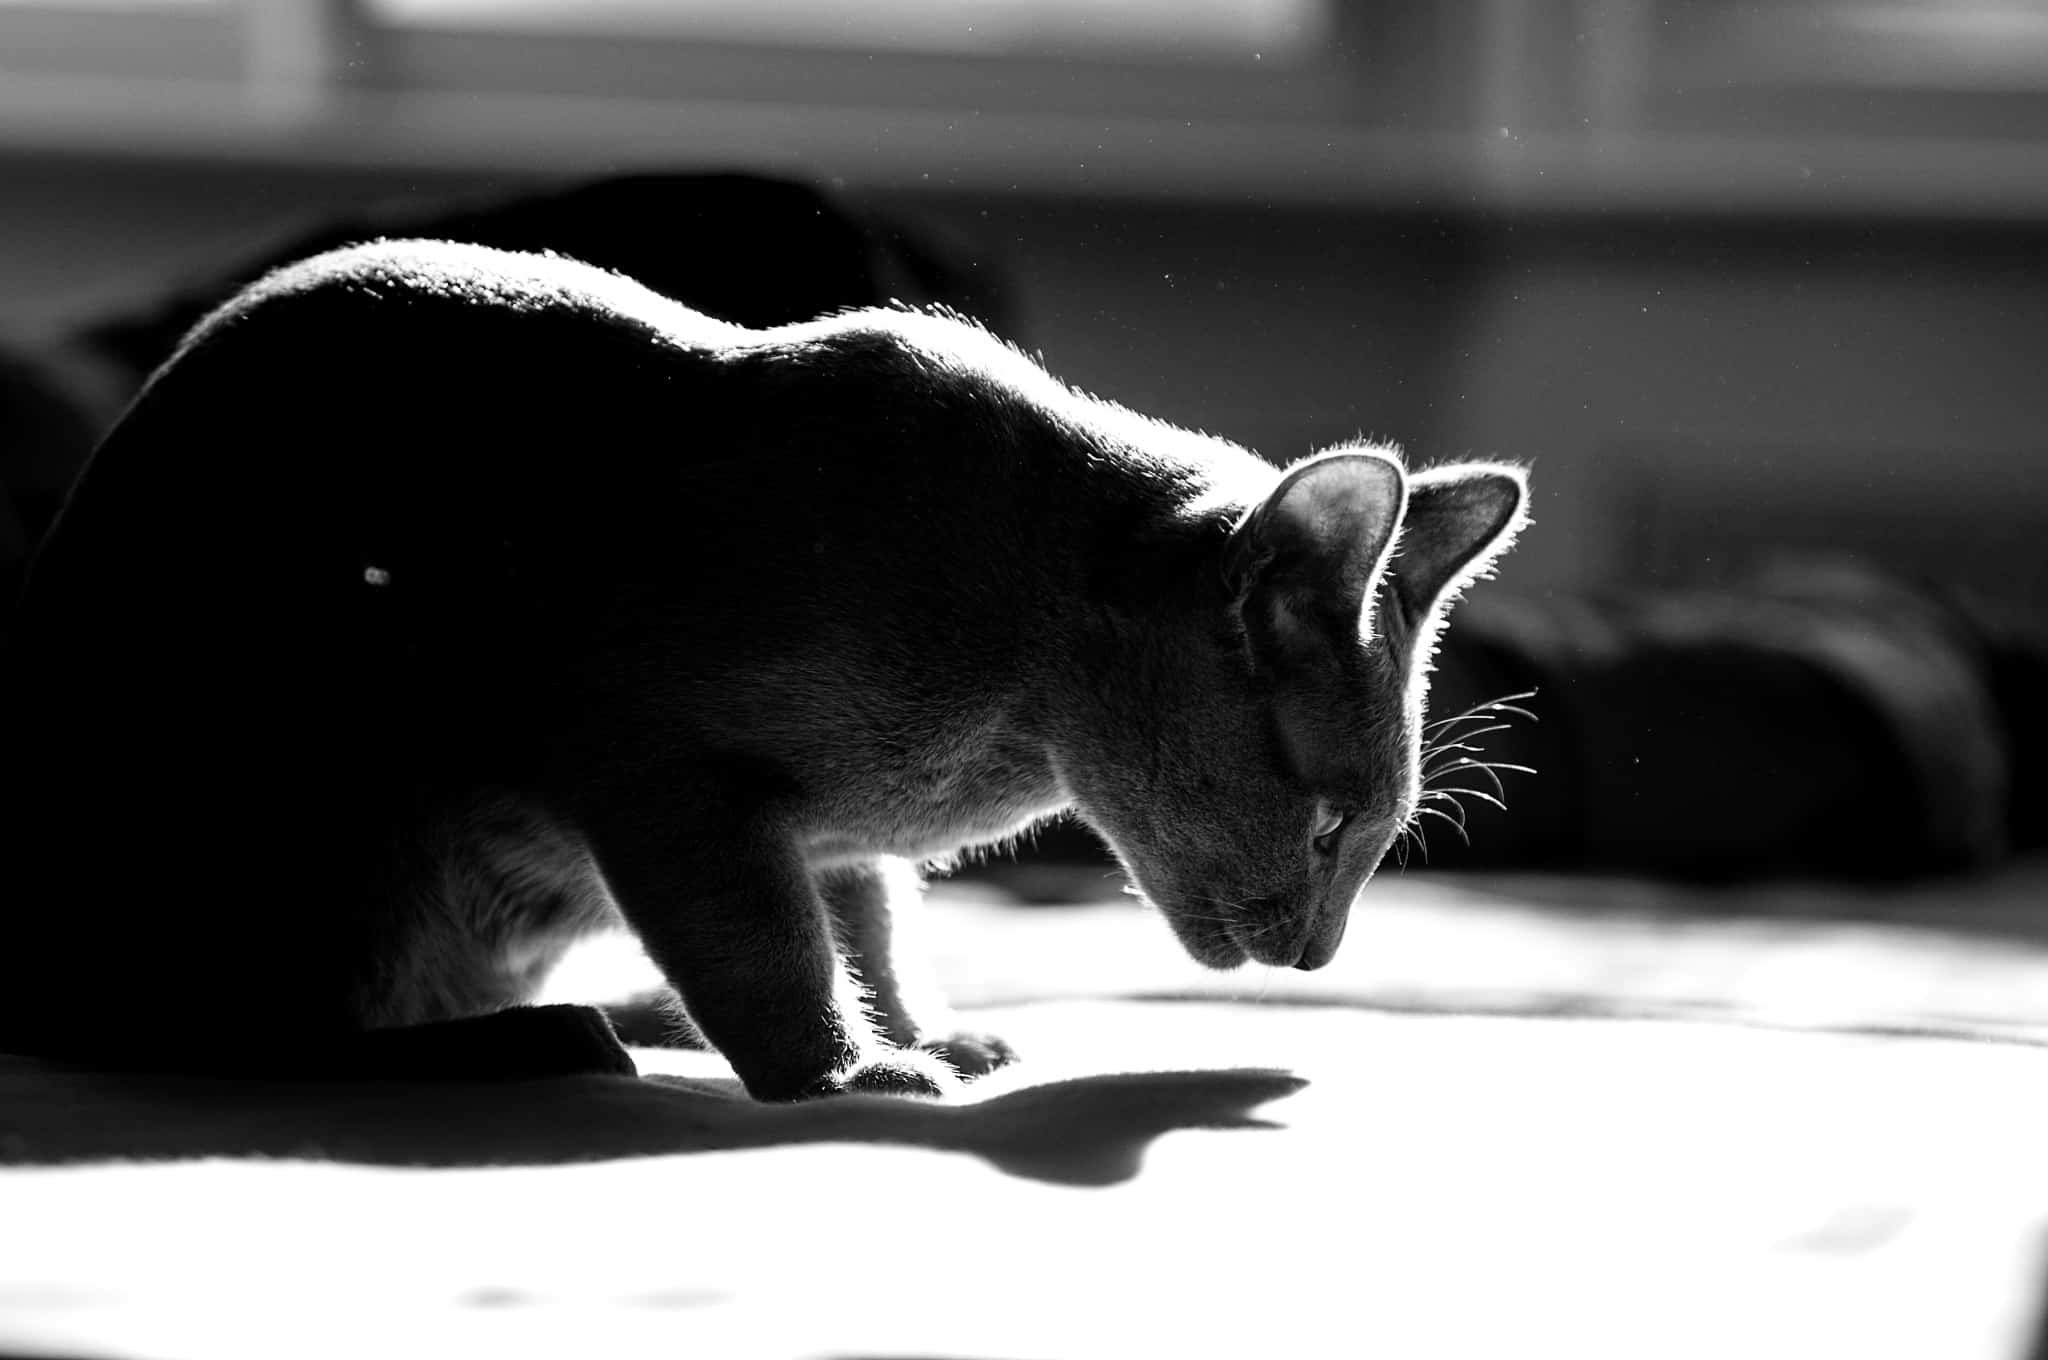
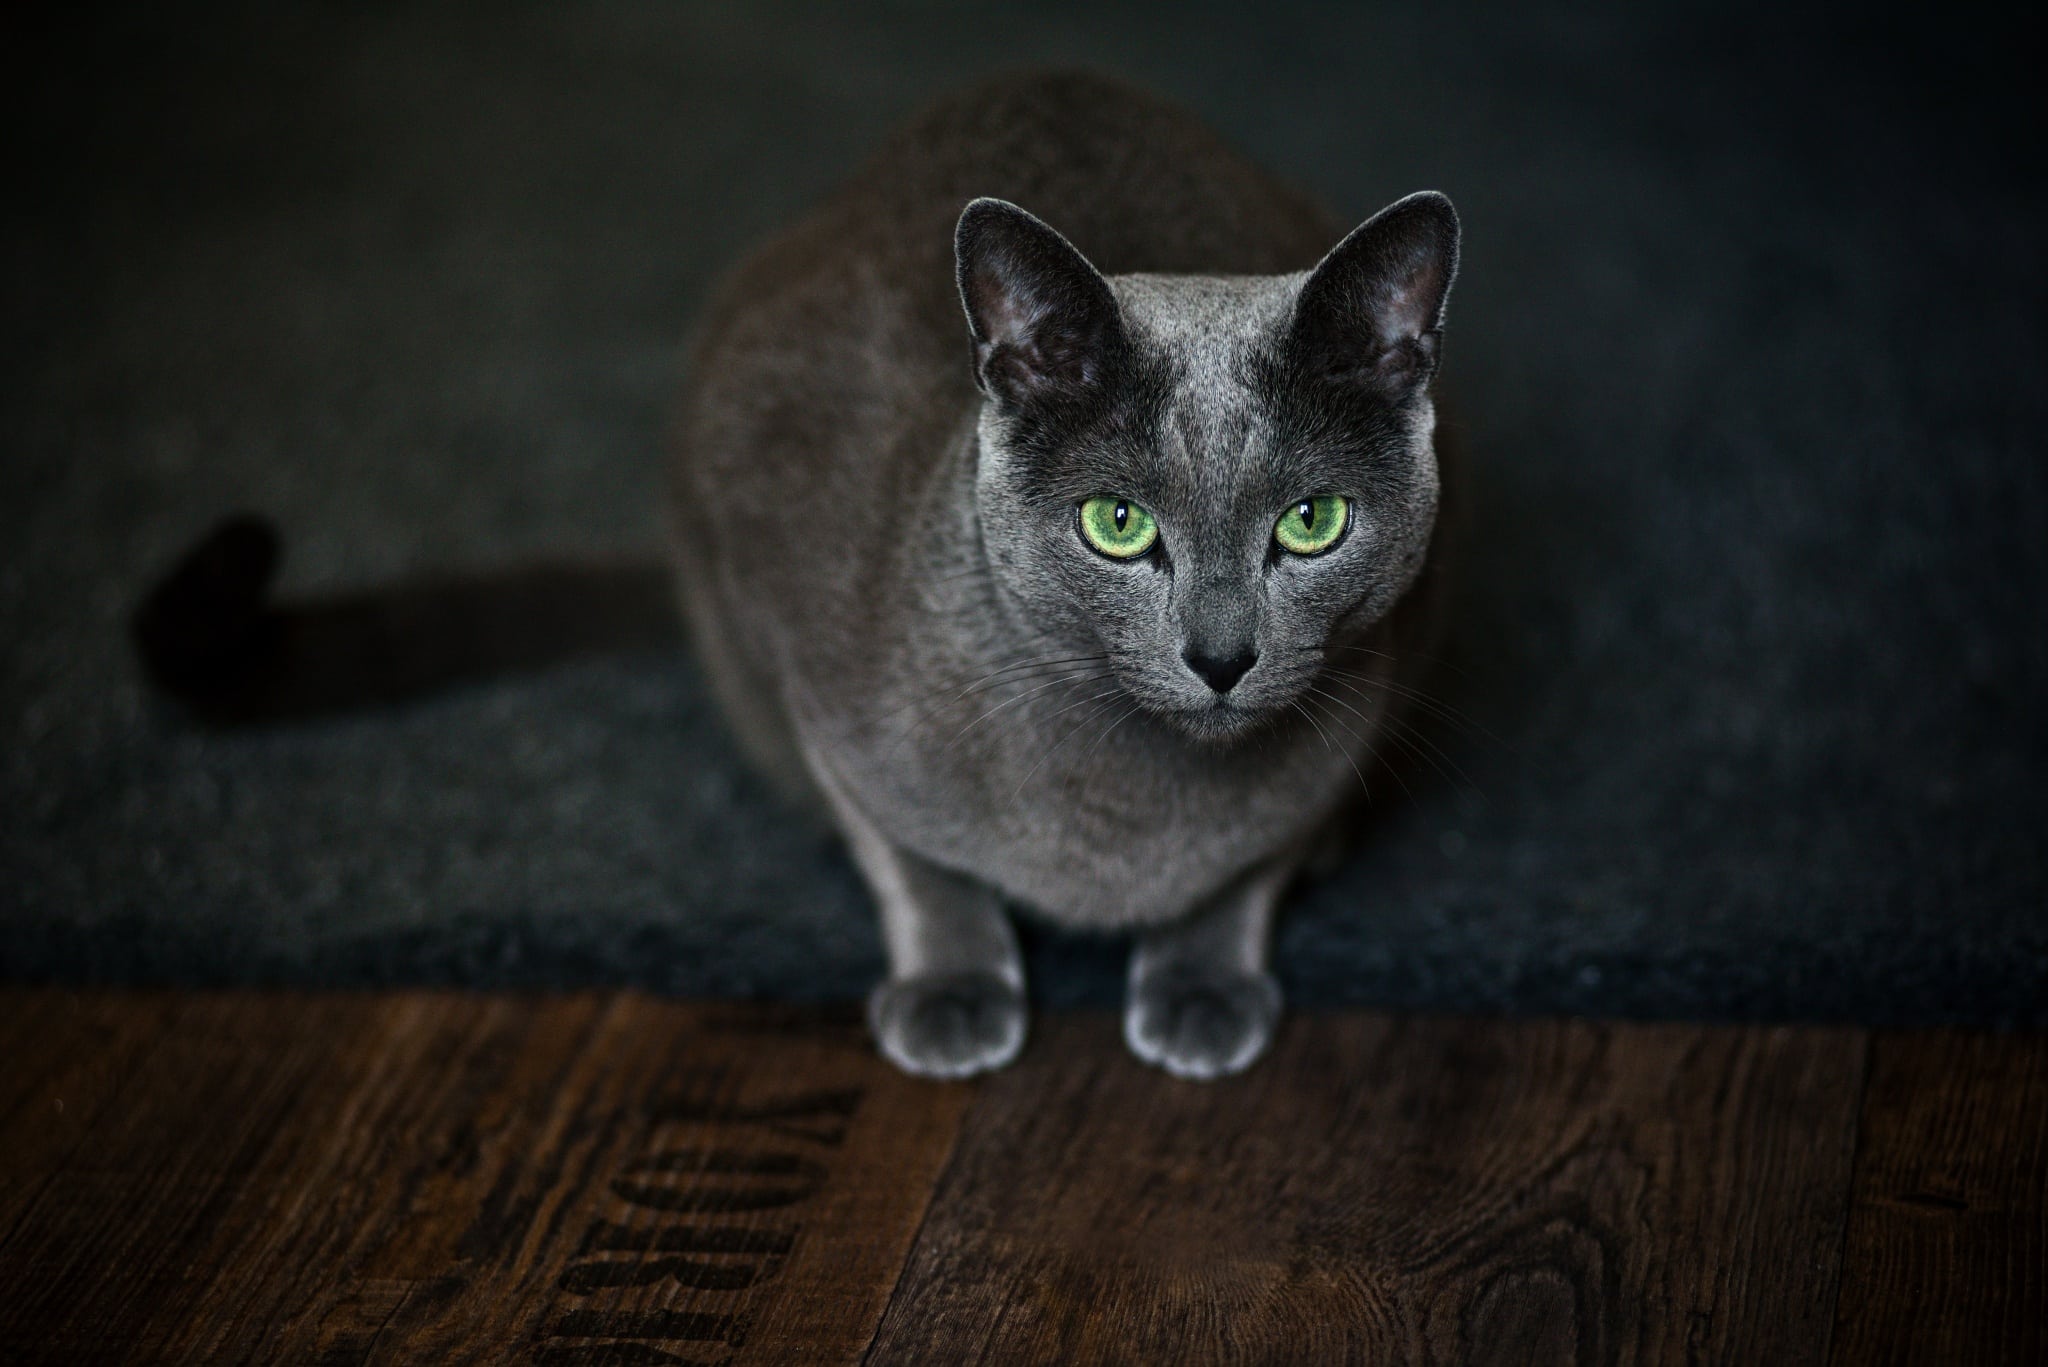
Nikon D90, Nikon 80-200mm F2,8 AF ZOOM-NIKKOR D ED A, 1/250s, f/2.8, ISO 125, focal length 80mm.
Watch your exposure and clarity
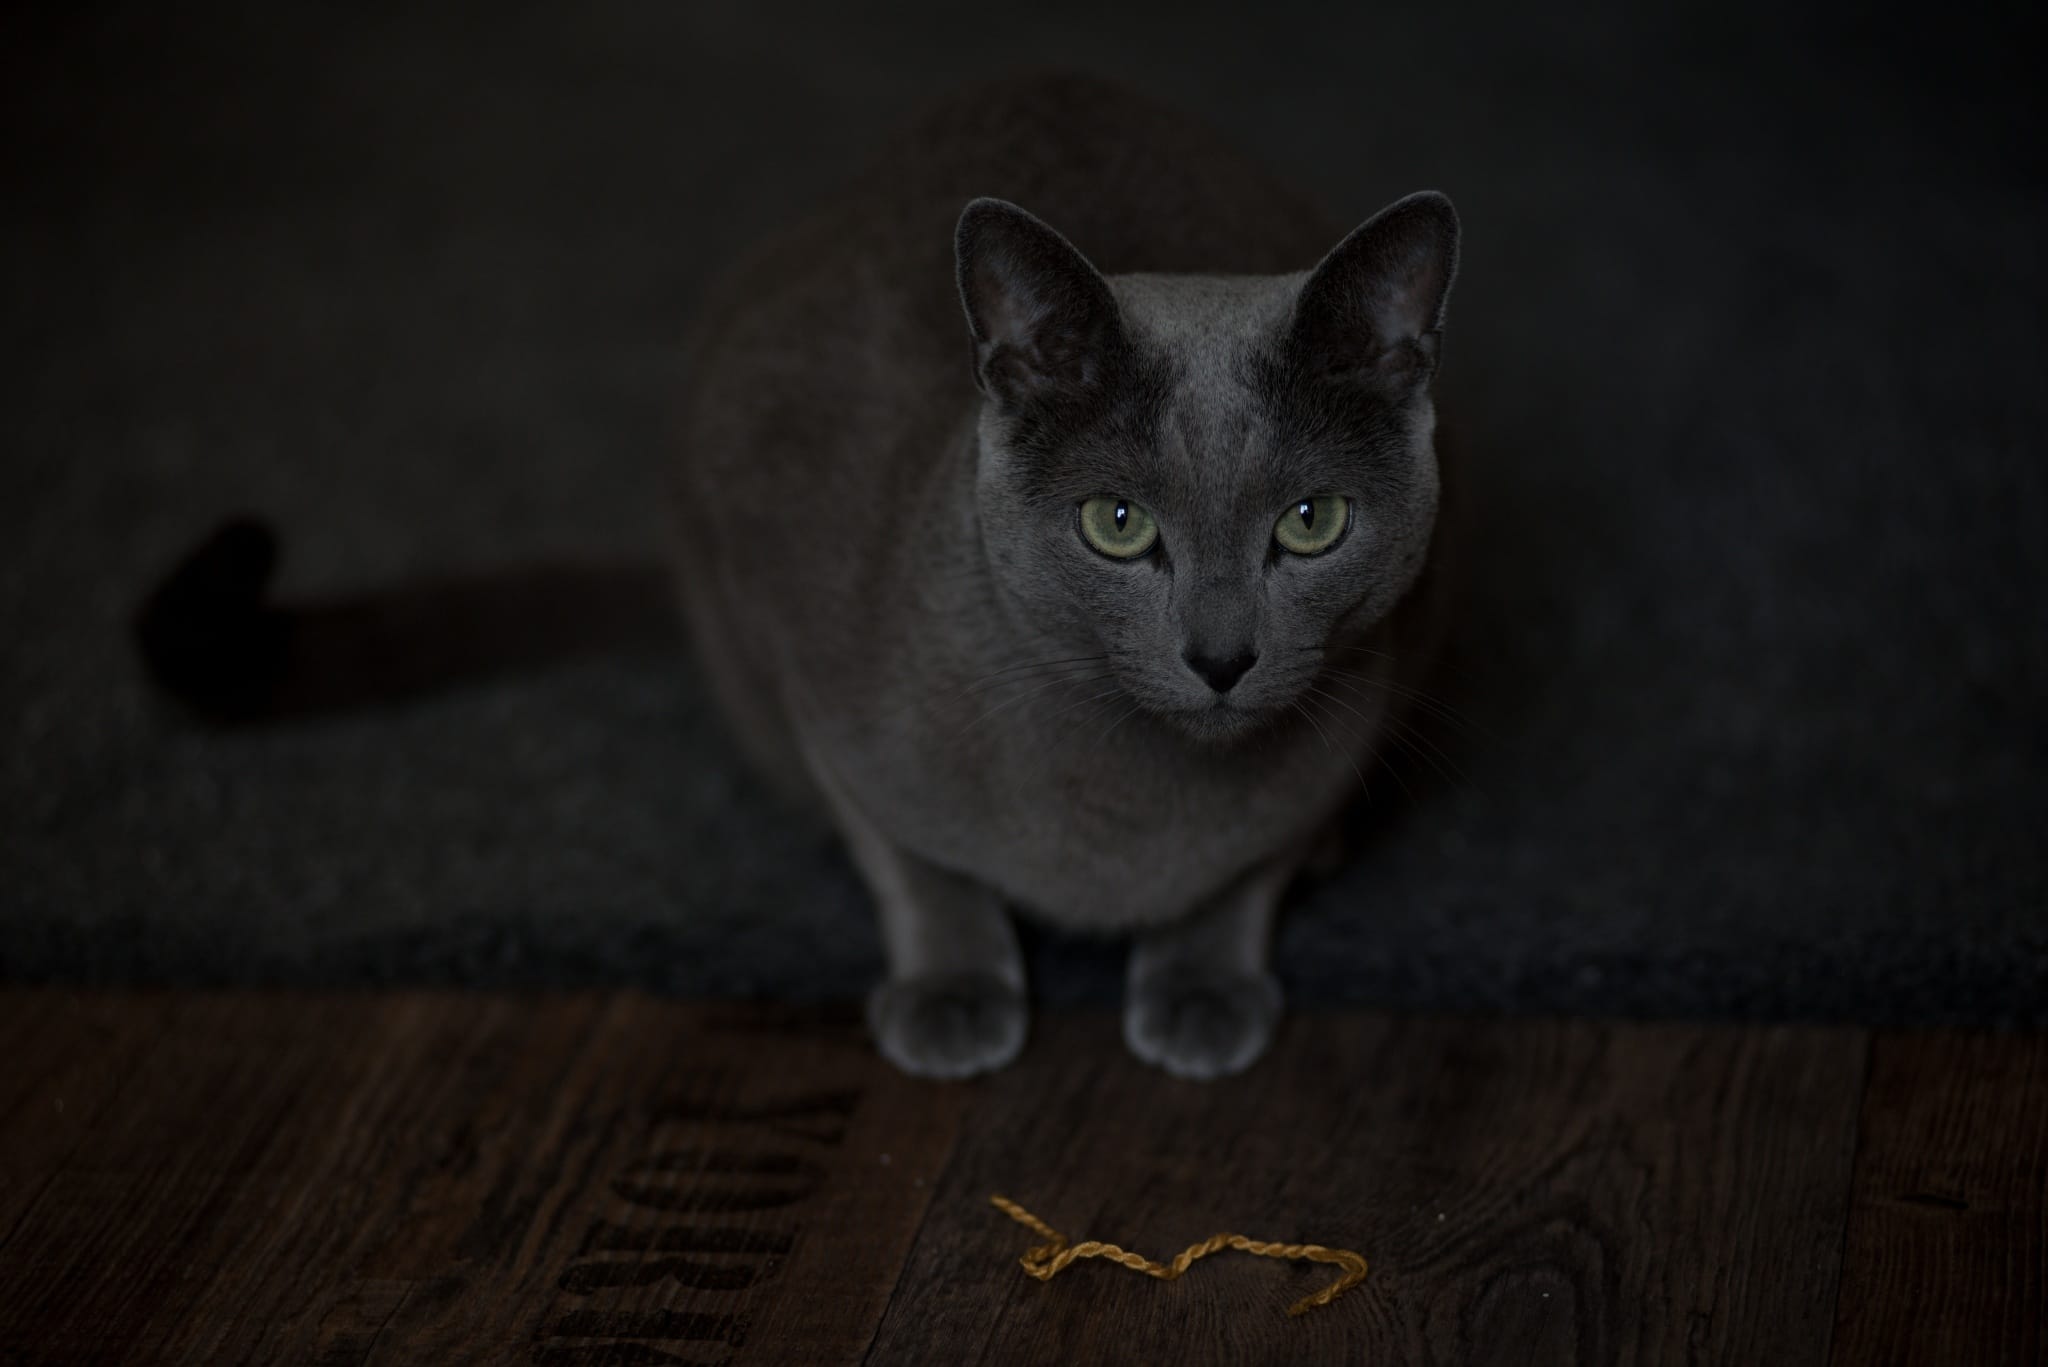
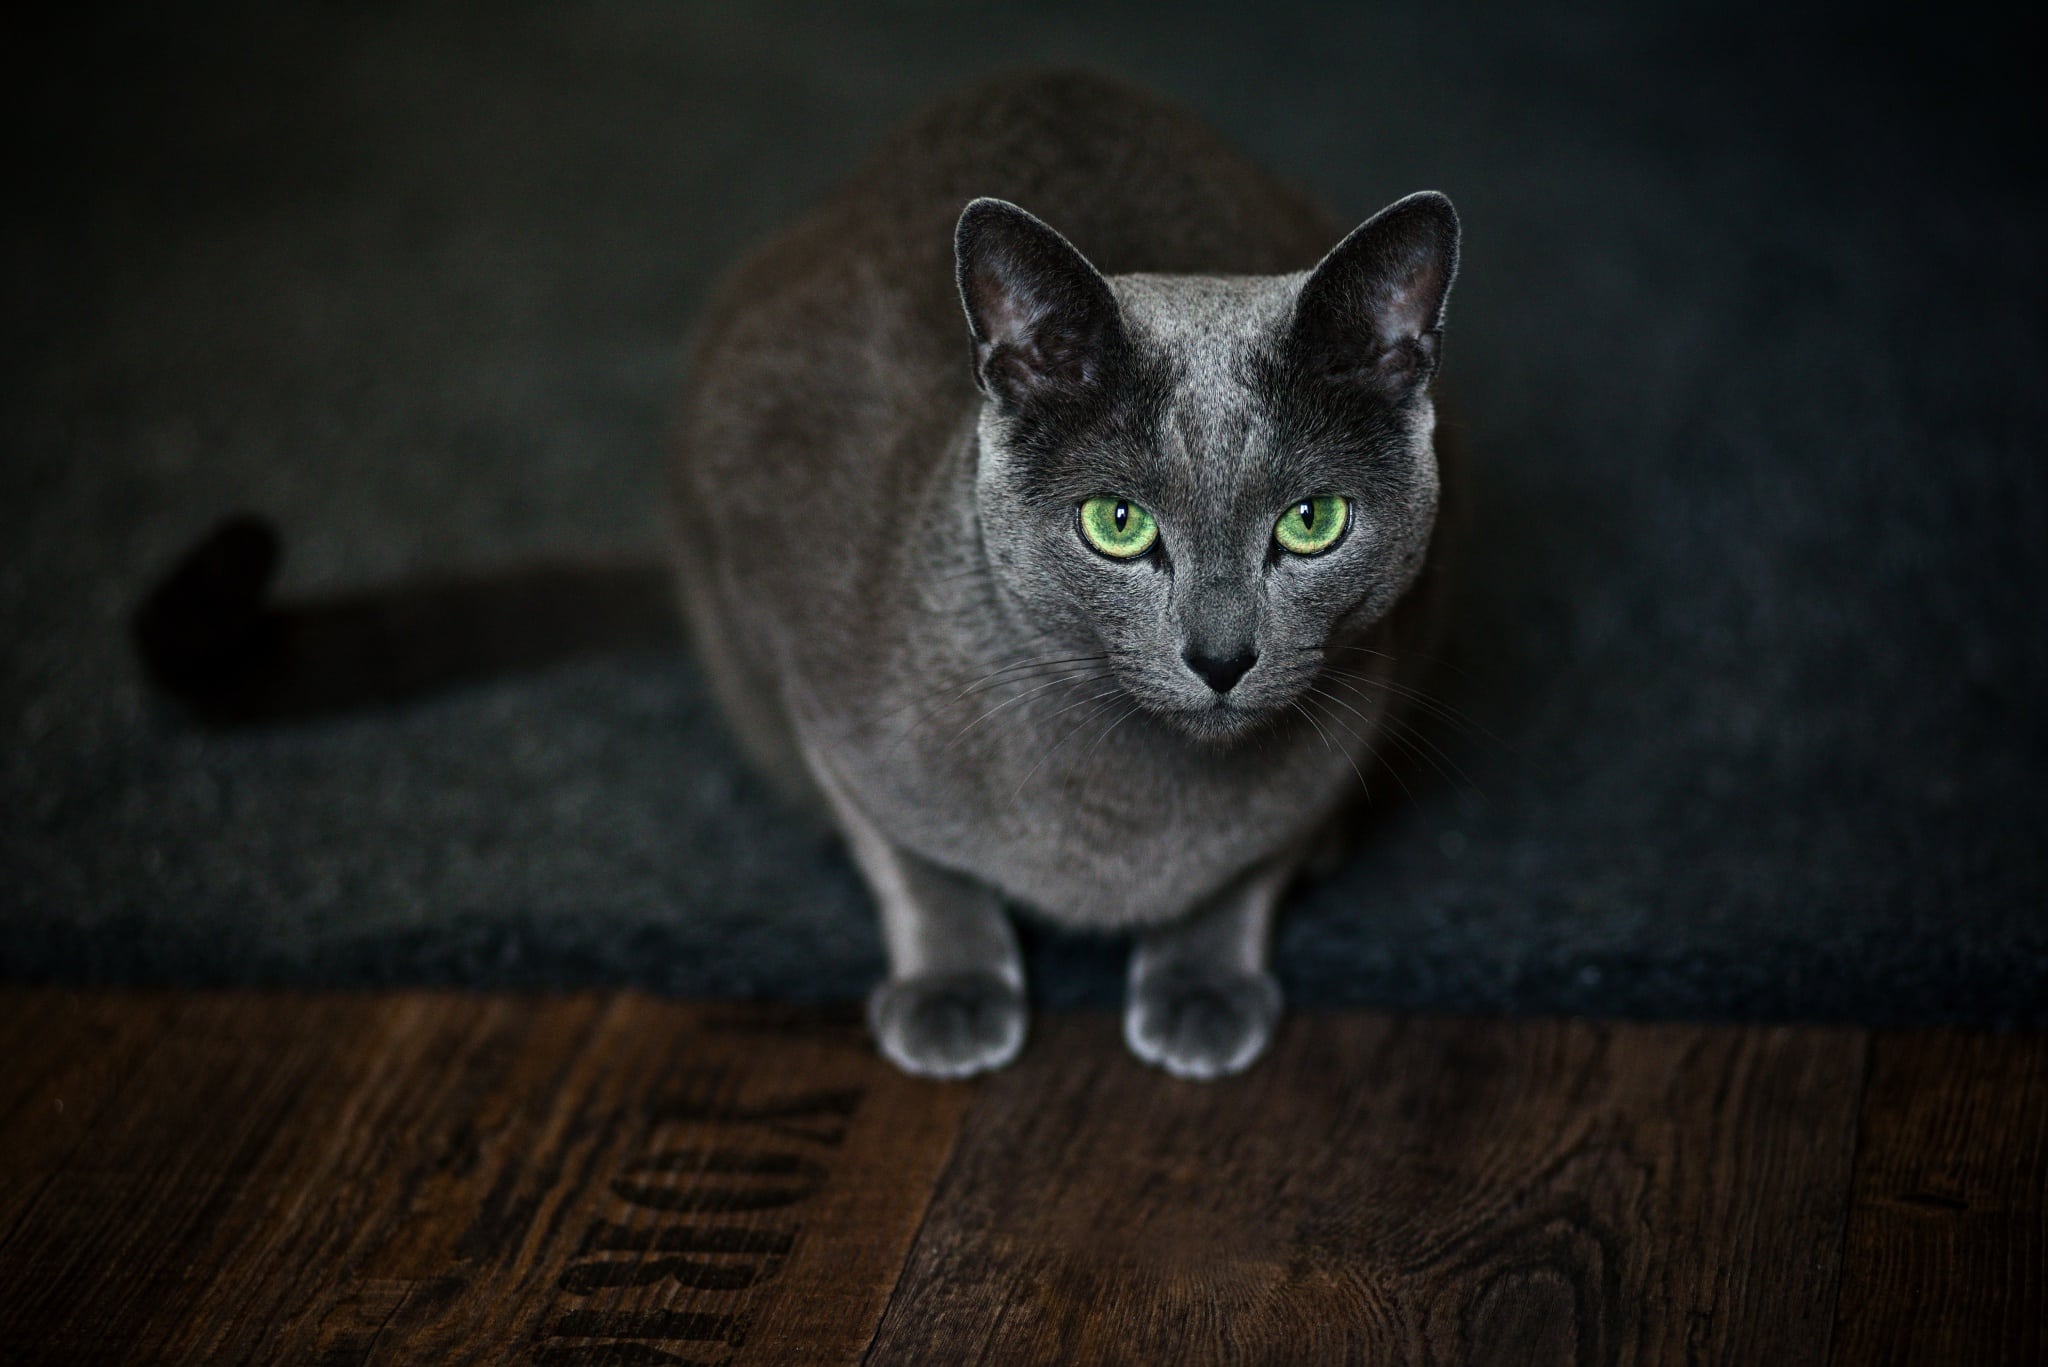
This time, we’ll be editing in the Develop module. I personally like to use Zoner Studio to emphasize the contrast between the highlights and the shadows and be sure the luster of its fur stands out. I keep the Lights more pronounced and lower the Shadows. I left this photo a bit darker in order to make the eyes pop. The Contrast slider will also help you emphasize the highlights and shadows.
With cat photos, I also like to add Clarity. Clarity ensures that every single detail, each patch of fur, every whisker is visible. I often set it to its maximum setting. If you have a photo of a cat in motion, Clarity will also emphasize its flexed muscles. If you happen to have a hairless cat, it will beautifully enhance the texture of its skin.
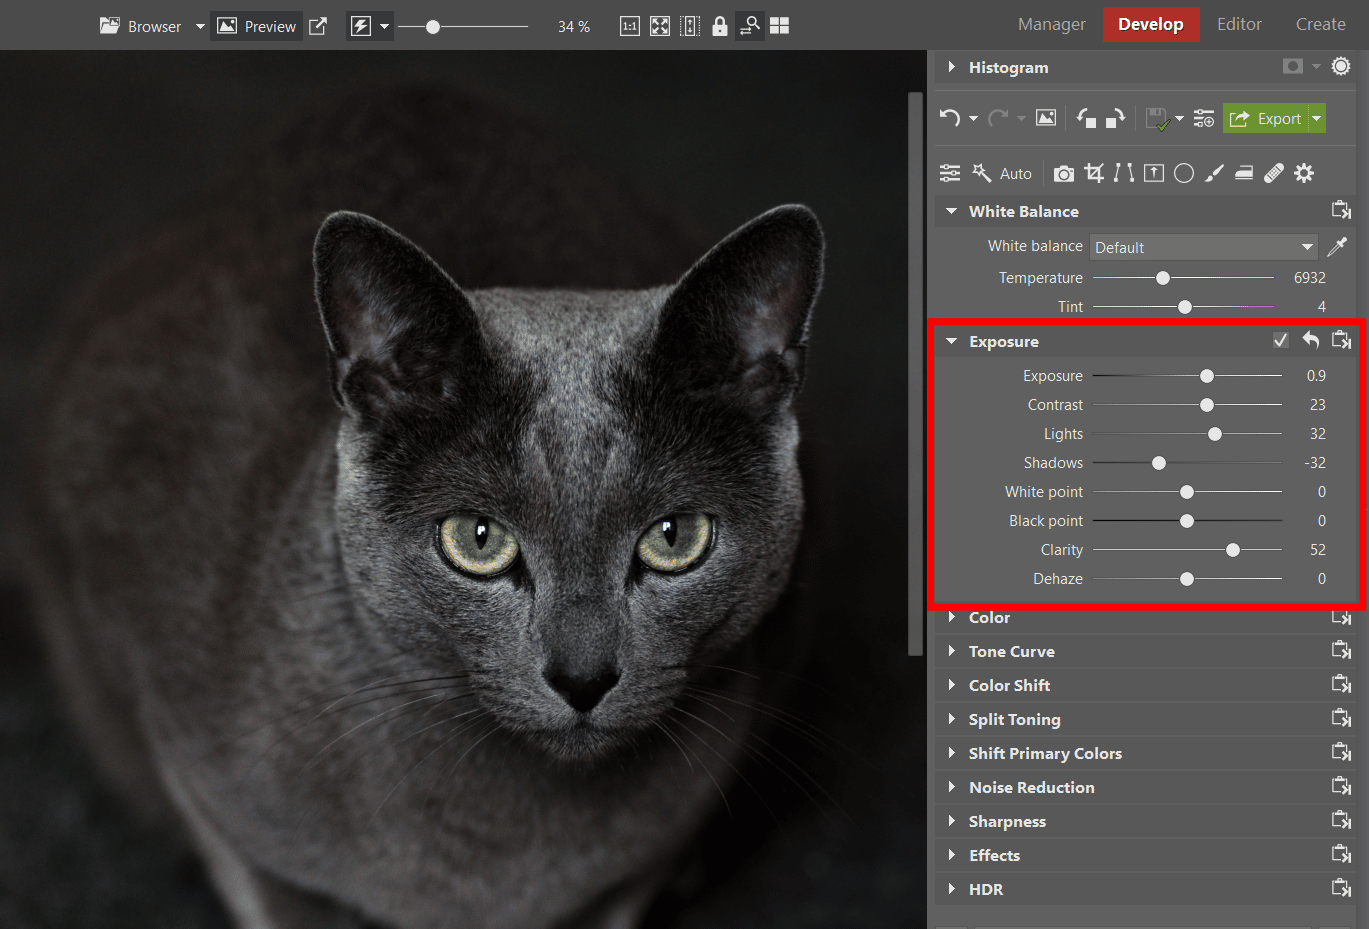
It’s certainly not a bad idea to add vignetting from the Effects menu. Add vignetting to be sure the cat gets as much light and attention drawn to it as possible (if it is centered in the photo). If your cat is black, be extra careful when lowering the shadows because you may take away more light than you want from the photo. Generally speaking, when photographing black cats, it’s best to think ahead and ideally shoot in brighter settings.
TIP: Get your cat to look up toward the light source, whether it’s the window or the light. This will make the eyes pop beautifully and enhance the beautiful luster of the fur.
Pay attention to colors
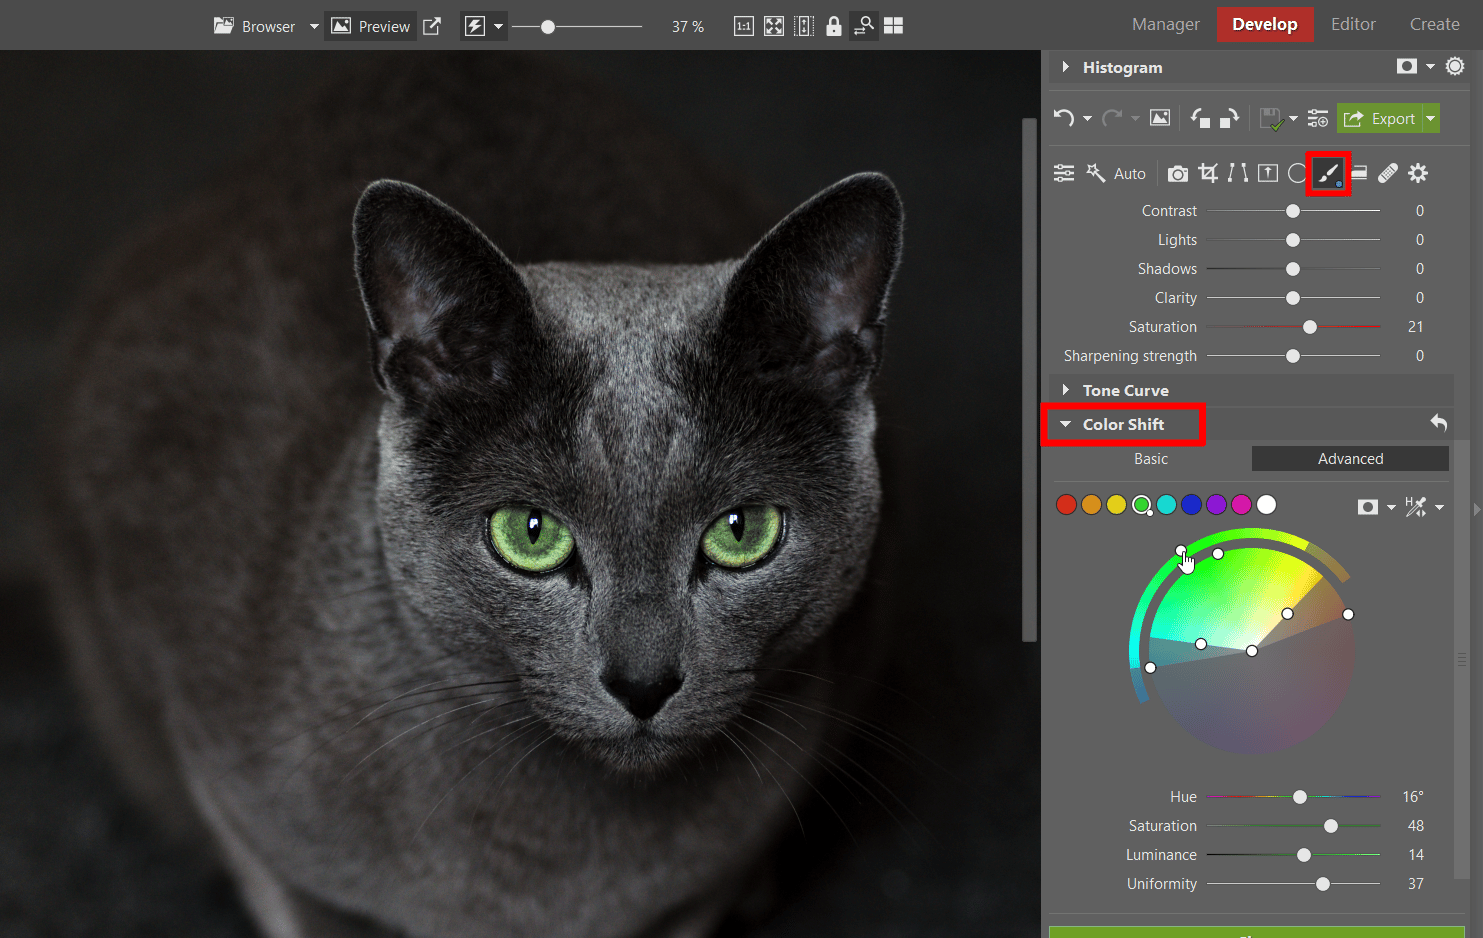
Even though cats can be very colorful, they certainly aren’t rainbow colored. Therefore, you can add Saturation and Vibrance which will bring out the colors in their coat. Applying these adjustments globally may make the rest of the photo appear too flashy. If so, it’s a great idea to use local color shift.
Saturation and Vibrance will also bring out the cat’s eyes. The majority of cats have enormous eyes. Some are bright yellow, some mesmerizingly green, and others sky blue. Be especially careful with color adjustments if you want to remain true to reality. However, you can bring out the natural color of the eyes that is variable based on the lighting conditions. The Filter Brush (B) and local Color Shift are your best bet for bringing out the natural color of the eyes.
Use retouching for final touch-ups
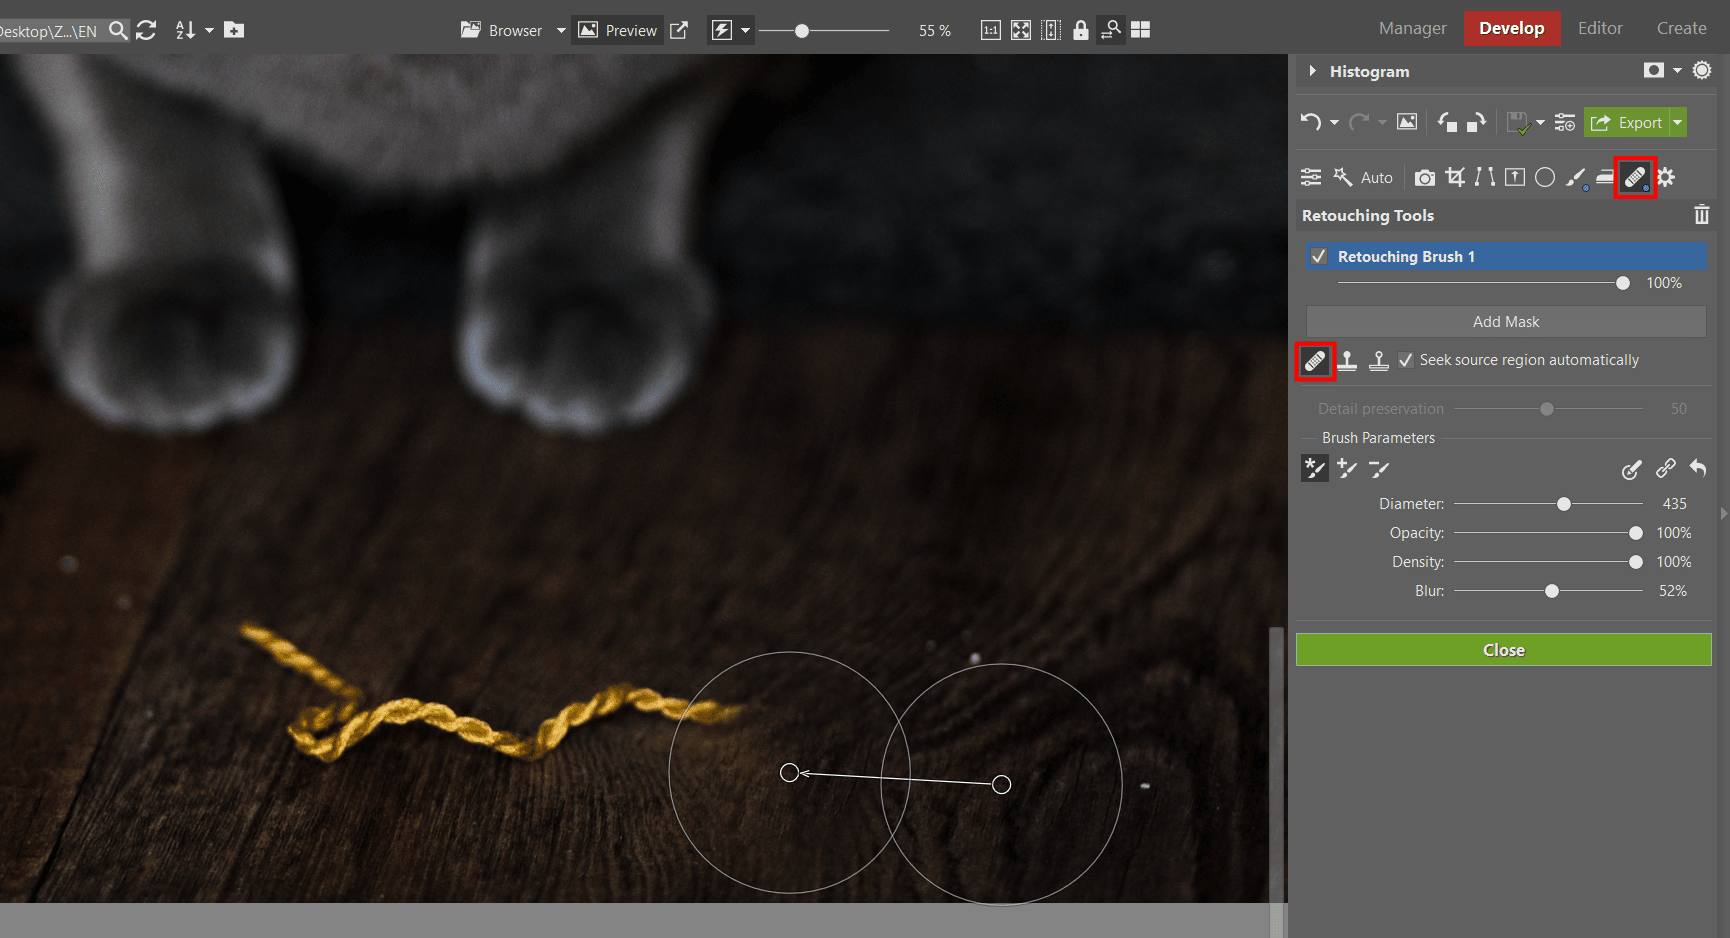
Retouching usually isn’t necessary on the cat itself, but rather for its surroundings. For example, remove a toy or treat you used to attract the cat or get its attention. For this purpose, you’ll want to use Retouching Tools (J). To remove objects you don’t want, the Clone Stamp or Healing Brush should be more than enough.
Different photos, different adjustments
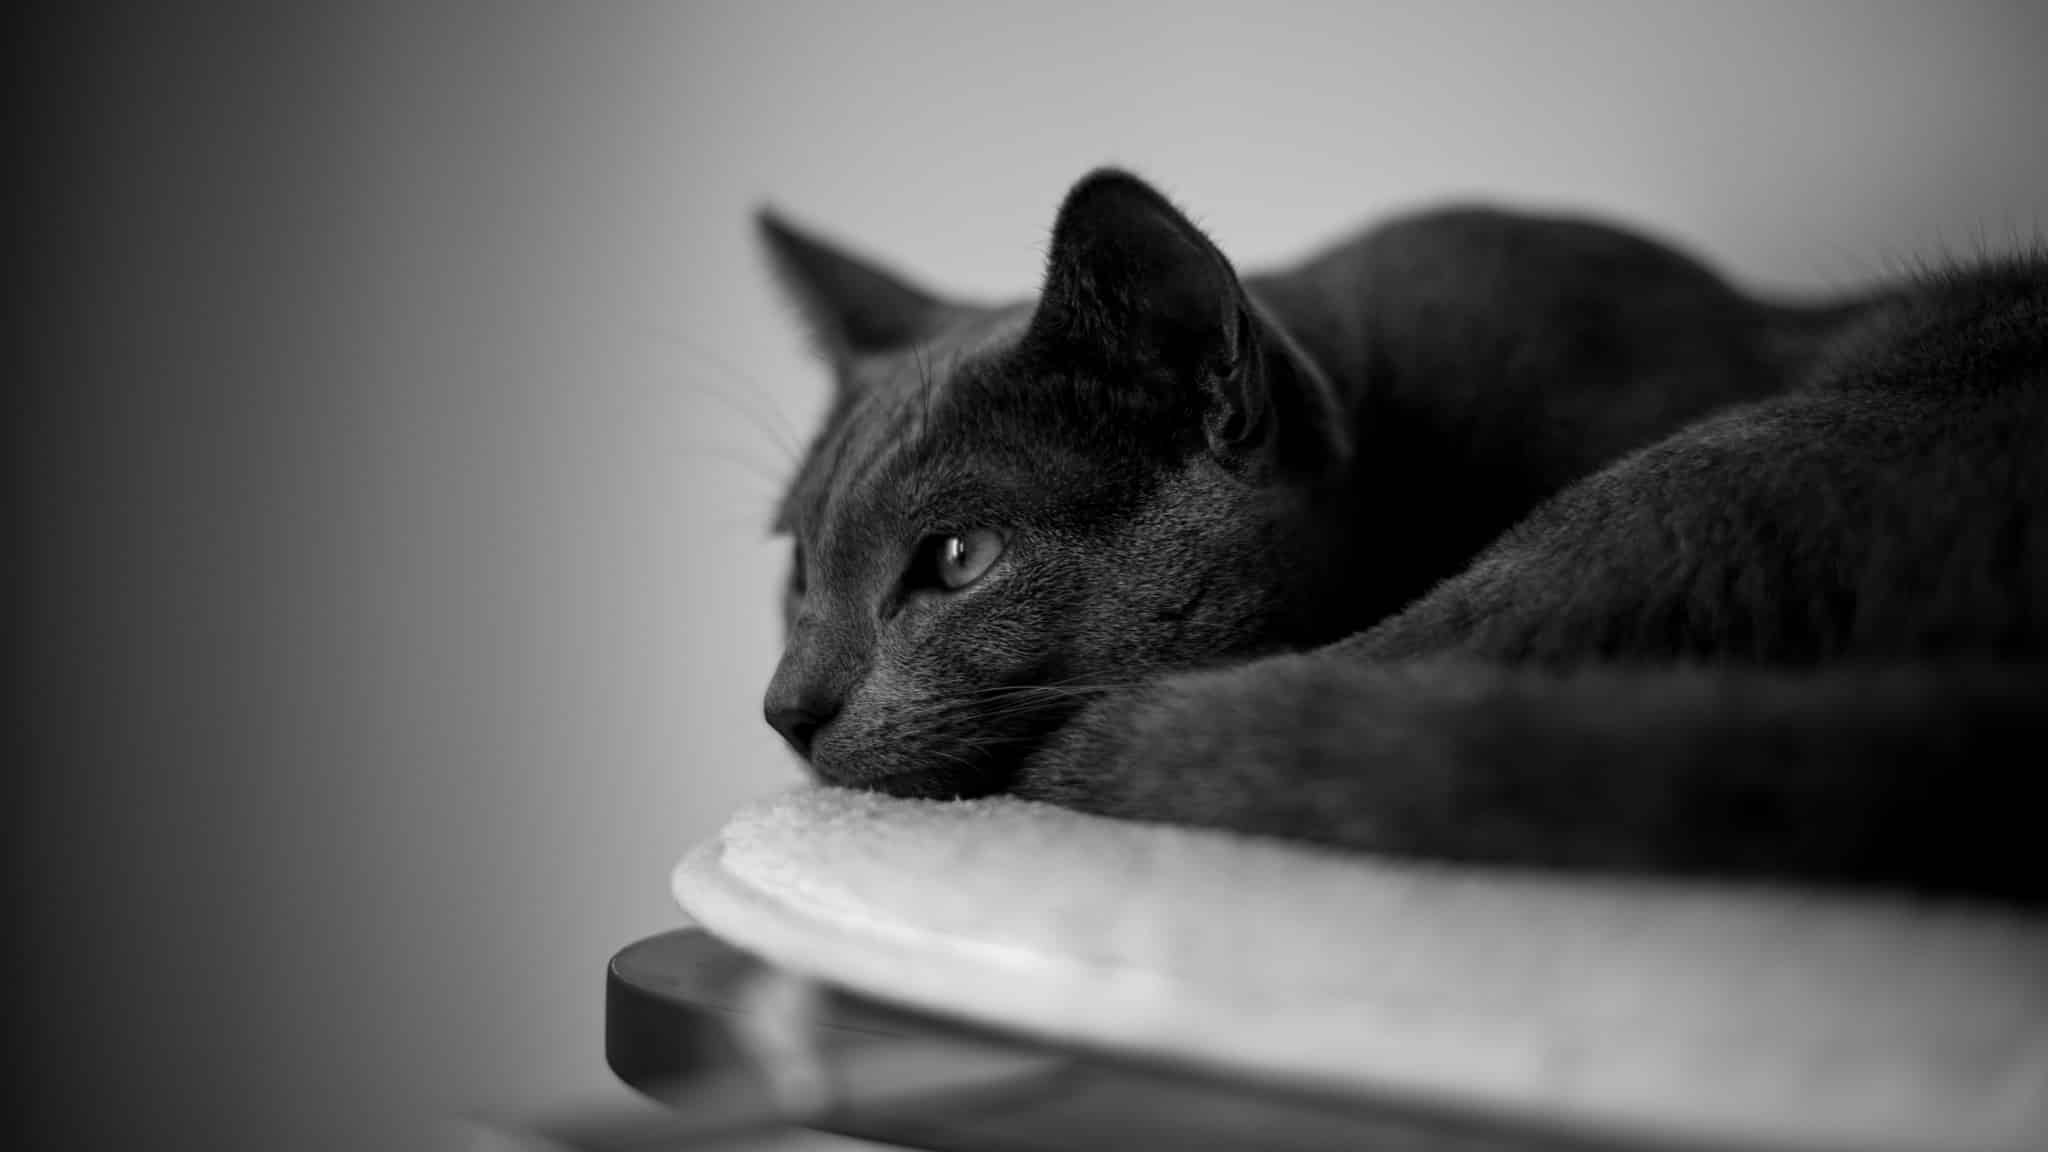
There are many options for editing your cat photos. Each photo will have a slightly different editing style, but you can base your editing on the basic three points mentioned above. Cats in motion can be edited to be crystal clear and colorful. More mellow cats can be edited in a melancholic, even black-and-white style.
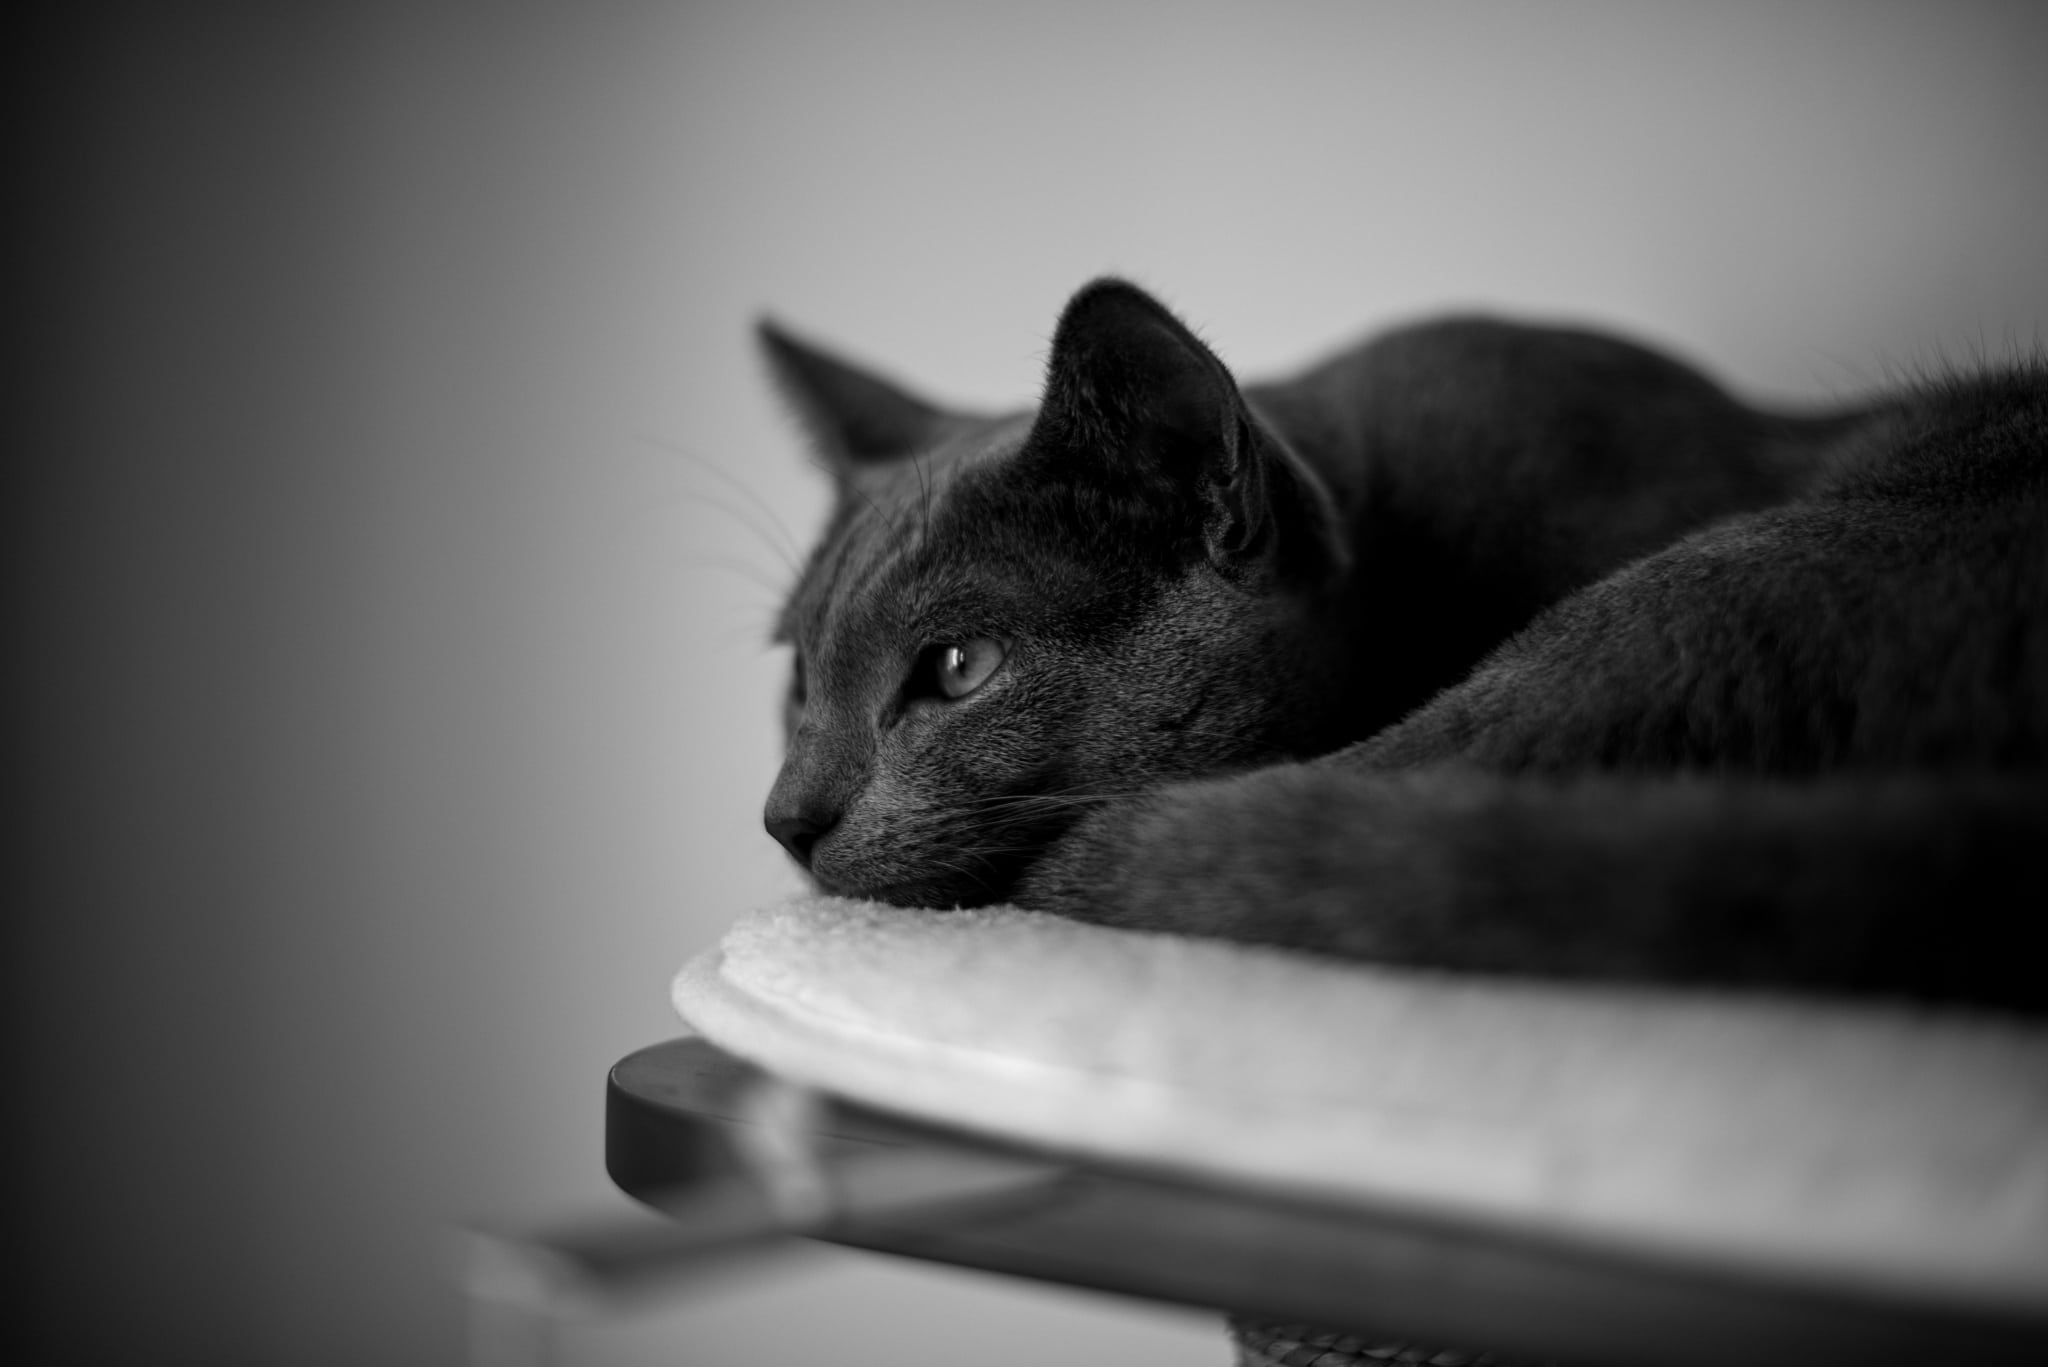
Nikon D90, Nikon 50mm f/1.4 AF-S NIKKOR G, 1/160s, f/1.4, ISO 200, focal length 50mm.
Try out different methods
The best way to find the ideal adjustments is to try them all. Often the lighting conditions found in your photo will drive your editing style. You can also try taking the cat’s picture with other accessories. For instance, cats usually don’t have a problem with flash. I used an external flash with a softbox and my cat was completely fine. Don’t be afraid to try something new, but do be careful not to harm the animal. If you’re stuck and unsure how to best photograph your cat, let yourself be inspired by the many professional animal photographers out there.
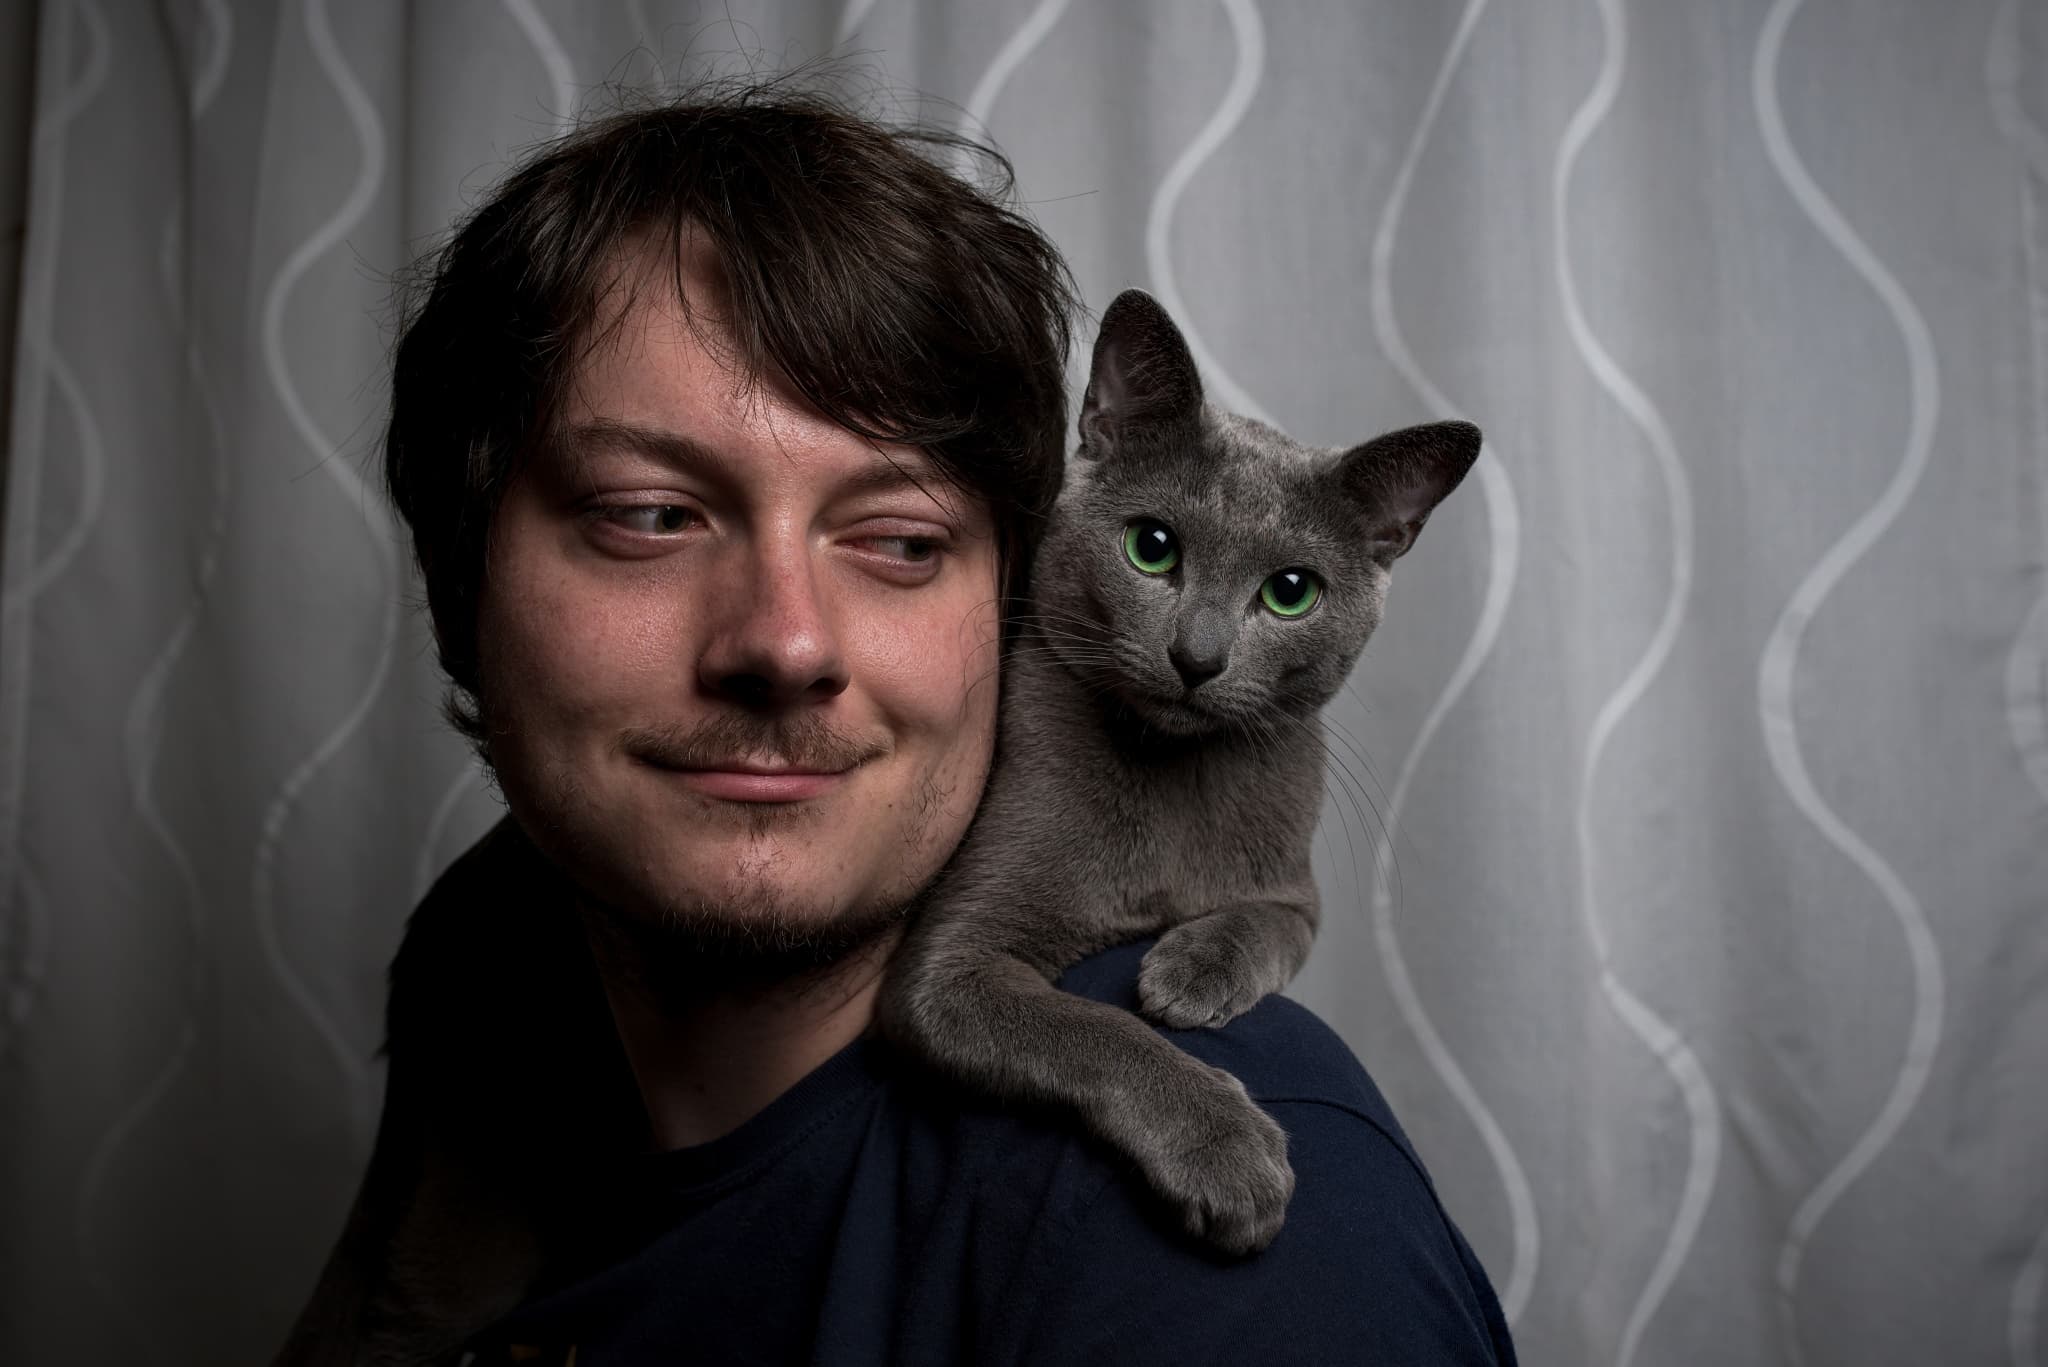
Nikon D750, Sigma 35mm f/1,4 DG HSM Art, 1/40s, f/7.1, ISO 200, focal length 35 mm.
Cats are very graceful animals, but can also be crazy and hilarious at the same time. Their eyes are always captivating, whether fully colored with narrowed pupils or completely black in the dark when the pupil almost completely covers the iris. Their eyes are symmetrical, shiny, captivating, and variable. Photographing cats, and the subsequent editing of cat photos in Zoner Studio, are sure to bring endless fun and are a great way to spend an evening in.
