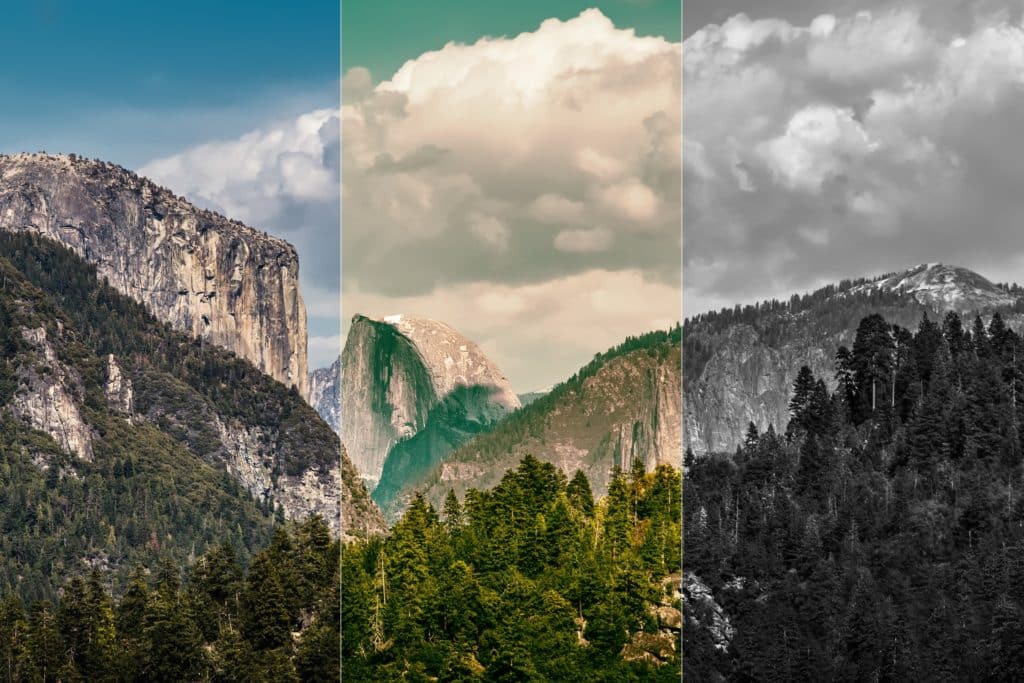
Unlimited Editing Possibilities with the Nik Collection

In Zoner Studio, you can use a number of tools to edit photos—but besides the built-in tools, you can also work with plug-ins, which add more picture editing tools to the program. How can you install plug-ins? How do you work with them?
Plug-ins are software that (usually) won’t run on its own but will run as a supplement to other software that expands its functionality. Plug-ins generally cover one certain specific area. Some can convert RAW files from various DSLRs, others specialize in stitching panoramas, and others do things like making photographs resemble pencil drawings.
Photo editing plug-ins were once reserved only for the professional graphics software Adobe Photoshop and its lite version Adobe Photoshop Elements. But not today. Zoner Studio has supported work with plug-ins since version 9, and likewise in version 18, you can use a number of plug-ins designed for Adobe Photoshop. Many such plug-ins can be downloaded from the Internet for free—including the Nik Collection, recently made free by Google.
Installing Plug-ins
Zoner Studio supports work with plug-ins that have the “.8bf” extension. But not all plug-ins are supported, so the best route is to try out a plug-in and, if it does not work correctly, look for a different one with similar abilities.
Plug-in downloads generally come as .exe installation files or are compressed into .zip files.
- For .exe files, just run them—the plug-in will generally go on and create its own folder under Program Files.
- For compressed plug-ins, unzip them and place them in a folder of your choice. You have two basic options here—placing the plug-in in the Plug-ins folder under the Zoner Studio folder in Program Files, or creating your own folder anywhere at all on your computer to put the plug-in. The plug-in will work the same either way. A separate folder can be nice if you’ll also be using the plug-in in other graphics software.
Hooking Plug-ins into Zoner Studio
To tell Zoner Studio where your plug-ins are, use one of these two methods:
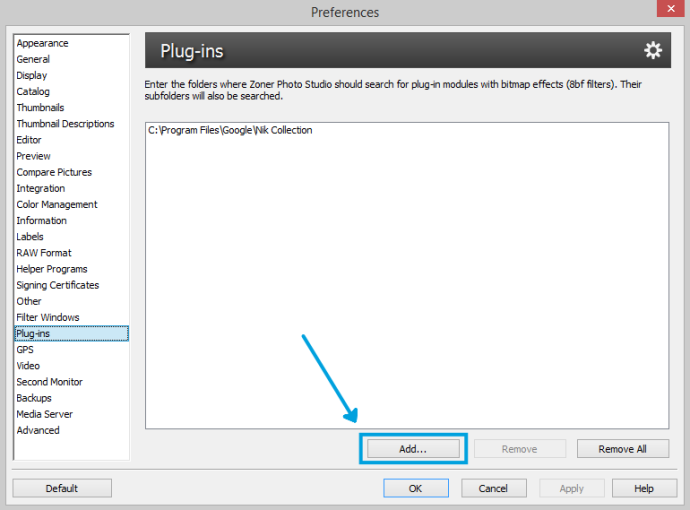
- From anywhere in the program, click your email address at the top, then click Preferences, and then visit the Plug-ins preferences.
- Or use Menu > Effects > Plug-in Modules > Settings in the Editor.
Both routes lead you to the same window. Use that window to pick a folder, in which the program will then look for plug-ins. Use the Add button to add more plug-in folders.


Using Plug-ins
Restart Zoner Studio so that it loads your plugins. Then open the photo that you want to edit, and in the Effects menu, select a plugin that you want to use. Then start your work on it.
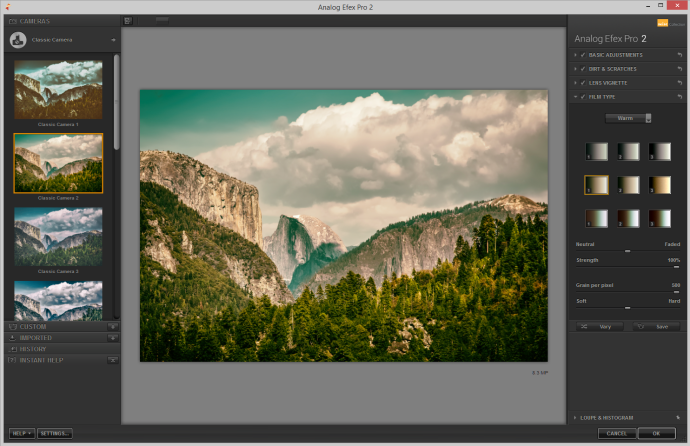
Choosing a plugin shows the window for that plugin, with the plugin’s controls plus a preview of your picture.

The illustration shows the window for a plugin from the Nik Collection that Google recently released. It contains plugins for sharpening, conversion to black and white, HDR, and more.

The Analog Efex Pro plugin simulates the look of old analog film. But the Nik Collection also offers other plugins, for example for conversion to black and white.
There are many plug-ins out there, for example, VirtualPhotographer from OptikVerve Labs—offers a number of colors and black-and-white filters; altogether it has over 200 edits available. It’s quite simple to use and often gives stunning results. So it’s up to you which plug-ins suit you and will work with your Zoner Studio.
Want to try out plug-ins and expand your editing options? Download Zoner Studio for 7 days free and discover what plug-ins can do.
Just keep in mind that the plug-ins won’t have the same look and feel as Zoner Studio. If you are used to Zoner Studio and don’t like working in different environments, then check first to see if Zoner Studio can do the same thing as your plug-in. Zoner Studio offers a huge number of edits too! Many of them are described right here in the magazine, in the section on editing photos in Zoner Studio.