Using Powders in Nude Photography
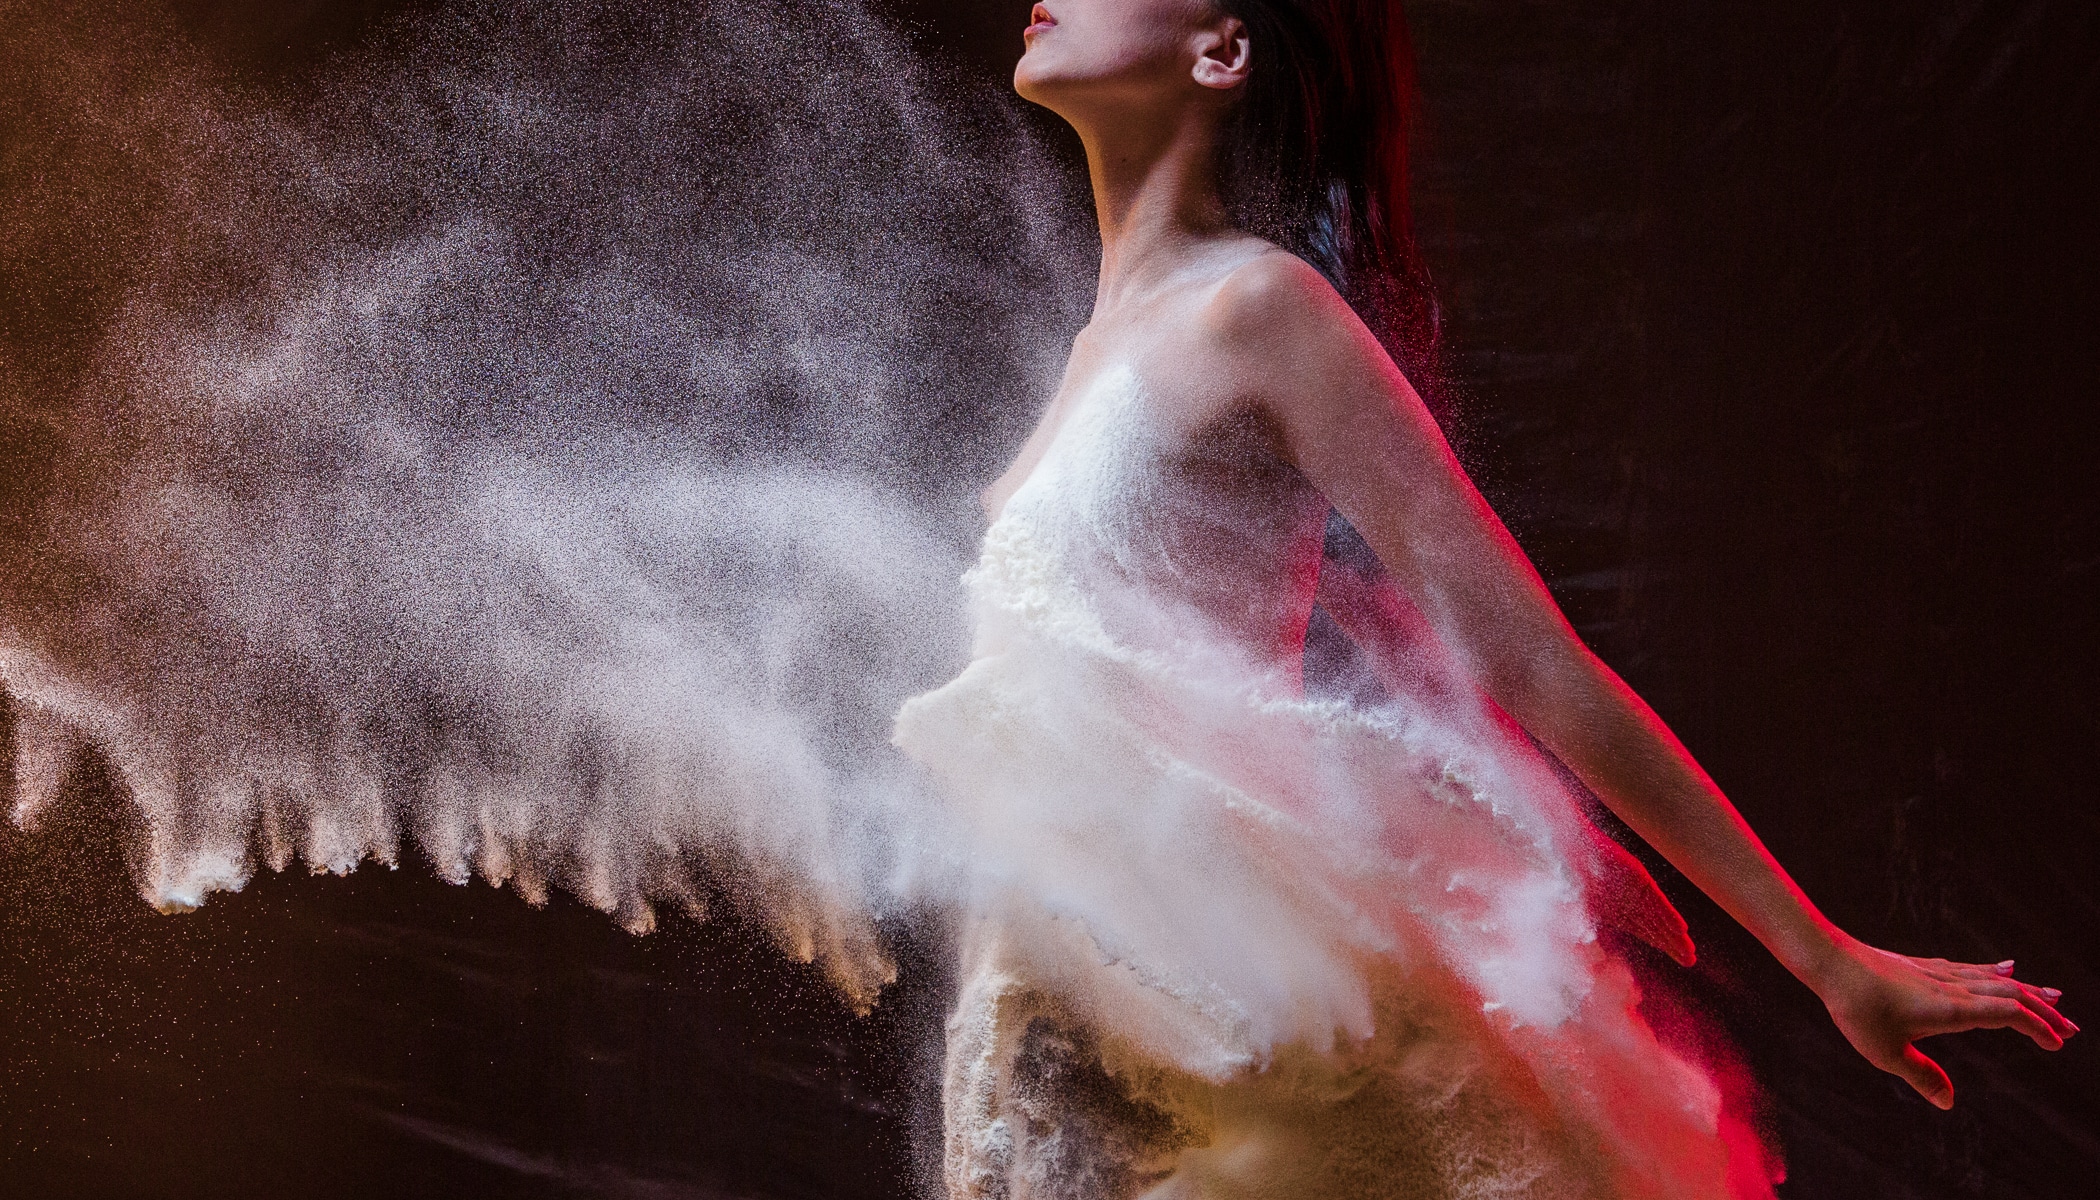
If you’re bored of motionless photos, you can create dynamic and special photos with help from powders. You just have the model or someone else sprinkle them onto their environment during the shoot. This can be ordinary flour, or even “holi”: special powdered paint. By freezing that powder in pictures, you can immortalize unique moments full of action.
Although taking pictures with powders demands preparation and cleanup, you’ll be rewarded with photos that have a slightly different style than the usual. Although in this particular article I’ll be writing about this in connection with nudes, it works just as well in non-nude portraits, or even with powder on objects, or just the powder.
How to Choose the Powder, and How Much You Need
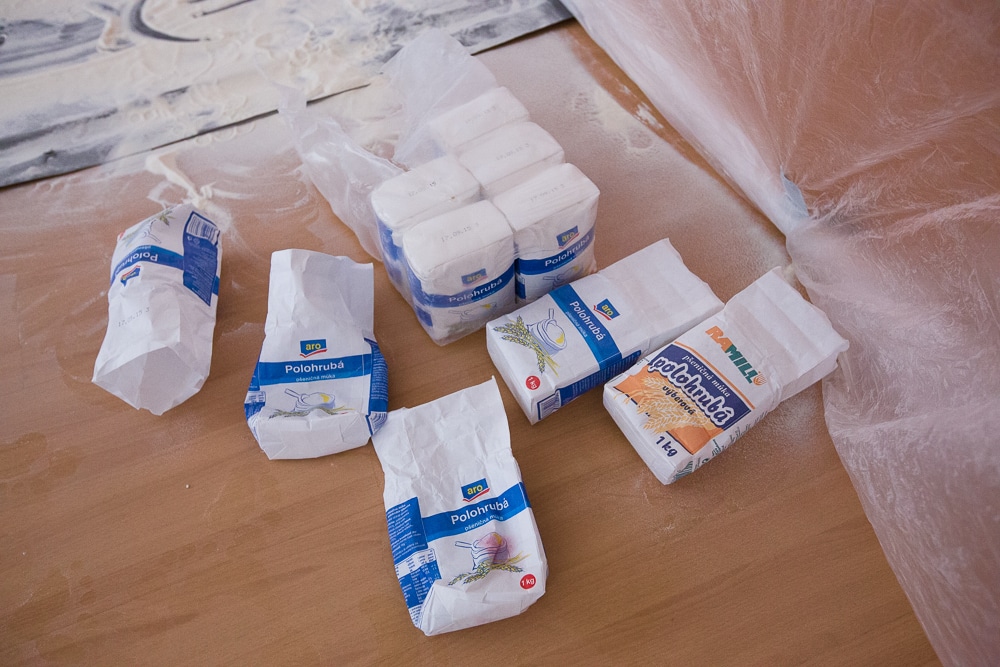
Besides someone to pose for you, naturally you need the powder itself. I used a rather coarse flour, but I don’t know if that really matters. There are other options too, such as holi powders, which you can buy over the internet. But these tend to be fairly expensive, and you can mix up your own powder using food dye and flour or corn starch instead. I actually haven’t tried this myself, but there are lots of guides on YouTube.
Flour is simpler, and it’s also inexpensive, so you can use a lot of it. In our shoot we didn’t scrimp on it—we threw full handfuls, but on the other hand, in a studio with a level floor, scooping fallen flour back up is easy. So even for a long shoot, we could make do with just one or two one-pound bags. But if a “raked floor” won’t look good in your pictures, or you’re in a place where you can’t “recycle” the flour like this, you need to be prepared to use a lot.
Prepare Yourself Well
I’ll note that you have the option of doing the whole shoot outdoors, where getting the ground dirty isn’t a problem. But then you’ll have less control over the light. I would recommend some kind of remotely fired artificial lights—but these will be weaker than sunlight, and so you’ll only be able to take your pictures in twilight or at night.
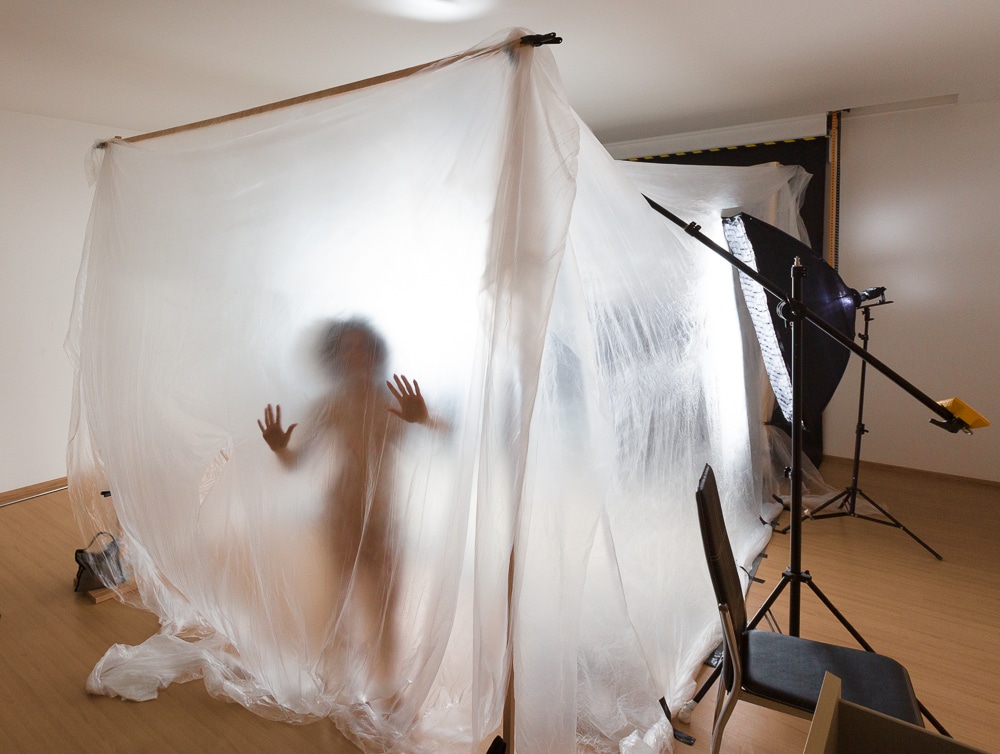
With a studio shoot, the situation is vice-versa—you have great control over the light, but you have to keep things clean. You could lay a plastic sheet over the floor and all the objects in the room… but I chose a different solution. I made a plastic “tent” around the model, and that let me keep the flour inside that space only. Everything else including the lights was outside it, and I had to shoot through a gap in one of the walls.
The tent I used for the shoot. Here the model is standing by its front wall for scale, but during the actual shoot, she moved around on the opposite side, about a meter from the end of the tent.
The bigger the tent, the better. I used an ordinary covering sheet, along with stands that I’d produced myself, but tripods for lights would work just as well. The tent’s size was around 3.5 x 2.5 x 2.5 meters (length x width x height). For its rear wall, you can also use a black sheet instead of a transparent one.
Set up the Lights
Have the lights shine onto the model from the side of the tent, plus optionally one at the top. Try to keep the rear of the tent as dim as possible. The lights will then shine from somewhere around the level of the model, or better yet a little behind her, turned towards you.
You’ll be photographing swift motions, which you’ll want to be keeping sharp. But a studio flash or an external photographer’s flash at its maximum firing strength fires for almost 1/200 s, which is too long to freeze the falling powder. However, if you reduce its intensity, for example to 1/8 strength, it will fire much faster. Even if you have an exposure of 1/200 s set on your camera, everything will look the same as it would for 1/1000 s or even shorter. You then have to make up for the lack of light by using a lower f-stop or raising the ISO.
Canon 5D Mark III, Canon EF 24-70/2.8, 1/200 s, f/5.6, ISO 1600, focal length 43 mm.
At strengths this low, some flashes are able to fire several times per second, so you gain the option of producing a sequence of shots and then picking the best one. Just make sure not to “fry” the flash. My approach to this is to take longer pauses than usual.
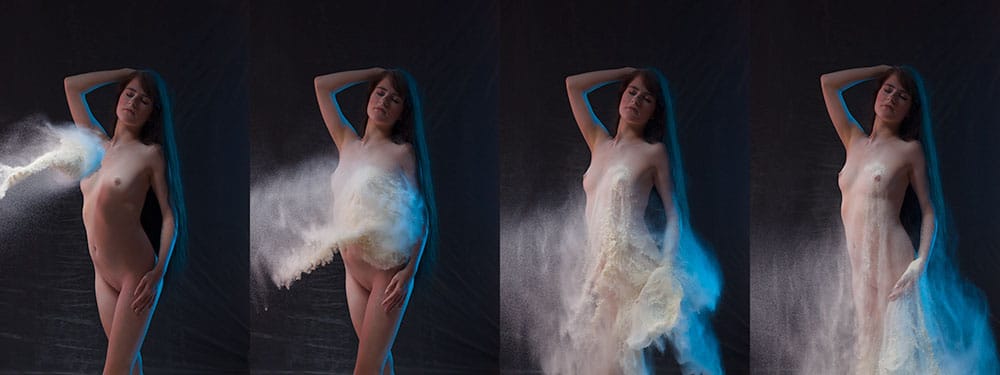
Canon 5D Mark III, Canon EF 24-70/2.8, 1/200 s, f/5.6, ISO 1600, focal length 70 mm.
But you don’t have to use a dark background in all of your pictures. Instead of having the lights shining on the model, you can turn them all towards the wall behind the tent, giving you a different and higher-contrast kind of picture. Unfortunately the small flour particles aren’t very visible, and so these types of approaches don’t always work well.
And the Shoot Can Begin!
Naturally the shoot itself will be hit (sometimes) or miss (much more often). It’s commonplace to have to scrape up flour and repeat the exact same motion five or ten times because of how the grains of flour are so fond of flying in other directions than what you want.
While I was taking the pictures, I stood at the edge of the tent, sometimes a bit closer, other times further away, depending on the shot. Even though I stood as far as I could from ground zero of the flour festival, I still had collected some powder on my camera by the end of the shoot. It wasn’t directly visible, but its presence was doubtless the moment I ran my finger over it. To minimize the risk of damage to your equipment, you can also wrap a plastic sheet around your camera or even use a water-rated case, if you have one.
As for who should be throwing the powder: either your model, or someone else who’s standing outside the frame—they should still be throwing it inside the tent, of course.
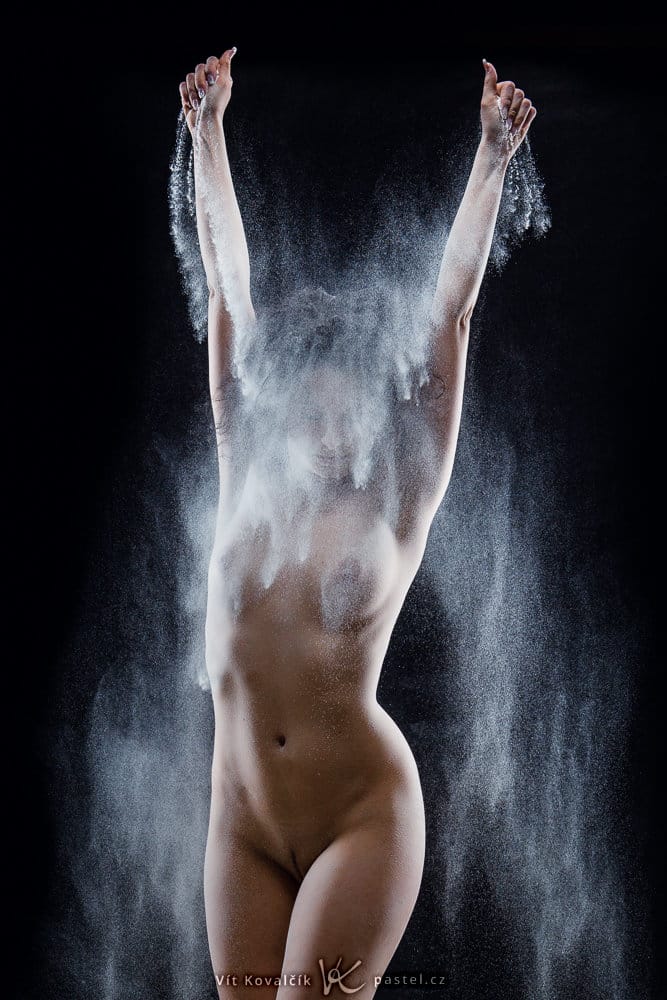
Canon 5D Mark III, Canon EF 24-70/2.8, 1/200 s, f/7.1, ISO 400, focal length 45 mm.
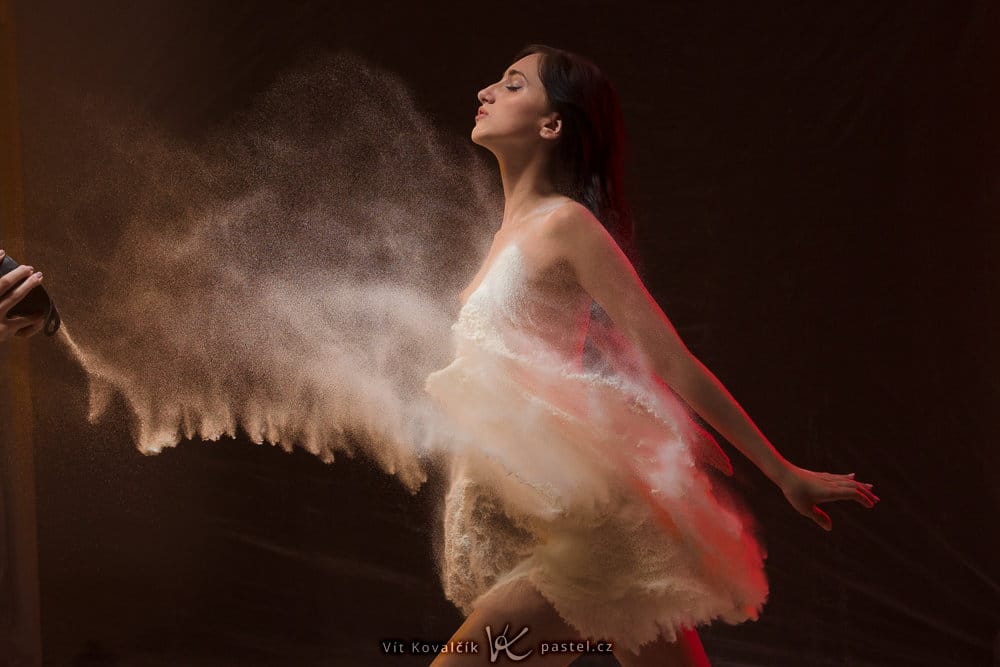
Canon 5D Mark III, Canon EF 24-70/2.8, 1/200 s, f/5.6, ISO 1600, focal length 43 mm.
One special type of picture here is one with flour placed into the model’s hair, which she then shakes off. Our picture of this type took several attempts and sequenced shots to get a usable result.
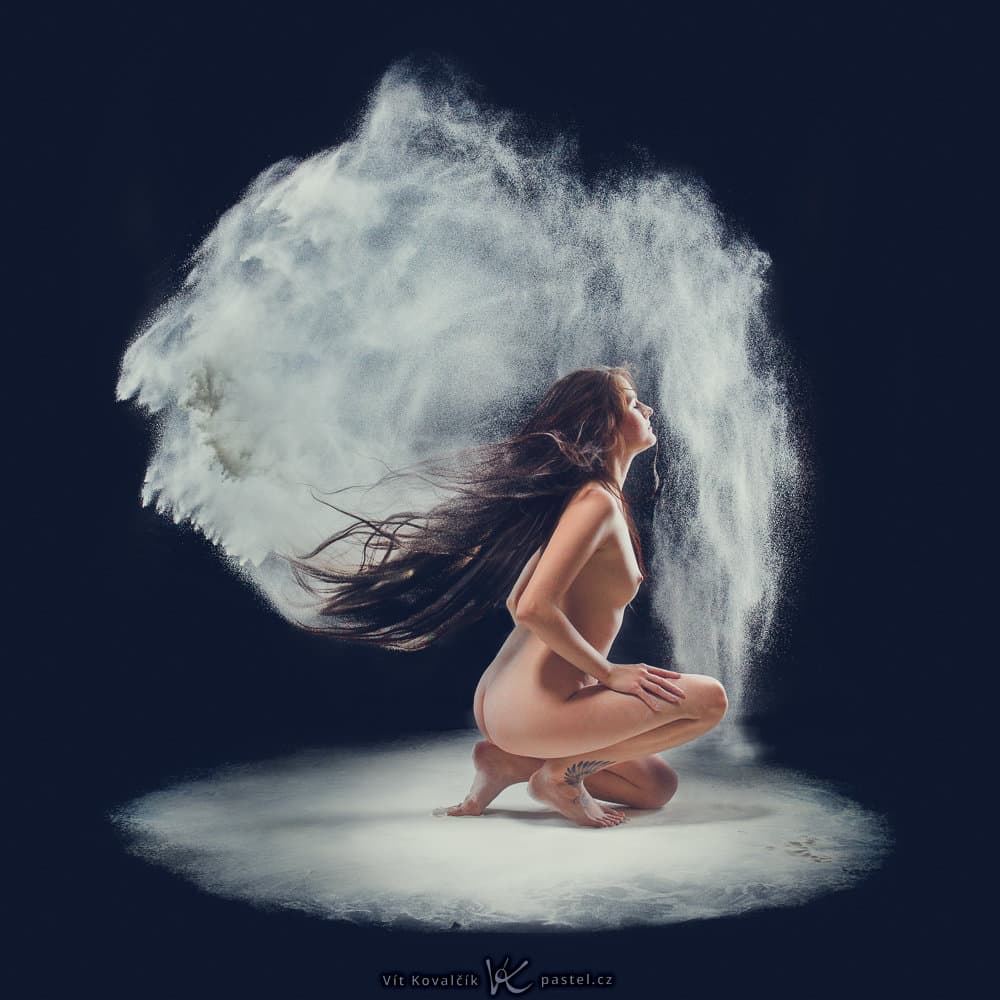
Canon 5D Mark III, Canon EF 24-70/2.8, 1/200 s, f/5.6, ISO 1600, focal length 70 mm.
Focus on Details Too
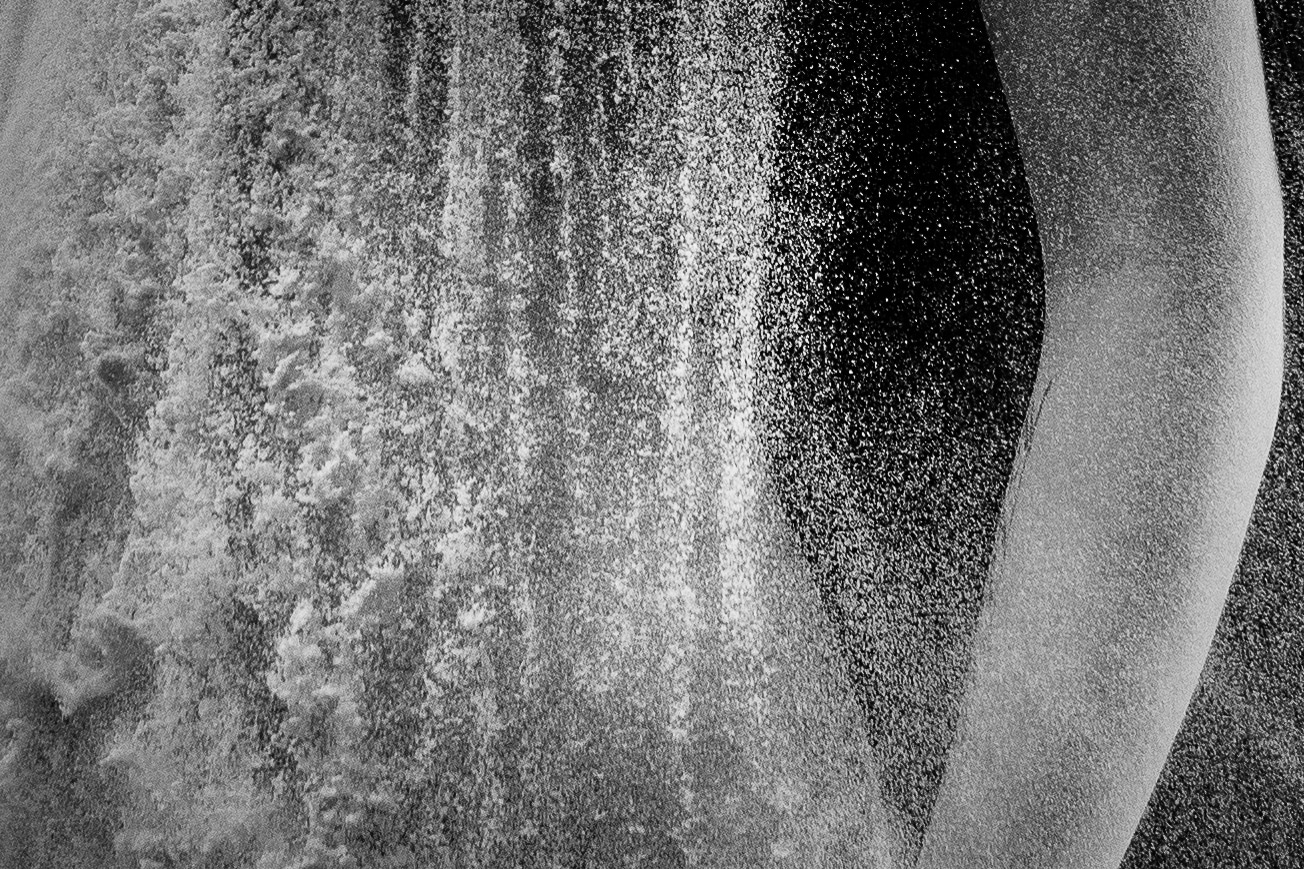
Usually you’ll have the model’s whole body in the frame, but try a few shots of just details. It’s true that during quick shifts of composition it’s not always predictable, and it’s simpler to photograph larger areas and then crop from those. But for smaller motions by the model, you can plan everything out and do the crop right on the spot.
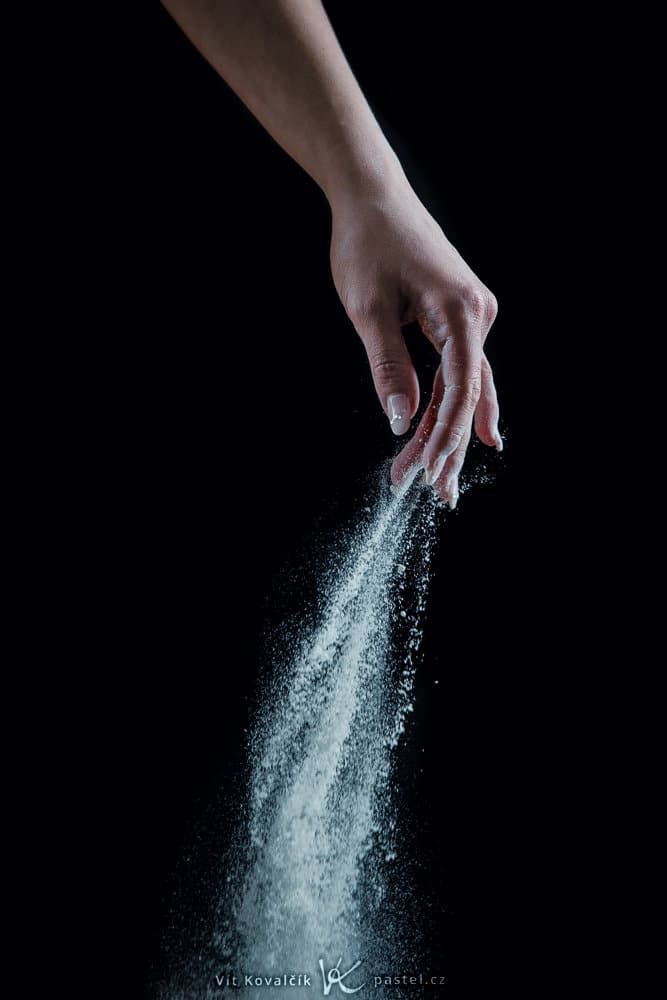
Canon 5D Mark III, Canon EF 70-200/2.8 II, 1/200 s, f/5.6, ISO 400, focal length 200 mm.
Retouching the Background and the Floor
Depending on the size of the tent, you’ll have to do some retouching. A large-enough tent eliminates many problems: just the sheet will be in the frame behind the model, but not the stands or the ceiling.
I generally darkened the background and increased the contrast so that the light-colored flour would stay visible, while the dark parts of the background fell into complete darkness.
In my setup the floor ends abruptly and immediately borders the wall; because of this I shrank the floor with some retouches and had its edge “fade out.”
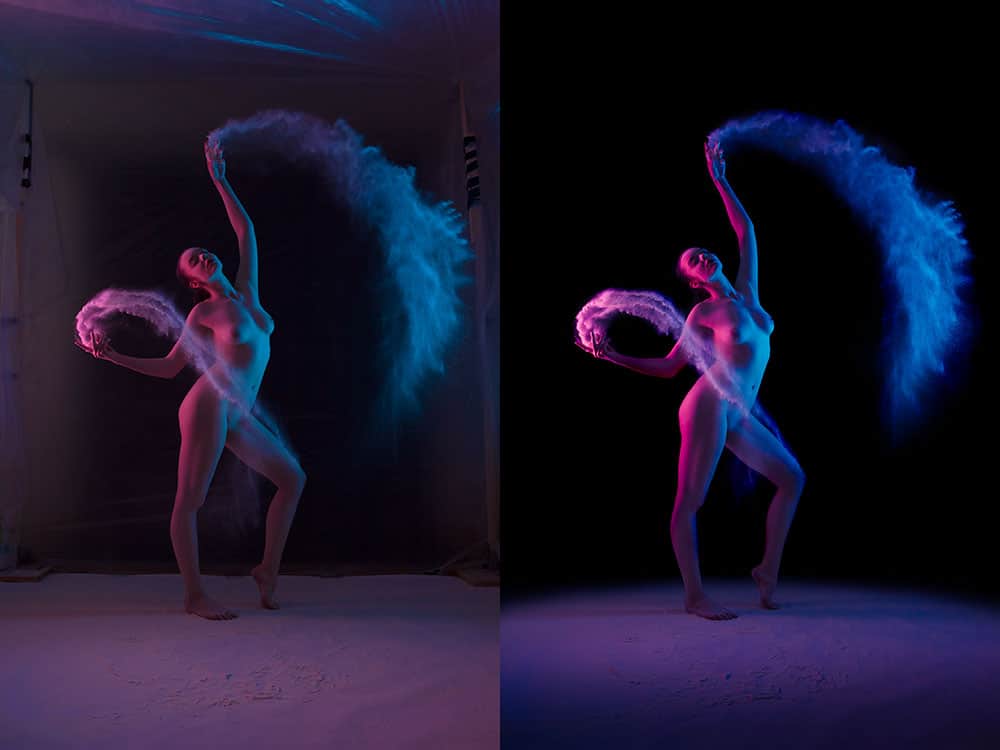
Canon 5D Mark III, Canon EF 24-70/2.8, 1/200 s, f/5.6, ISO 1600, focal length 32 mm.
Cleanup and Conclusion
If you’ve done a good job of preparing everything and covering it up, the final cleanup isn’t difficult. The flour should all be inside the flour, so you’ll only have to scoop it up. When you count in the preparations, this is a relatively demanding type of shoot, but the results will be a great reward, and I doubt you’ll stop after just once. And after you’ve tried this type of photography, I’ll be glad to hear how it turned out and what kind of powder you used. Share your experiences in the comments!
