Water Photography: 5 Creative DIY Techniques You Can Master at Home
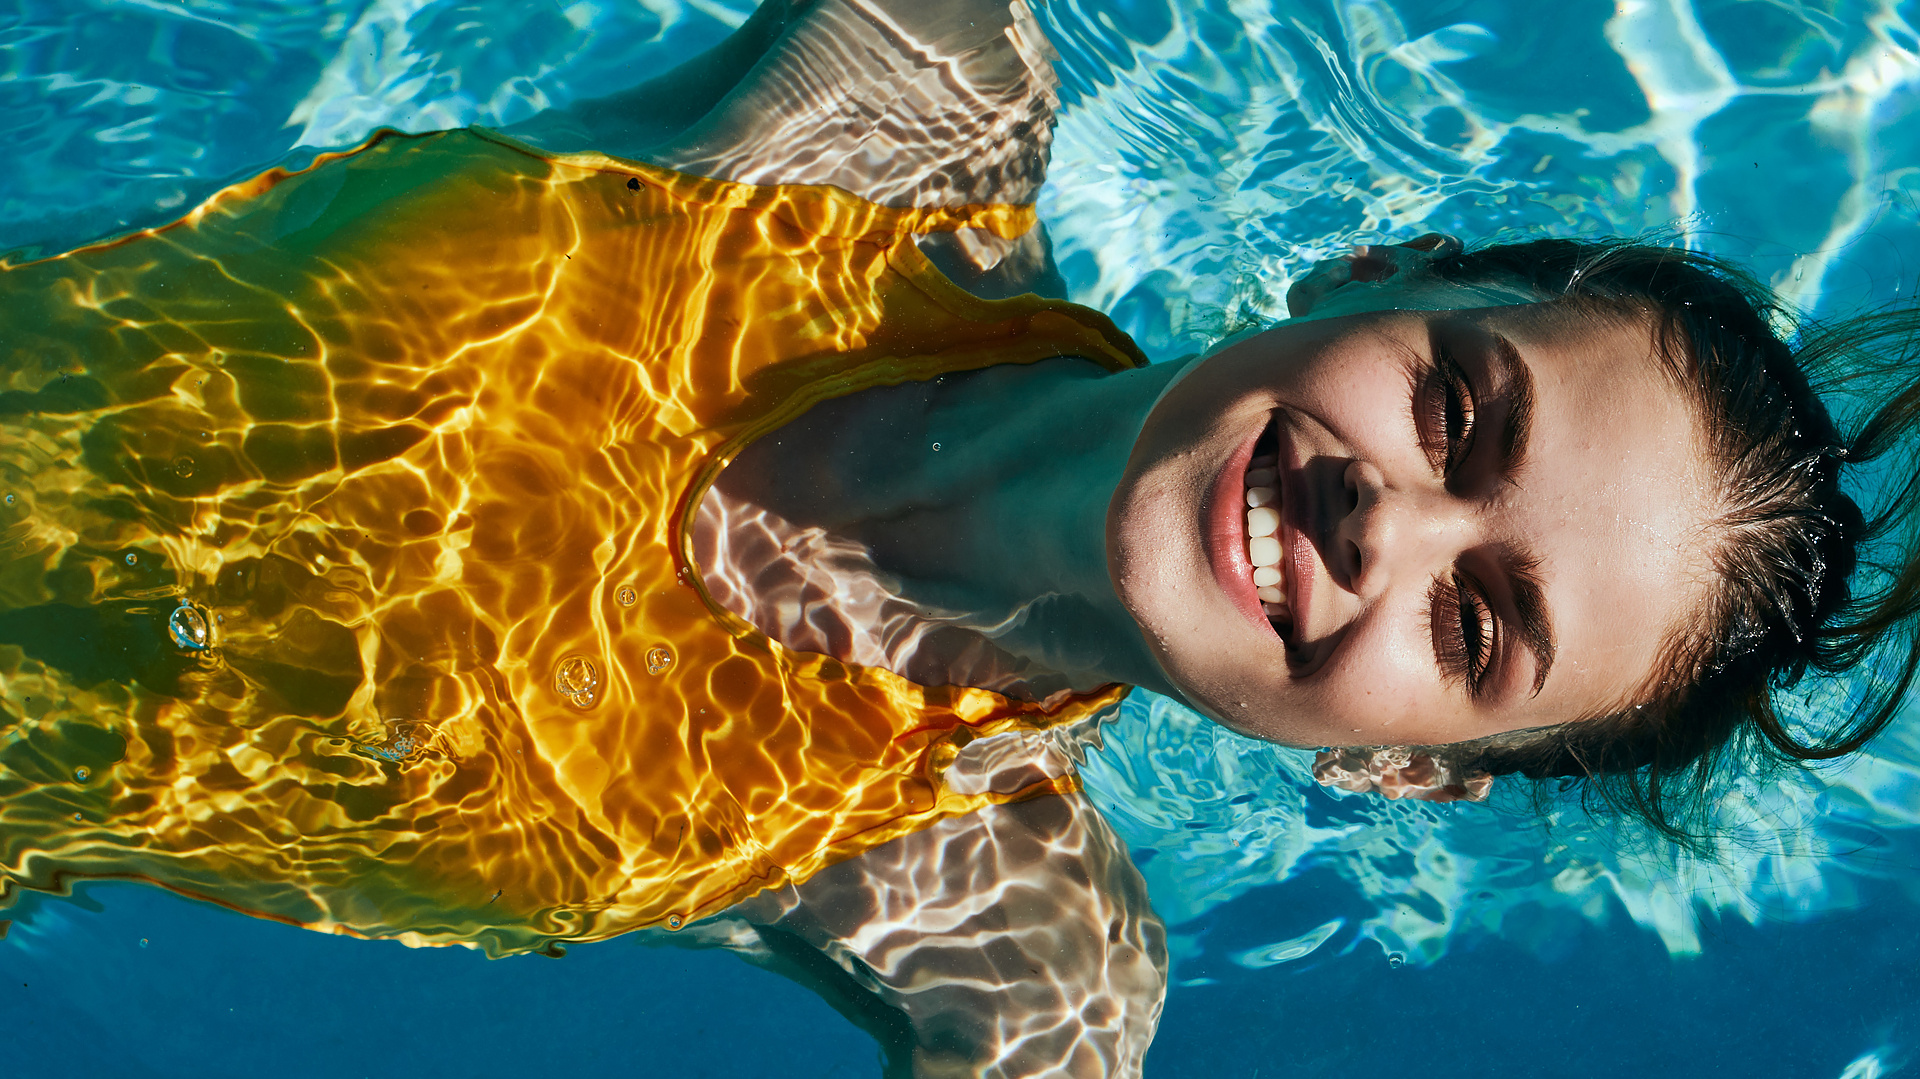
Water is one of the most rewarding subjects in photography. You can freeze water into sharp droplets and splashes, or use long exposures to transform it into a smooth, silky mist. You can also experiment with wet glass or oil and water to create truly unique photos at home.
In this article, you’ll learn:
- How to capture sharp water splashes in creative portraits
- How to use long exposures to turn the water’s surface into a silky mist.
- How to create a mysterious mood by shooting through wet glass.
- How to capture the iconic crown of a falling water droplet.
- How to create vibrant abstract photos using water and oil.
Hot summers are the perfect opportunity to spend time by the water and snap some stunning photos while you’re at it. The possibilities are endless, but I’ll share five of my favorite techniques, along with practical tips so you can avoid trial and error.
1. How to take dynamic portraits with splashing water
Water adds energy and movement to any portrait. A single splash can transform an ordinary shot into a dynamic image packed with emotion. To make sure every droplet stays pin-sharp, set a fast shutter speed—ideally at least 1/320s.

Light also plays a major role. Backlighting works wonders by highlighting the outlines of the droplets and makes them literally sparkle. Don’t be afraid to experiment with different ways of splashing. Water tossed from a bowl creates a completely different effect than a splash made with hands or wet hair in motion.


TIP: A simple swim cap can be a great tool for water photography. Fill it with water, hold it directly above your subject’s head, and then let go all at once. Then, from a long series of shots, choose the exact frame when the cap hits the head and explodes to the sides. Aside from a dramatic splash, you can usually catch a funny expression on your subject’s face.
2. Long exposures: Turn water into a silky mist
At the opposite end of the spectrum is long exposure photography. Instead of frozen water droplets, you smooth out the water’s surface or transform waterfalls into a soft, milky mist.

The best time to shoot is at twilight, either early morning or evening, or on overcast days. An ND filter can act like “sunglasses for your lens,” allowing you to use slower shutter speeds even at midday. Always use a sturdy tripod and self-timer or remote shutter to prevent camera shake.

3. Mysterious mood: Shooting through wet glass
Shooting through wet glass can create an atmosphere that’s hard to replicate any other way. It gives photos a moody, melancholic, and often cinematic feel.

There are two ways to approach focus. If you focus on the person behind the glass, the droplets create a subtle frame and enhance the mood of the photo. On the other hand, if you focus on the droplets themselves, the face behind them is blurred, adding a greater sense of mystery. All you need is a simple water spray bottle to create a fresh “rainy” effect on glass.


4. How to photograph the crown of a falling water droplet
Water droplet photography is a classic, but it never fails to surprise. Capturing the exact moment a falling droplet forms a splash crown or liquid pillar takes patience, but the results are worth it.

Use a fast shutter speed or a flash to freeze the motion. Use an eyedropper so drops fall at regular intervals. Backlighting or an illuminated background works best to define the shape of the splash. If you want larger, slower-falling drops, mix a little glycerin into the water. It thickens the liquid and makes droplets much easier to predict.
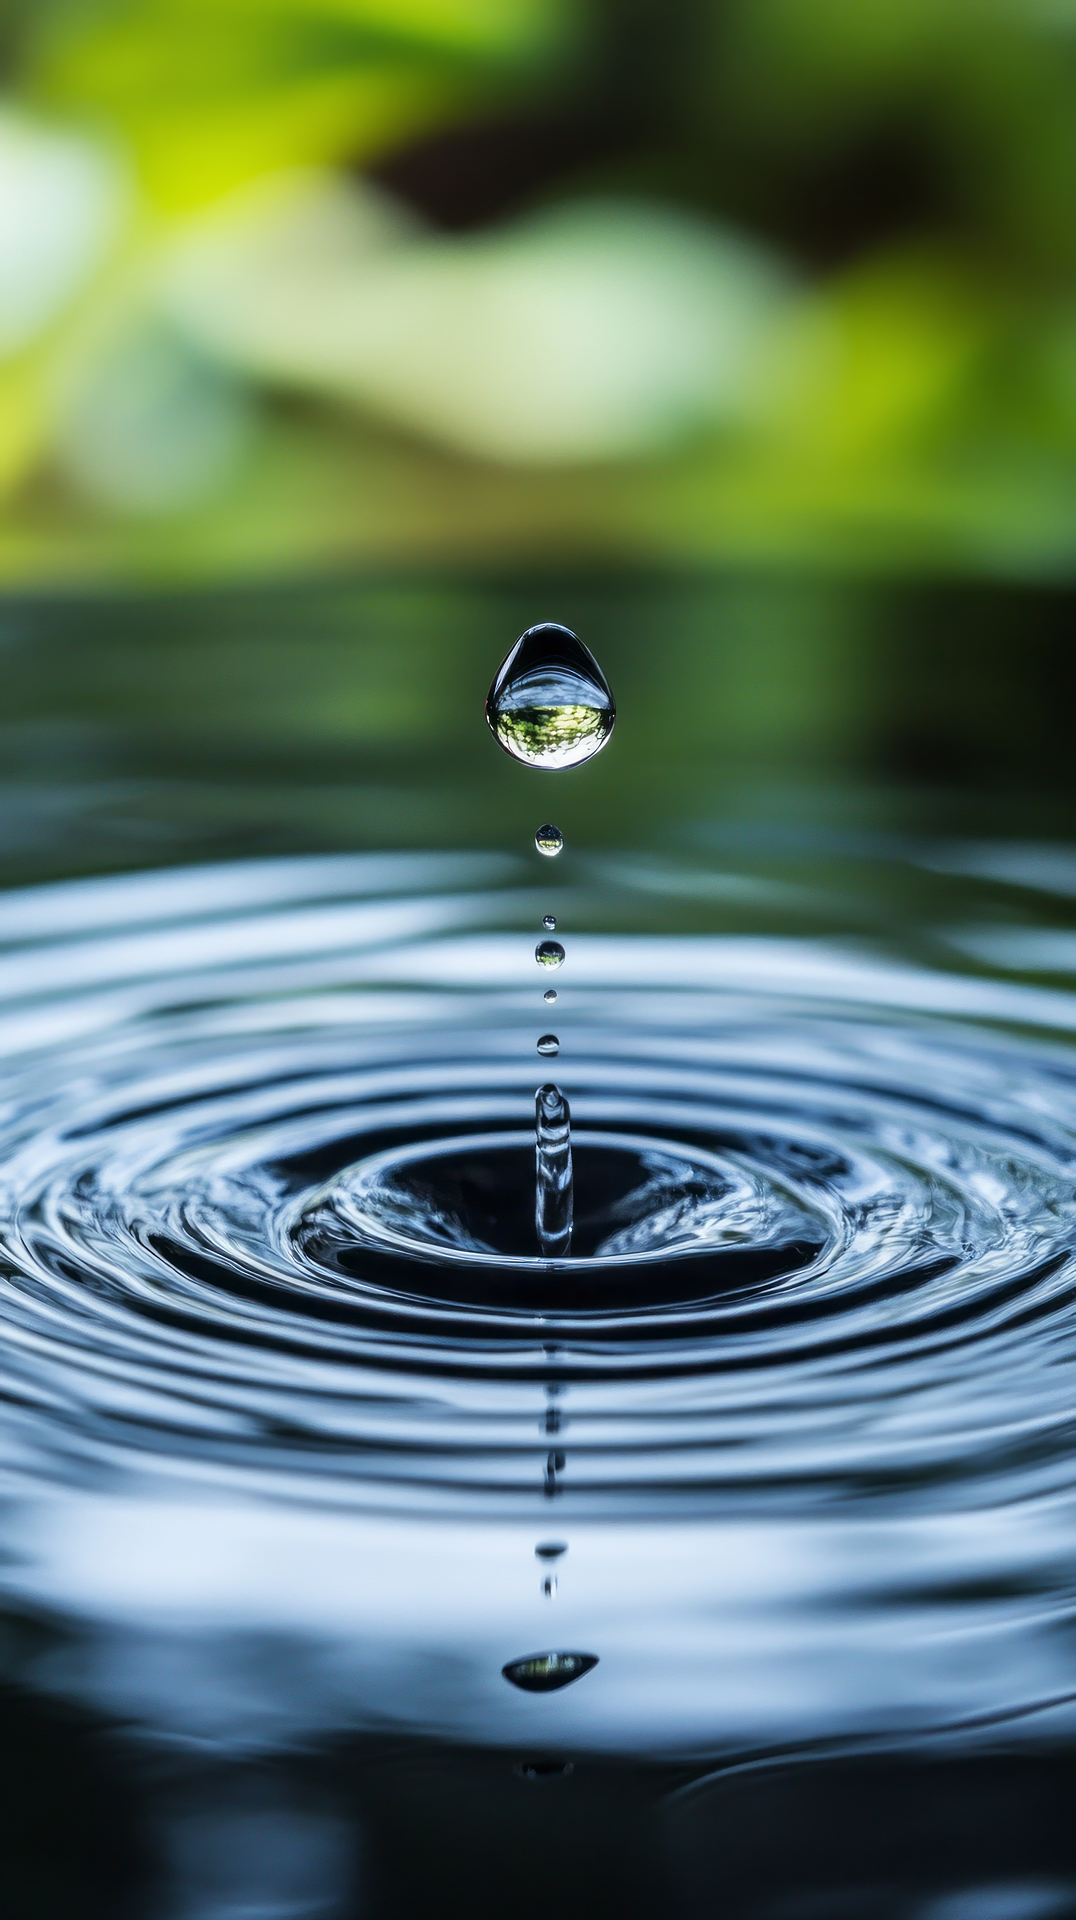
TIP: For this technique, you need shutter speeds faster than 1/500s and plenty of light. Shoot outdoors or use flash. If you are shooting indoors or with flash, keep your camera’s maximum flash sync speed (usually around 1/160 s) in mind. To compensate, lower your flash power to its lowest manual setting.
5. Abstract color: Water and oil photography
Combining water and oil is one of the easiest ways to create colorful abstract photos at home. Pour water into a clear glass container or baking dish, add a few drops of olive oil, and stir gently. The oil forms floating droplets of various sizes that act like tiny magnifying lenses.

Place colored paper, fabric, or a textured pattern under the water container. A tablet displaying a bright, colorful image is also a great option—it acts as both your backdrop and light source. For best results, use a macro lens or your camera’s macro mode to get close and capture the tiny details that create the most unique compositions.

FAQs
What shutter speed do you need to freeze water droplets?
For sharp, frozen droplets, use a shutter speed of at least 1/320s. Alternatively, a flash set to low power provides ultra-short flash duration that can freeze the movement of the water.
How do you take long exposures of water during the day?
When shooting in bright daylight, you need a neutral density (ND) filter to reduce the amount of light reaching the sensor. This lets you use longer exposures. Always mount your camera on a sturdy tripod and use a remote shutter release or self-timer.
How can you make water droplets larger and slower for water droplet crowns?
Add a small amount glycerin to the water to make the droplets thicker, larger, and slower-falling. This makes it easier to photograph the same effect consistently.
How do you create abstract photos using water and oil?
Pour water into a transparent container, add olive oil, and stir gently. Place a colorful pattern or display a tablet with an image. Then, use a macro lens to shoot close-ups of the water’s surface.