You Can Do Macro at Home. We’ll Show You How
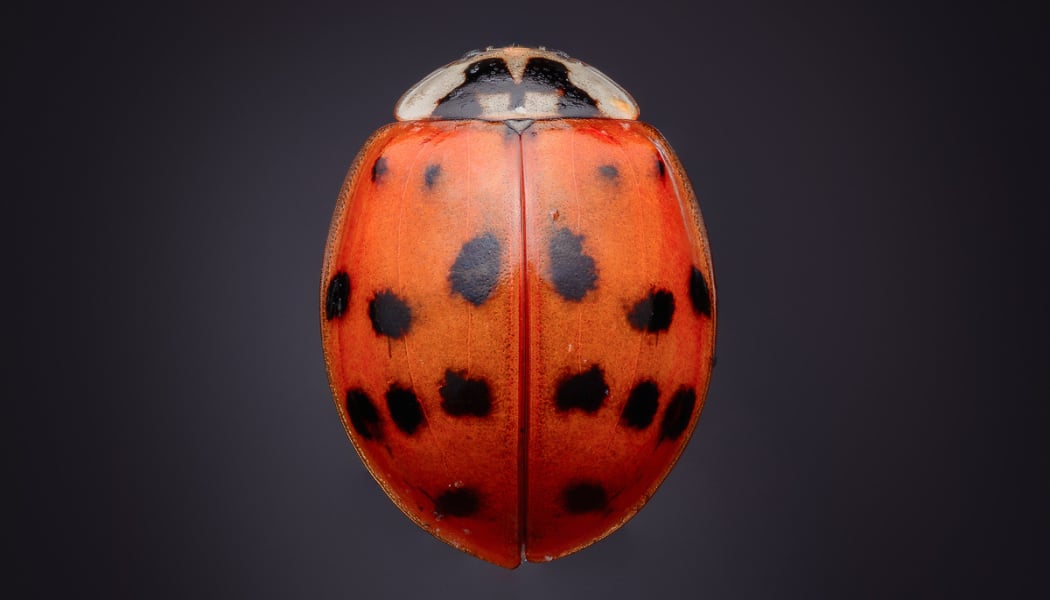
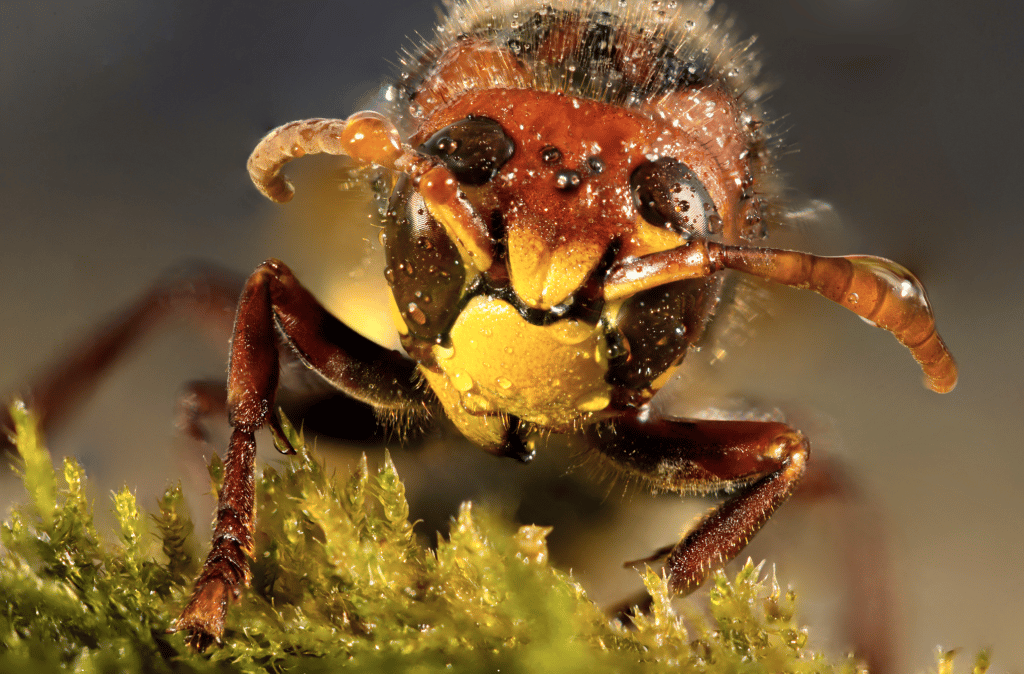
Macro photography is a genre that just about everyone tries. Some people stick with it, while others never come back. If you try macro and if you’re the sort who doesn’t like to give up, then don’t let cold weather drive you away from it. Did you know you can take great macro pictures in the comfort of your home? With a little work, you can even give these pictures a genuine “outdoor” look. We’ll show you how.
Macro may seem like a simple genre, but the truth is that it’s a very technically demanding one that demands a good plan, preparation, and approach. So let’s go over what you need to do for the best results.
Planning is the Foundation
Planning is the foundation for every good home macro photo. Before you take your shots, ask yourself a few basic questions, answer them, and then choose an approach to match. Overall, the process should look like this:
What do I want to photograph?
I want to photograph insects.
What do I want to use for lighting?
I want to use one flash + a diffuser.
Do I want an arranged picture, or an atlas-style picture?
An atlas-style picture with an all-black background.
Will I use focus stacking for the picture?
Yes, I’ll be putting the picture together from multiple focal planes.
Will I shoot the different focal planes by hand, or using a macro slider?
I can manage it by hand.
How will I fix the insect in place?
The insect will be on a pin.
This is how the planning before the actual start of the shoot should look. Above all, if you’re a beginner, make sure to think carefully before every shoot.
Don’t Underestimate Your Preparations
Preparing the whole photographed scene, that is, the insect against the black background, is another key point. I advise that you don’t underestimate this job. Get everything you need ready in advance, and double-check that it’s working. Above all, pay attention to the flash and the batteries; this part of your equipment is a frequent cause of trouble.
Double-check the insect itself as well, to make sure it’s not too deformed or dusty. If there’s dust on the insect, blow it off with an air-blowing balloon and wipe it with a fine brush. You’ll save yourself retouching work later on.
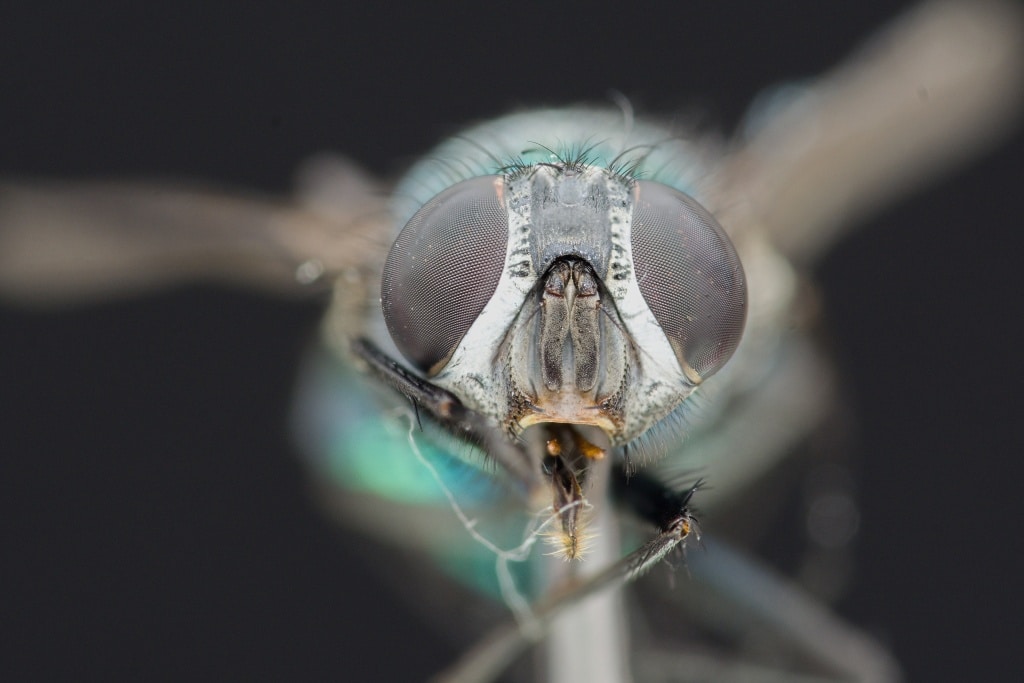
When an insect is deformed, try to find a better one. If this is the best specimen you have, be prepared for retouching afterwards in Zoner Studio. Stabilize the insect pin in modeling clay. That will keep the insect’s position firm during the shoot.
Generally the hardest part of the preparations is readying the black background, which should be matte and ideally should slightly absorb the flash. Black chemise glued onto cardboard with dimensions of 40 x 40 cm works best. But a black neoprene tablet case can also serve as an alternative; in fact, I used one for this project.
What Are the Steps?
Affix the insect to the pin, and secure the pin in the modeling clay. Arrange the insect that you’ve prepared this way in front of a background of your choice, at a distance that makes the background blurry for all of your planned focal planes.
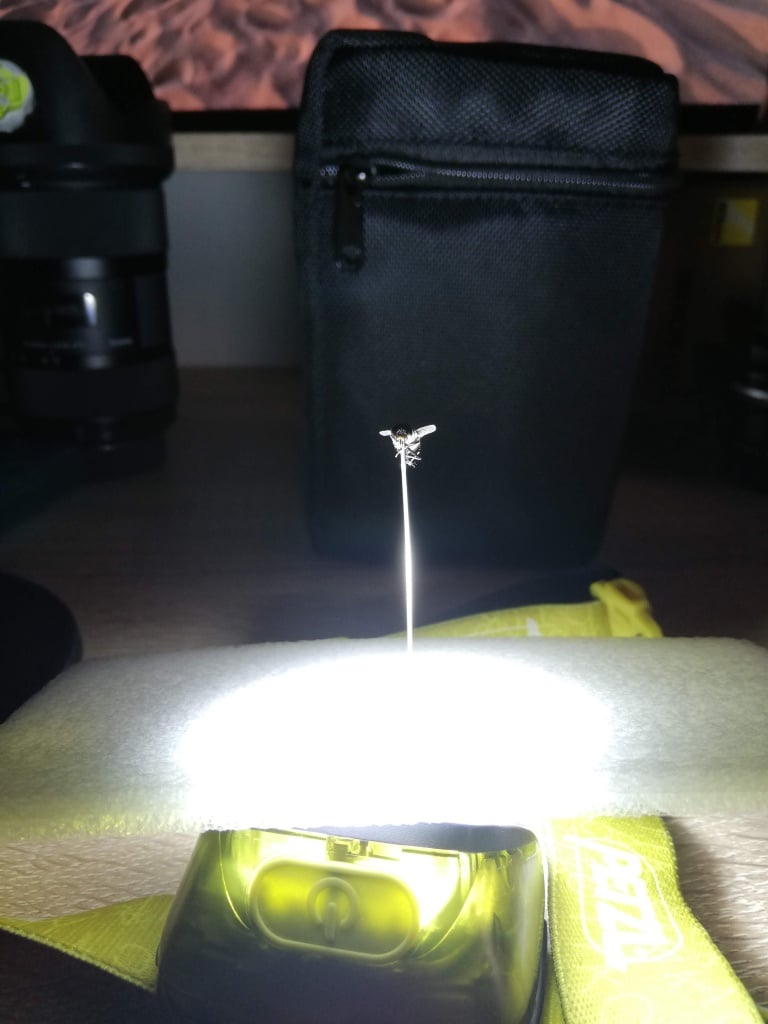
Take your flash with a diffuser mounted onto it, fasten it to your camera, and set it to manual mode. You’ll want to go manual because all of the pictures must have the same lighting intensity. Take a few test pictures to get the flash strength right. (It’s better to have the pictures a little too light than to have them dark and underexposed).
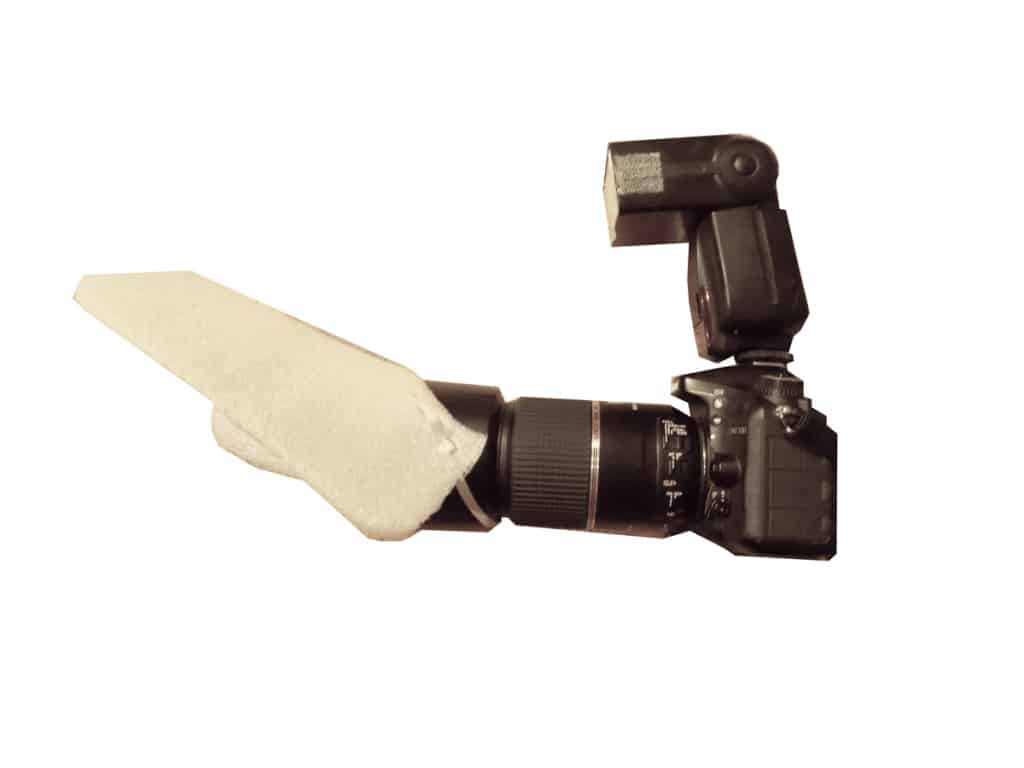
Set the camera to full manual mode too—M on the ring.
Switch the lens and the camera into manual focusing mode, and set 1:1 zoom on the lens. Grasp the camera firmly and take your pictures with differing focal planes while moving gently from the insect’s eyes/antenna towards its rear.
This ensures that if the insect comes loose or shifts, you will already have the most attractive part—the head—photographed successfully. If you don’t have a firm grip with your hands, use a macro slider.
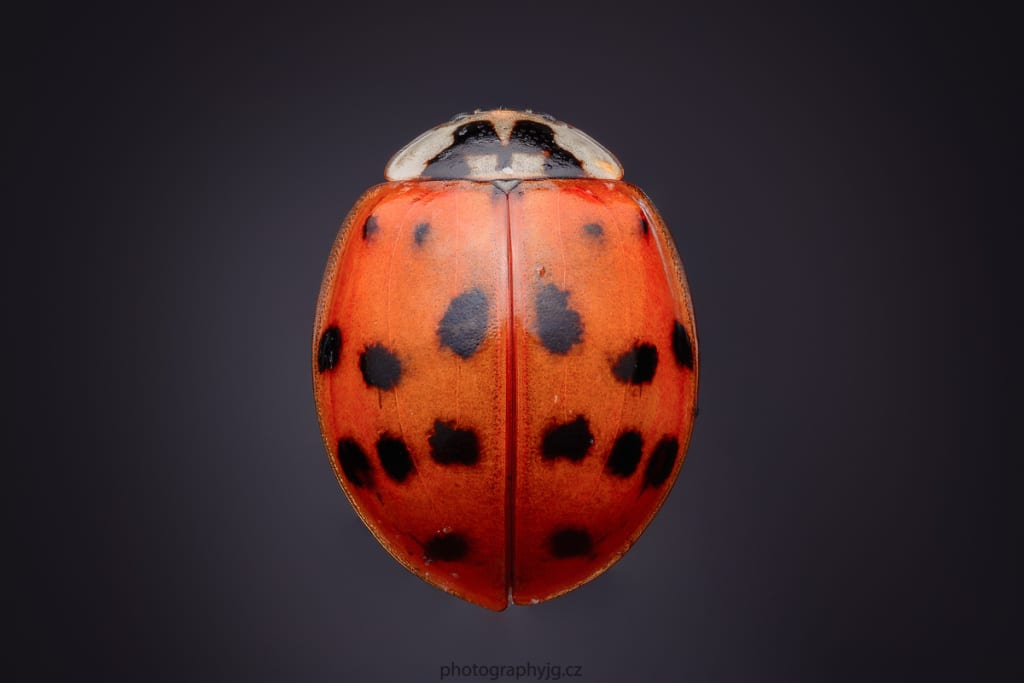
A Few Words in Closing
Open up the individual pictures with their different focal planes in the Zoner Studio Editor, which you’ll use to compose the final picture. Use the same approach when you’re photographing arranged photos as well. Here you’ll just be putting the insect on moss, a flower, or a rock that you brought in from outside. Don’t forget to show off your finished insect photos on the Zonerama gallery!
