The 4 Things to Always Retouch in Your Pictures
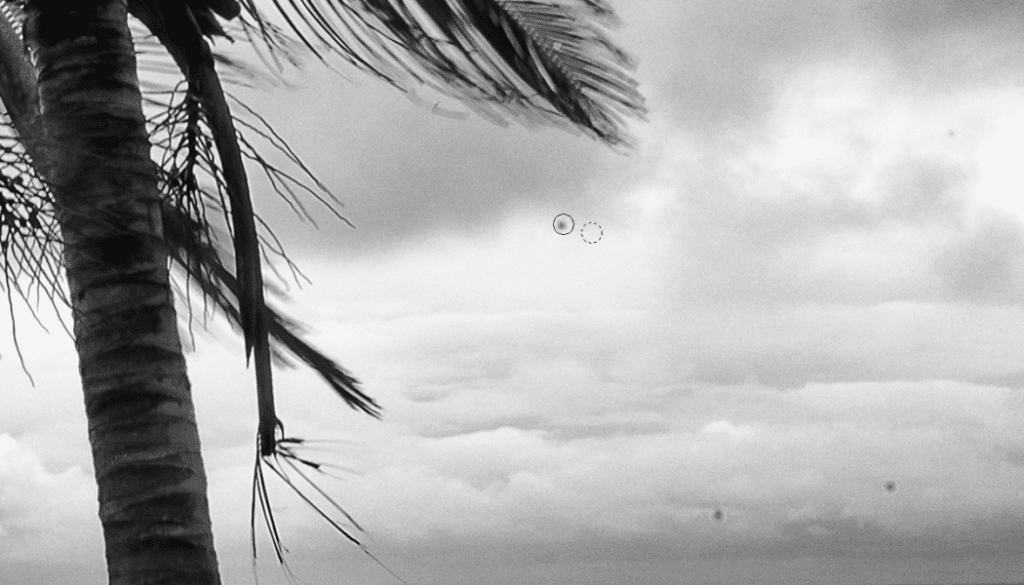
The notion that retouching is just for portraits is a myth. Retouching is used in landscape photography, macro photography, and other photographic disciplines as well. In short—knowing how to correct minor defects in a picture will always come in handy. So learn to work with retouching tools.
Pictures simply do need retouching sometimes. And there are many techniques you can use for the job. In today’s article, we’ll show you the basic steps for retouching in Zoner Studio—the first steps on a journey you can continue from there.
Don’t Overdo It
We retouch photos mainly to bring out the best in them. And nothing else. So your edits should be “invisible”—or more precisely, they invisible at first sight. So don’t massively overdo it or else you’ll damage the picture, just like retouching has damaged this picture here:
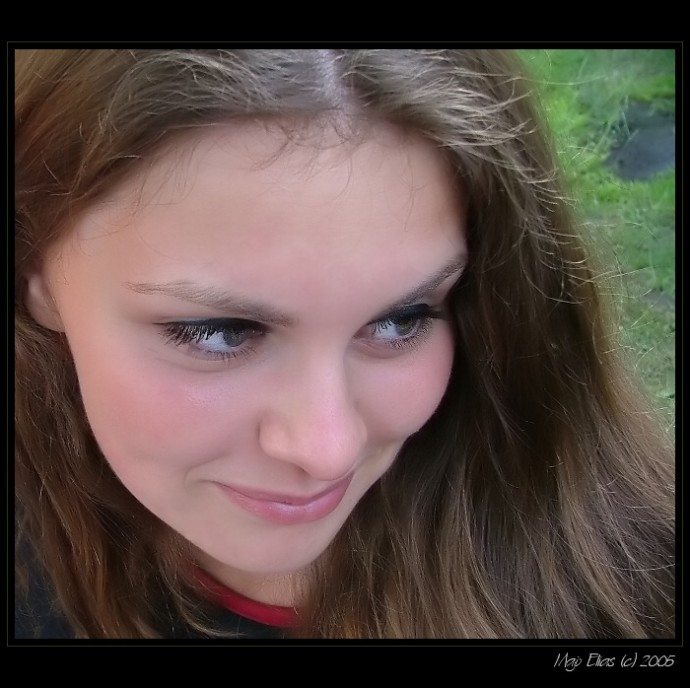
To retouch a photo well, you need to have it at maximum quality and in a lossless format—so your starting point should be a 16-bit photograph in TIFF format. A photo like this won’t lose quality even if you make numerous changes, which can hardly be said of an 8-bit JPEG. For this reason, if you’re going to be retouching a photo, develop it from RAW into TIFF.
1. Sensor Dust
Dust on the sensor is a common problem for photographers, especially if they change lenses often. Even when a grain of dust on your sensor might seem miniature, in your photos it will look much larger.
And that grain will be visible in every photo you take until you clean it off the sensor. (You, or someone else. We recommend visiting an authorized service location.) But if you notice it too late and you can’t take a given shot ever again, don’t despair: you can remove the spot in editing software.
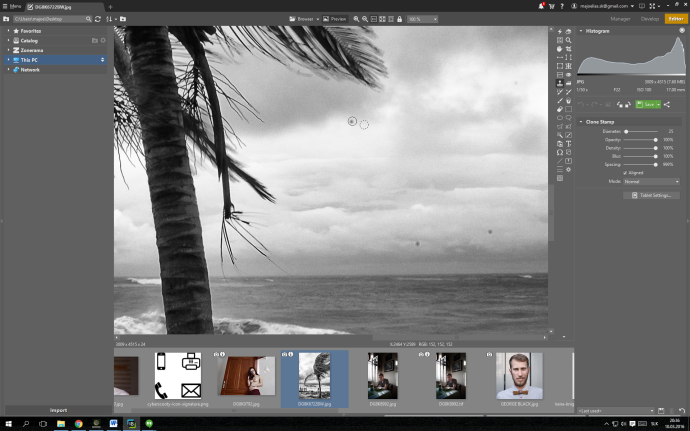
To remove this flaw, use the Editor’s Clone Stamp tool. Use these settings for the Stamp:
- Choose a Diameter slightly larger than the size of each black speck.
- Opacity should be at 100 percent, so you can cover each speck on your first go.
- Density should be at about 30 percent.
- Blur belongs at 100 percent so that your retouching job blends into the picture as smoothly as possible.
- Spacing of 13 percent works well.
- Leave the Mode at Normal.
After you set the values for the Clone Stamp, hold down Ctrl and click an undamaged spot next to the speck you want to remove. This will be your source area. It should be as similar as possible to the area you want to retouch. Then let go of Ctrl and click a few times on the spot with the dirt. Use the same approach to remove all the specks in the photo.

2. Skin Defects
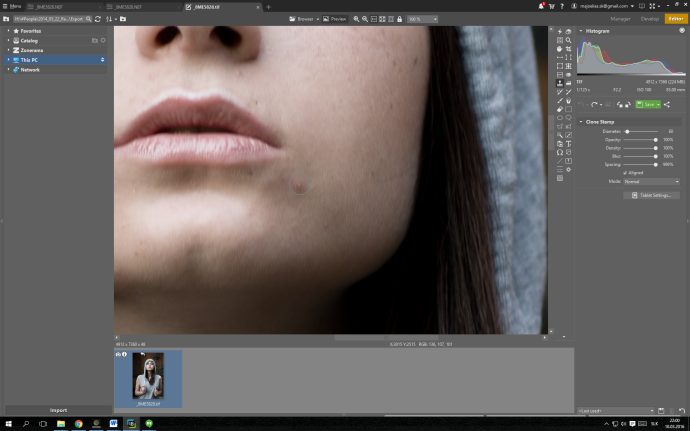
Nobody’s skin is 100% perfect. Red spots, wrinkles, and scars are an unavoidable phenomenon that everyone will experience in time. They’re natural, and they’re nothing you should seek and destroy just because—but they still can be inappropriate when they could draw attention away from your subject. You can remove these imperfections using practically the same steps as described above for dust.
3. Circles under Eyes
Removing circles under people’s eyes is the second most common step in portrait retouching. There are several ways to get rid of circles under people’s eyes in a photo. We’ll cover the simplest one.
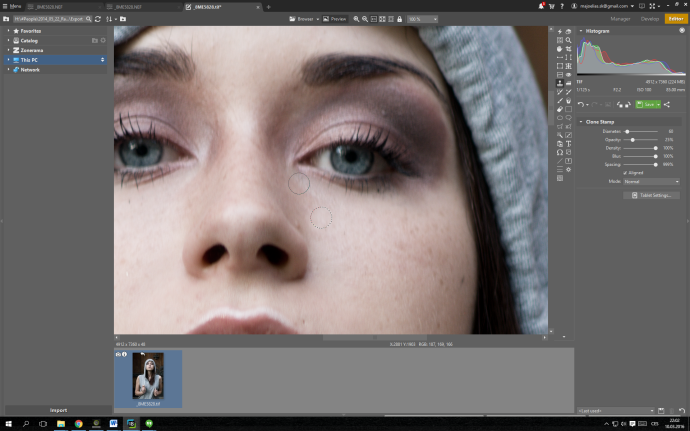
Use the Clone Stamp once again. Make the stamp a little bigger than the width of the circle under the eye. But set the opacity to just 10 or 20 percent.
To do the retouching, use long strokes of the Stamp along the whole defect. Repeat several times. Set the strength even lower and then repeat a few more times—thanks to this, the retouching will be mild, and no-one will notice that the area has been retouched. Meanwhile a higher opacity would be recognizable.
4. Dark Eyes
Brightening eyes is another simple procedure that’s a part of basic retouching. This edit can be done in several ways.
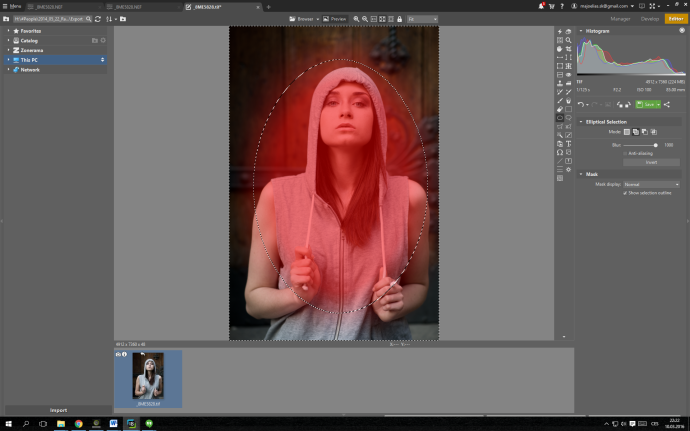
Here we’ll show you the simplest route for brightening eyes—and that route begins with the Editor’s Elliptical Selection tool. Set the selection mode to “Add to Selection,” and use a large “Blur” value—even the maximum. (But keep in mind that the larger the Blur, the larger your selection has to be before Zoner Studio will “accept” it at all.) The maximum available Blur depends on a photo’s size. To double-check that you have chosen your Blur wisely, switch to the “Normal” setting under “Mask Display.”
Then make a selection around each of the spots that you want to brighten (or darken—as you’ll see below). The Add to Selection mode lets you select them all at once like this—and enables one more trick as well. It’s this: repeat the same selection several times to make the blending between your edits and the rest of the picture as smooth as possible. After marking the places to brighten, switch into Quick Edits and very gently adjust the exposure. Repeat the same approach when darkening. This is a very quick, efficient technique.
Working this way you can transform a whole picture’s exposure in just a few minutes. Note that this trick doesn’t have to just be used in portraits.
And Now for Some Real Life
We’ll demonstrate the retouching process on this picture converted from RAW to TIFF:
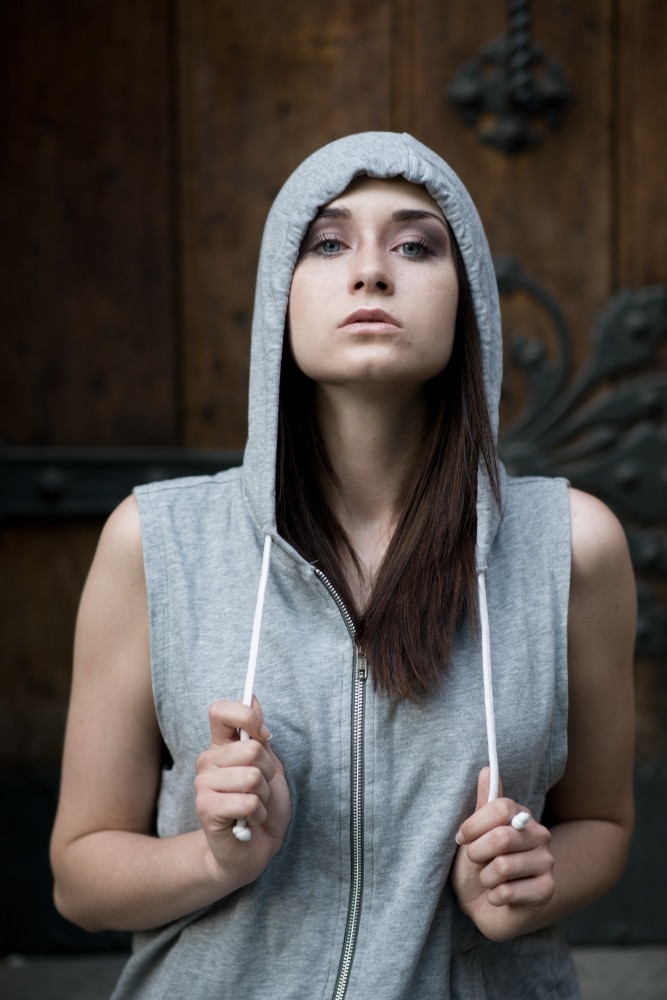
This is a classic portrait. Its most attention-worthy places should be attention-getting. We’ll mainly brighten the eyes. Then we’ll go on and do the whole face, and then darken the rest at the end.
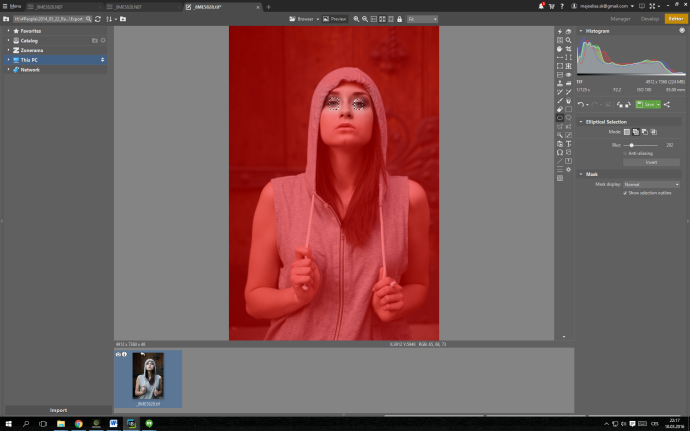
Step One—Brightening Eyes
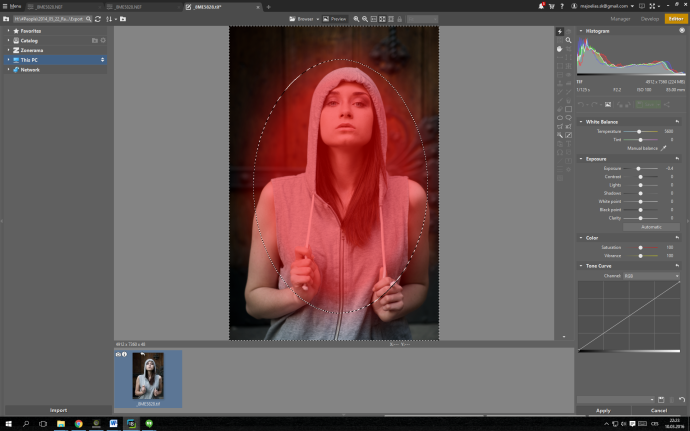
As the first step, we brighten the eyes. We make the selection using the Elliptical Selection tool. Then we move on to Quick Edits, where we increase exposure very slightly. We then save the changes.
Step Two—Brightening the Face
As our second step we “select” the whole face and use the Exposure slider once again to slightly brighten the whole face. Thanks to the selection technique used, the transitions into the brightening and darkening are smooth and unnoticable.
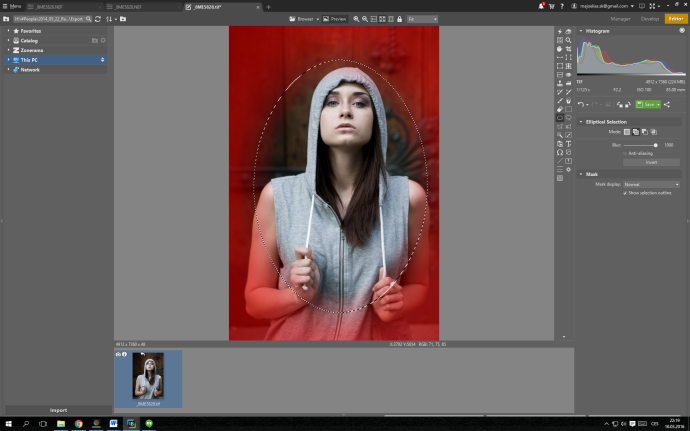
Step Three—Darkening the Rest
As our last step, we once again mark the whole face, but this time we invert the selection, by clicking Invert. We darken this new selection, again using Exposure in Quick Edits.
The photo before and after retouching. To display the differences, move the slider.
Editing 1-2-3
Even though this edit seems complicated, the steps are simple:
- First the picture needs to be converted from RAW into 16-bit TIFF format.
- Then you use the Clone Stamp to remove minor skin defects and circles under people’s eyes.
- And then you use elliptical selections to brighten their eyes. These selections also let you brighten the whole face and darken the rest.
Once you’ve retouched several pictures with this technique, you’ll make it your own and won’t have to think about it too much—since the whole process will become automatic for you.
For more tips and tricks, take a look at the tutorial How To Retouch Portraits in Zoner Studio.
Are you a photo editing fan? Enjoy Zoner Studio free for 7 days and try improving your photos!

