6 Ways to Rescue Underexposed Photos
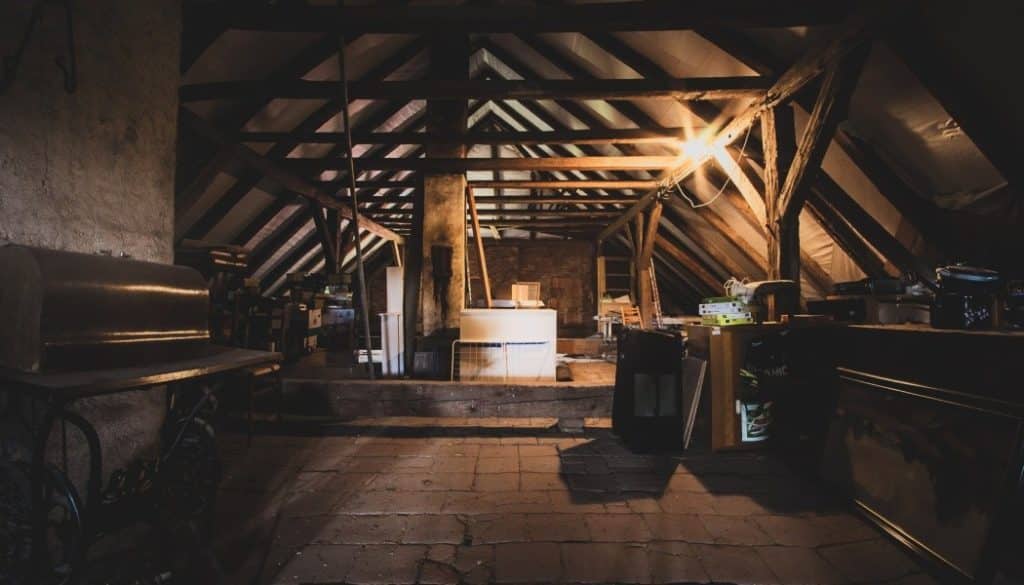
Sometimes photos don’t turn out the way you hoped. Underexposure is a common mistake, one that can happen for example because you were hurrying to press the trigger and didn’t stop to check your settings, or because you used automatic settings when shooting against the light. One way or the other, you’ve got a dark photo. But fortunately, you can brighten it after!
Even when you get the exposure triangle right during your shot, you can still get a photo that’s too dark. There are several ways to brighten it in Zoner Studio.
1. Adjust Exposure and Brighten Shadows
One way to improve a photo is to adjust its exposure in the Editor or in the Develop section.
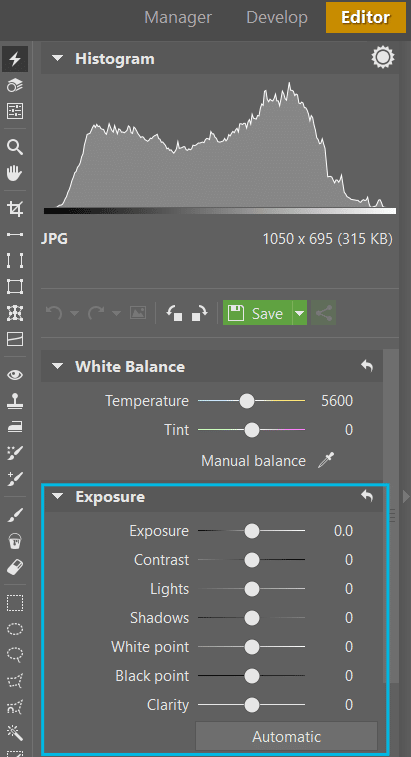
Shadow brightening can also be helpful. If for example you don’t want for the sky to be overexposed in a photo, then you’ll need to first underexpose the photo and then brighten the shadows. This will add noise, but it’s better than having blowout in the sky. If you also shoot to RAW on top of that, then you can pull out the shadows much better than you could with JPG.

2. Exposure Blending
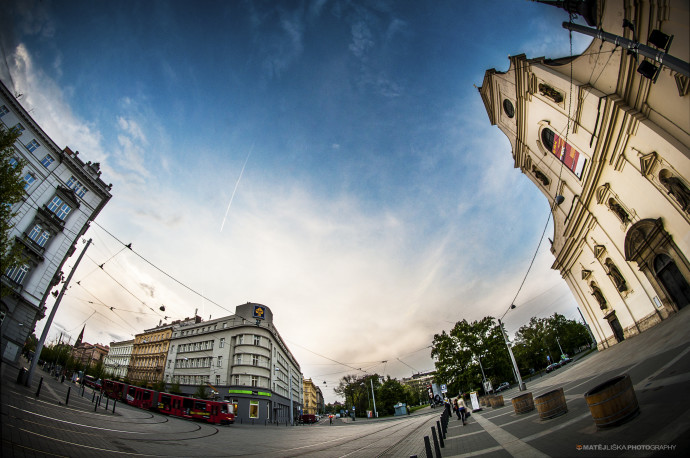
Sometimes you take an underexposed photo not accidentally, but because it’s part of your plan. If the difference between the bright and the dark parts of a scene is too large to capture in one shot and you know, before you even take the shot, that shadow brightening won’t be enough, then you can start getting ready for HDR via Exposure Blending or HDR via Tone Mapping.
The way HDR works is that you blend multiple shots (typically one dark and one light) into one picture, darkening the bright parts and brightening the dark parts.
If you will be blending exposures using Tone Mapping HDR, then keep in mind that this function can easily change the photo more than you need. So be careful with your choice of intensity.
For a full-fledged article on HDR, we can recommend How to Create HDR Photographs in a Few Easy Steps.
3. Brighten Photos Using Curves
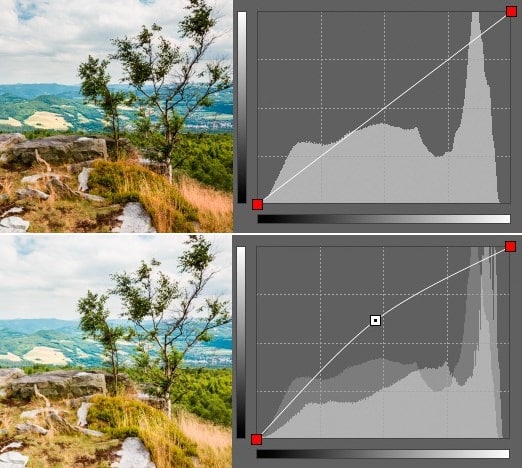
Photos can also be edited using the Curves filter, which you can find in the Editor’s Adjust menu. (You can also call it up with the Shift+C shortcut.) Curves give you many more options when brightening a picture than ordinary exposure edits do. To learn how to work with Curves, you can read our detailed article How to Use Curves to Adjust Image Exposure.
4. Use a Selection to Edit Just Part of a Photo
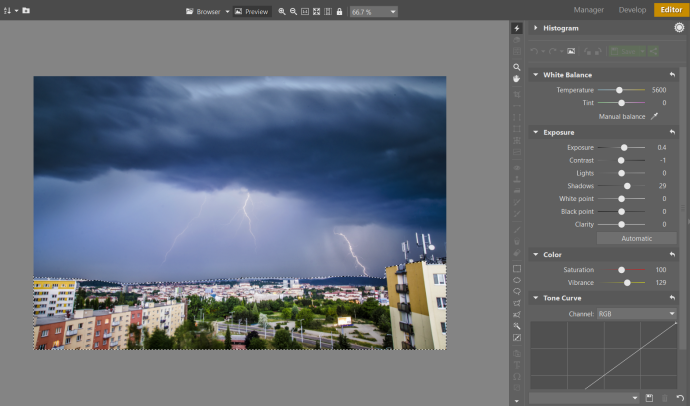
If you only want to brighten a portion of a photo, then brightening shadows won’t necessarily help you because shadows won’t always be limited to just one part of a picture—and in the sky, for example, you want to leave your shadows dark. So work with just a selected part of the picture. To select part of the picture so you can do this, use one or more of the selection tools. I recommend using the magnetic lasso—this is a very intelligent tool that you can use for even the most complicated selections.
5. Create a Low Key Photo
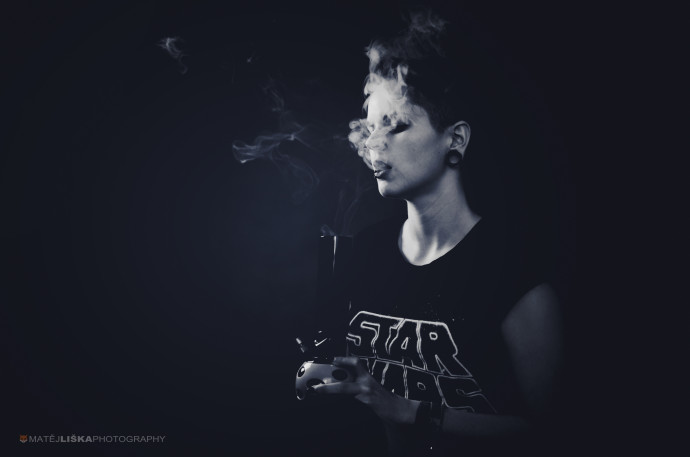
If you’re about to press the trigger and you know that you only want to emphasize certain outlines in the picture, then try darkening it even further, then brightening only the light tones. Only a few outlines will stand out, and the photograph will be built upon the fact that less is sometimes more. You can read in more detail about low-key photographs in a separate article.
6. Make Darkness Your Intention
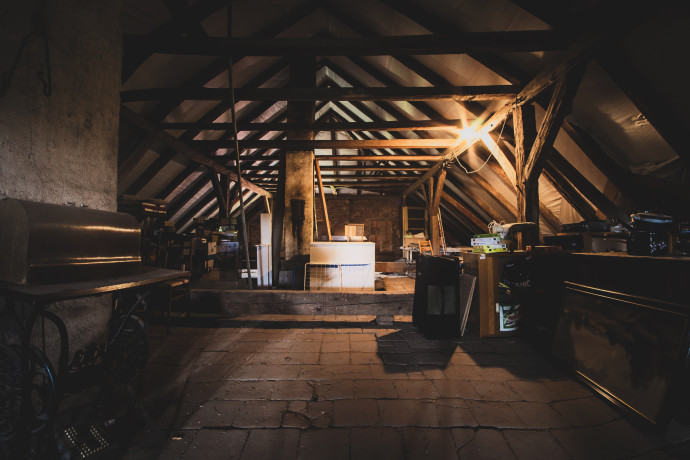
The last possibility is to leave the photo deliberately underexposed or darken it even more and only perhaps add light, like in this photo here.
Not a Tragedy, Still Worth Avoiding
A dark photo is better than one that suffers from blowout because the noise that comes from brightening shadows can be eliminated with a noise-reduction function, but white blotches from blowout usually can’t be saved.
It’s still important to avoid dark photos, though, and it’s easy to do. For example by wisely choosing your exposure settings or by shooting to RAW—which gives you much more to work with than JPEGs do. Exposure editing in RAW gives much more natural results.
You can also get dark photos when you’re shooting against the light in an automatic or semi-automatic mode. So in cases like these, just to be sure, I use bracketing, where I take three photos in a row (one dark, one normal, and one light). Even though I don’t plan to assemble HDR from these three different exposures, it’s better to be able to choose.

Does your photo archive include dark photos that you’d like to brighten? Download Zoner Studio, check it out for 7 days for free.