9 Practical Tips for Photographing Historic Buildings
You are standing before a magnificent landmark, holding up your camera to shoot. The many (other) tourists around you are constantly stepping into the frame. On the display you can see that the building’s lines are “falling” backwards, and overall it just does not meet the expectations you had from the beautiful promotional photos. If the lines above sound familiar to you, don’t despair. We’ve prepared some tips for you on how to handle tourist-site photography.
Historical buildings, ancient spaces, and famous statues and structures have one major disadvantage for photographers. It’s likely that many other people have photographed them before you, and so you will have trouble finding an original take on them. And buildings tend to be large, and the crowds of tourists do nothing to make your work easier.
1. Equip Yourself Well
You’ll welcome a wide-angle lens when you are trying to capture a building or monument in all its immensity. But telephoto lenses, too, are nothing to sneeze at; they can be useful for catching certain interesting details.
On bright sunny days, pack a polarizing filter in your bag. It can reduce reflections, which can be annoying e.g. on buildings’ windows, and it can also give you more saturated colors and a highlighted sky. Just be sure to take it into account in your photos, and it will surely serve you well.
In bad light conditions, don’t forget to take a tripod with you. These can also come in handy for preparing panoramic pictures and, last but not least, for pictures with a smaller aperture, to get clearer architectural details.
2. Wake Up Early
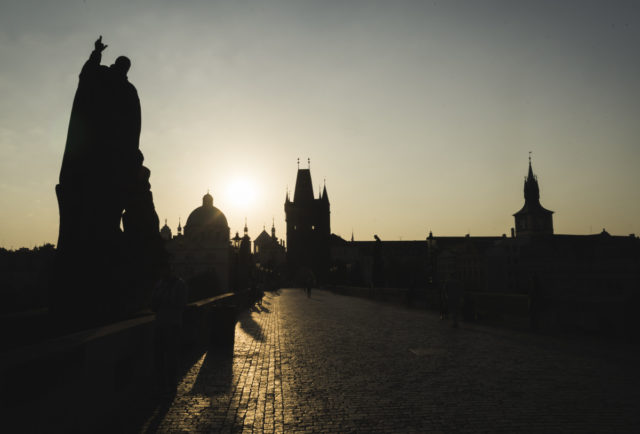
Few people want to wake up in the early morning on their vacations. For us photographers, this is an advantage. Before all the tourist traps fill with people, we have a little time to take pictures and enjoy these places undisturbed in their full beauty. Another bonus here is the soft, gentle light of morning, which can give pictures a pleasant atmosphere.
3. Take Your Pictures in Varied Conditions
Try to return to the building in the night or in different light or weather. You never know what conditions will suit the site the most. The soft morning light with no tourists around definitely has its magic, but an old English cathedral can look just as good on a gloomy, misty day, and a significant statue can be supplemented with dramatic storm clouds and lightning in the background.
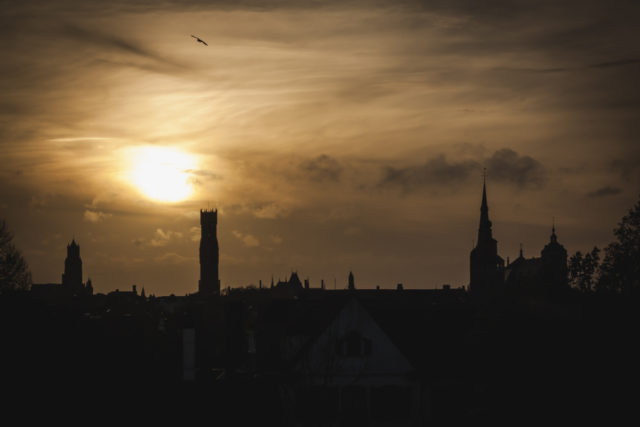
Sunsets, meanwhile, can—especially in the summer—magic up a sky full of orange and reddish tones, creating an impression of fire.
4. Visit History
Before you head out on your trip, browse a few tourism brochures, websites, and history guides. Perhaps the story hidden behind the outer shell of a historic building will lead you to a place or a detail that is important for its story.
You will have material not only for your idea of how to depict the location, but also for creating a photographic series and labeling the photos. The more you know about the place, the better you will be at telling more about it through pictures.
5. Think about composition.
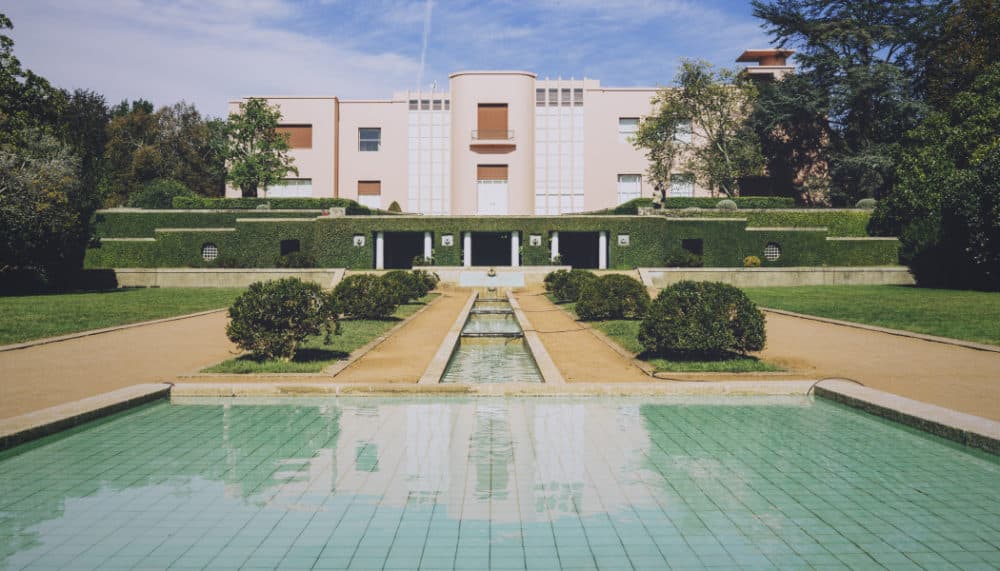
Don’t forget about classical rules of composition such as the golden crop rule when taking your pictures. Also make use of symmetry—architectural landmarks often work with it, and so there is nothing simpler than to let it shine through.
You can also seek symmetry outside of the site itself. You merely need to, for example, make use of reflections of buildings in a water surface. Seek guidelines that will help you create an illusion of space in your two-dimensional photo: spirals of staircases, converging lines of long spaces, and curves and rounded lines.
6. Tone Down the Perspective Effect
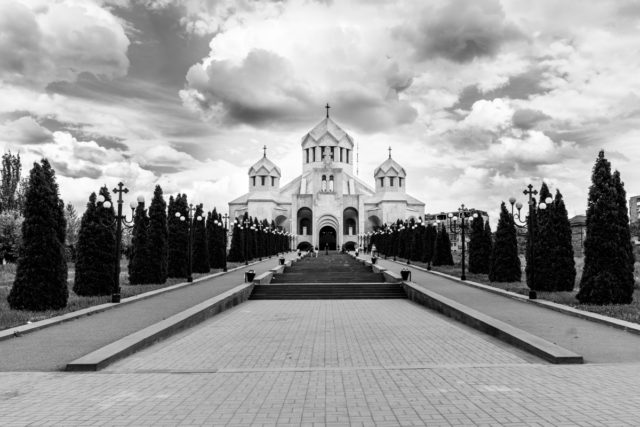
Vertical lines appear within the structures of most large buildings. Our brains process an enormous amount of information so that we can always see these lines as straight. Cameras lack this ability, and thus often you will see converging lines on your display instead of straight lines.
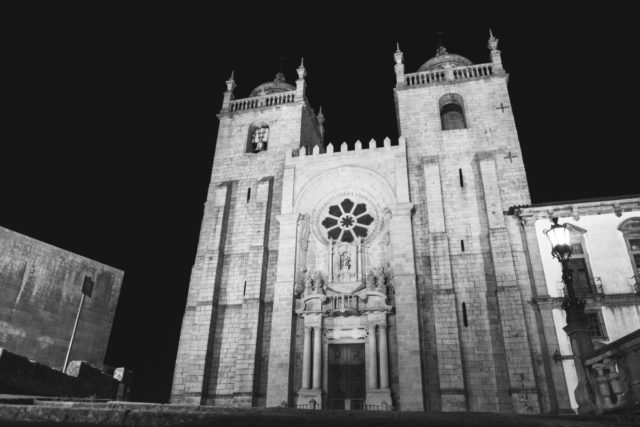
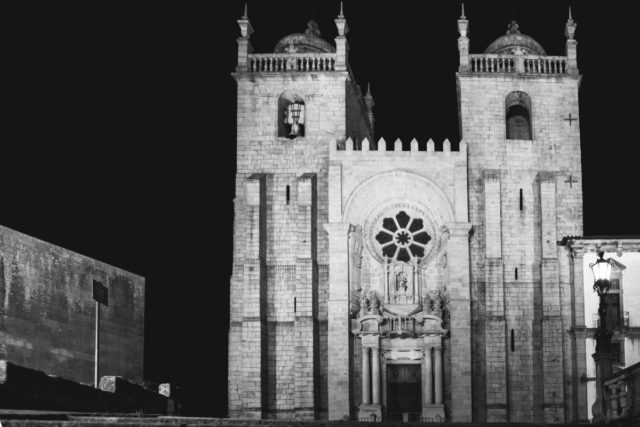
To prevent this, you have to shoot with the lens pointed straight at the center of the building, between its top and bottom horizon line. Ideally you want to walk up to an elevated place or at least walk a bit away from the building.
But it’s not always possible to do either of these things. In that case, you can fix perspective later on a computer. In Zoner Studio, the Develop module’s Straighten Lines tool will help you with this.
Would you like to know more about straightening lines? Read one of these articles:
7. Try Unconventional Angles
It definitely won’t hurt if you photograph a few typical views of the given site. After all, you never know if you’ll make it back to that place. So why try to save space on your card?
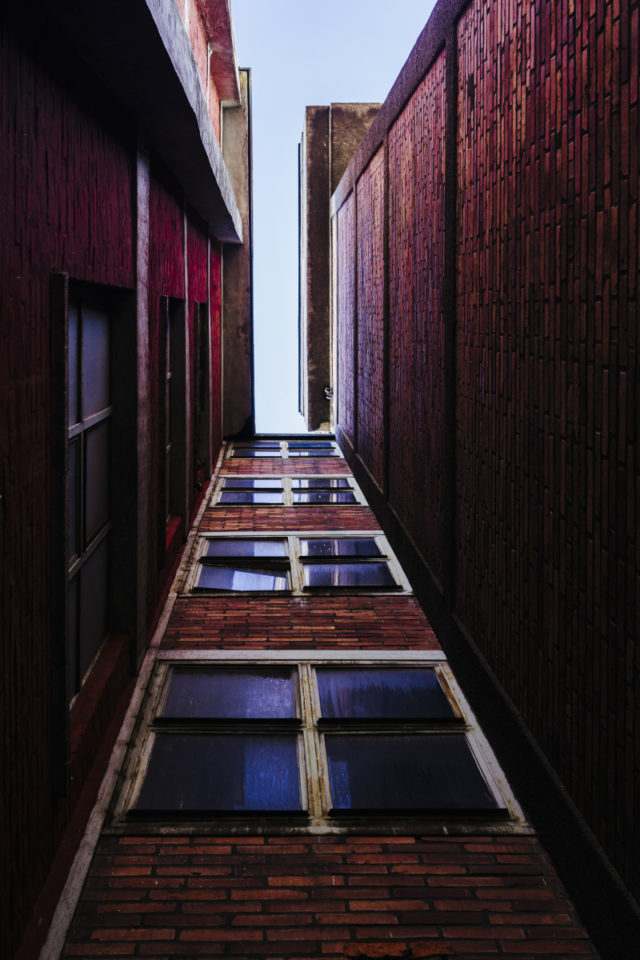
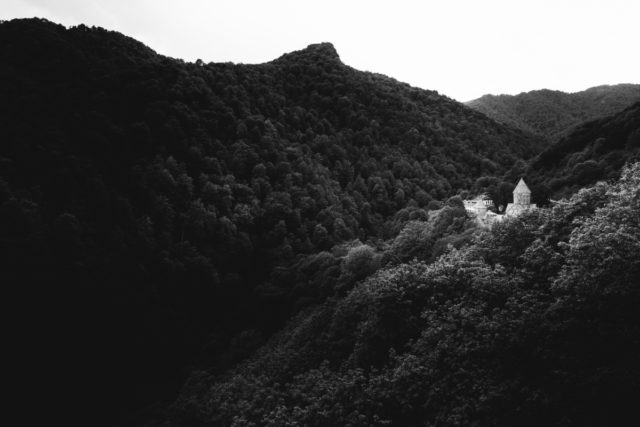
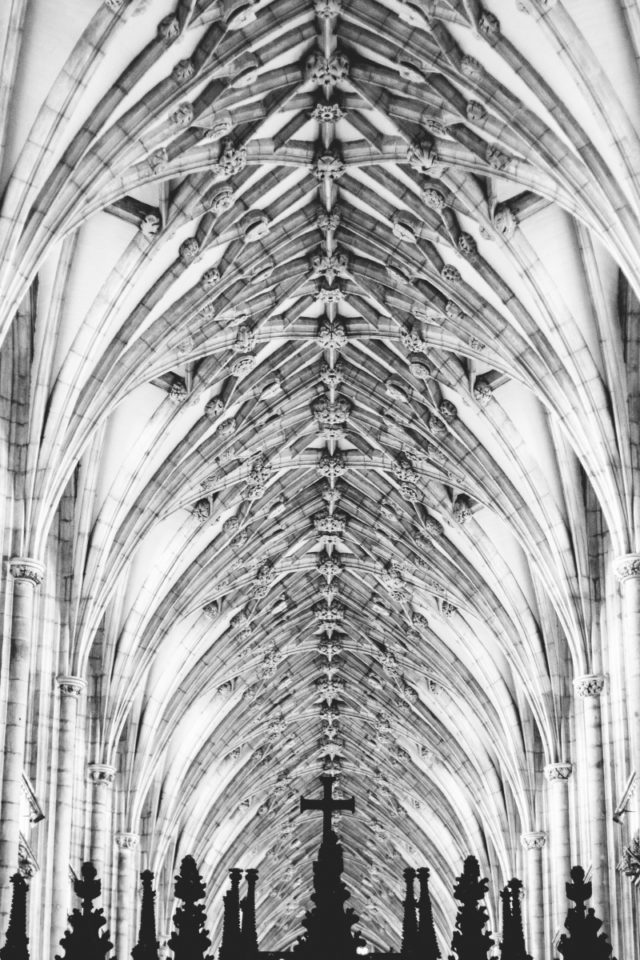
On the other hand, don’t be afraid of atypical shots and views. Try stepping just below the building and taking a photo with your lens pointed towards the sky. Capture the building from the opposite side as other people. Try supplementing your picture with people flashing by. Photograph just part of the building, and try combining it with some element from its surroundings.
Often for tourist sites you’ll find a clump of people taking pictures from a single place, seemingly the best one. Don’t be fooled; try to find your own view.
8. Focus on Details
Closeups can be just as gripping as overall pictures of these sites that depict their immensity. Arranged into a photo series, they can fill in the building’s overall atmosphere. They can also help to reveal aesthetically valuable elements that would pass unnoticed in an overall view.
9. Take Your Time
No matter whether you’re trying to take pictures in the morning, at night, under direct sunlight, or in rather ugly weather, don’t hesitate to wait and try multiple perspectives and angles of view. After all, historical buildings have been in one place for quite some time, and they’ll hardly run away from your lens.