Architecture Photography Part 3: Interiors and Unique Architectural Elements
Architecture photography inherently includes interiors. However, interiors are subject to slightly different rules than exteriors. We’ll go over these rules and show you how Zoner Studio can help with your editing. Finally, we’ll take a look at a few unique architectural elements.
Our series on architecture photography has already covered the architecture of old masters and modern architecture. We’ll close the series with interior photography. Interior photography is more than just taking a picture of a room. It’s a process that requires understanding of light, composition, and details. This article focuses on key techniques and tips to get amazing results when photographing architecture interiors.
How to shoot interiors
Photographers must be able to transform a three-dimensional space into a two-dimensional picture that conveys its feeling and atmosphere. The photographer aims to give viewers a glimpse into these places and an opportunity to experience what makes them unique through the camera lens.

Light is the most important element for indoor photography. Daylight from the windows is often the best option because it adds softness and authenticity to the pictures. However, avoid direct sunlight because it can create harsh shadows.
If daylight is not enough, artificial light sources can be used. These include softboxes or light panels. These can be used to achieve even lighting without any unwanted glare. However, only professional photographers generally carry this equipment.

External flash is also commonly used. It is ideally aimed at the ceiling to diffuse the light.
Pay attention to fluorescent lights and their reflectors and diffusers. They can make the photo covered in unwanted glare. Also, keep an eye out for different colored or decorative ceilings which can alter the photo’s colors.
Use your camera’s built-in flash only on very close subjects or people. Or better yet, don’t use it at all.
The right composition is key to successful interior photography. It’s a good idea to experiment with different angles and heights to find the best perspective to emphasize the space and character.
The use of a wide-angle lens can help capture more of the space. But it’s important to avoid distortion. This can result in unnatural looking objects, especially at the edges of the image. Some of the tilt can be corrected in Zoner Studio, which we will demonstrate later.
Editing in Zoner Studio
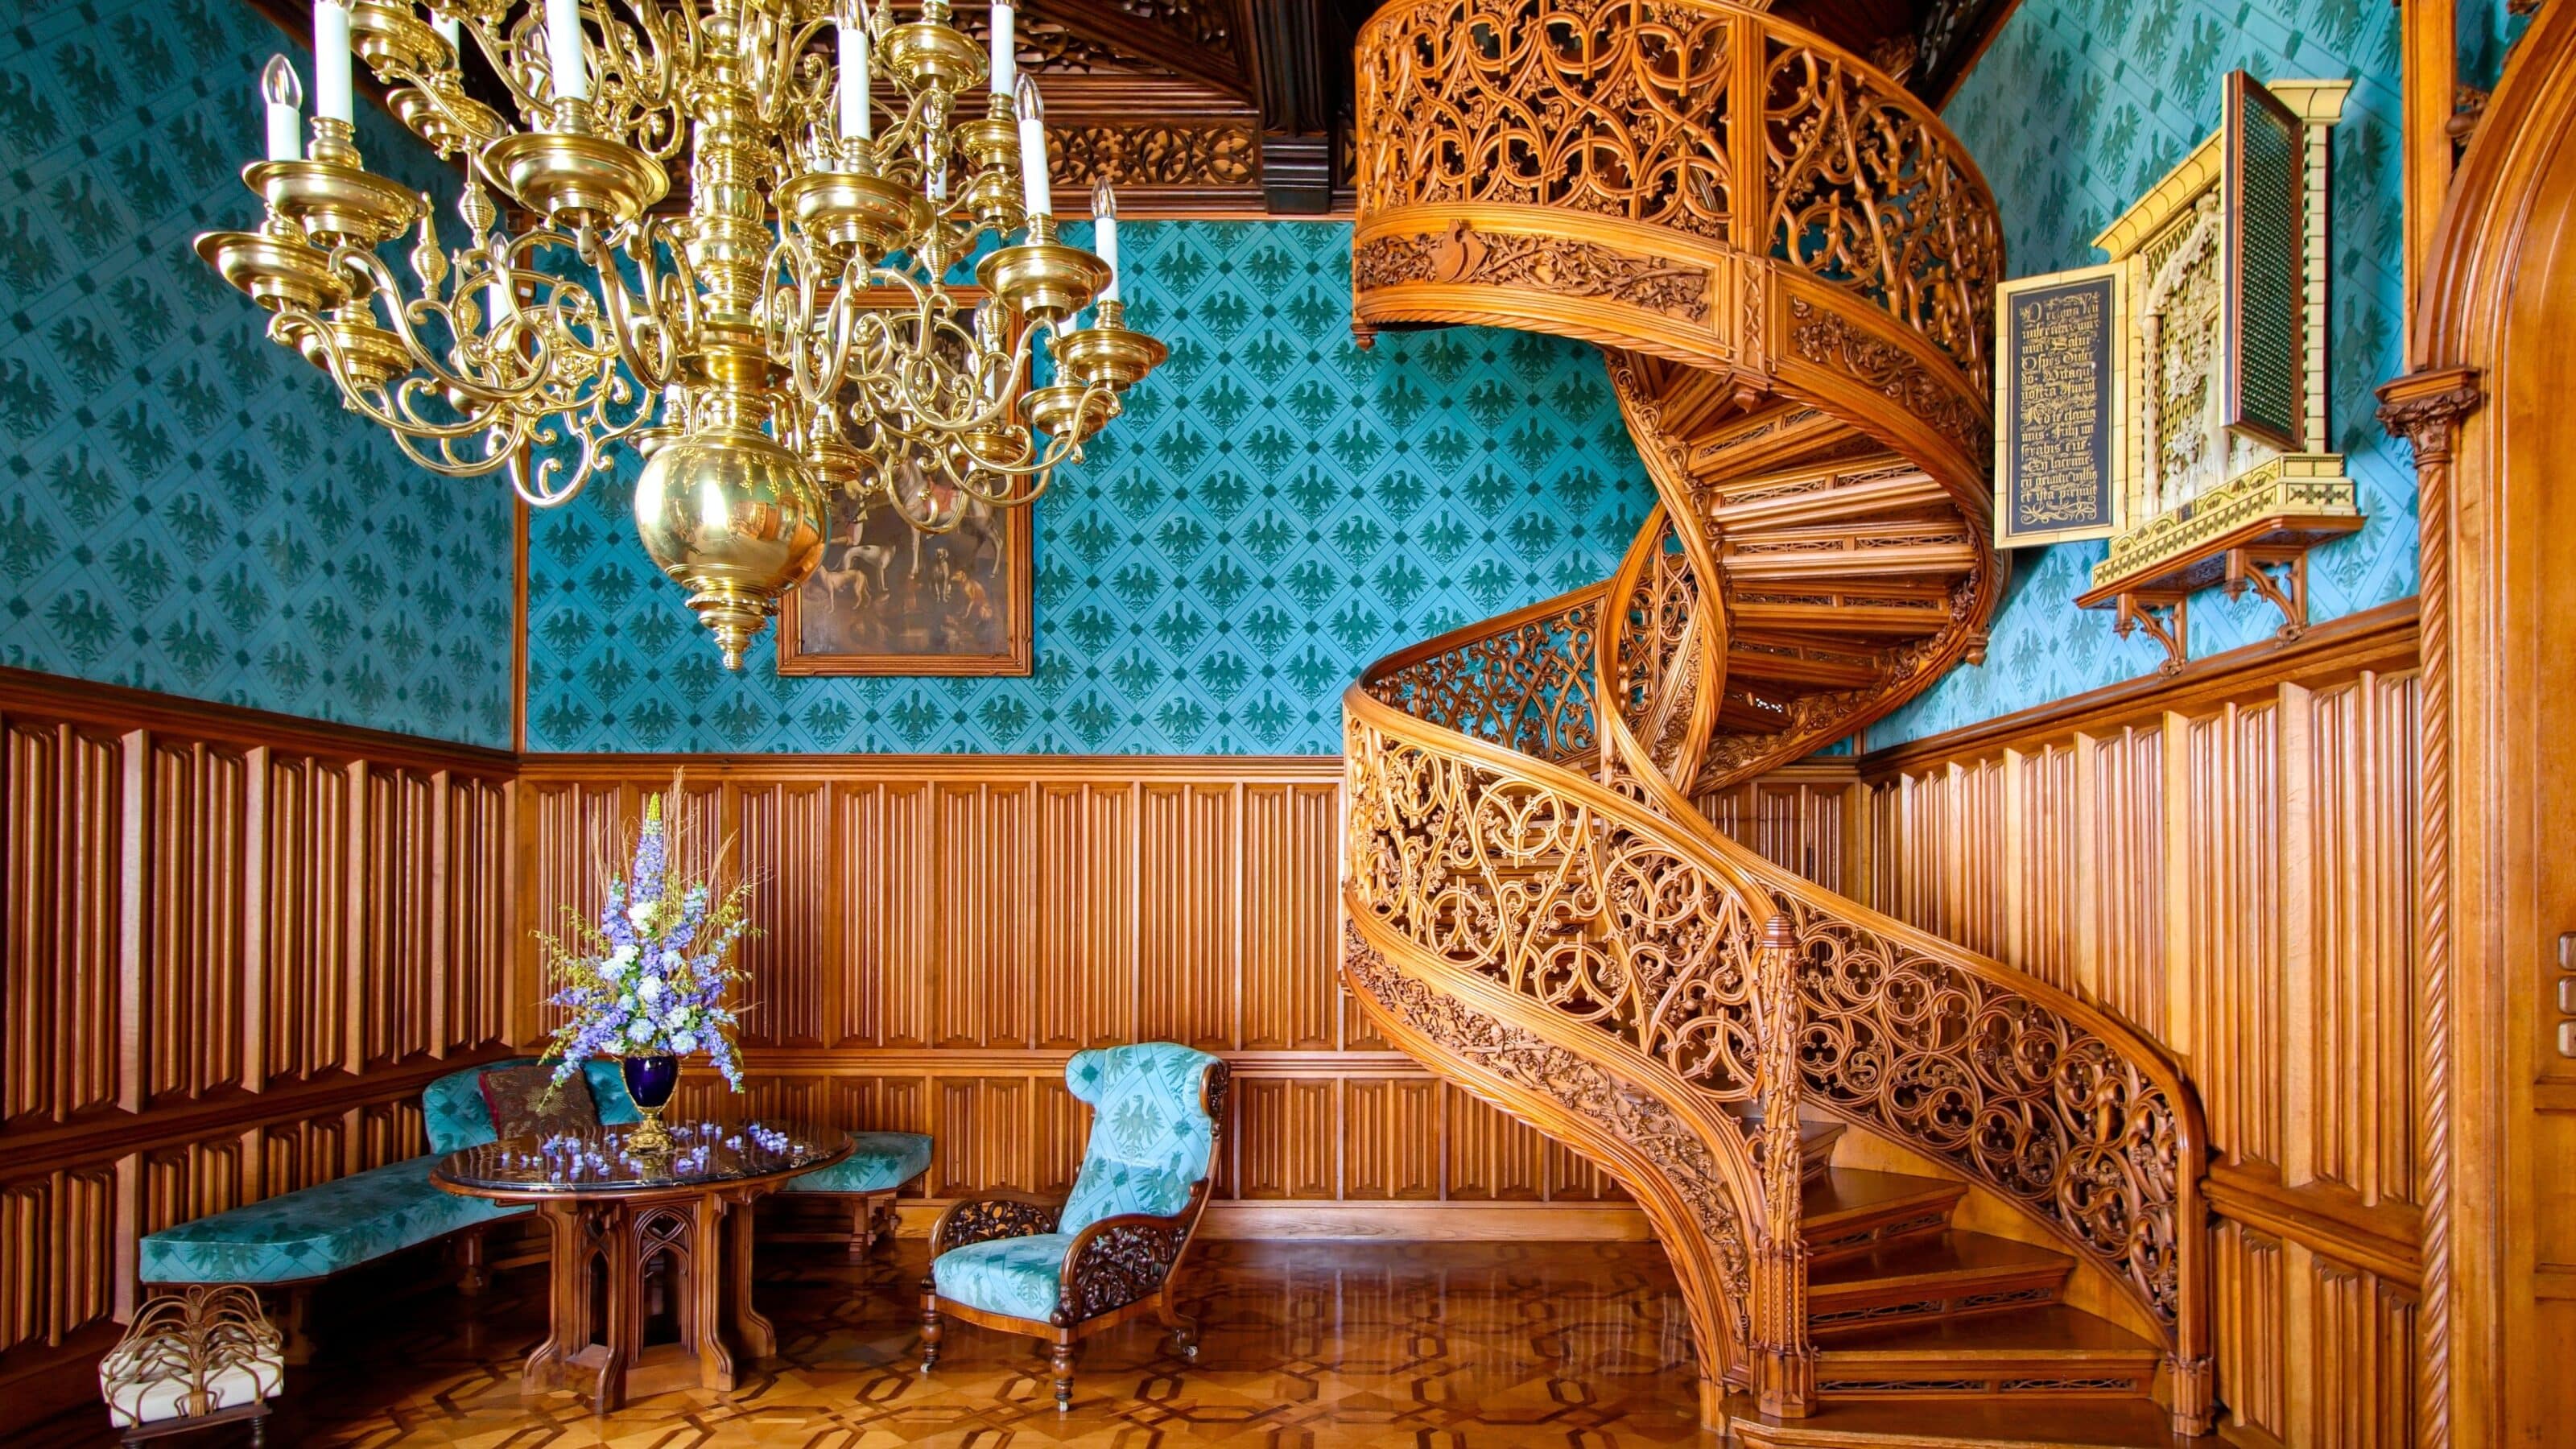
For a demonstration of the editing process, I chose a photo of the library from the State Chateau Lednice. As an ordinary visitor, you don’t always get the most suitable angles for the best composition, so you have to improvise.
Before you start shooting, make sure photography is permitted in the given location. Some places do not allow photography, or may charge a fee.
This photo was taken during a standard tour of the castle. I used a wide-angle lens to get as much of the space as possible. However, this resulted in an unnatural perspective. I later edited this photo in Zoner Studio.

First, I use the Camera and Lens (M) function to help remove lens defects, mainly barrel distortion. When editing interior architecture photography, the Straighten Lines (K) function comes in handy. Because of the large number of lines in this photo, I am going to try the automatic function, Smart Straighten.
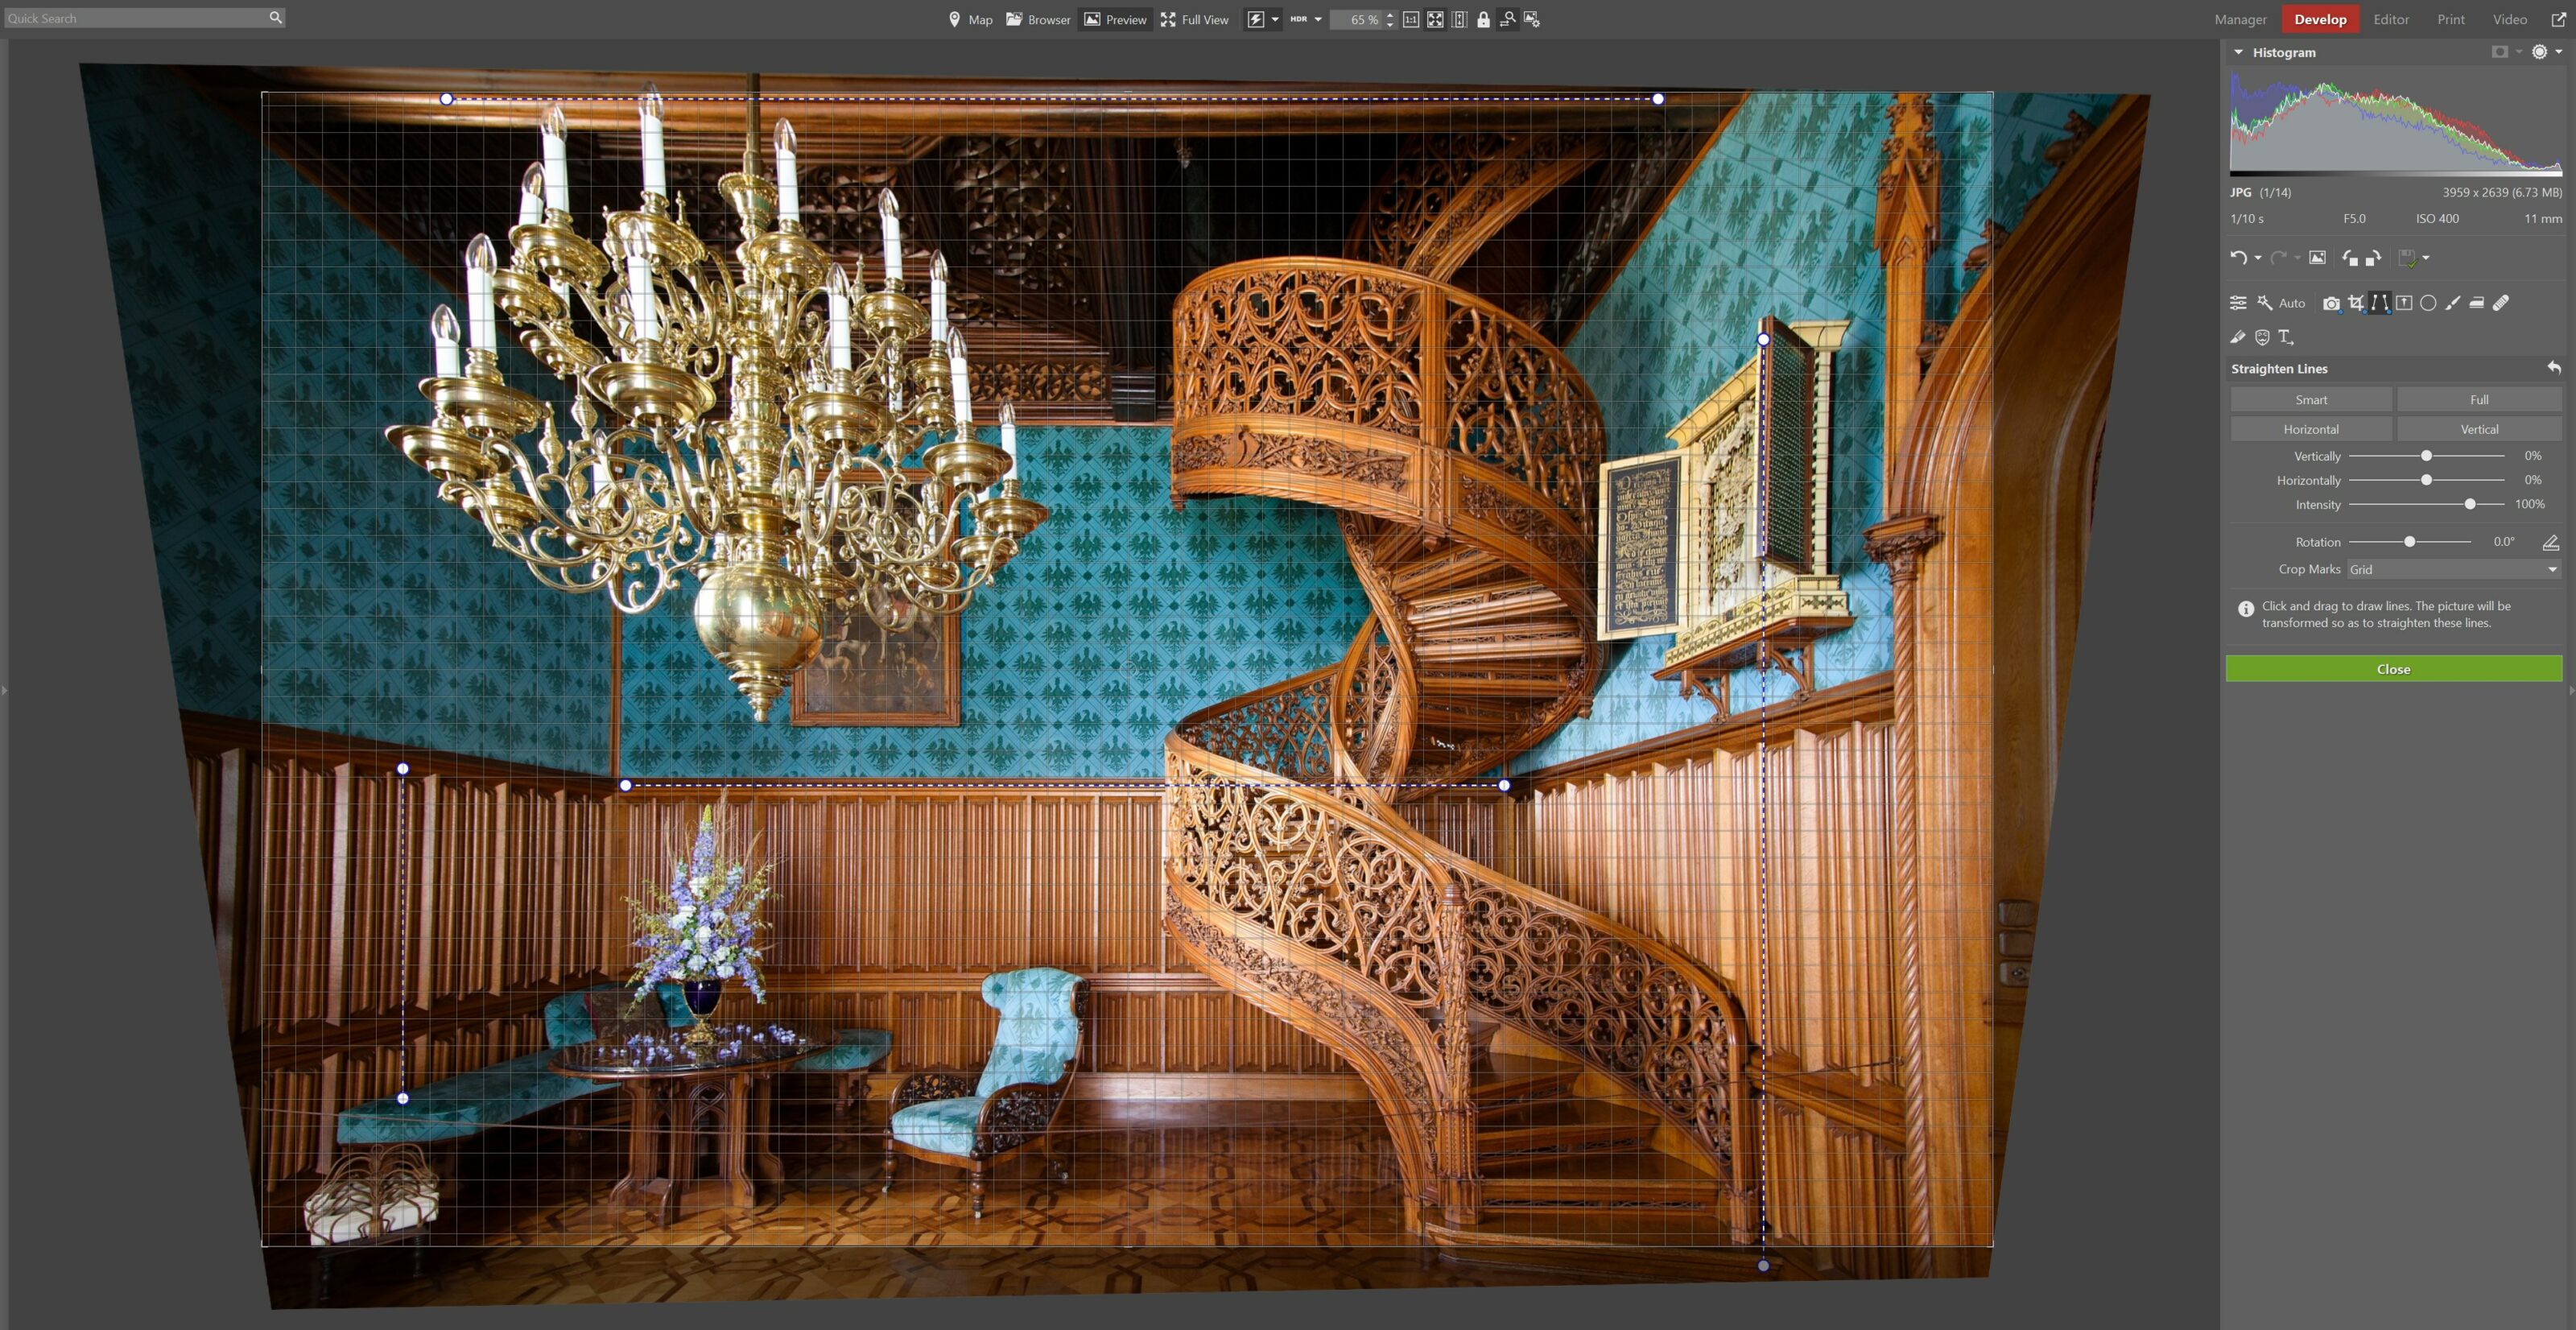
The photo straightened out nicely. If I want to include more of the background in the photo, it would be in exchange for larger and unnatural curvature. With this compromise, I can move on to other adjustments. The Vivid Colors Color Style works well for this photo.
Next, I adjust Exposure, Contrast, and other values. I highlight the photo by increasing Exposure to positive values and slightly increasing Contrast. I also pull up White Point and pull back Black Point. I had to decrease Lights under Dynamic Range, because the photo would otherwise be overexposed. I also brightened the shadows.
I increased Saturation and Vibrance under Color. However, be careful with these adjustments so you don’t get an overly colorful image that does not portray reality. Remember what the scene looked like when you took the picture and try to match it. I slightly increased Shadows and lowered Lights under Tone Curve to highlight the photo more.
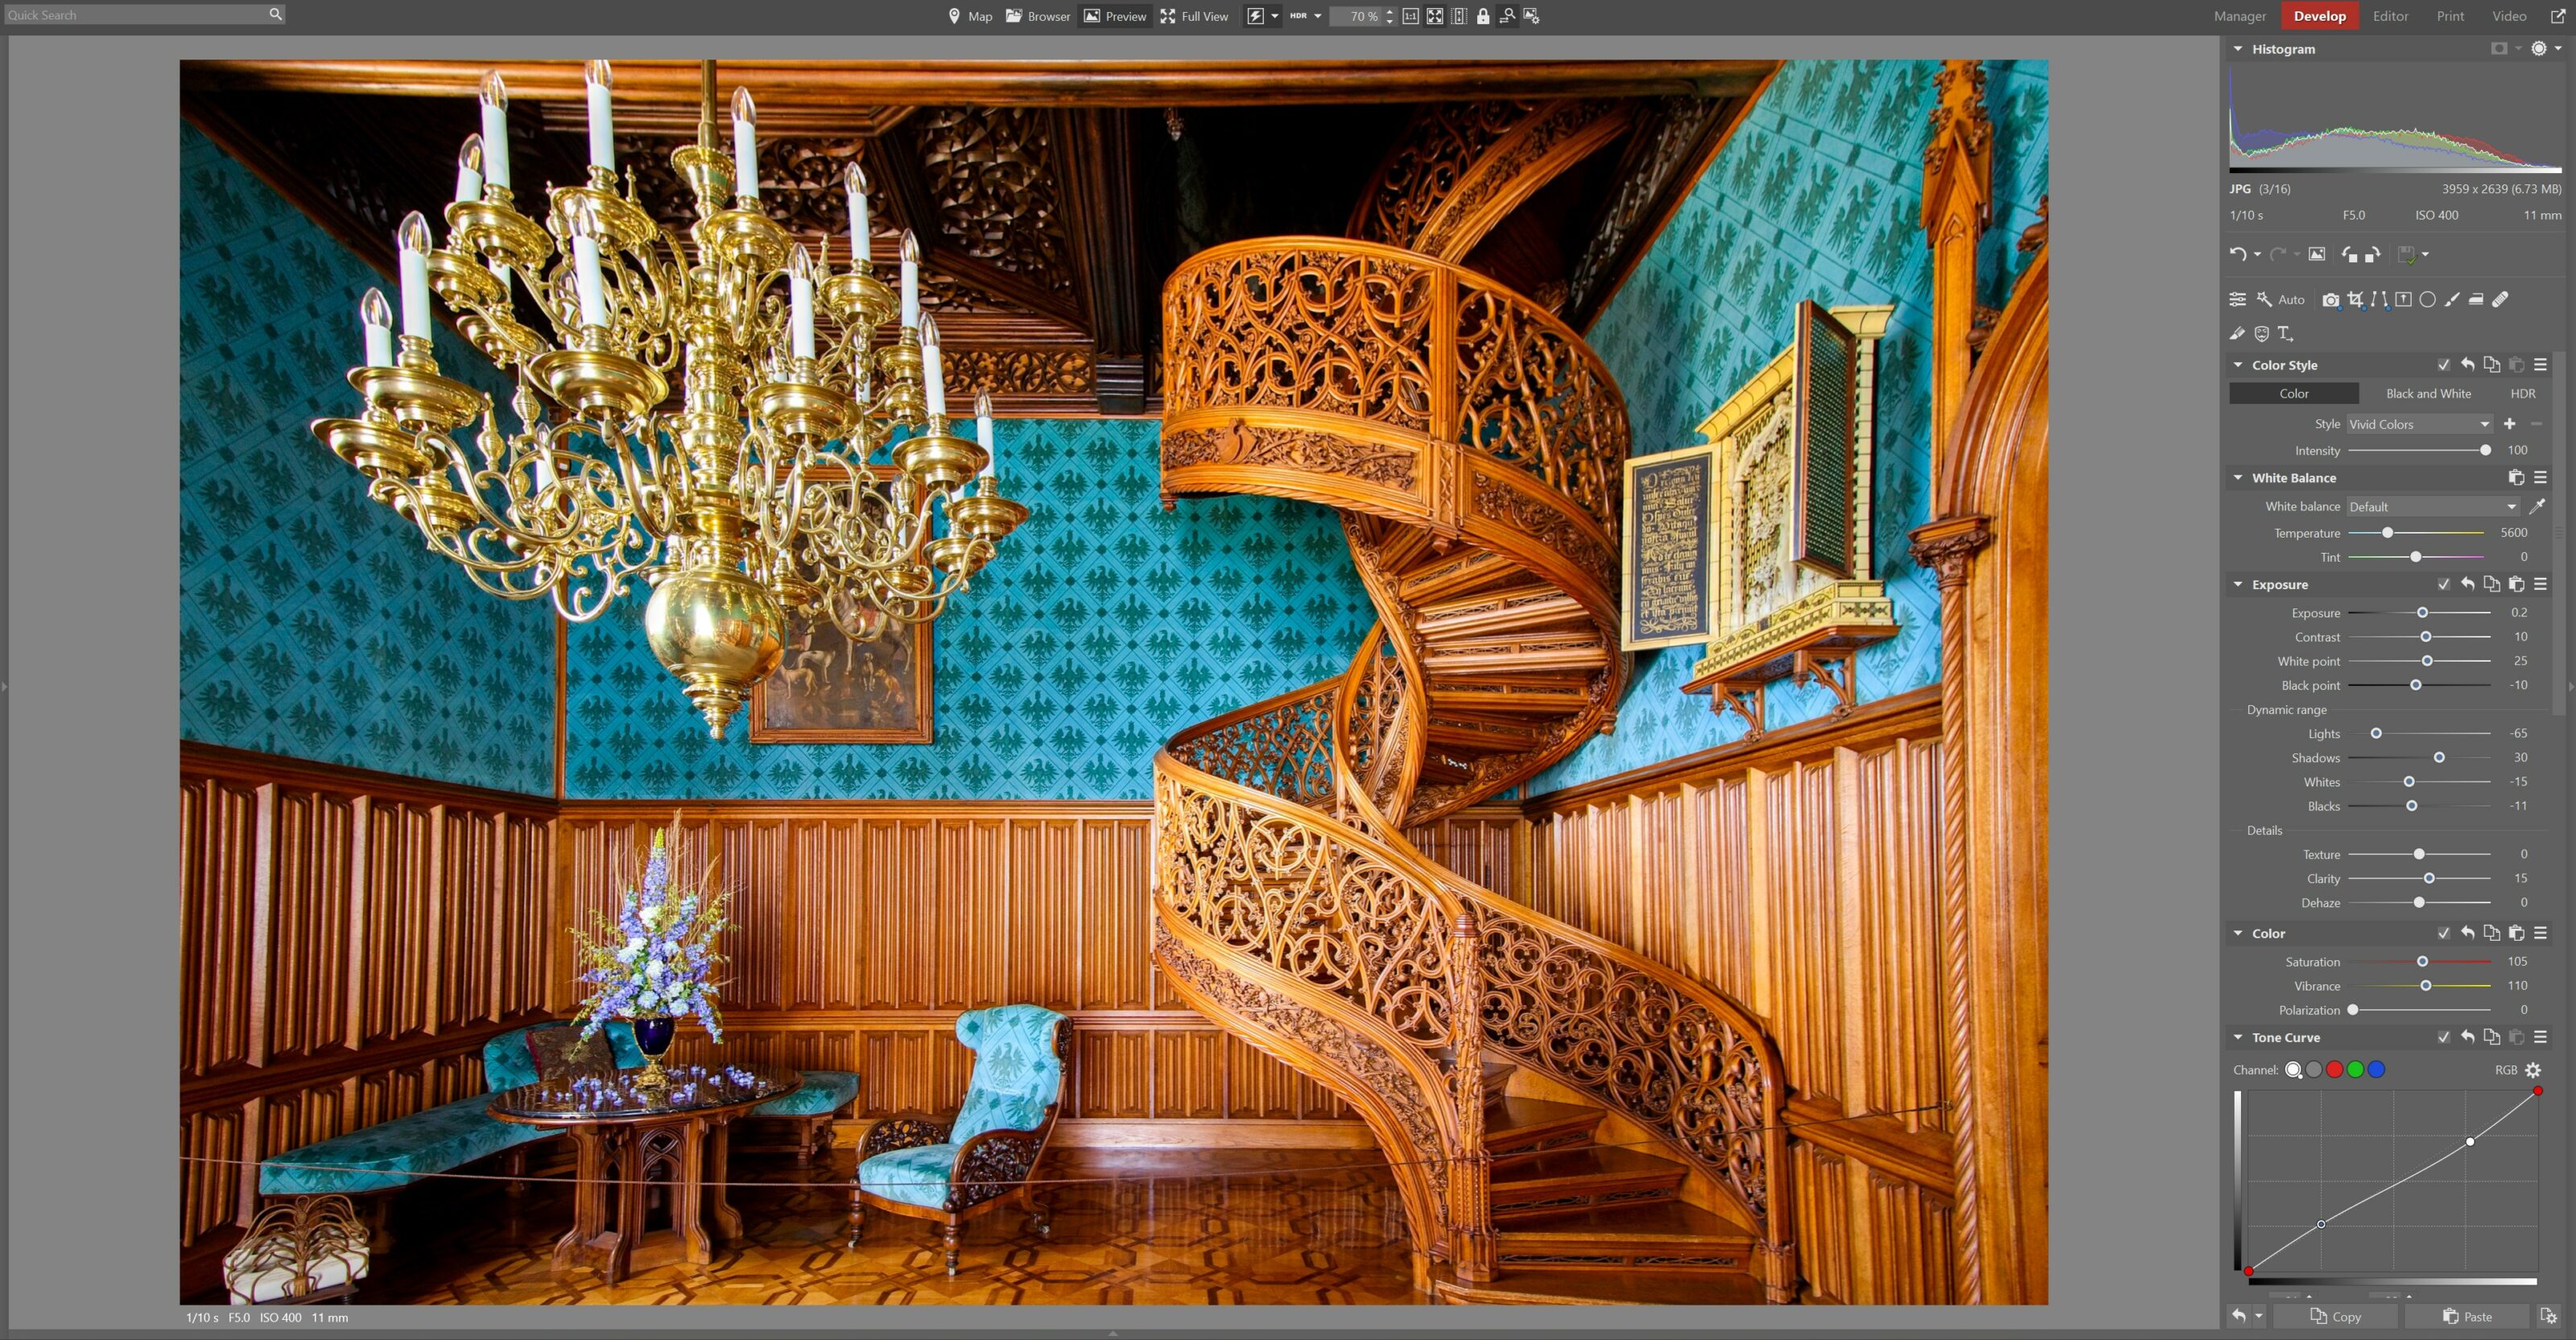
At this moment, the photo looks pretty good, but because of the window behind me there is glare between the wall and floor. I use the Radial Filter (R) to reduce it.
I use the ellipse to select the bright areas. I adjust brightness settings to positive values. Again, be careful it doesn’t turn into a black blob.
At this point, I can be done editing. The photo faithfully captures what the space looked like and compared to the raw image data, it turned out nicely. If you’re a perfectionist and have enough time, a steady hand, and the patience, you can edit out the rope that keeps visitors out of prohibited areas.

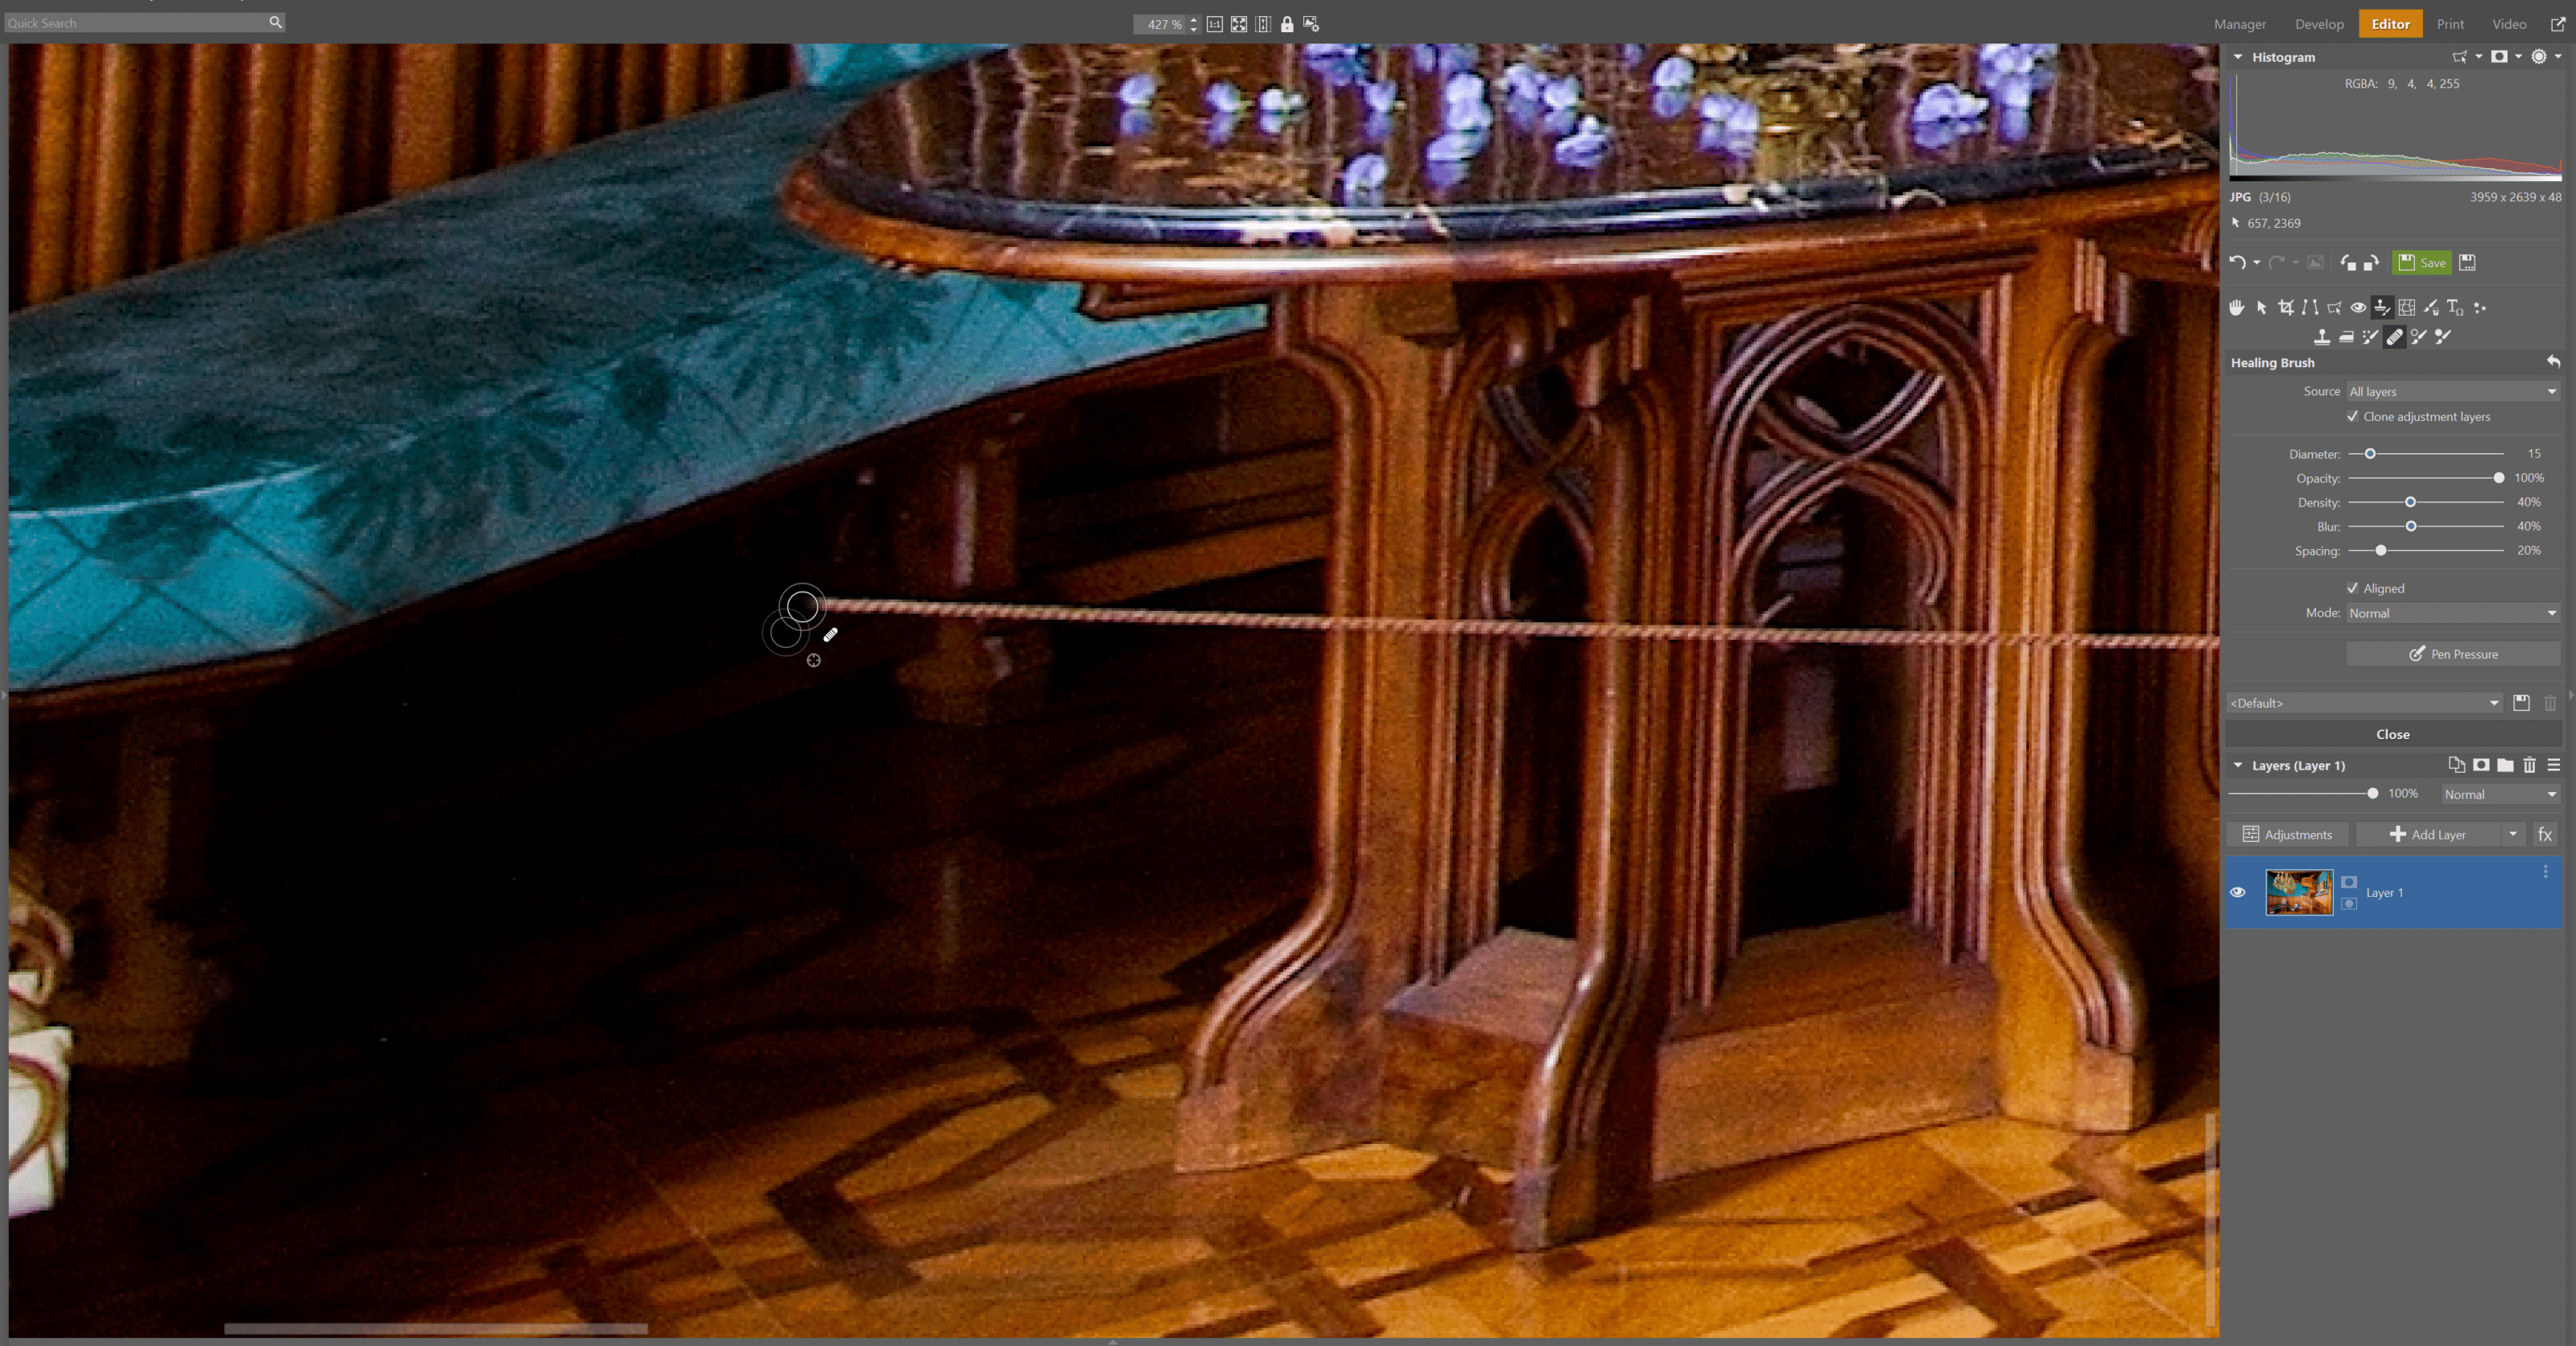
For photographers, a rope like this is a nuisance. We can remove it using Zoner Studio. I use the Clone Stamp and Healing Brush under Retouching Tools (J) to edit it out.

Retouching can be done in the Editor module, which is more useful in these situations. You can use the Align option under the brush settings to connect the selected source areas to the place you are covering up. When you let go of the mouse, it doesn’t go back to the original selection as it does in Develop.
Export the edited photo to its final format by clicking the Export button in the Navigation Toolbar above the filmstrip.
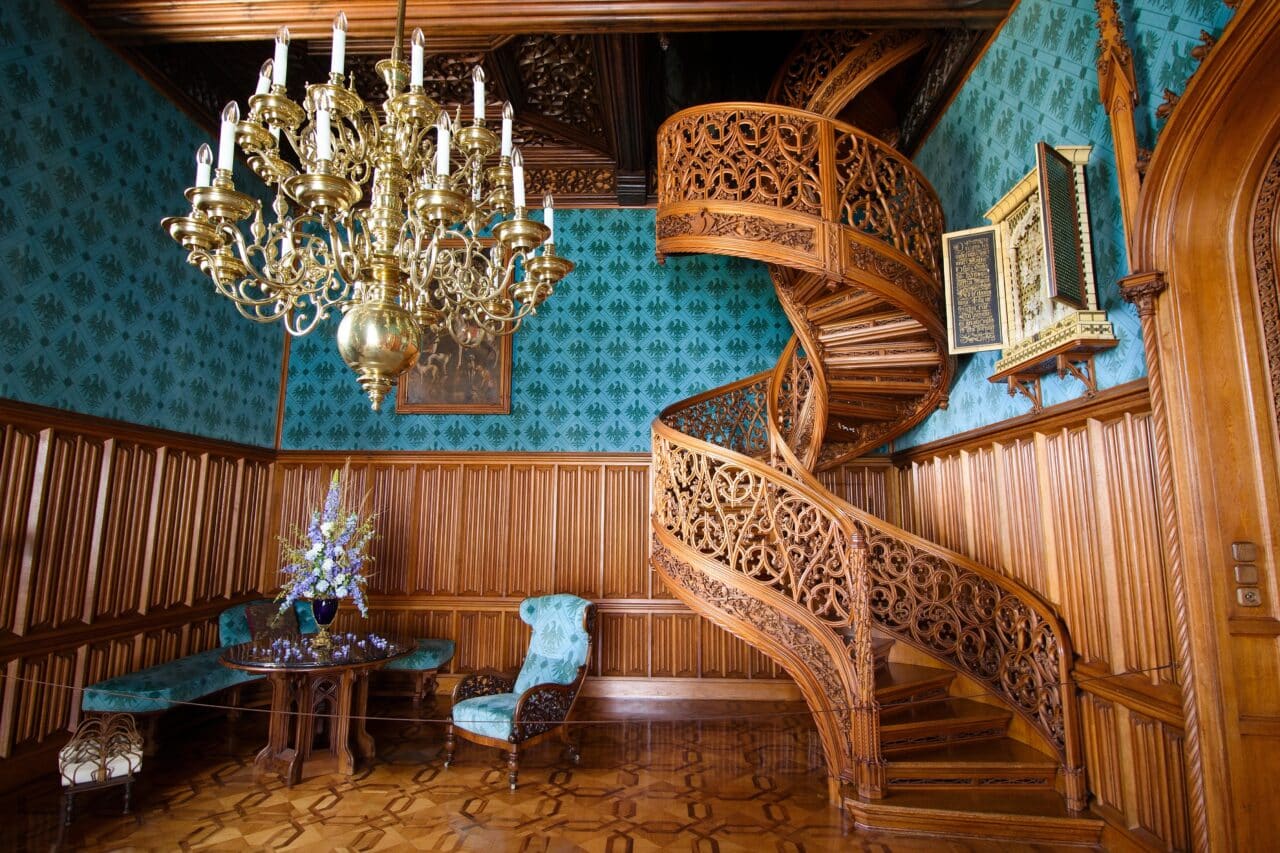
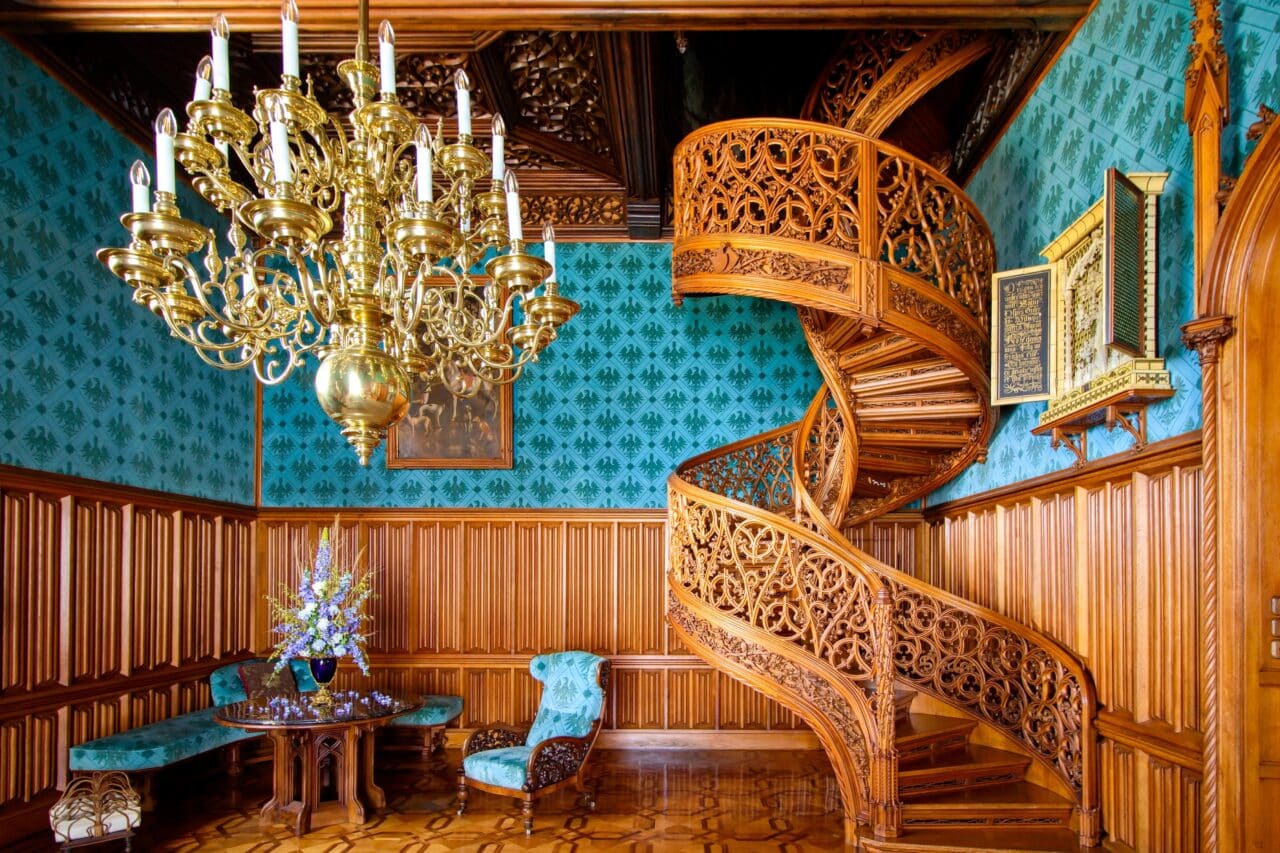
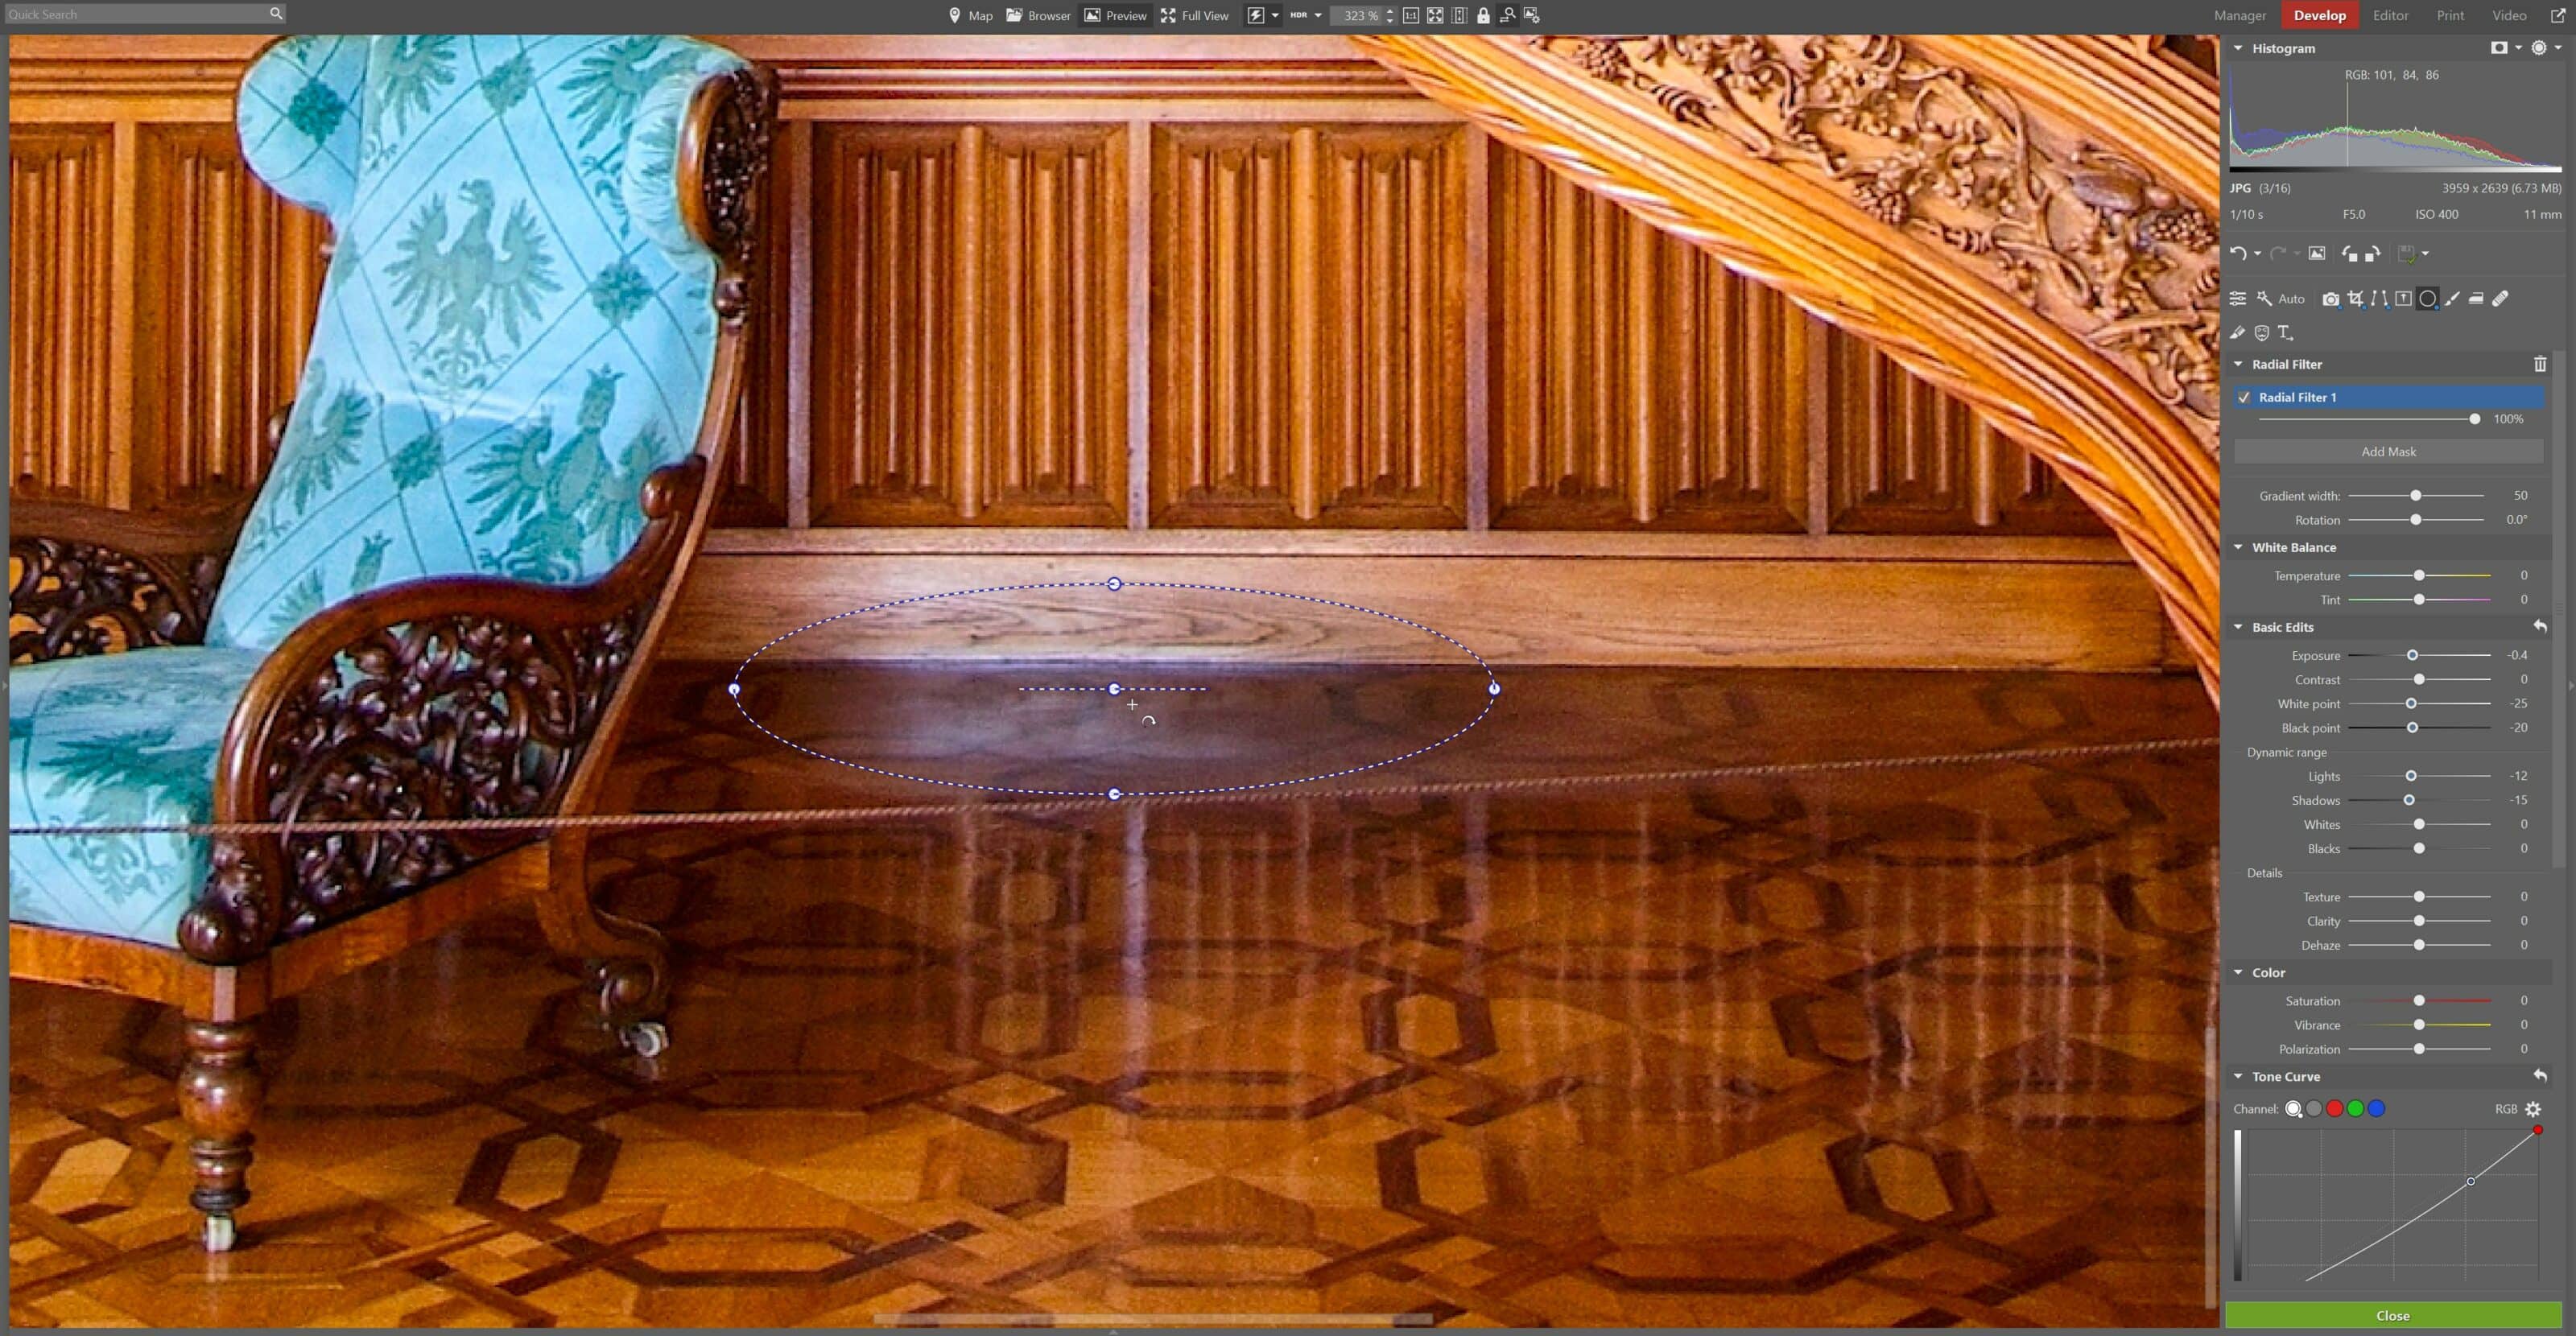
Photograph before and after editing
What to shoot next?
In today’s article, we focused on interior photography, not from the perspective of a professional photographer, but as a regular visitor with limited time and space to capture the scene. Interiors also offer opportunities to photograph unique architectural elements.
Urbex (Urban Exploration) is one of these. This is the photography of abandoned manmade locations or entire cities. These places are often dilapidated or damaged.
I’ll focus on the practical points, what to look out for, and what to focus on when shooting Urbex photography.
First, you must check if entry is permitted for your chosen location.
Remember, these places are abandoned, so there may be danger lurking. That’s why you should be cautious and watch your step. It’s best to visit places like these with other people for mutual security and safety.

One of the most iconic urbex sites in the world is the decommissioned nuclear power plant near the town of Chernobyl, Ukraine and its surroundings, especially the town of Pripyat. These places offer urbex photography at its finest.
Due to the ongoing military conflict in Ukraine, I definitely do not recommend visiting these places at the moment. But as soon as it’s safe again, I recommend a trip. It’s a very powerful experience.

You’ll find many iconic places, such as a swimming pool still functional even several years after the accident and served as a resting place for the decontamination workers.
You may even be lucky enough to see some abandoned houses. These have been looted many times since the accident, so the only things to be found are things that can’t be removed.

You can find urbex all around the world. It’s often abandoned factories, old industrial sites, hotels, and other places. It pays to be alert because these buildings are often in a state of near demolition. Try converting your urbex photos to black and white and play around with low-key photography.

Other places suitable for photography are different ongoing construction sites, where you can even find humorous scenes, unless you happen to be well versed in workplace safety.

And last but not least, industrial subjects have something for any technically minded photographer.

We’ve reached the end of our series on different types of architecture photography, though we certainly haven’t covered everything. In the first part, we learned about the works of old masters. In the second part, we explored present-day architecture. And finally in the last part, we took a look inside the buildings that fascinate us. I hope it has been an enjoyable and enriching read and I look forward to meeting you at an interesting location someday soon.