Create Your Own Black and White Pictures
The magic of black and white has been with us since the dawn of photography, and meanwhile digital technologies still let you enjoy high-quality B&W even today. But now you don’t need a darkroom, color filters, or a refrigerator full of film cans with different ISOs. You just need a few mouse clicks.
Converting any color photo to black and white is a snap. You just need to bring it onto your computer and then edit it in a few clicks. But it’s also good to first think hard about whether black and white is actually a good idea for the given photo.
The Best Way to Do Black and White? Non-destructively.
There are several basic ways to digitally convert color photos to black and white. Some people like to reduce photos’ saturation to 0, for example. Or to use their camera’s B&W setting. But these routes rob them of many possibilities for creative conversions.
A better route is to edit the color image in the Develop module in Zoner Studio. This module lets you do non-destructive editing. With this kind of editing, you can adjust your edits or restore your picture’s original color version at any time.
To convert the picture, just use the Color controls in the right panel—turn on the Grayscale option.
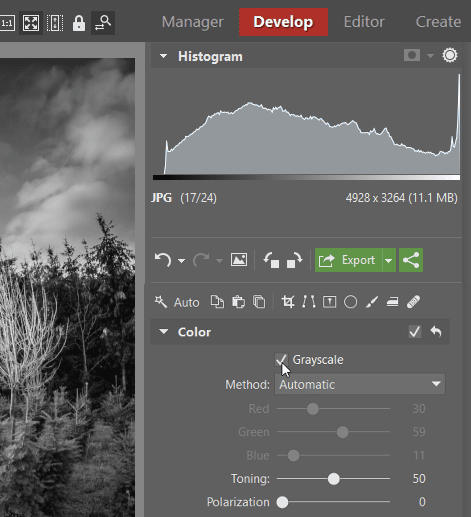
From here there are two basic routes to your B&W photo.
- Via the Automatic option. Here the color channels are auto-configured by Zoner Studio to match how the human eye normally perceives light. Thus you can’t adjust them directly. (You can still influence their intensity using Toning.)
- Via Manual Channel Mixing option. This gives you more control—you can adjust how the red, green, and blue channel each affect the result, so you have more influence over the photo’s final look. It’s all up to the specific picture and your taste whether you go for drama or for a softer atmosphere instead.
Either way, you may also want to adjust the Polarization slider. You’ll especially appreciate it for photos with a lot of sky. That’s because it helps to emphasize blue tones. It can give your black and white picture a much more dramatic feel.
Try Out Different Blending Modes
You can find similar options for making a color photo black and white in the Editor. Just use the Grayscale option (Ctrl+G) in the Effects controls.
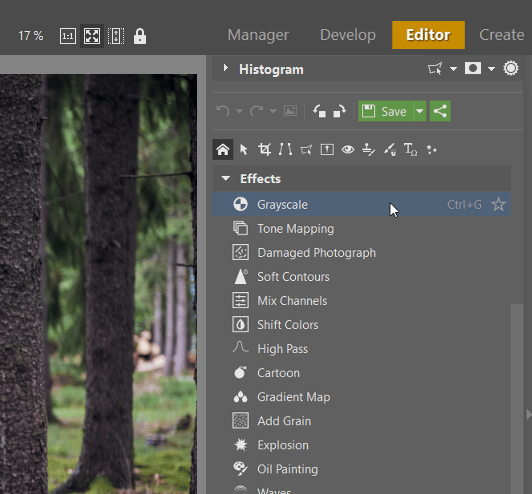
You’ll find several predefined settings here to help you with black and white conversions. Just give them a try and decide which one fits the given picture best.
But here again there’s also an option with full control—the Custom method. That lets you set up the conversions of the three color channels however you need.
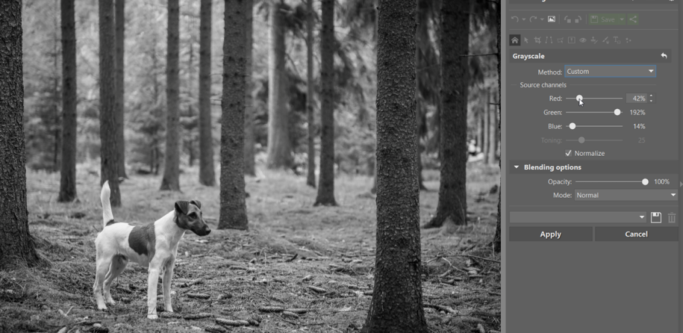
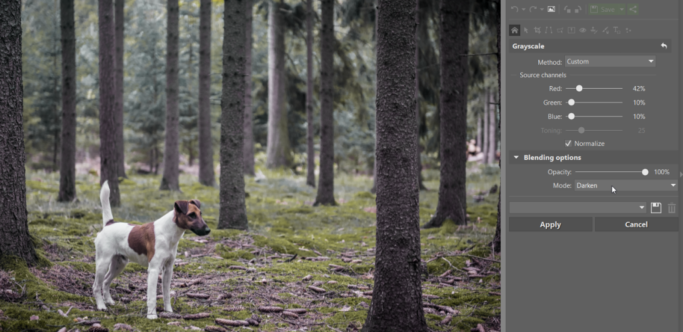
The Blending Options include an Opacity slider. Your black and white conversion can be less than 100% opaque, which gives the final picture a somewhat different feel. The Mode control is there for similar reasons. Use it to set how the black and white image is blended with the original picture.
Adjusting the Picture’s Contrast
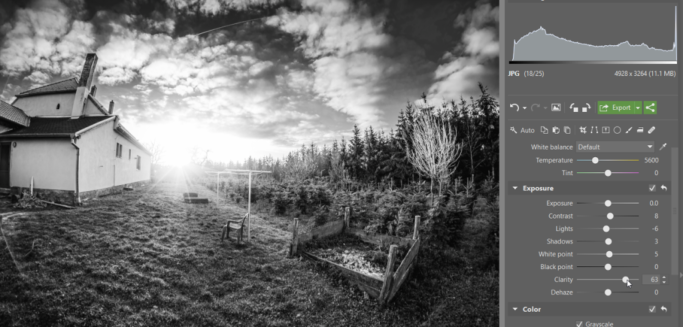
After you’ve converted a picture to black and white, it pays to also fine-tune it using the exposure settings. Ideally once again in the Develop module.
The rule of thumb here is that a B&W photo should be high-contrast. So you can’t really go wrong by upping the Clarity and Contrast. Naturally you can use other tools as well. Here again it all depends on the given picture.
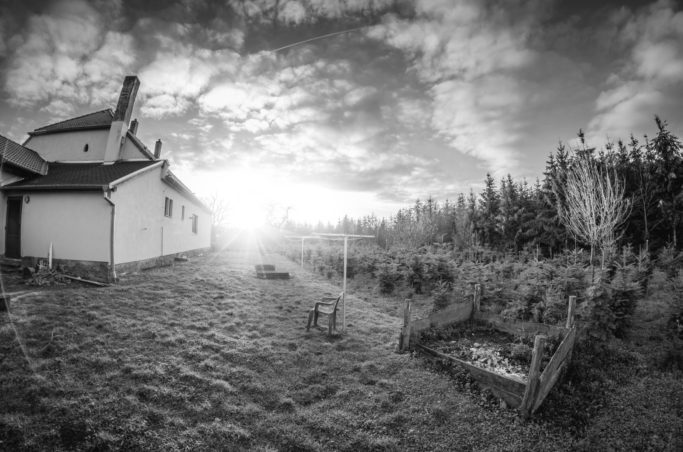
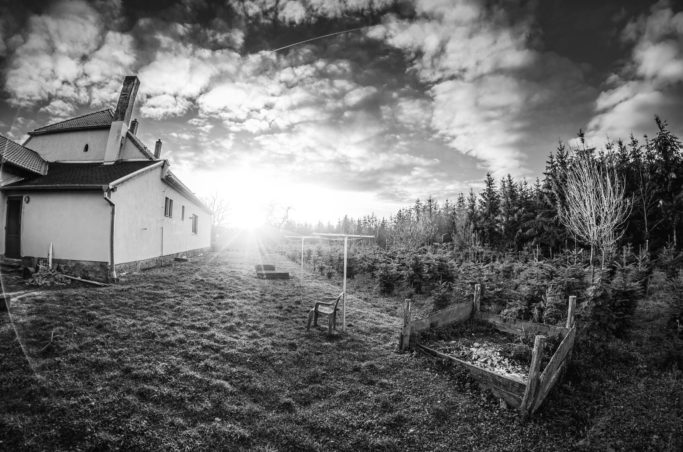
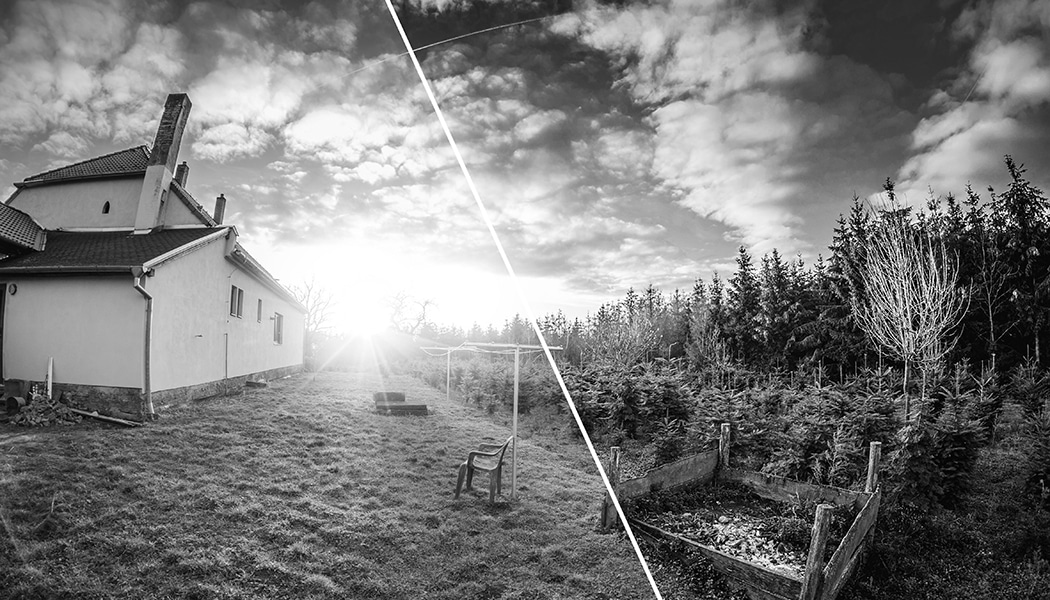
In conclusion, here’s a look at how different the results of Automatic conversion and Manual Channel Mixing can be. You can see that manual fine-tuning has made for a more striking picture.
Automatic conversion (left) and Manual channel mixing (right). You can also see that converting your pictures to black and white takes just a few clicks! Why not try it out for yourself? All you need to do is download Zoner Studio, try it free for 7 days, find a nice starting picture, and get started with black and white.
