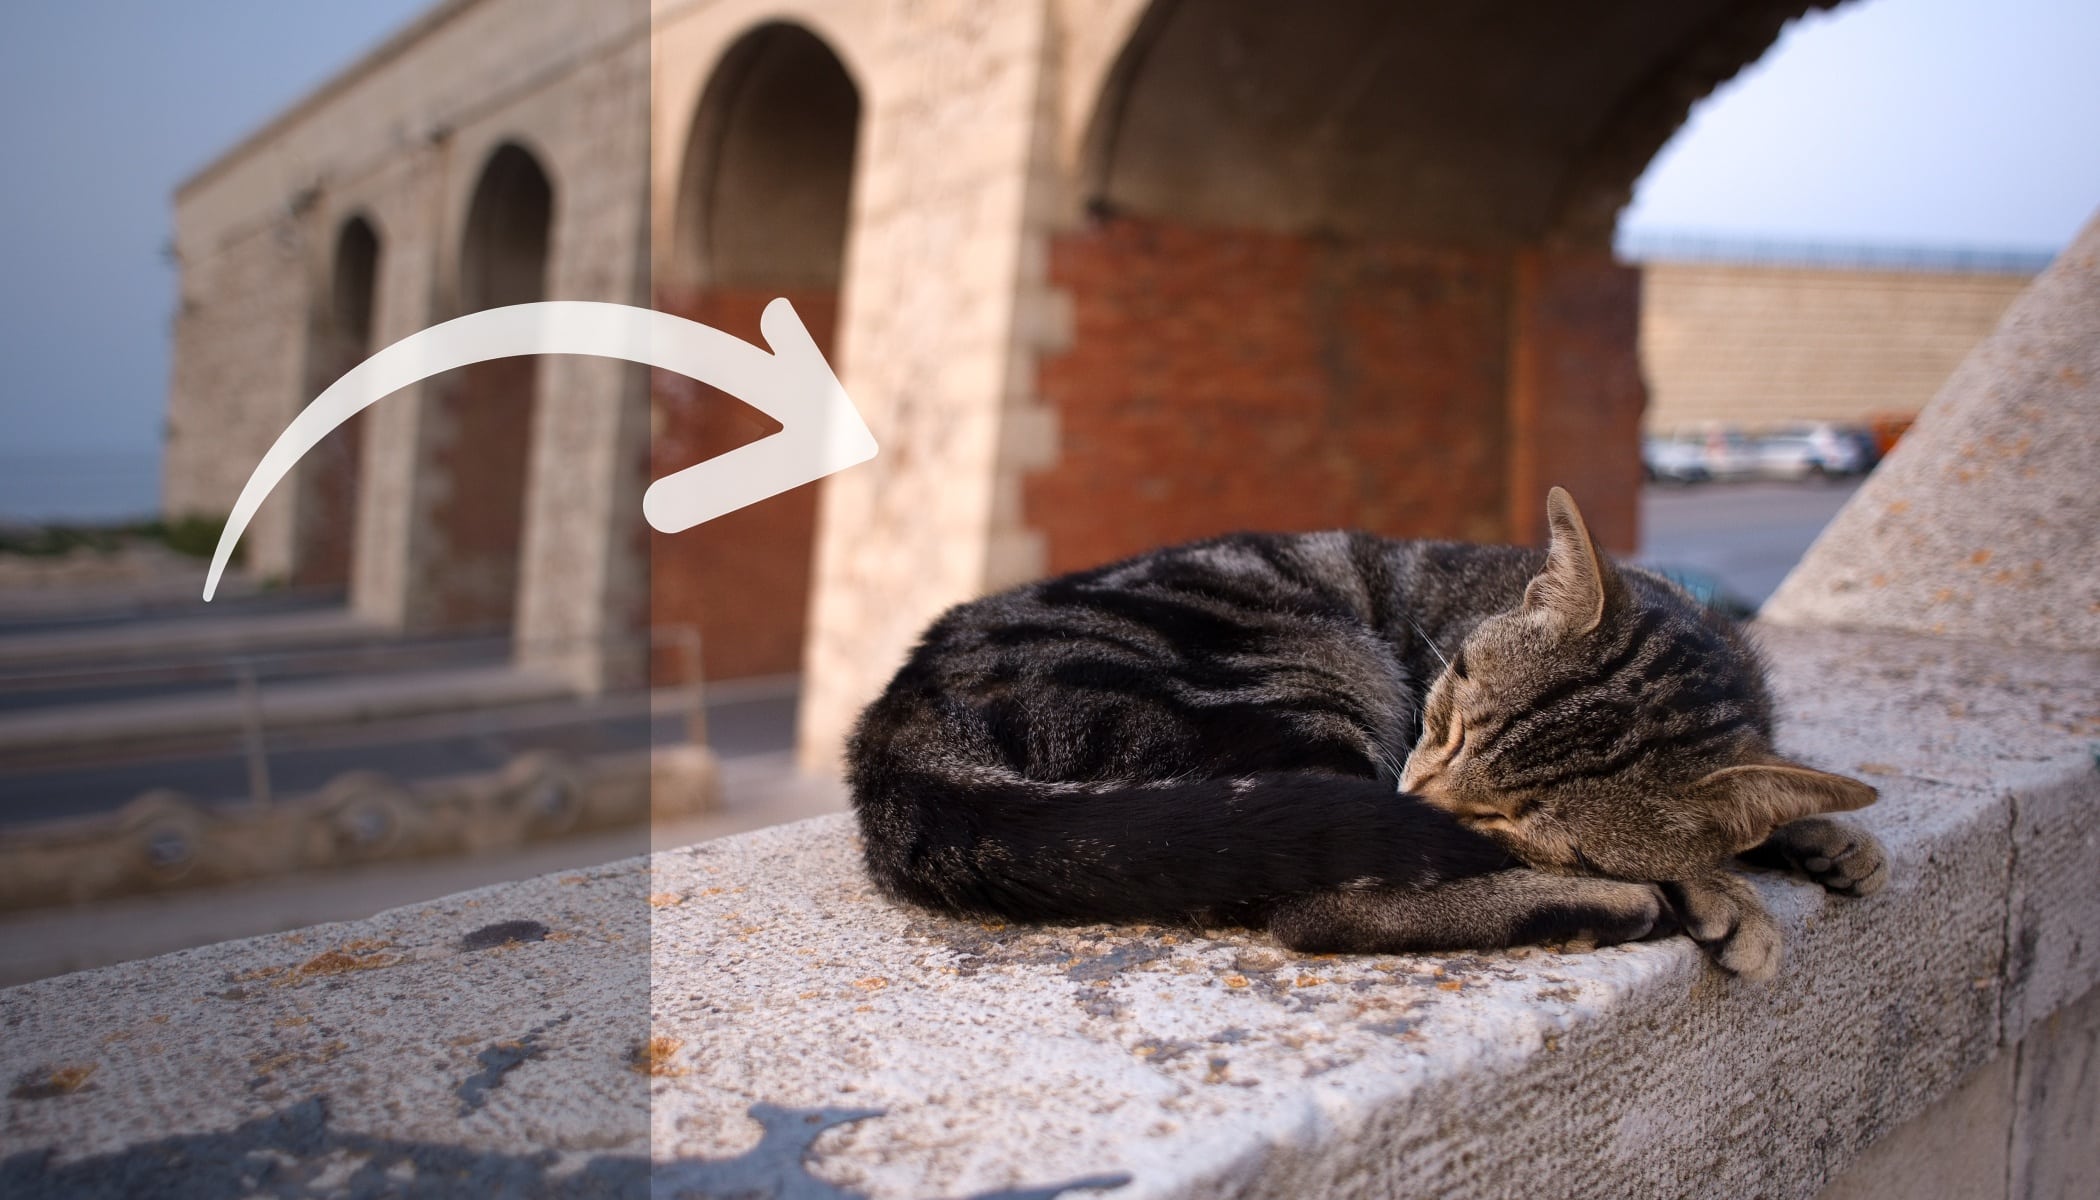
Edit in a Minute: Enhance Photo Contrast and Colors
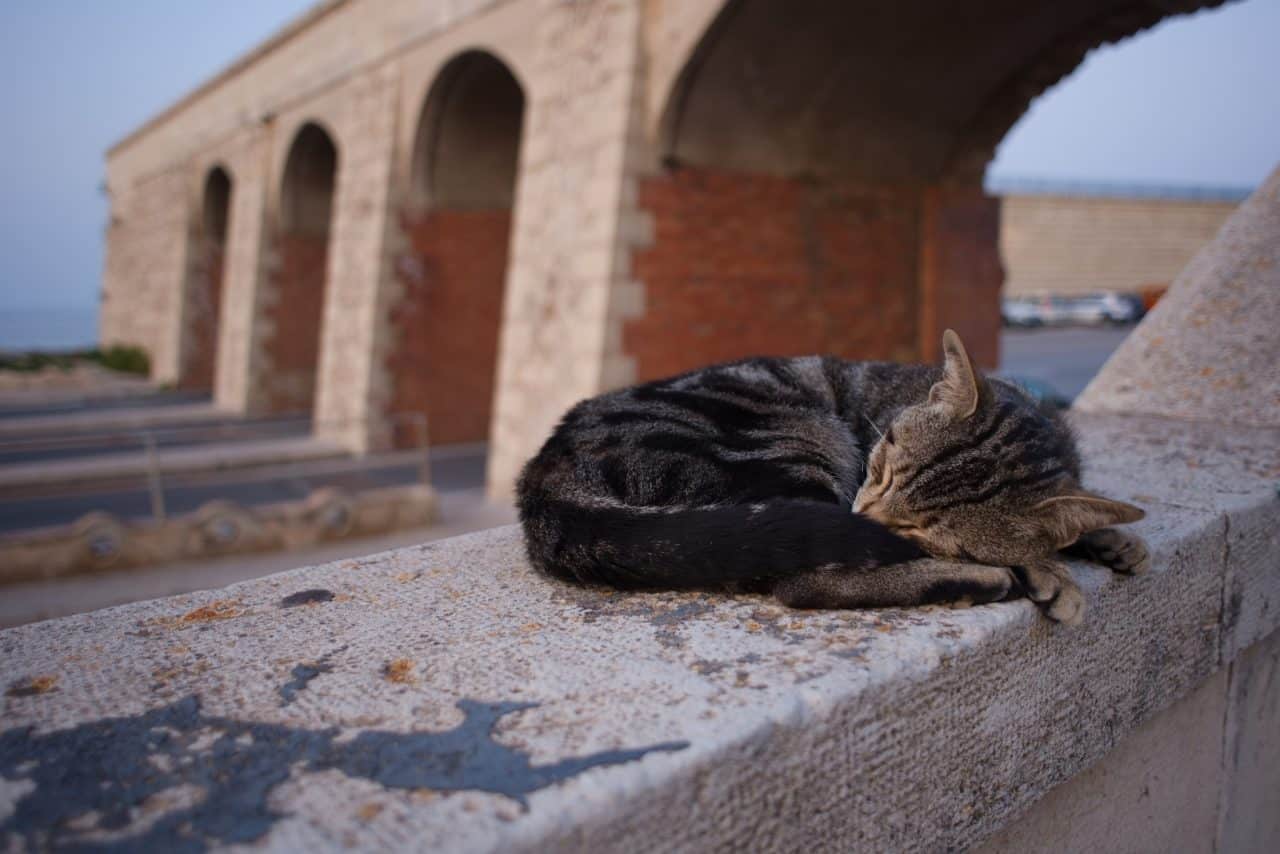
Strange, dull colors and poor contrast. It often happens that a photo simply looks flat and unremarkable. Yet fixing contrast and colors in Zoner Studio only takes a moment. Take a look at how to increase contrast and revive colors step by step.
With just a few simple steps in the Develop module, your photo can gain richer colors and better contrast. There’s no need to spend dozens of minutes fine-tuning—what matters most is knowing which sliders to use. In this guide, we’ll show you how to enhance photo contrast and adjust colors in Zoner Studio in just one minute.

Click through the gallery with photos where each step is clearly described, or read more detailed information in the box below the gallery. If you don’t have Zoner Studio yet but would like to try the adjustments yourself, download it free for 7 days. Even complete beginners can handle this edit.


How to Quickly and Easily Increase Contrast and Improve Photo Colors in Zoner Studio
1. Adjust the Color Temperature
Colors often look lifeless due to incorrect white balance. Make sure your White Balance is set correctly. The photo should be neither too yellow nor too blue and should have the right light and color atmosphere. This small adjustment often solves most problems with inaccurate colors. To learn more, read our article on how to set white balance correctly.
2. Enhance Contrast in the Exposure Section
It may seem that simply moving the Contrast slider is enough. In reality, it’s usually better to work with other sliders that deliver more precise results. Photo contrast is the difference between the light and dark areas of an image. The greater the difference, the more striking the photo.
Brighten the light areas and darken the darker ones.
Focus on the White Point, Black Point, Highlights, Shadows, Whites, and Blacks sliders. These tools work only with pixels within specific brightness ranges. Adjust them carefully to avoid blown highlights or blocked shadows without detail.
Would you like to explore more ways to boost contrast? Read our article with 5 tips on how to increase contrast in your photos.
3. Add Local Contrast and Fine-Tune Saturation
Finally, enhance local contrast along object edges using Clarity (and optionally Texture). Avoid overdoing it so the result remains natural.
At the end, fine-tune color intensity using Saturation and Vibrance. Saturation increases the intensity of all colors in the image, while Vibrance affects mainly the colors that were not very saturated in the original photo. Vibrance is often the more subtle and interesting choice—but every image requires an individual approach.
What to Remember
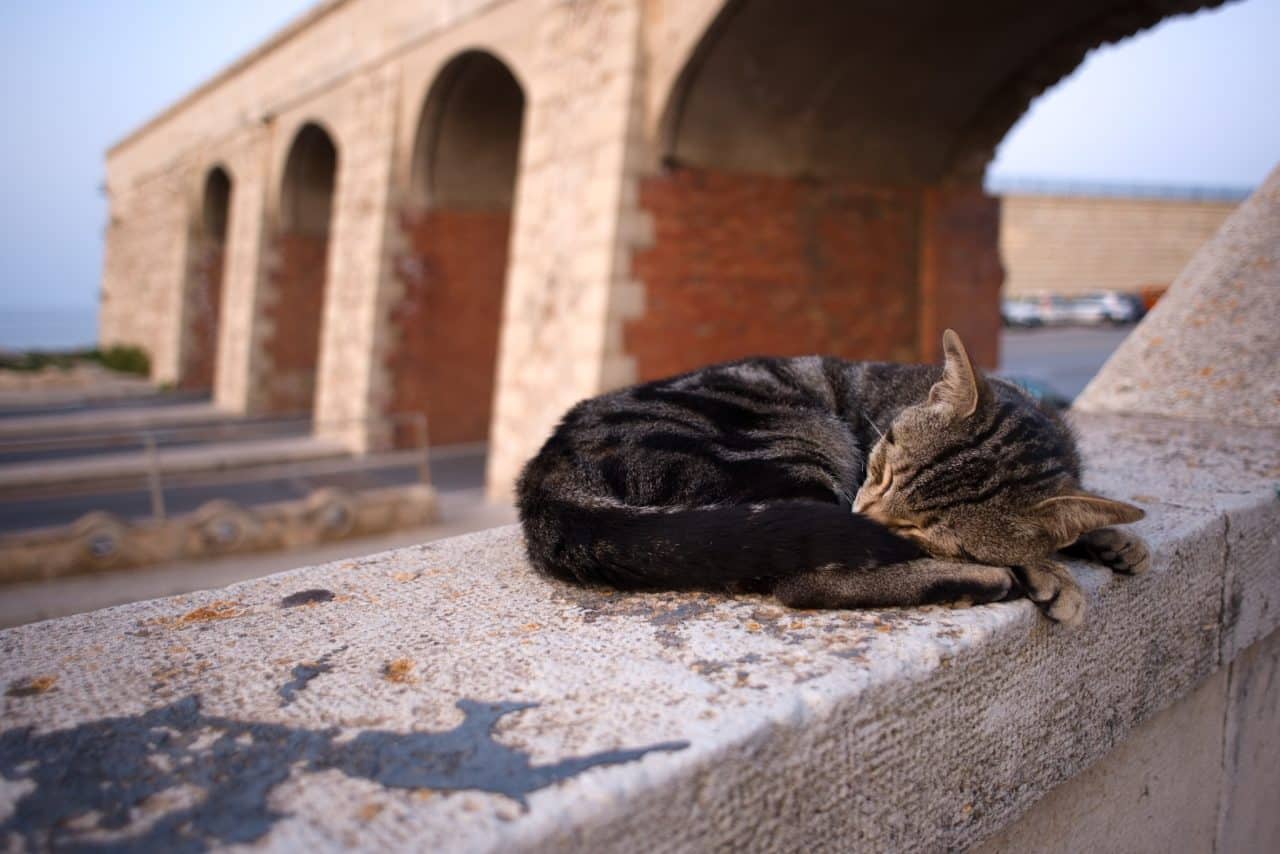
Increasing contrast and improving colors in Zoner Studio mainly involves proper white balance, sensitive work with sliders in the Exposure section, and gentle enhancement of local contrast using Clarity or Texture. Finally, refine saturation or vibrance depending on the character of the image.
These steps will help you revive most dull photos in just one minute—without complicated masks or local adjustments. Even small edits can transform a flat image into a vivid and natural-looking photograph.
Before and after