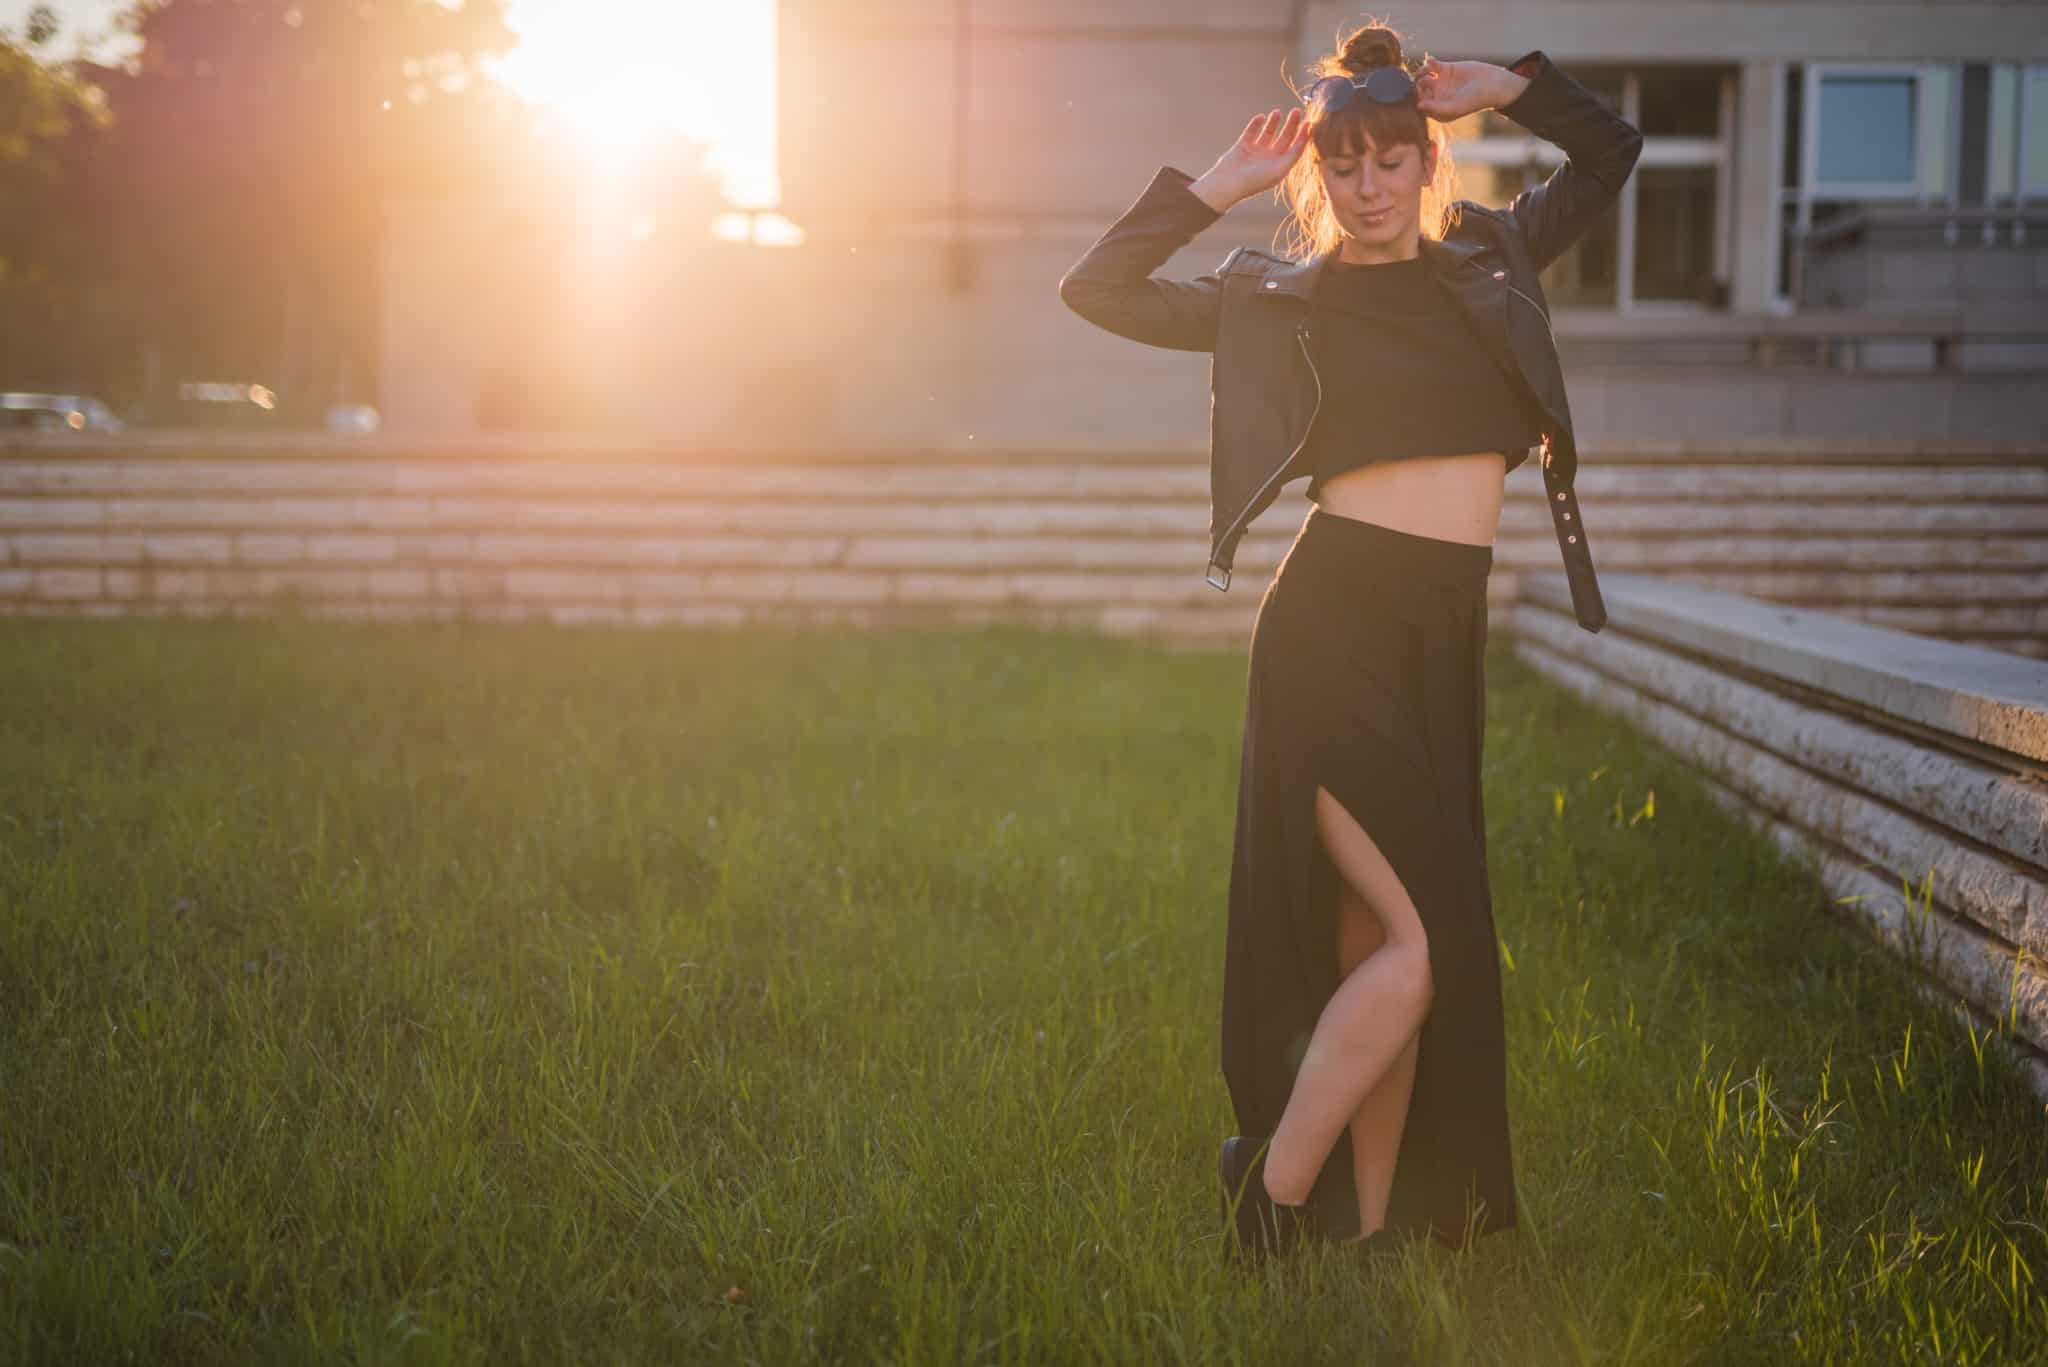
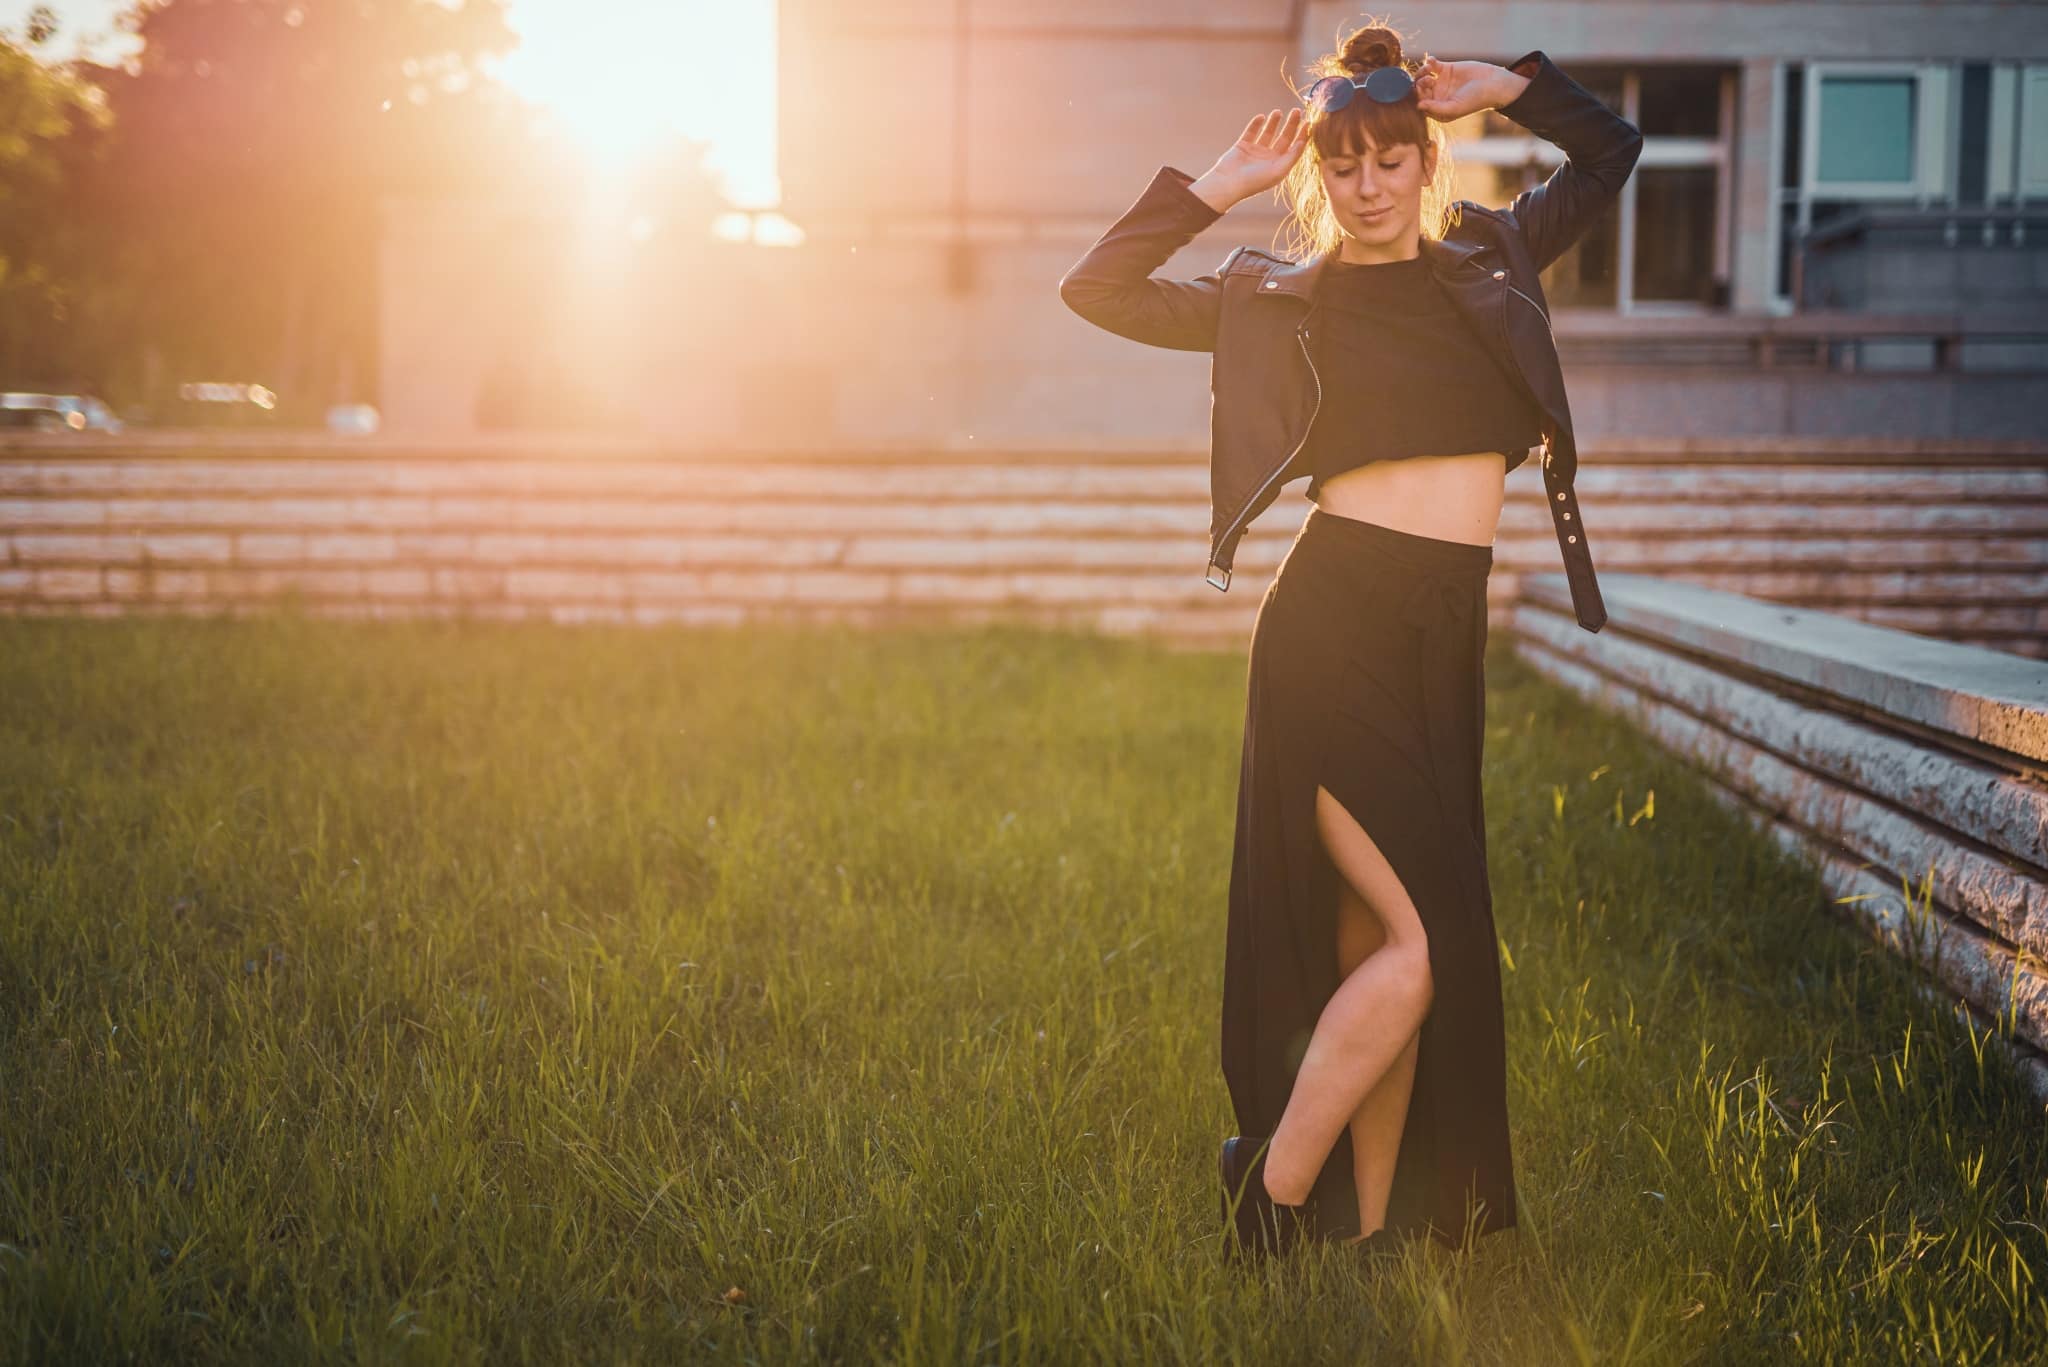
Edit Photos Faster While Keeping Your Own Personal Style—Create your own presets.
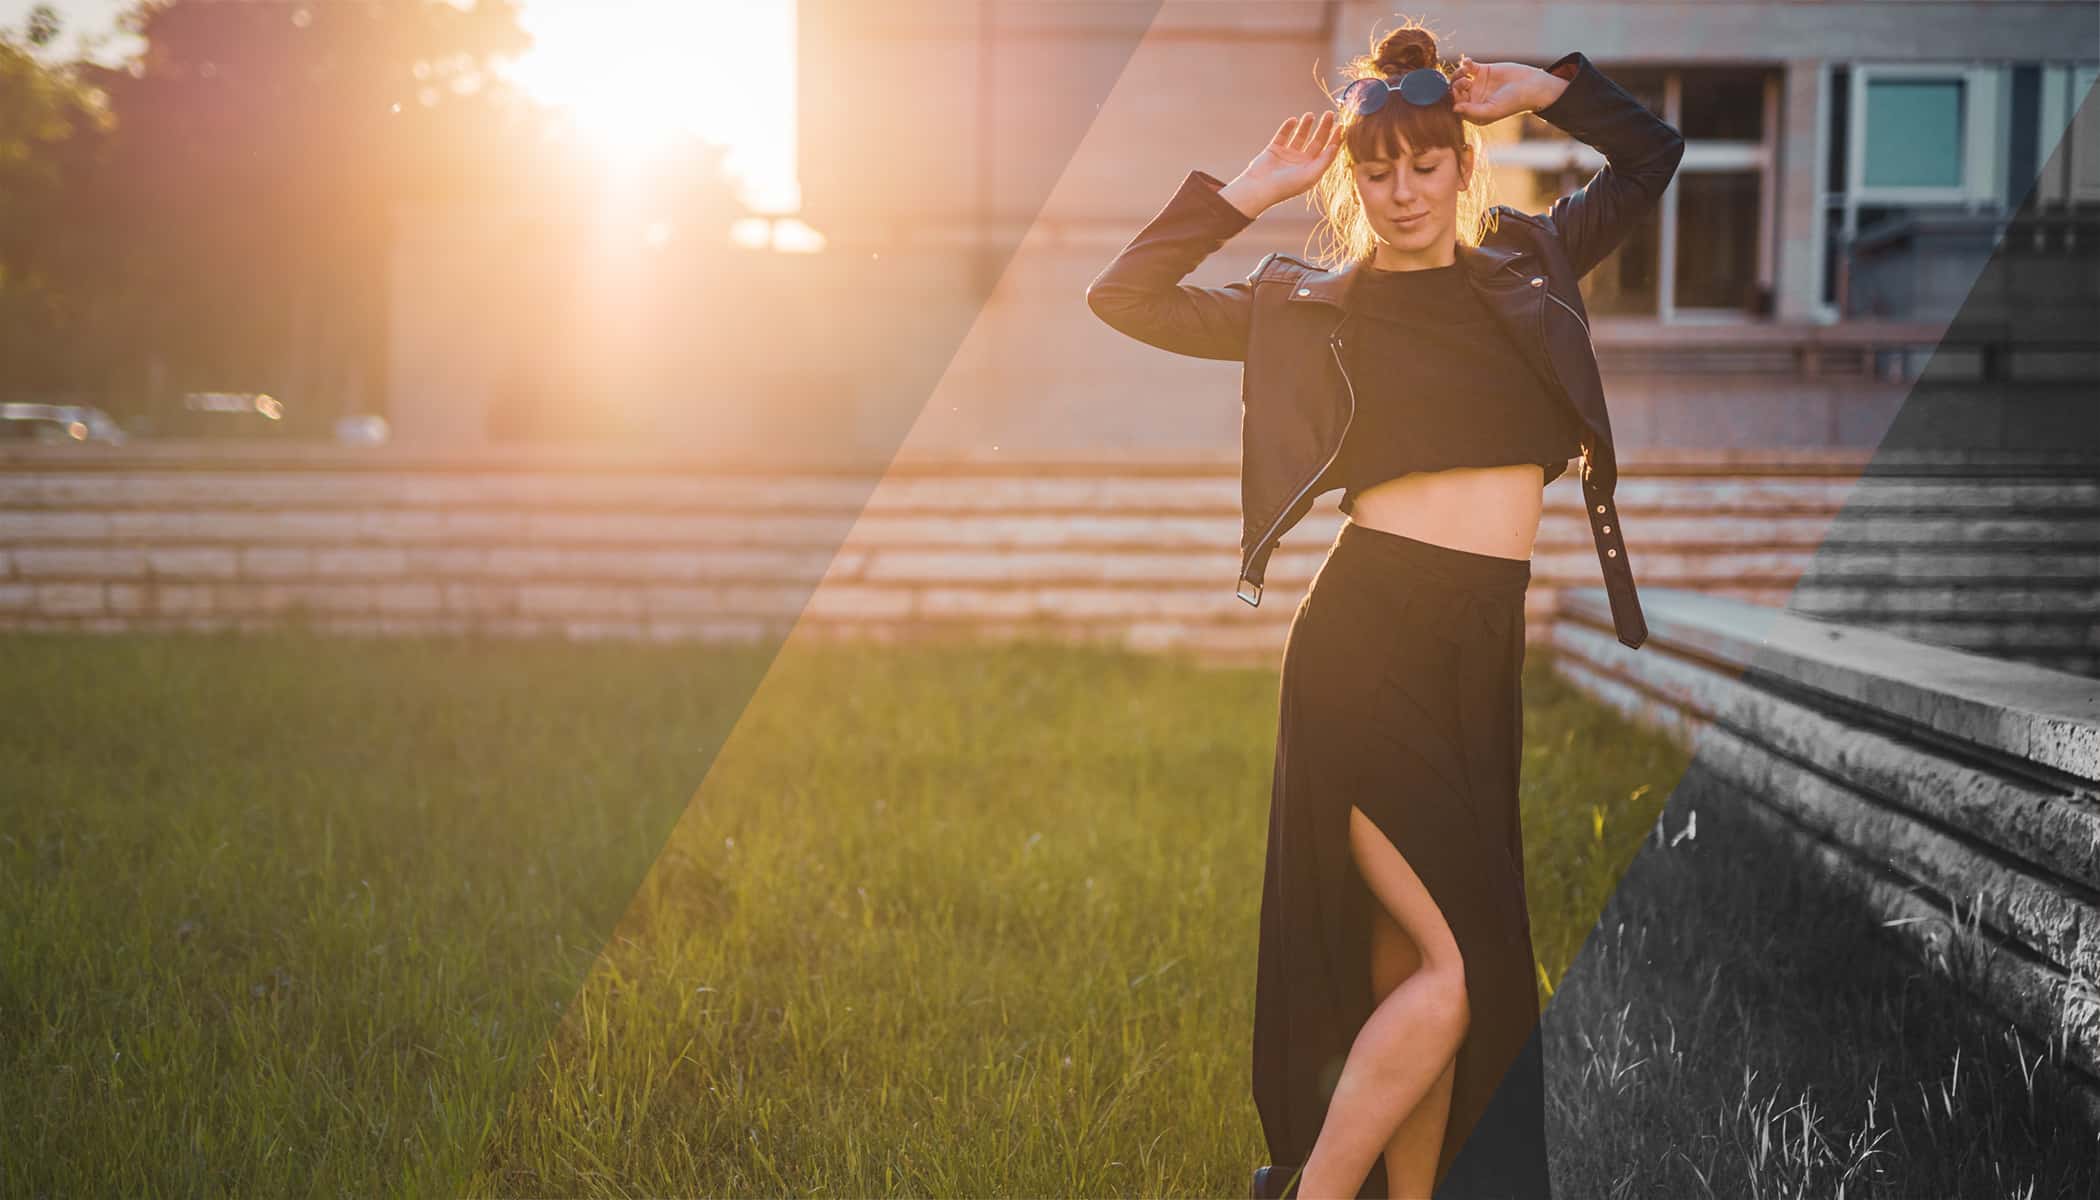
Presets make photo editing go faster. Because they can apply several of your frequently used operations at once. Presets keep you from having to set the same sliders to the same values again and again; it all just takes one click. The built-in presets aren’t a good fit for you? No problem. Zoner Studio offers an easy way to create your own. It will save you work, and you’ll get to keep your own original editing style.
Presets are predefined settings that let you edit photos in a single click. How do you create, save, and use them? We’ll show you here through a simple example. We’ve chosen a photo from one springtime shoot to illustrate the steps. First we’ll edit it, and then we’ll save it as a preset so that we can then use this editing style on other photos at any time in the future in a single click.

Start by Editing One Picture
Open the photo in the Develop module and go down to the Color section in the right panel. Start with adjustments in Exposure and Colors. Often you’ll want to add Contrast, draw down the Lights, bring up the Shadows, etc. I’ve also had good experience with raising Vibrance while lowering Saturation.
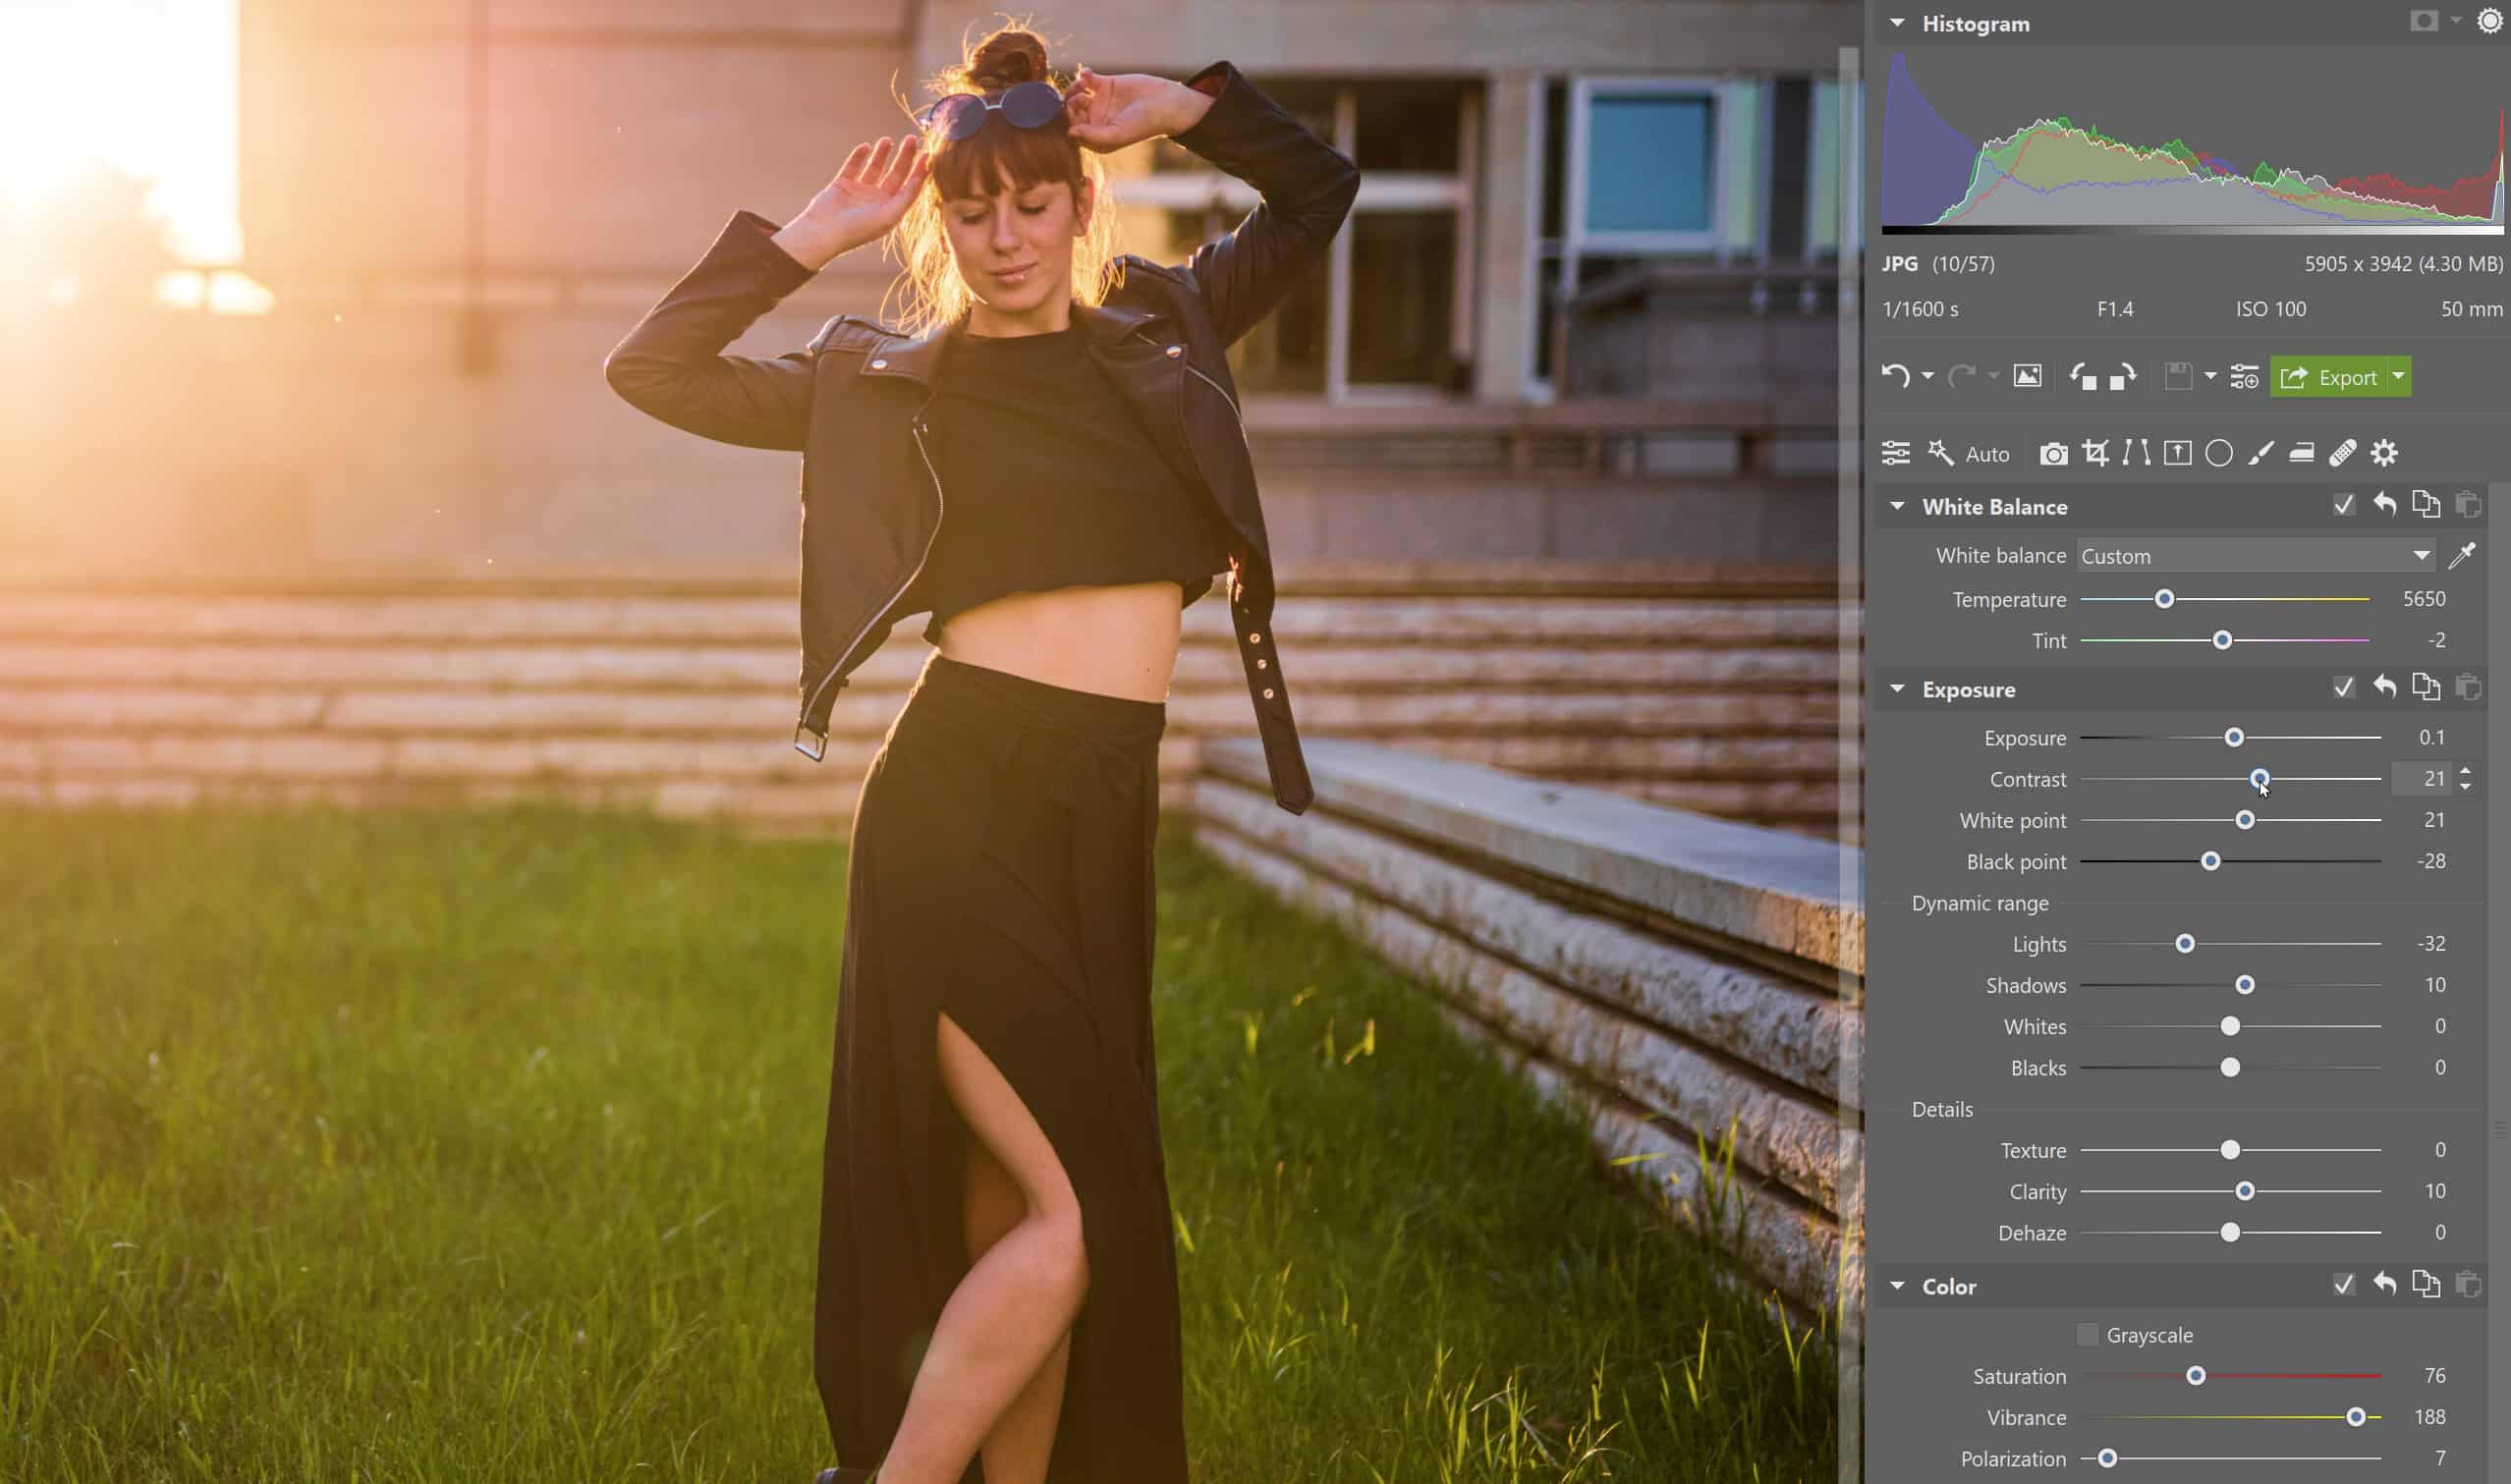
After that, you can jump down almost to the end, to Shift Primary Colors. Adjustments here give the whole scene a specific tint and color atmosphere. Then go on to tint the picture’s lights and shadows using the Split Toning controls.
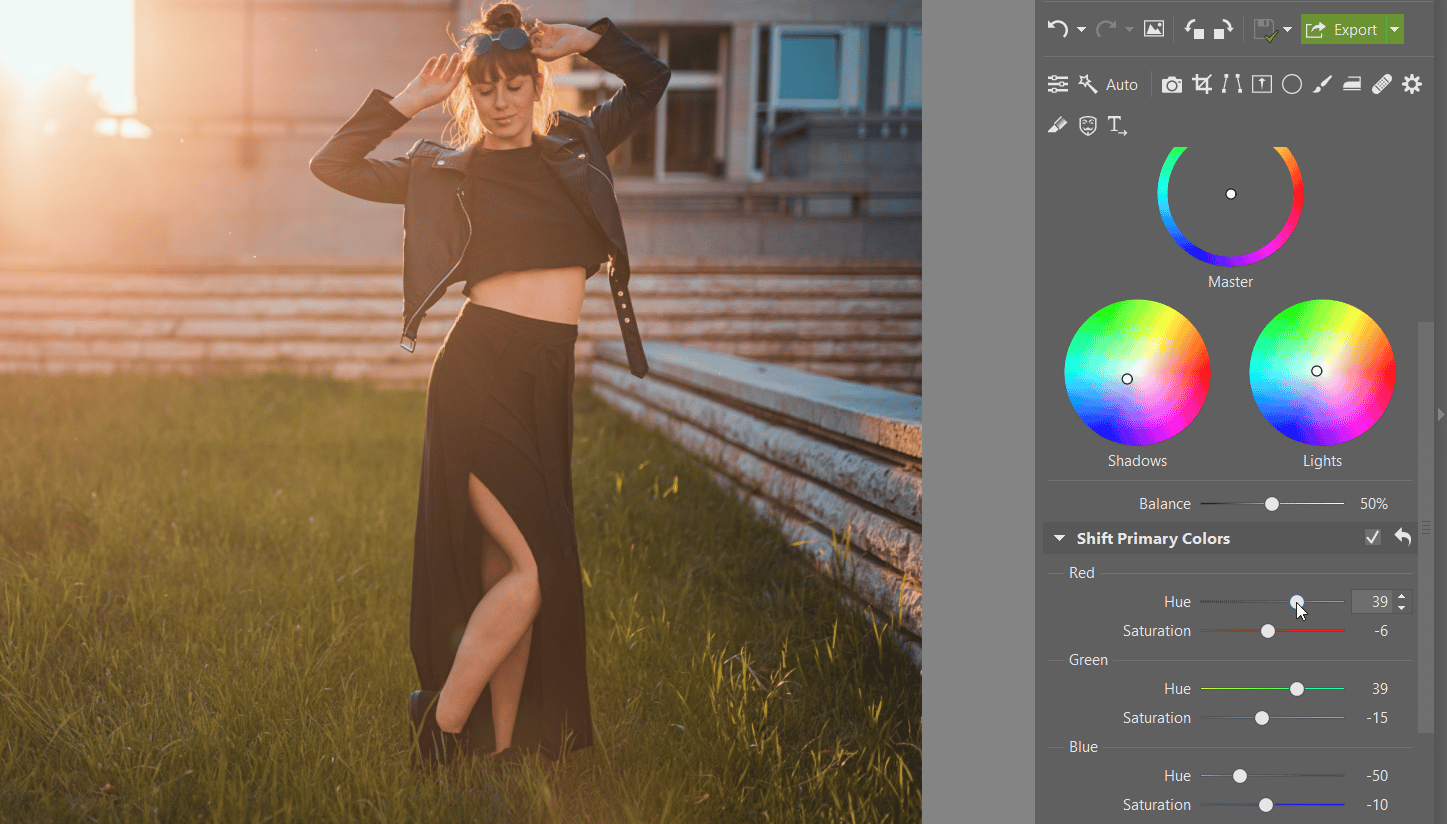
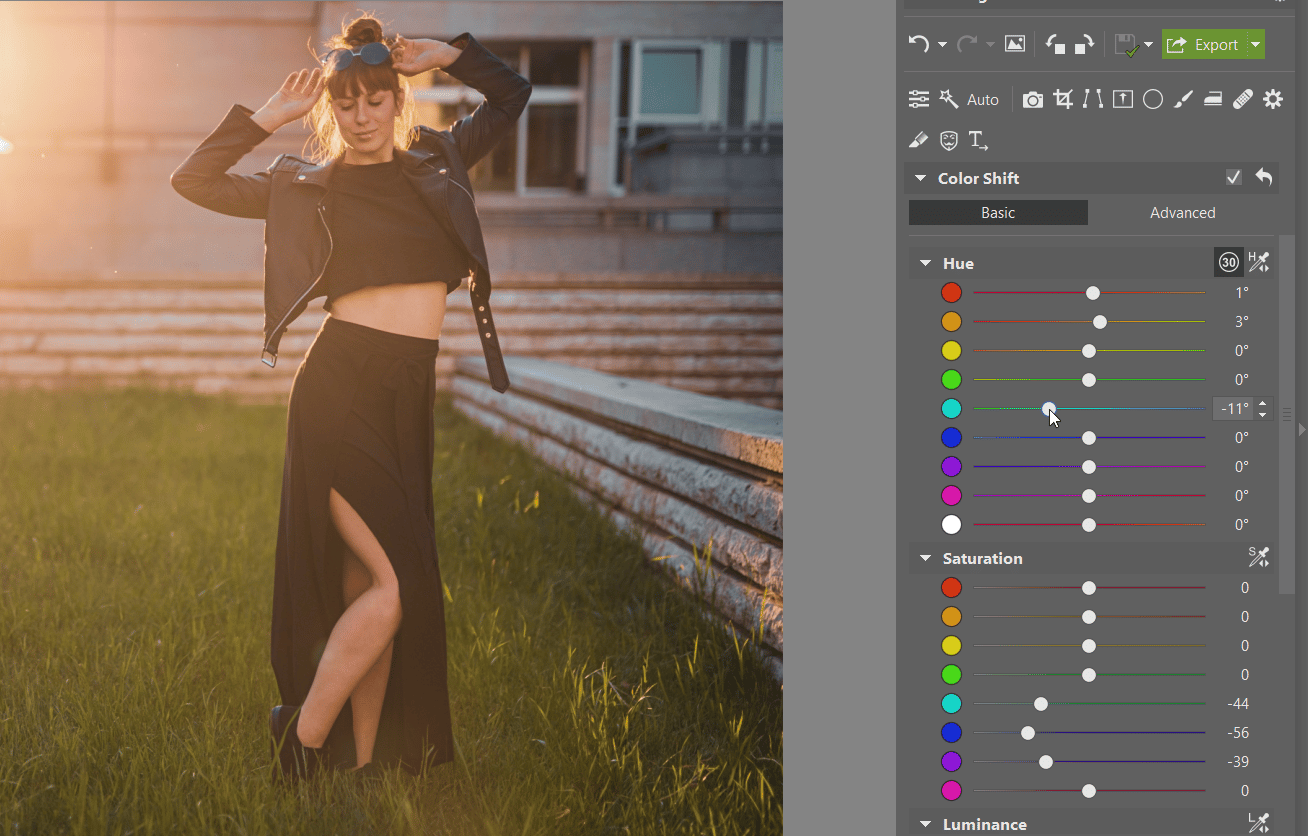
Now you have your photo tinted, and you can also go on in Color Shift to fine-tune the specific hue, saturation, and lightness of individual colors. The Curves controls are an option as well.
Save Your Preset
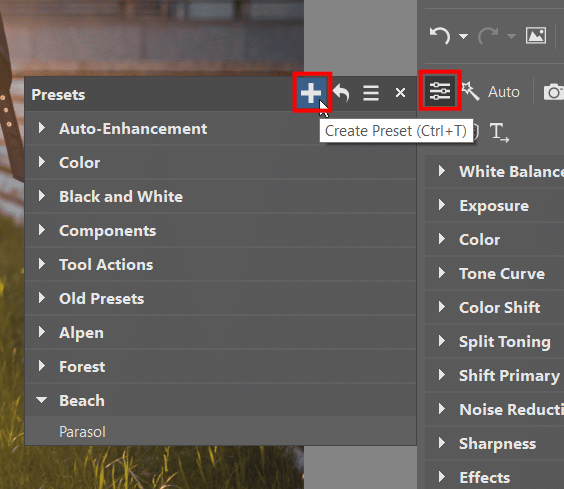
Once you’re done editing, just click the presets icon and then click + Create Preset at the top (or press Ctrl+T).
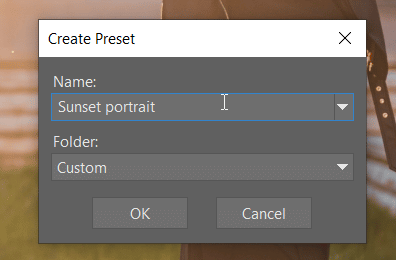
Name it and choose what category to save it in. You can go on and change the name later: just find your preset in the list, right-click it, and use Rename Preset.
In the next step, set which tools’ settings the preset will contain. Naturally you can just choose all of the tools, but keep in mind that the more your preset contains, the less universal it will be. So I’d recommend e.g. having various presets for exposure settings for portraits and landscapes and then having separate presets for tinting and toning.
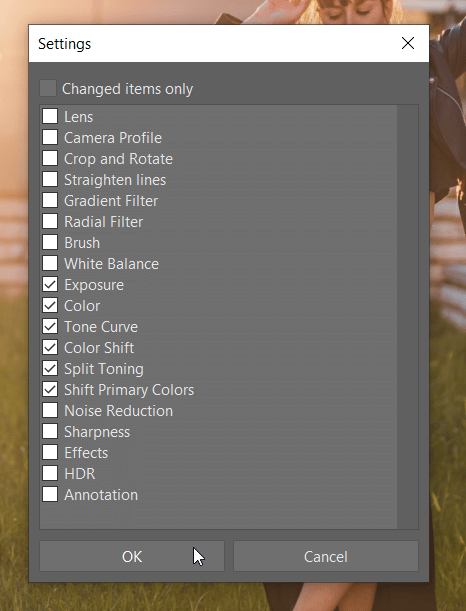
Your workflow might for example be that you first use a preset that you’ve named Landscape, where you’ve preconfigured various settings that are useful for landscapes. Then you use the built-in Teal and Orange preset to shift the picture’s colors. Restricting what your preset affects is just a little extra clicking, and it will save you lots of other clicks and work on fine-tuning other settings when you want to later use your preset in other genres than the one you originally made it for.
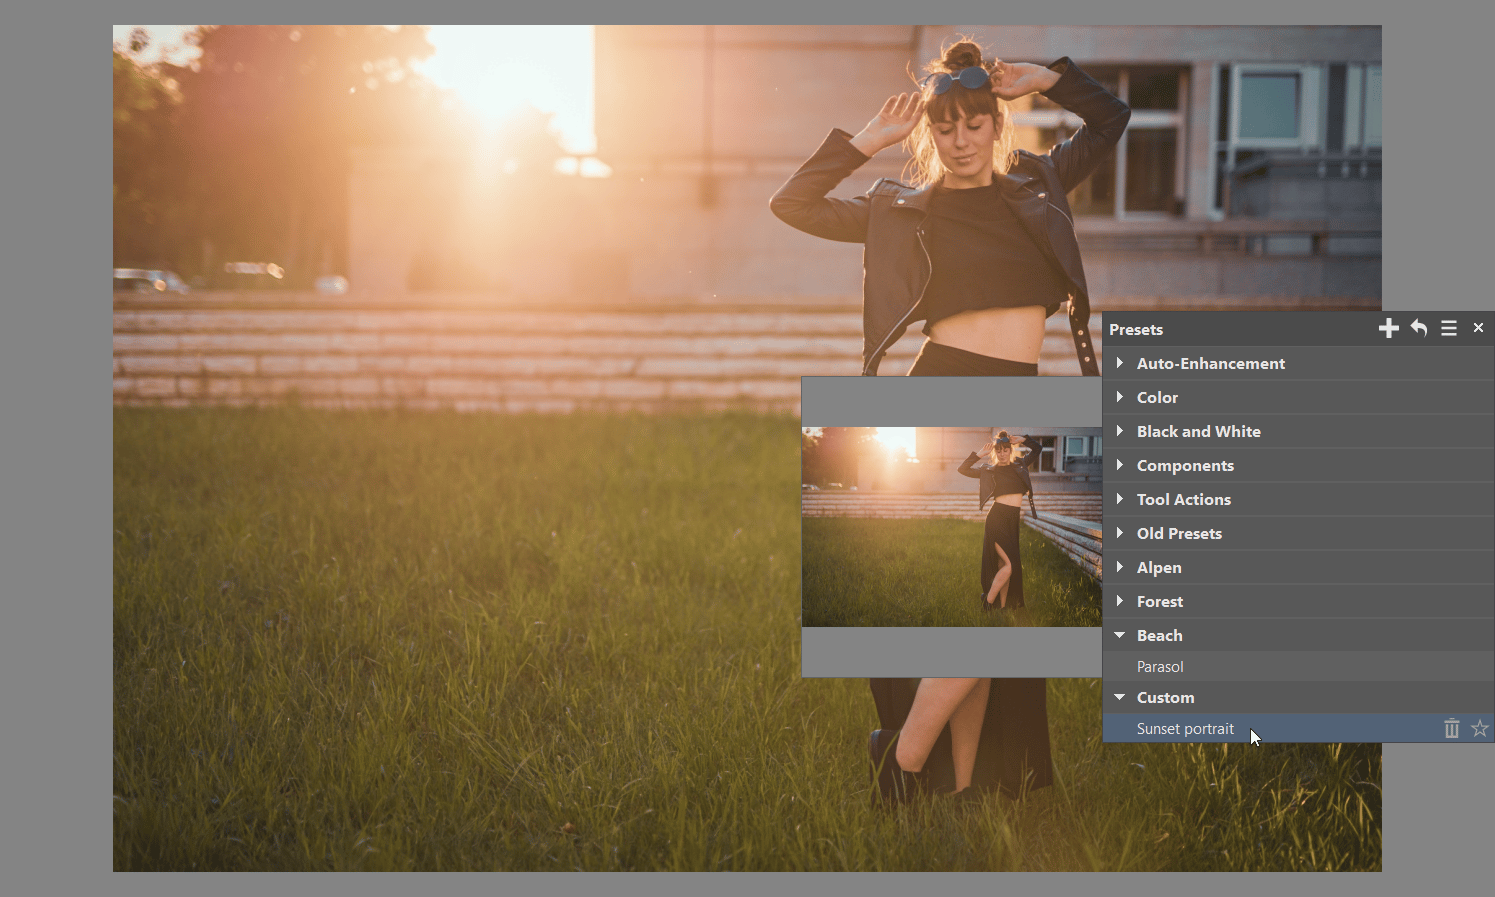
To use a preset, expand the presets controls and click its name. You can see a small preview of any preset by hovering the mouse over its name.

Download Zoner Studio, use it free for 7 days, and enhance your photos lightning-fast with presets.

