Eyes and Lips Make the Portrait— Emphasize Them with Easy Edits
The eyes are the core of a portrait, and they’re an important means of expression in photography. So let’s take a look at how to make them stand out. We’ll retouch them using a brighten-and-darken technique. And we’ll do the same to let the lips and teeth stand out. The goal: to make our subject really, really shine.
The great thing about digital photographs is that almost everything in them can be adjusted. And you don’t need much to do it. It just takes a graphics editor that offers at least a basic form of work with layers. We’ll be using Zoner Studio. We’ve covered this topic in the past, so for a refresher you can read our article on work with selections and the mask display mode.
Curves, Elliptical Selections, and the Selection Brush as a Foundation
In this article we’ll focus on how to edit eyes, lips, and teeth using a brighten-and-darken technique. And all we’ll need for it is the Curves tool, the Elliptical Selection tool, and the Selection Brush.
>> Learn how to work with Curves. Read our article How to Use Curves to Adjust Image Exposure.
>> Don’t know how to work with selections? Learn how: read Learn to Use Selections—Your Key to Precision Edits.
Use these tools to brighten the eyes and to emphasize circles under the eyes and the whites of the eyes. This will give you glittering eyes. With this method you’ll also give iris the dynamism it needs and emphasize the pupil and the border of the iris. Last but not least, you also give the lips the luster and richness they need.
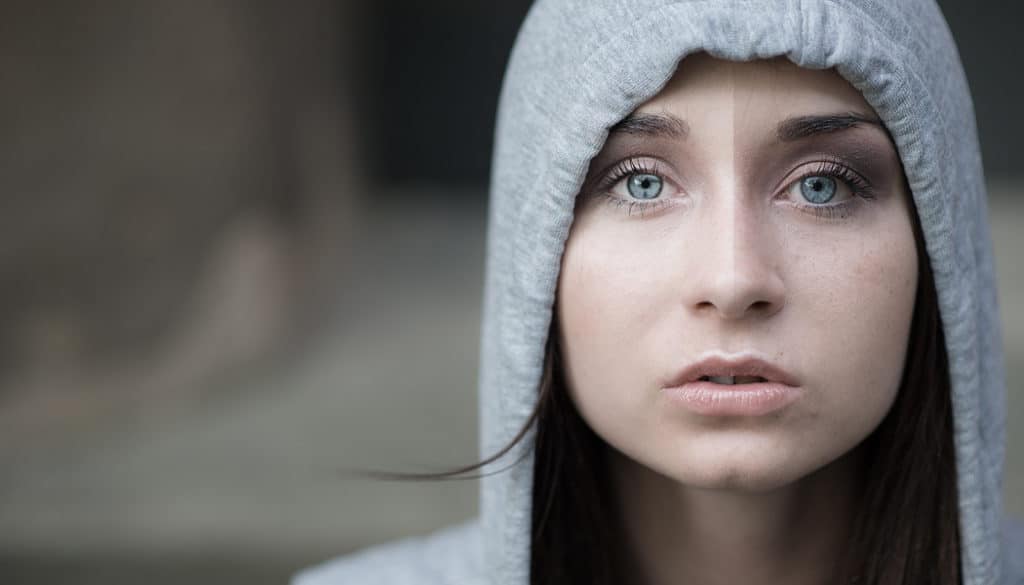
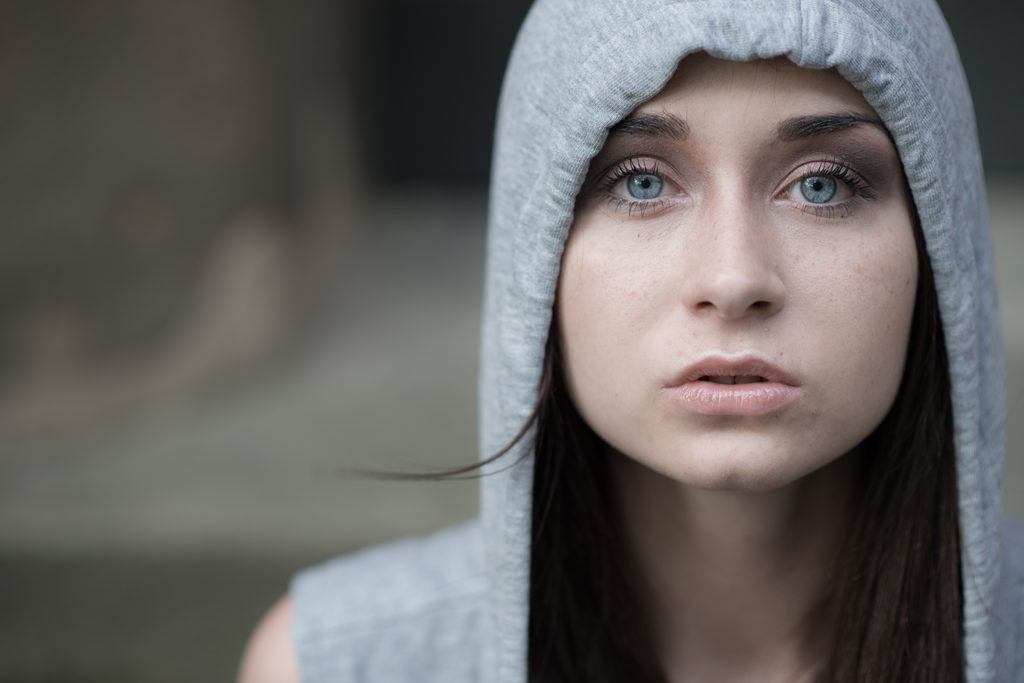
Here’s how the picture looks before the edit:

A Universal Approach
As the first step, open your photograph in Zoner Studio’s Editor. Use Menu > Adjust > Curves, or the Shift+C keyboard shortcut.
Drag a handle in Curves upwards to brighten the picture; drag it downwards for darkening. Then you’ll be able to use the selection tools to select the areas that you want to be affected by your changes in Curves. Once you’re satisfied, confirm your edits by clicking Apply.

Brightening the Eyes
First I brighten the eyes, which I’ve selected using the Elliptical Selection tool. I was able to select both eyes at once because I have turned on the Add to Selection mode.
I want the transition into my selection—and thus my edit—to be as smooth as possible. Because of this, I choose a Blur value that’s healthily large relative to my photo’s resolution, and I also use a second trick: I perform the selection over the eyes several times. This gives me a very smooth transition, and the final result will be worth it. When you’re doing this kind of work, select the eyes gradually so that the selection forms a gradient. Take advantage of the selection tools’ mask-display settings to make it easy to see exactly what you’re selecting, and how strongly. (This is important, since you’re using a high Blur.) Apply the selection.

Then turn on Curves (Shift+C). Use the Selection Brush to paint out a selection for brightening. Emphasize the reflections in the eyes, then brighten the whites of the eyes, and then mildly brighten the arches above the eyes. Take time to also mildly brighten the brightest spots in the iris. Let the photo itself guide you.
If the art of applying makeup is alien to you, and if meanwhile you photograph women, then I recommend that you take some time to study that art. Putting on makeup is, after all, brightening- and darkening-based retouching of its own kind. Understanding makeup means you’ll understand what to brighten and what to darken.

And Now Darken the Eyes
We’re now done brightening the eyes. And now certain parts of them need to be darkened. To do so, use the same tools as before: Curves and the Selection Brush. Darken the pupils, the border of the iris, and the dark spots in the iris. This gives you very striking eyes. And in portrait photography, that’s the point.
But take care to keep the photo looking natural. Remember that correctly done retouching is very hard to notice.

Similarly as with brightening, here too you should make use of detailed selections of the areas to be darkened, and then darken them using Curves.
Brightening and Darkening Lips
The process for lips is very similar. Here too it’s enough to brighten the spots with reflections. This makes the lips feel fuller, without your having to make proportional changes to them. Brighten the line above the top lip as well. If you don’t understand makeup yet, don’t give up, but do ask one of your models how to properly put on lipstick. You can then use a bolder version of those same steps in your photo retouching. But again, work sensitively.

Brighten and Darken the Teeth
If the subject’s teeth are also visible in the photo, then edit those as well. But keep in mind that real teeth aren’t pure white; they have a color.
Brighten teeth similarly to how you brightened the whites of the eyes, and highlight them with reflections. But if they are strongly pigmented, use the Enhance Colors filter. You’ll find it under Menu > Adjust > Enhance Colors. Drag the Saturation slider in that filter leftwards—but not into the realm of black-and-white—and use the Selection Brush to focus this desaturation onto the teeth. The way you’ll remove the excessive pigmentation, and your result will look natural. For this edit, you can use a more noticeable transition than usual.


Gentle and Sensitive
And this is how the photo looks after edits. You’ll notice how the eyes, lips, and teeth now look much better than in the original photo.

A before and after comparison.
To keep your edits as precise as possible, we recommend making them using a drawing tablet. And while you’re editing, remember: above all, work gently and sensitively. The clearest sign of good retouching is that you can’t tell it’s there. Be natural above all.
Like what you see? Download Zoner Studio, try it free for 7 days, and give your portraits sparkling eyes.