How to Add Text to Photos or Images

Adding text to pictures is a common task, whether for a book cover, calendar, photo caption, or a photographer’s logo or signature. There are countless uses for this tool. In this article, you’ll learn how to add text to photos and other images in Zoner Studio.
Adding text isn’t just useful for watermarks, but it’s also great for captions, greeting cards, presentations, and marketing materials. With Zoner Studio, you can add text to a single photo or an entire batch in just a few minutes.
Use the Place Text tool in the Editor module, or apply text to multiple images using the Batch Filter in the Manager module. You can edit the text, customize its style, add effects, and save your work so you can return to it later.
Adding text in the Editor module
With Zoner Studio, there are two ways to add text to images. The first is the Place Text (Ctrl+T) tool, which you can find under Placement Tools in the right panel of the Editor.
This feature lets you insert any text and continue working with it. Click anywhere in the photo to create a new layer for your text.
Next, choose the font, size, color, and style. To split the text into multiple lines, adjust the Line spacing. Click Apply to confirm the changes. Because the text is added as a separate layer, you can go back and modify it at any time.

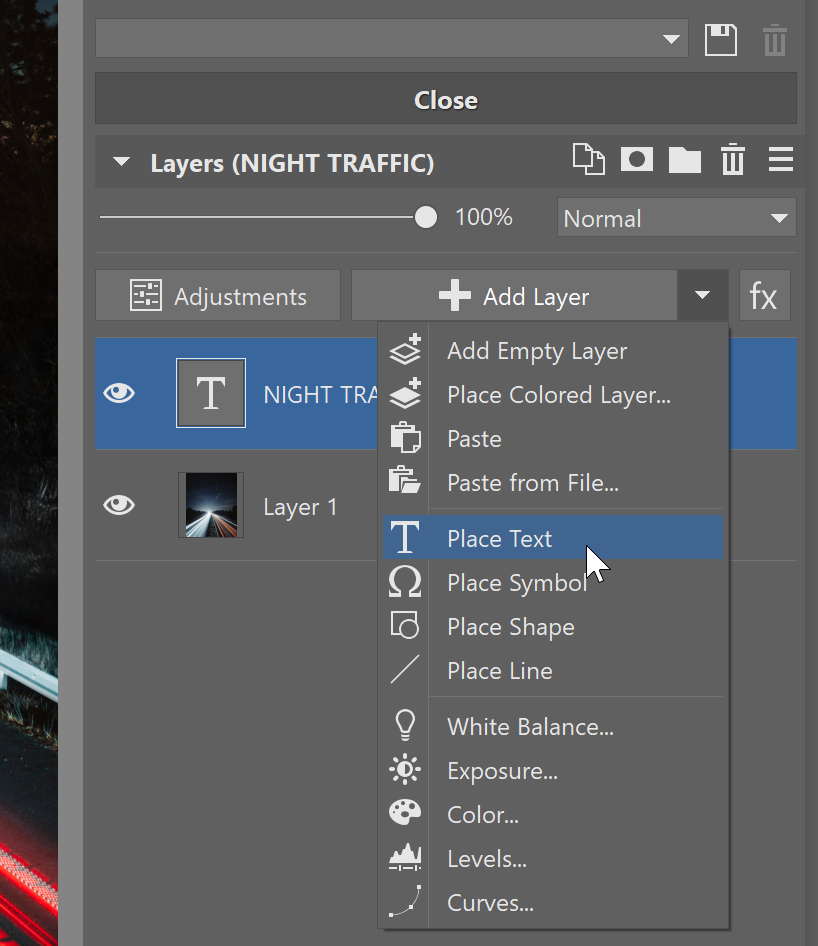
You can also add a text layer using the small drop-down arrow next to the +Add Layer button. This menu also lets you add symbols, shapes, and more.
Edit the layer and add effects
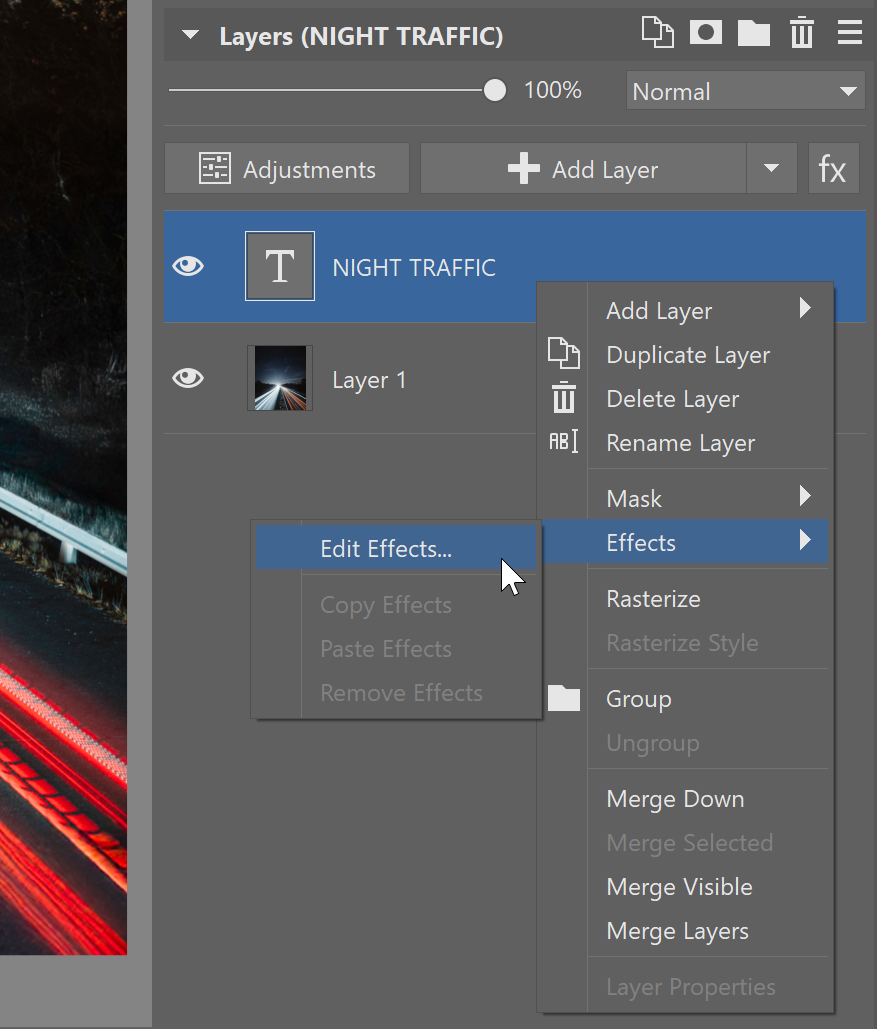
Edit the text layer just like any other layer. In this example, I reduced the Opacity and added a shadow. Right-click the layer and choose Effects > Edit Effects.
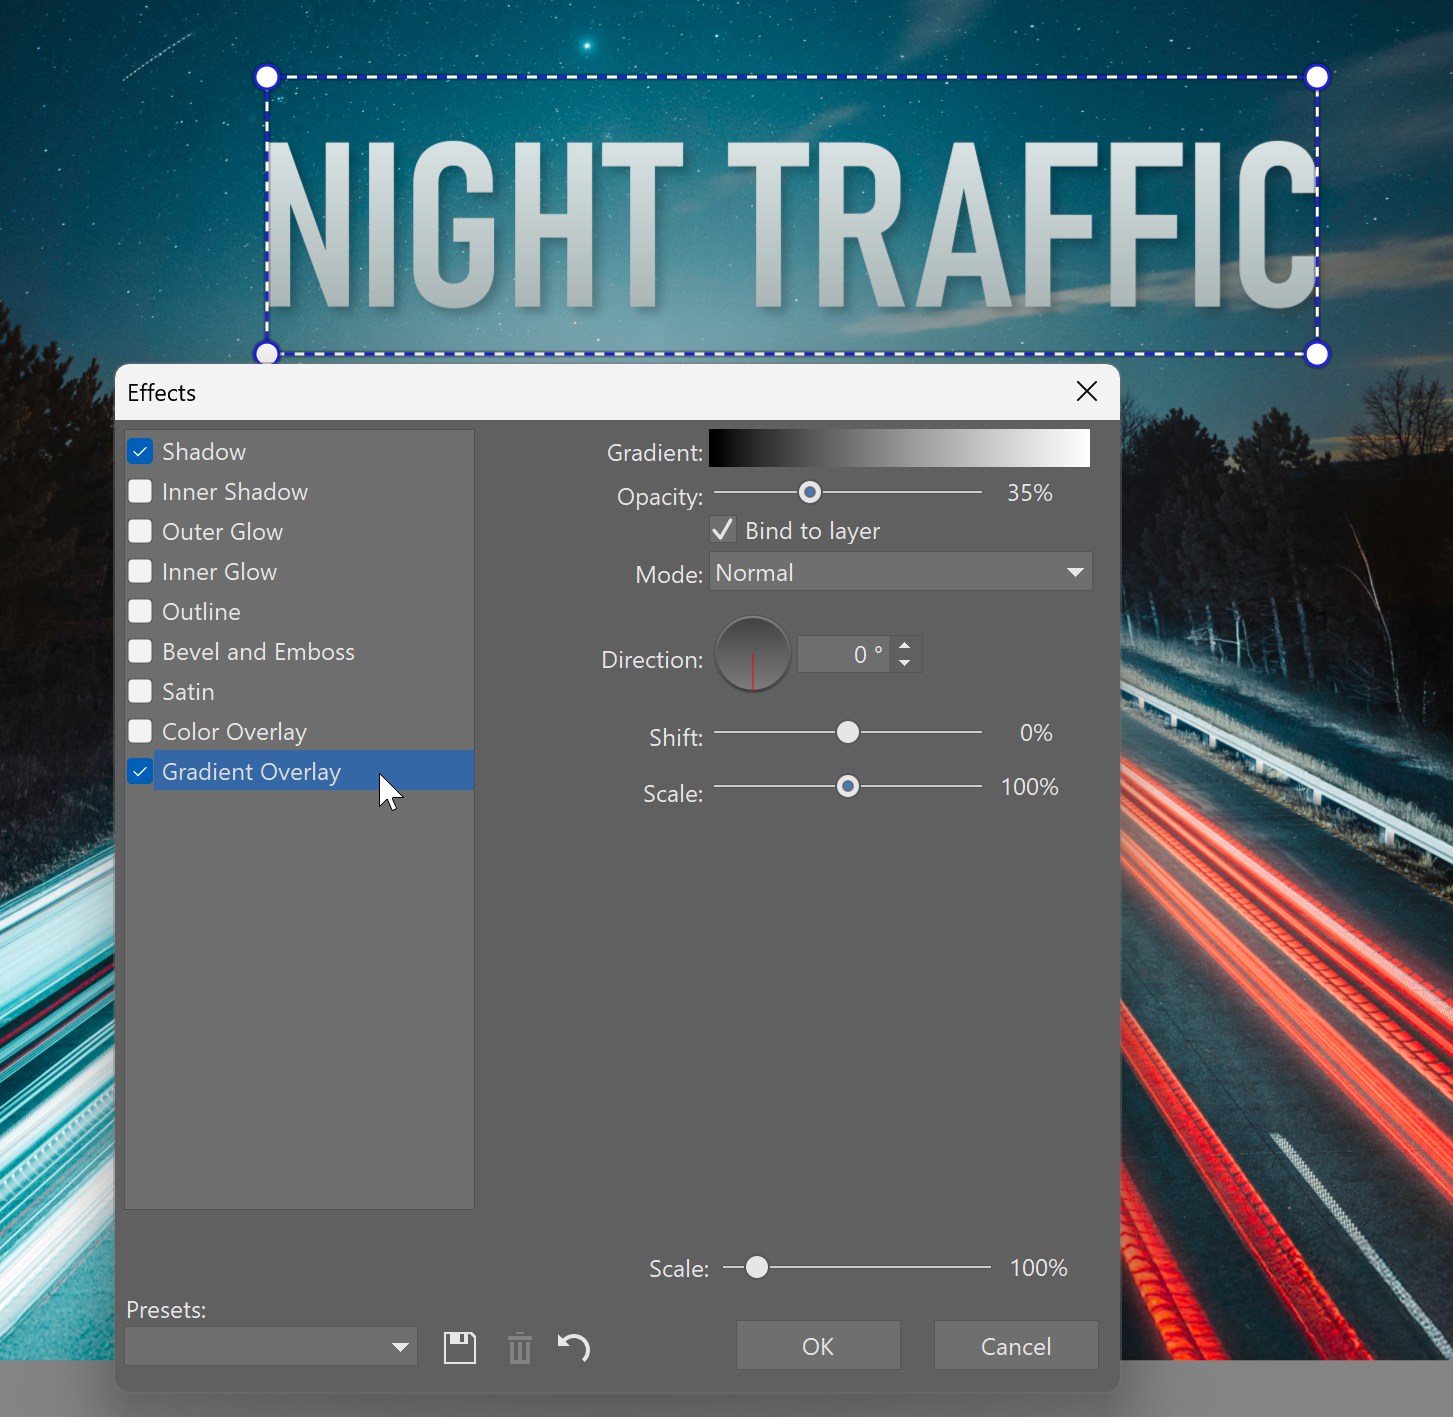
Choose an effect and adjust settings like Opacity, Offset, and more.
Save your work for later editing
The advantage of using layers is the ability to edit your text later. Click the Save icon in the right panel and save your photo as a *.Zoner Studio file. The individual layers stay separate and you can return to them anytime.

Add a watermark or signature to a batch of photos
If you want to sign your photos, you don’t have to do it one by one. Use the Batch Filter to add a signature or caption to multiple images at once.
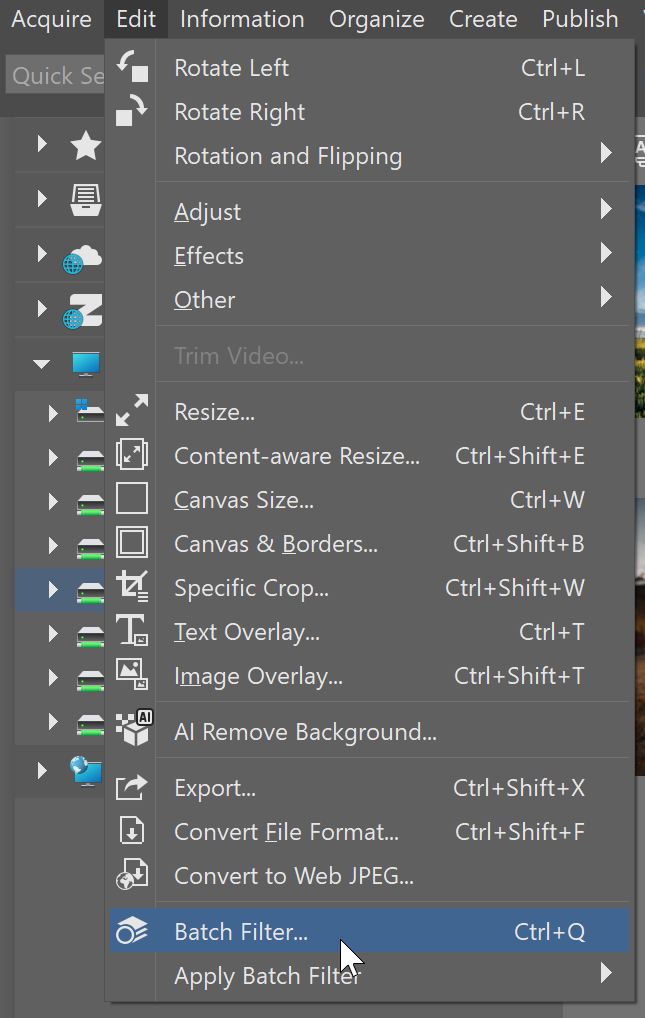
To add text in bulk, open the Pictures folder in the Manager module. Select the photos you want to add text to, then go to the Edit menu and choose Batch Filter (Ctrl+Q).
At the top right, click the Add Filter button and select Text. You can also add other filters. For example, Resize is often useful.

Now, type your text and adjust the settings just like you would in the Editor. It’s best to place your signature in the corner, keep it small and more transparent so it doesn’t distract from the photo.
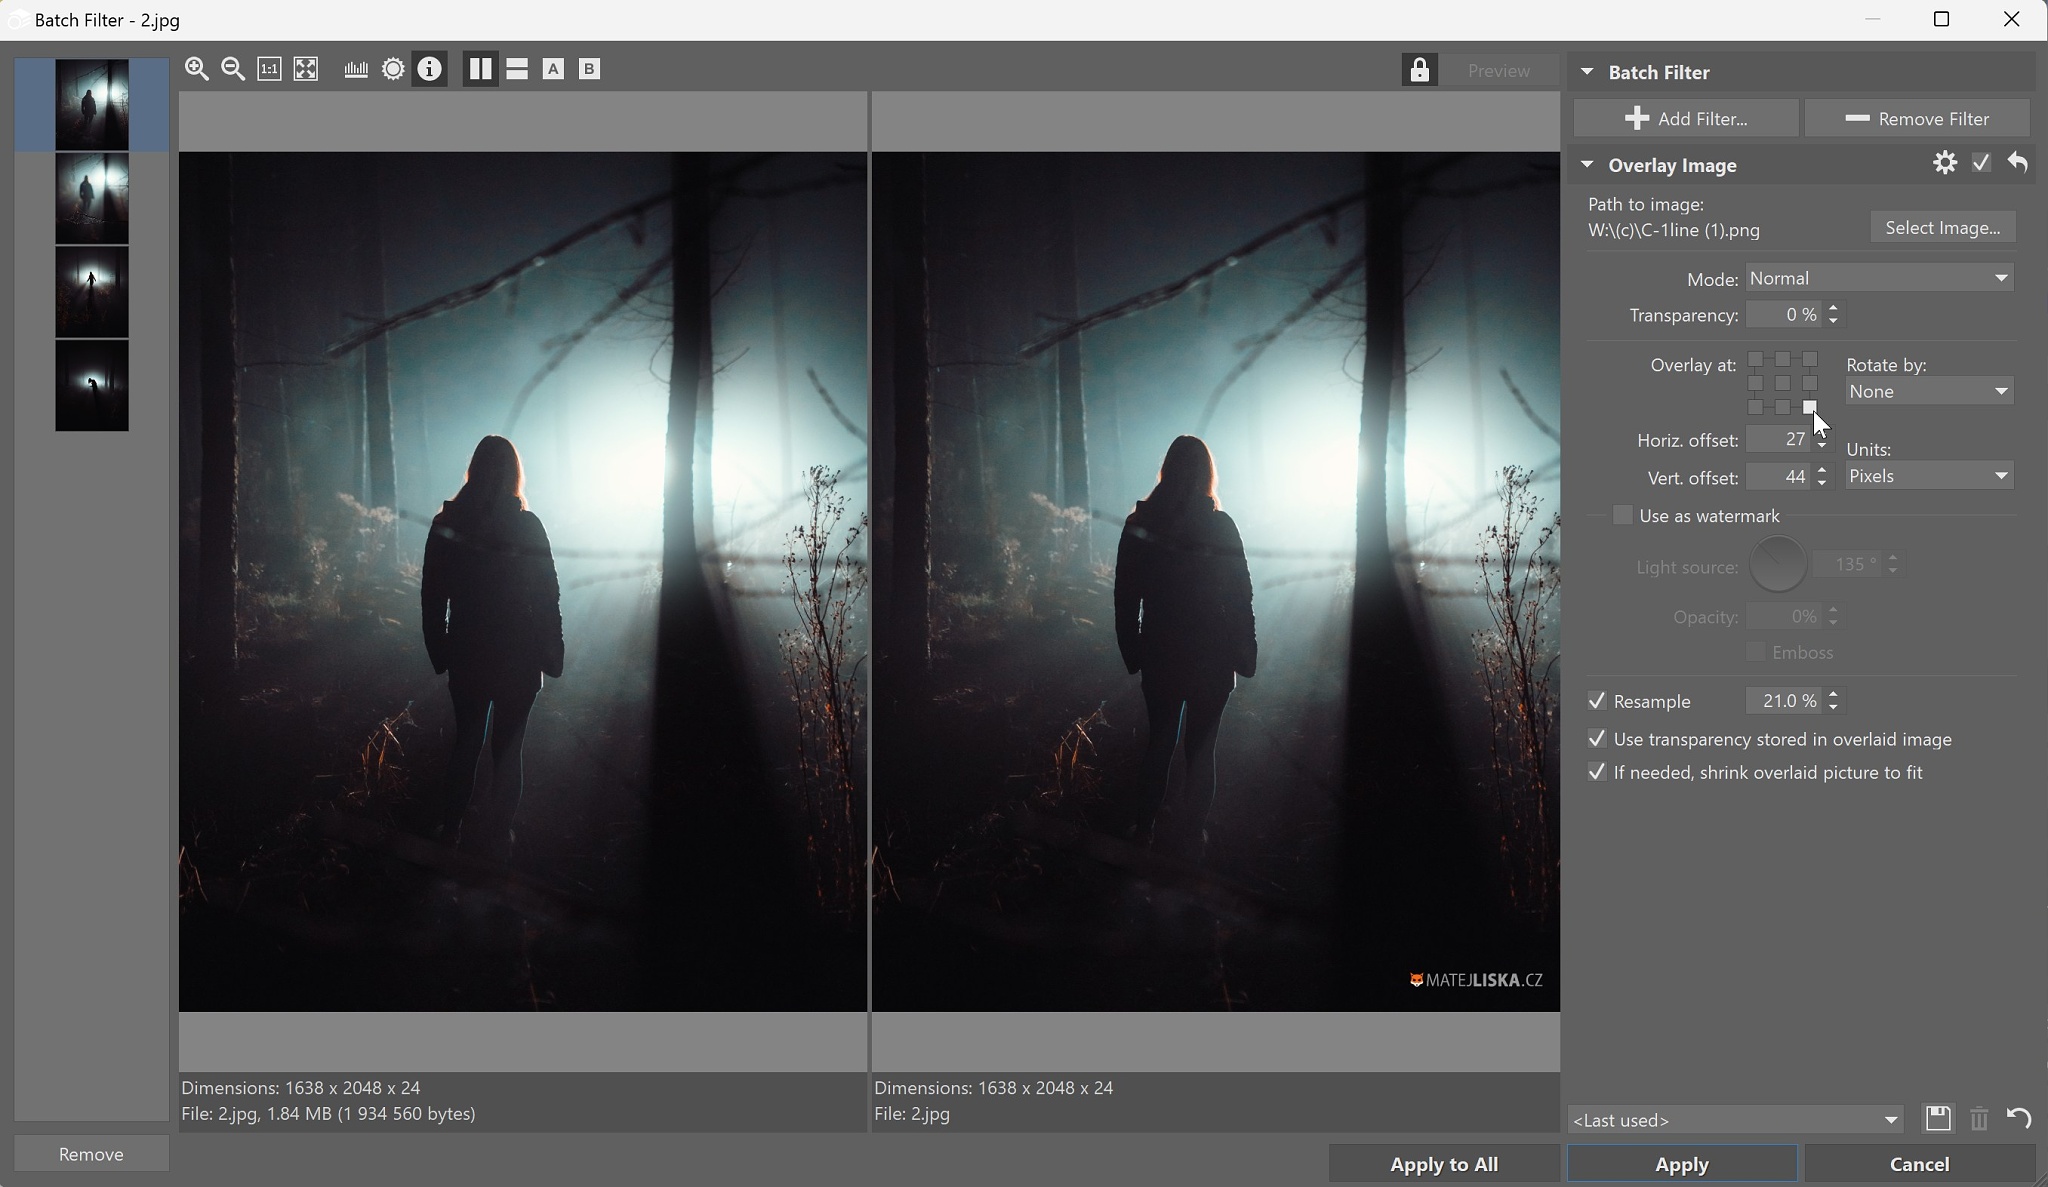
Click through your images and check the placement in the left preview bar. Then, click Apply to All and you’re done.

TIP: If you don’t resize your photos to 100% so they “fit” on your monitor before uploading to Zonerama, your signature may appear at different sizes for portrait vs. landscape images. To avoid this, apply your signature to portraits and landscapes separately. This prevents any significant size differences.
Besides logos and signatures, there are plenty of other creative ways you can add text to your image. Download Zoner Studio for free and try it for 7 days!