How to Photograph a Cosplay: A Good Costume, Preparation, and Inspiration are the Foundation
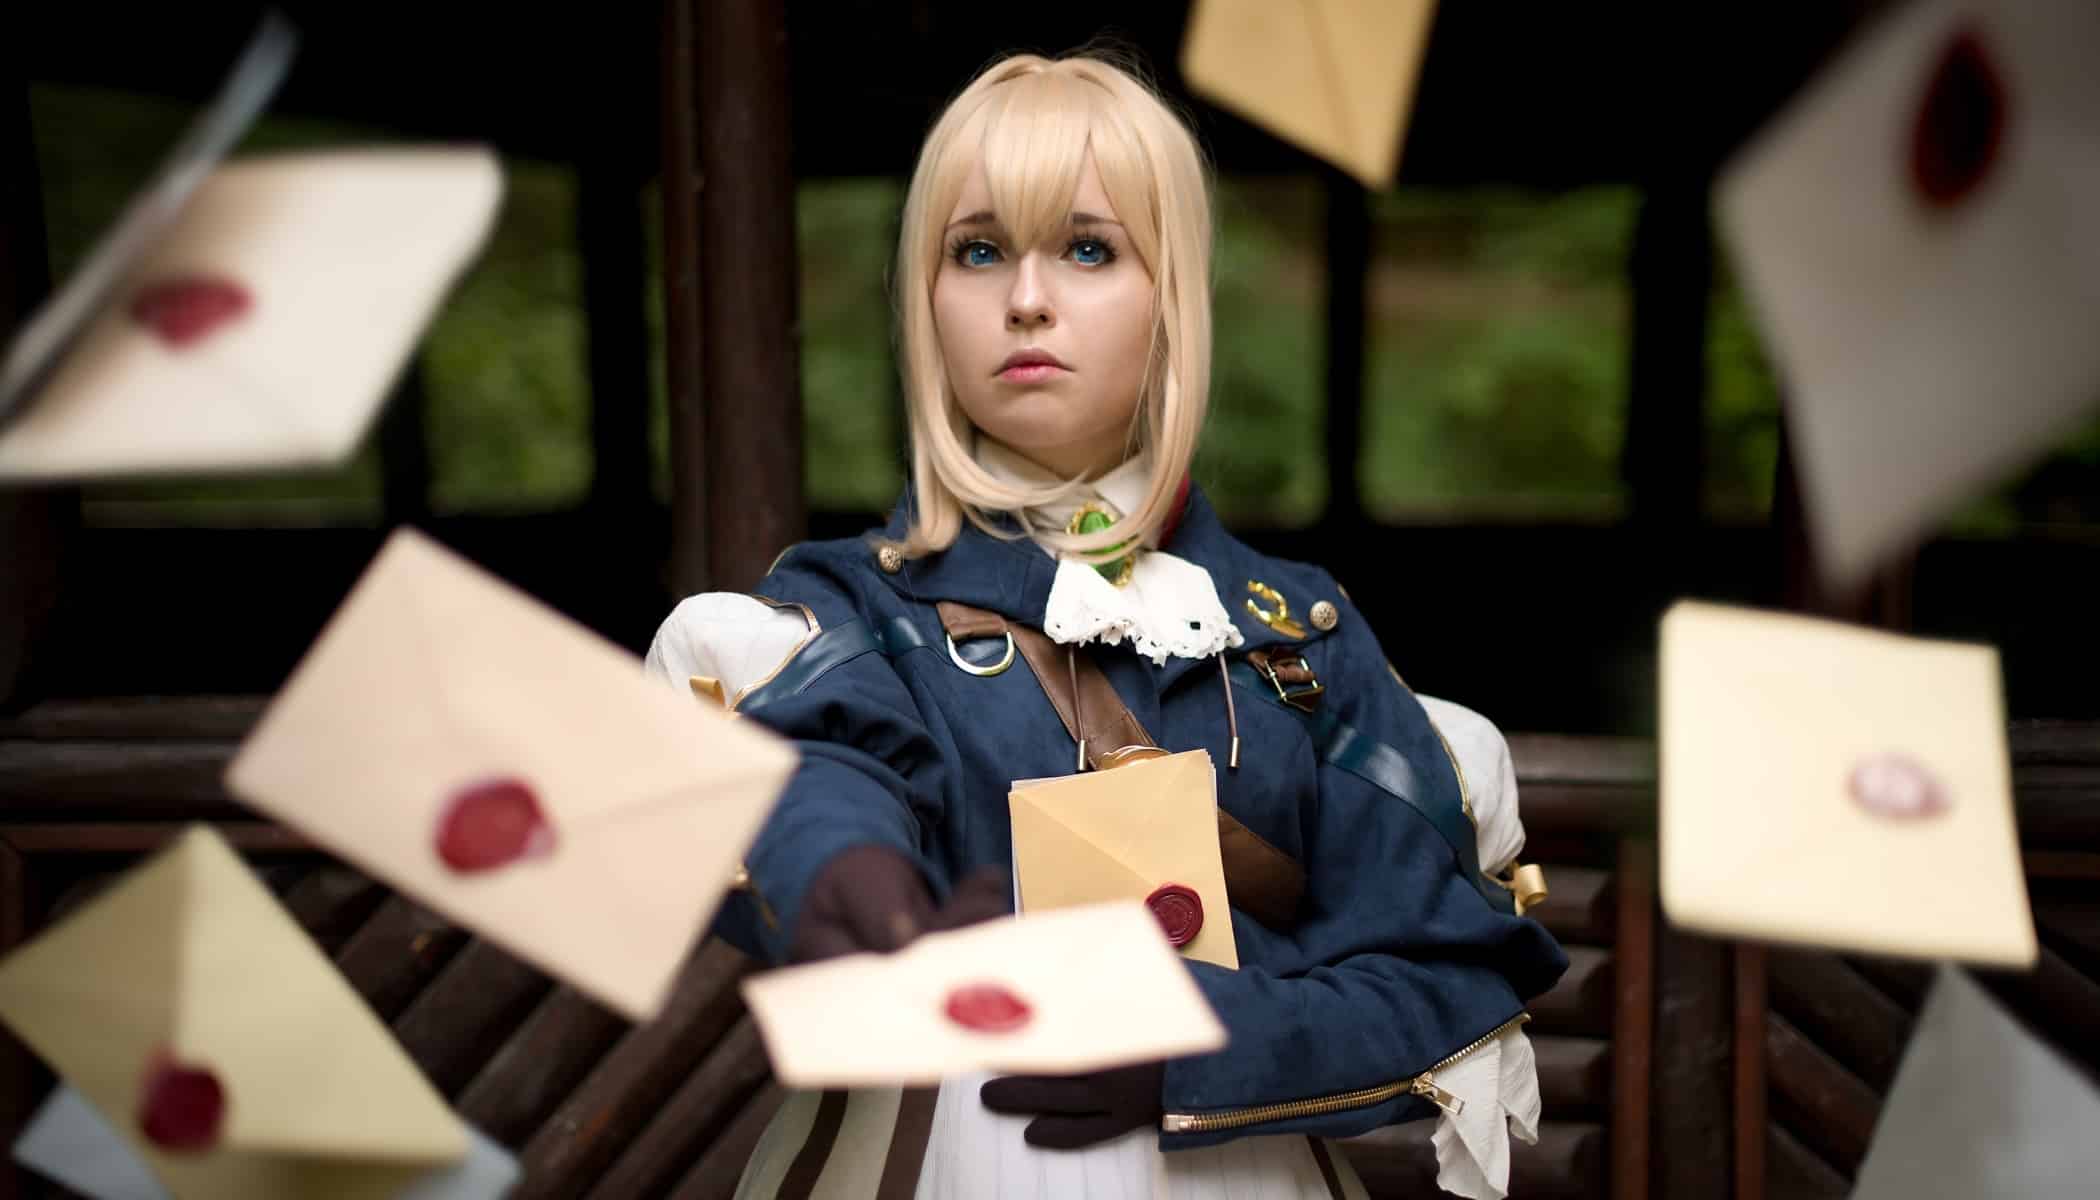
How can you make costumes really shine in your photos? In this article, you’ll learn where to find models for cosplay portraits, how to prepare for the shot, and what to concentrate on. Then we’ll illustrate it all through the example of a real-world shoot.
Costumes are quite a photogenic subject. In this article, we’ll give you a few tips on how to photograph them.
The most important thing before you get started with the shoot itself is preparation. Underestimate it, and you can find yourself gawking at your model and wondering where to start. But what precisely should you focus on during this preparation?
Cosplay is short for costume play, and as the word implies, it’s about both the costume and playing a role. Besides imitating a character visually, the cosplayer has usually also studied their nature, history, habits, and typical phrases.
Preparing for a Cosplay Shoot
Where should you seek your models? Instagram is definitely one place. Look for the word “cosplay” itself, as well as “cosplayer.” Instagram’s costume fans are always hungry for good photos of themselves. If you enter the hashtag #cosplay plus one for your local area, you’ll find a wealth of cosplayers to choose from. You can find and approach someone on Facebook similarly. If you enter “cosplay” in Facebook’s search box, it will find lots and lots of pages from enthusiastic costume creators. And it works the same with costumes from live-action role-playing (LARP) if you enter “larp” instead of “cosplay.” LARP costumes are non-character-specific and are generally historical.
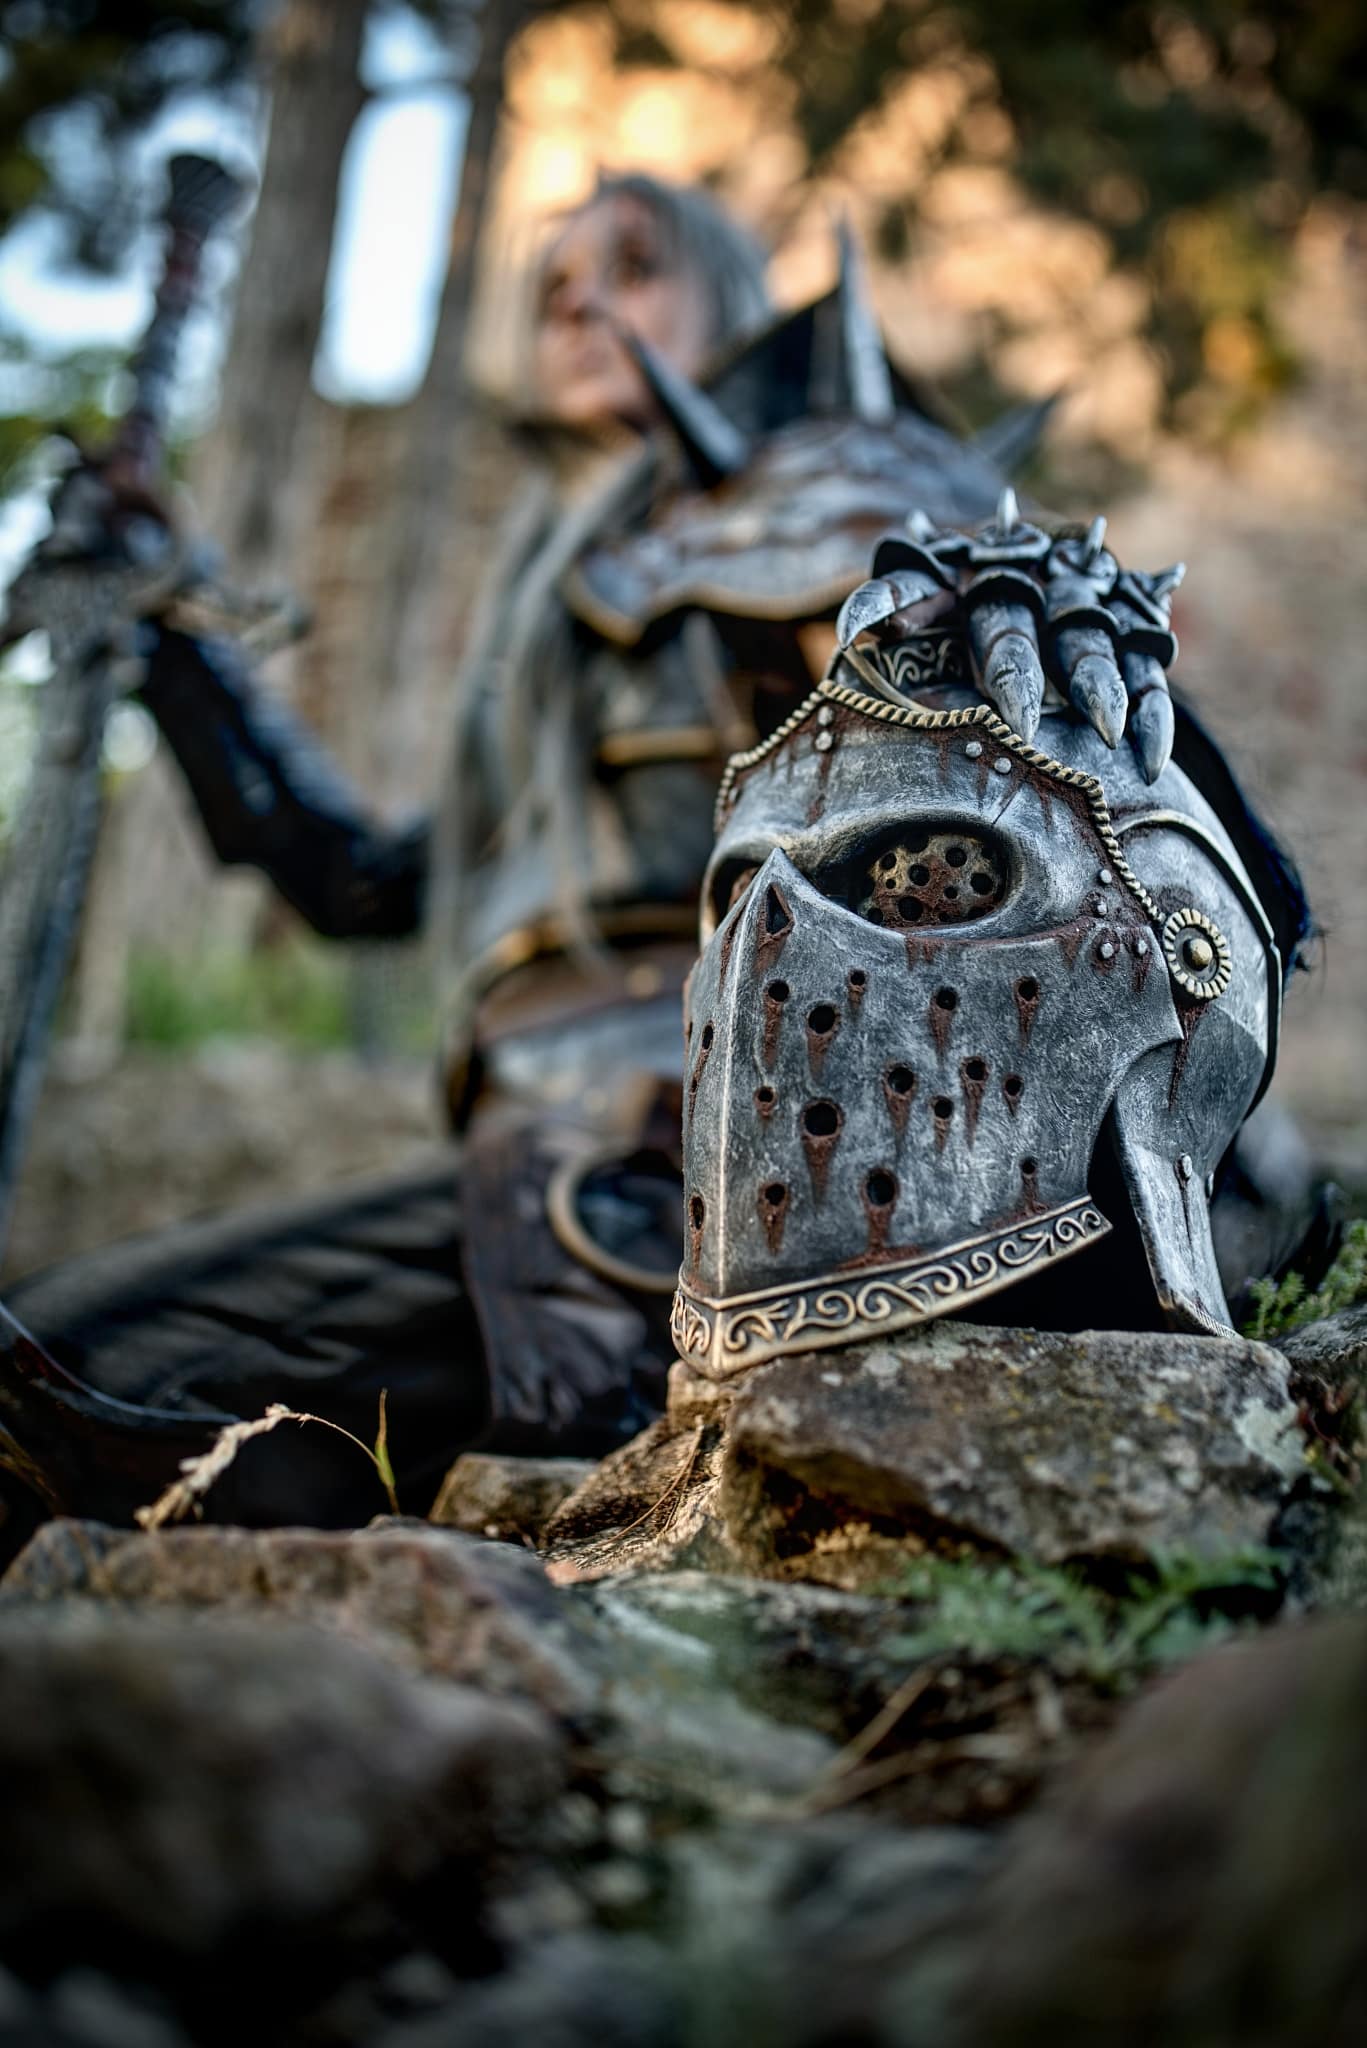
Choosing a location is a topic that’s really worth an article of its own. But the foundation here is simple: the costume has to fit your chosen environment. It’s best to photograph fantasy costumes at castles or in forests, sci-fi in modern buildings, post-apocalypse “urbex-style” in abandoned places, western in small towns (ideally with tumbleweeds), etc.
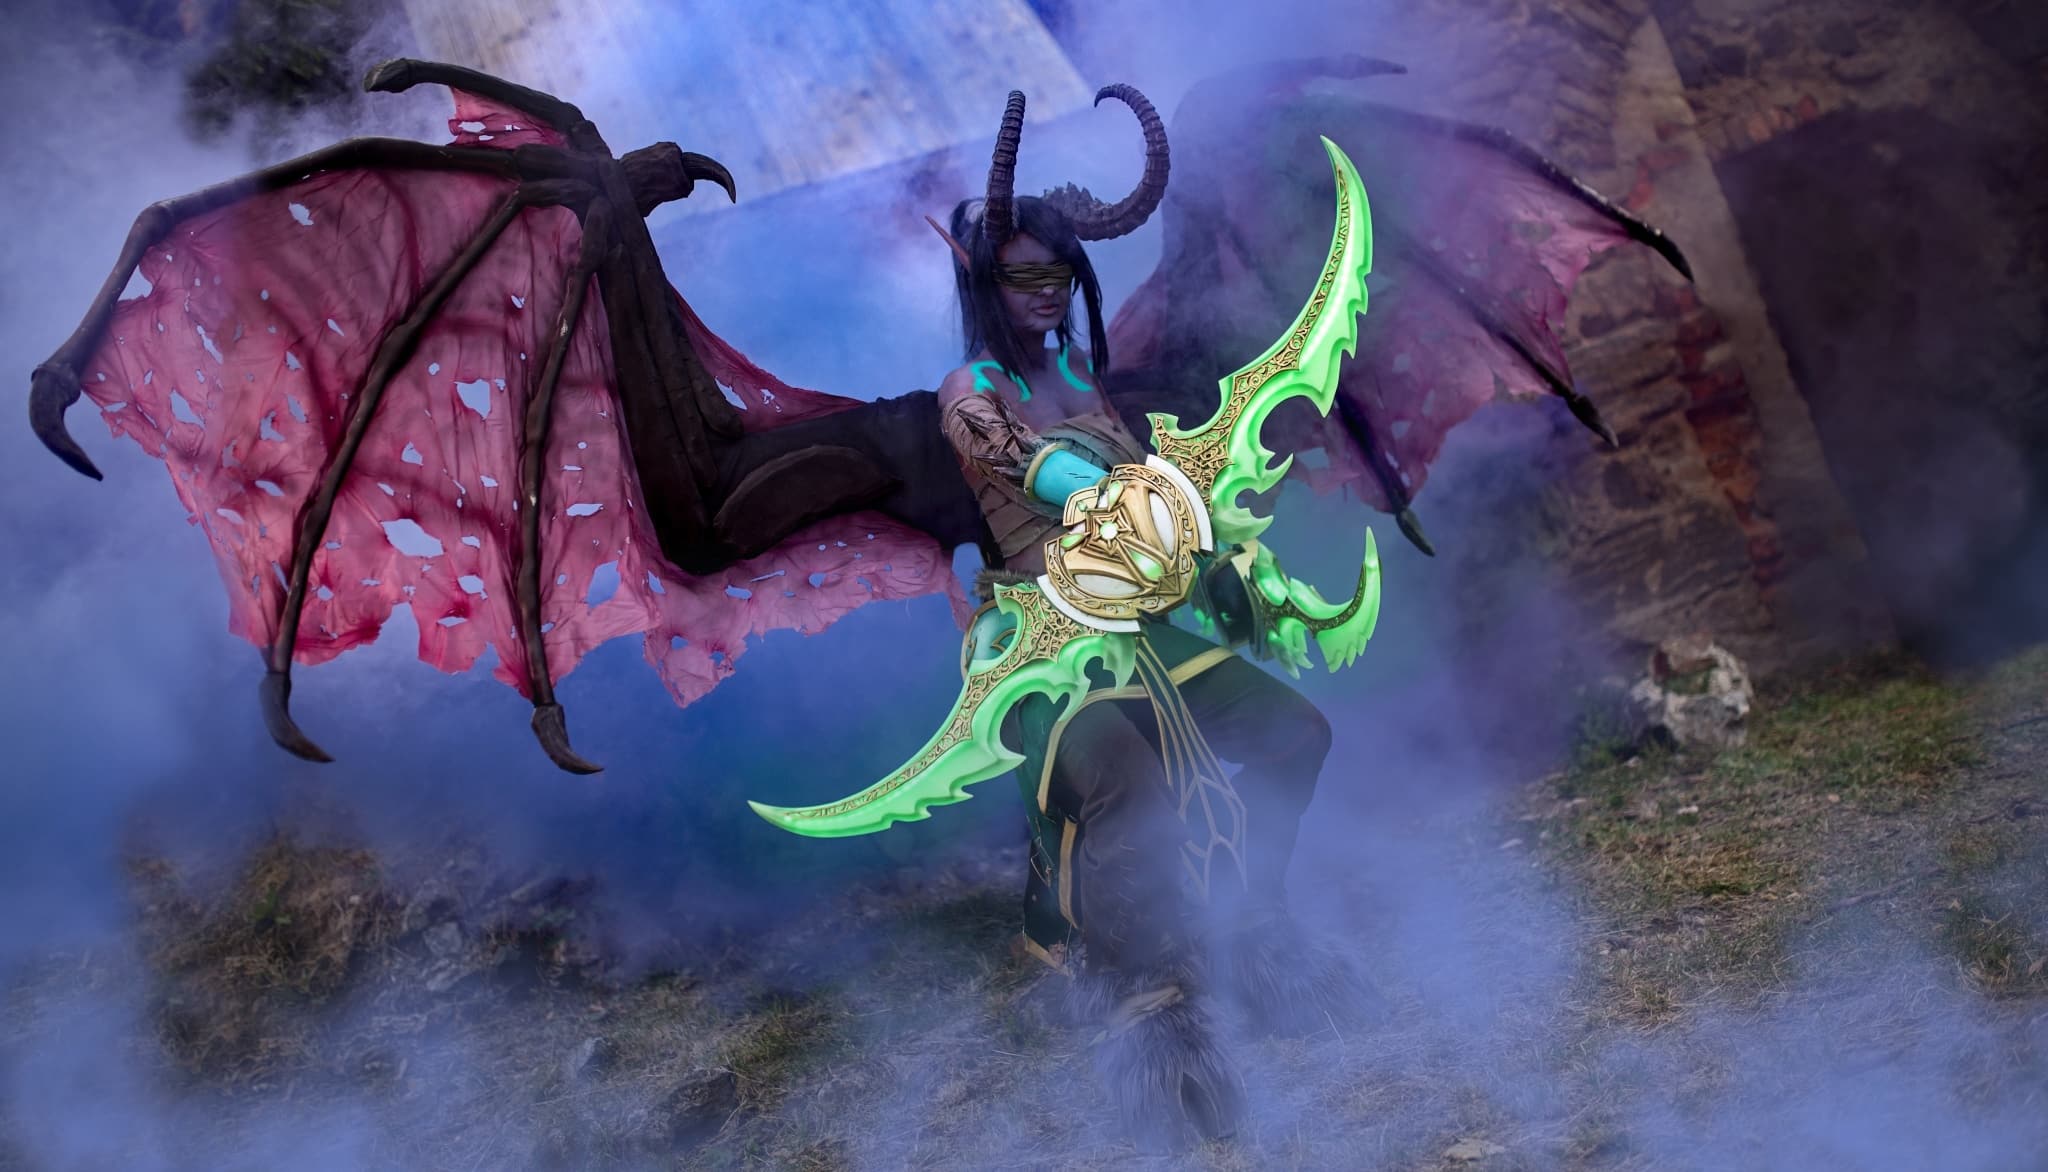
It’s equally important to seek inspiration. Our recommendation is to browse pictures and photos that are related to the costume. They don’t have to be photos or paintings of that same costume; feel free to pick different ones. But we do recommend that you stick to the same style and narrative setting, and a similar choice of location. This browse-through will help you to expand your horizons, but watch out! It’s not easy to precisely copy someone else’s work, because you can end up with your hands tied.
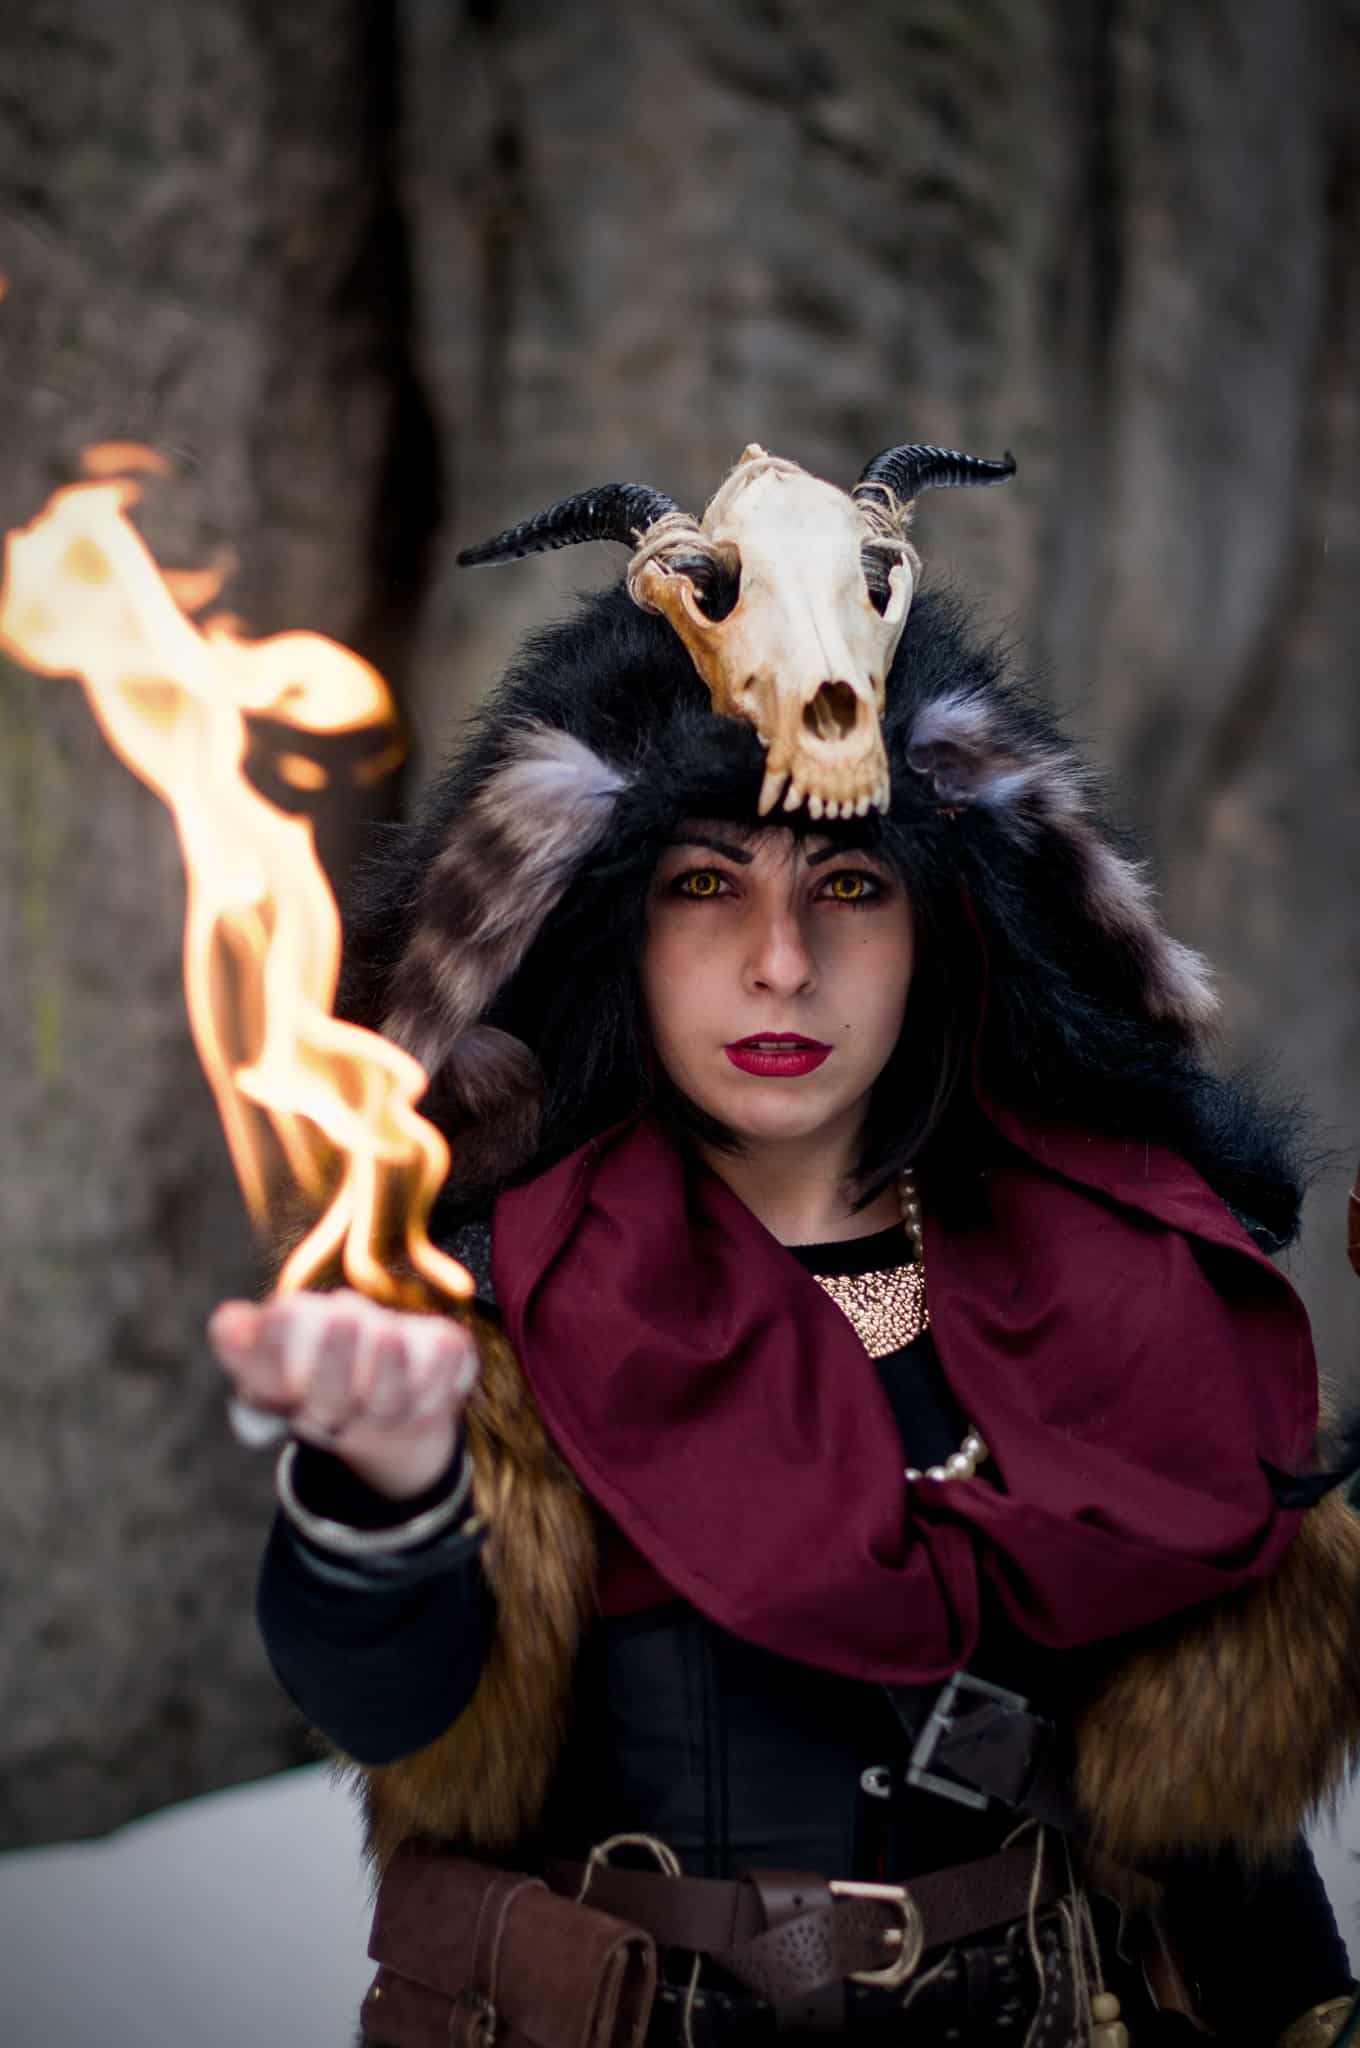
Be sure to take some time and get to know the costume. Always keep in mind that you’re photographing a character (probably one from fiction—a game, book, or film). That character has their own history. Because of this, it pays to take the time to learn where they come from, what they’ve been through and what they’re like, and ideally to get to know one of their typical poses.
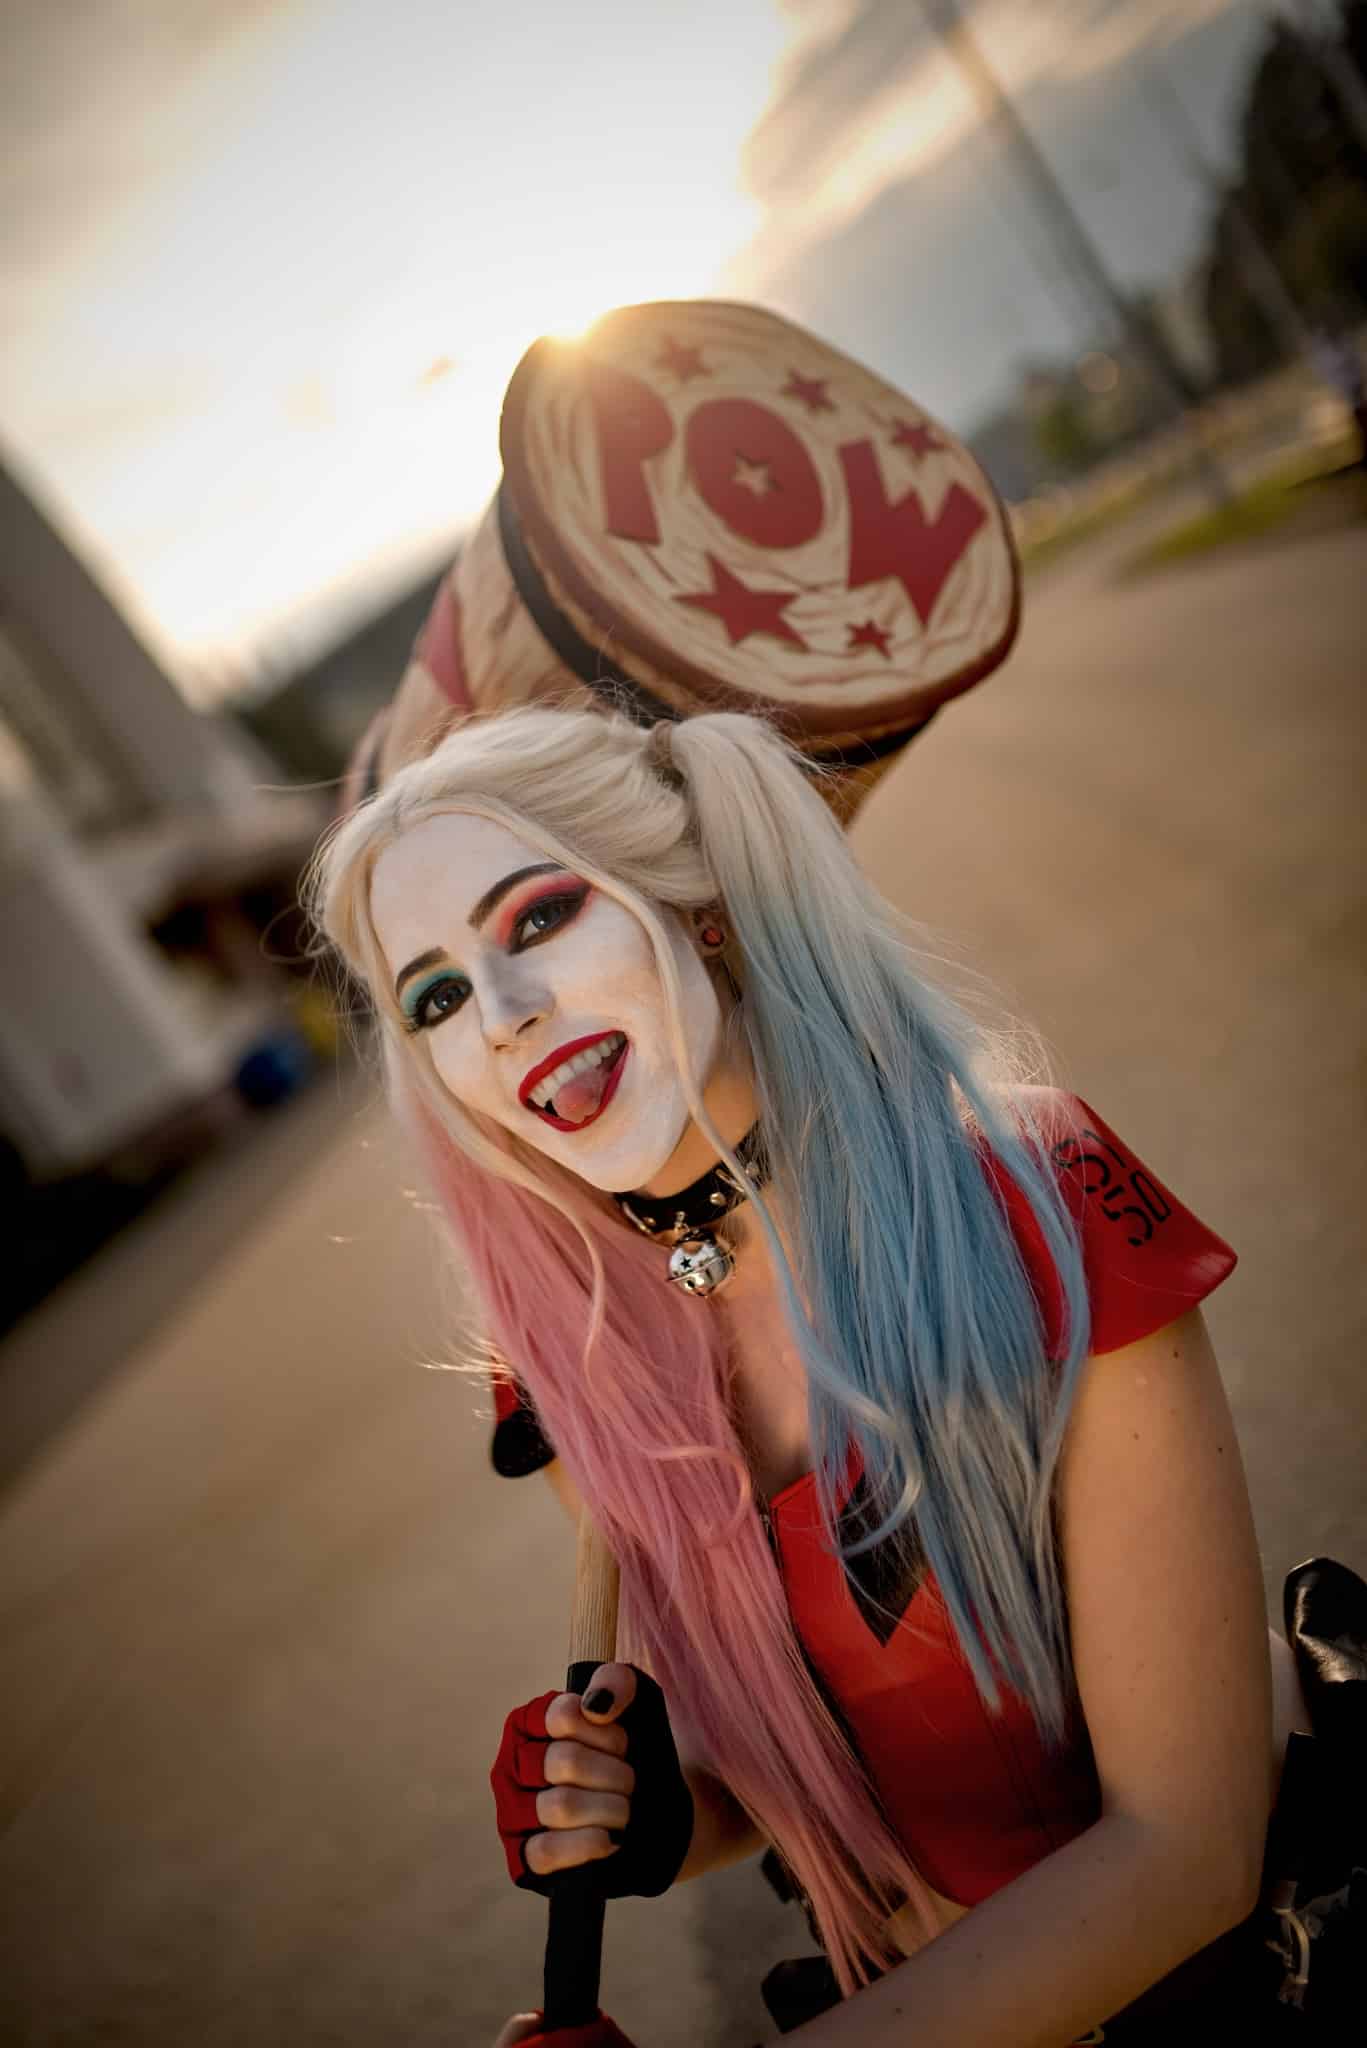
The more you learn about the character, the better you’ll work with them afterwards. You’ll be able to imagine the faces they’d make and how they’d sit, and you can even think up entirely new poses. If you’re having trouble with this process, try asking your model—they will generally know “their” character.
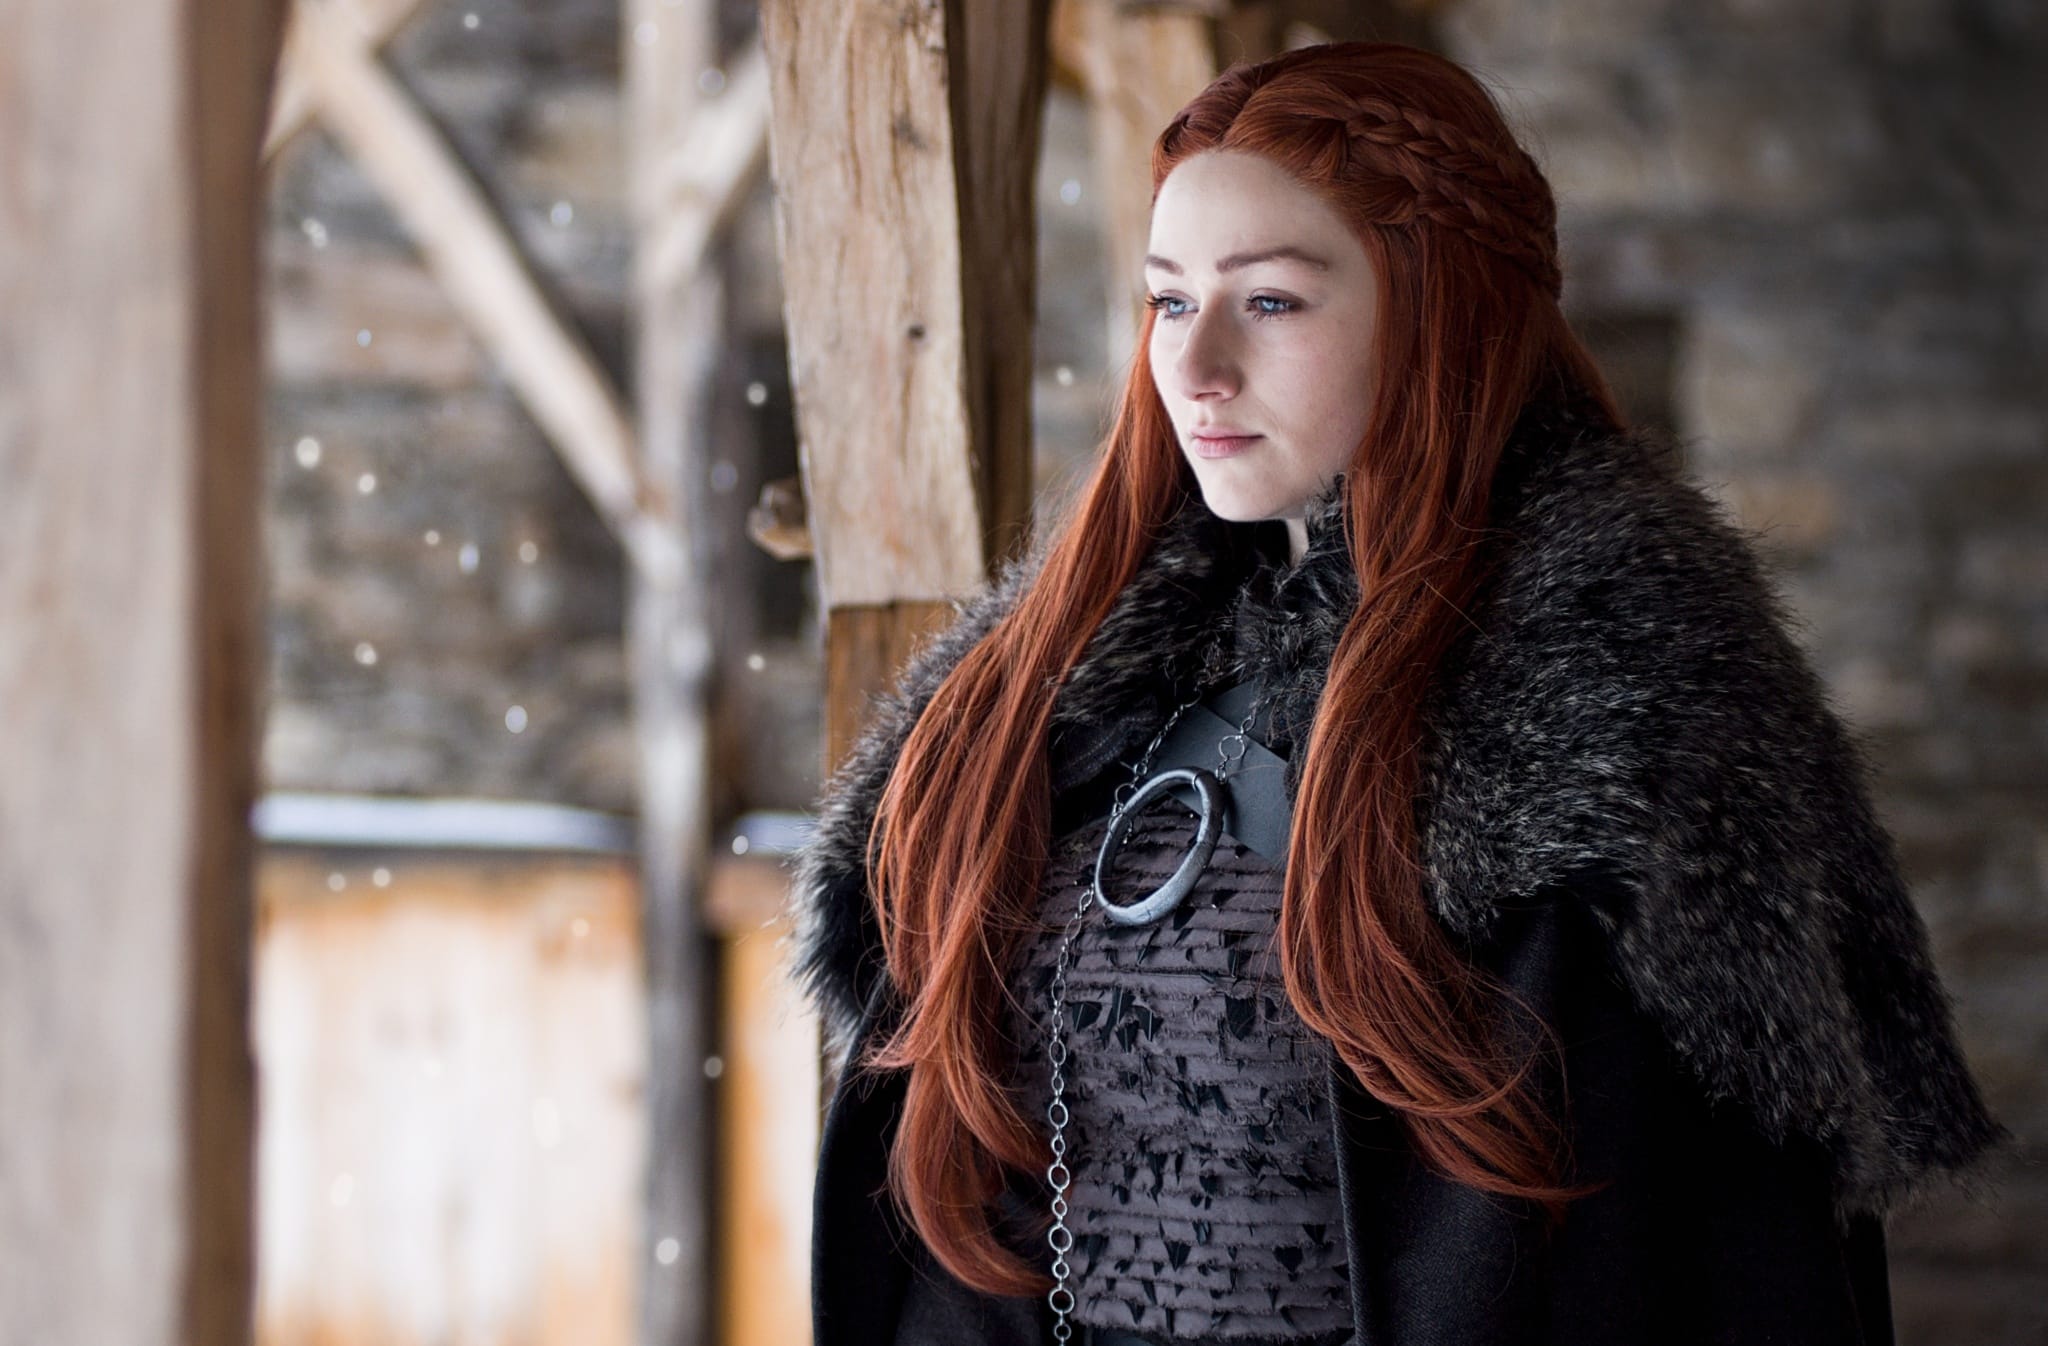
If you’re not photographing a costume based on a particular character, but some “random knight” instead, don’t worry. That’s where the real fun begins, because you can think up all the needed details on your own. Their personality, past, goals, and motivations… all of this will be all up to you. So the character, the costume, and in turn your photo will be that much more original.
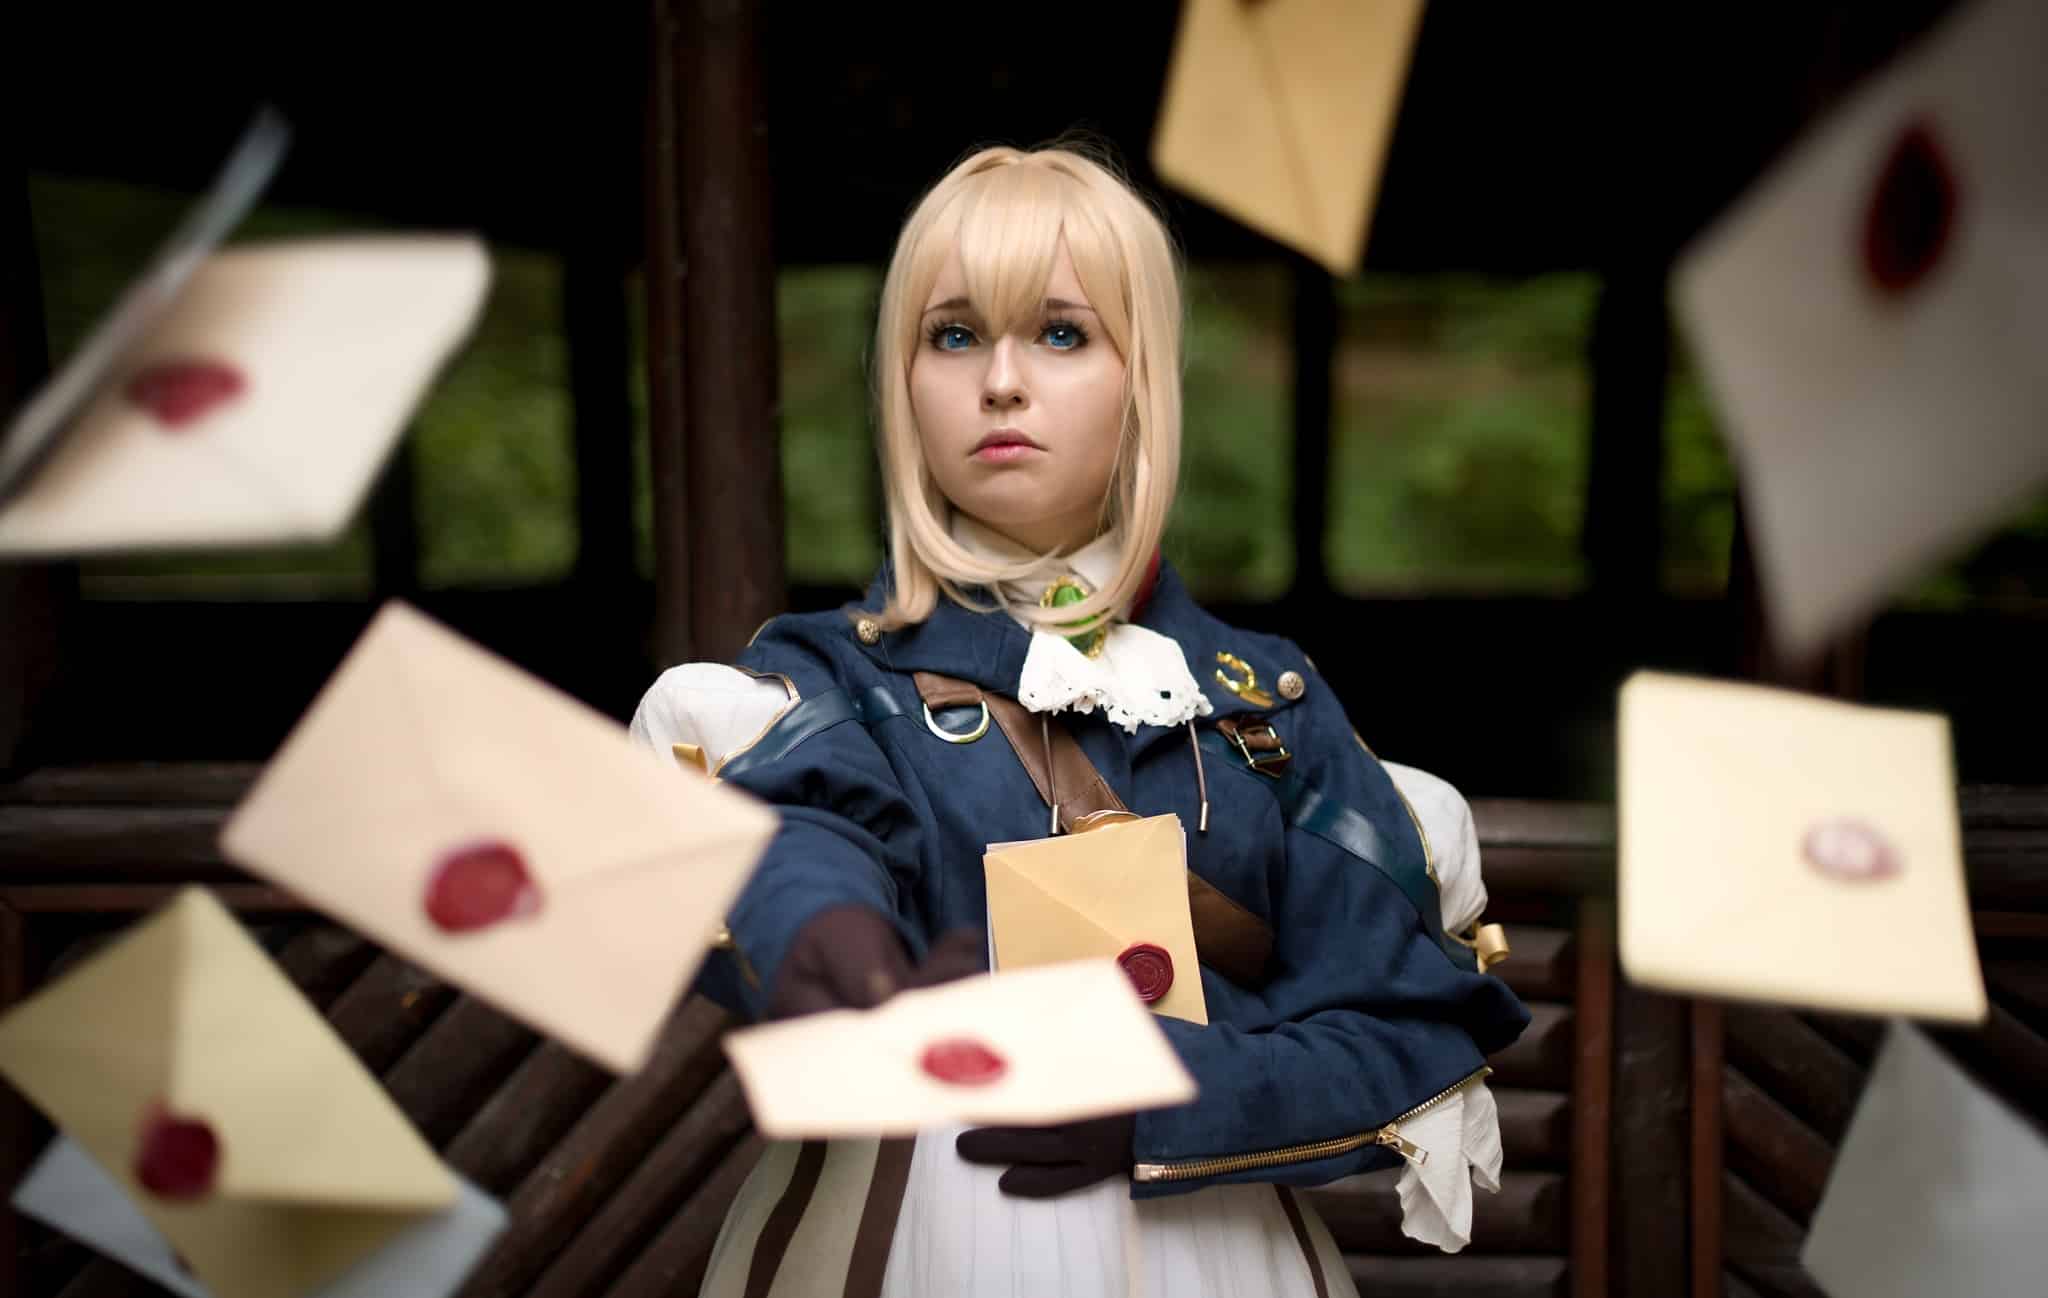
During the Shoot
Once you start your shoot, try to keep up communication with your photographic partner. You’re the one who has to make sure their costume is and stays OK. If any part of the costume gets damaged, it’s your job to alert them to this. Tell the model where the problem is—and don’t forget to also give them advice, suggestions, and ideas. “Try this pose, and this one.” “Look heroic.” In this phase you’re the one leading the shoot, and you have its final look in your hands. Don’t be afraid to take the initiative.
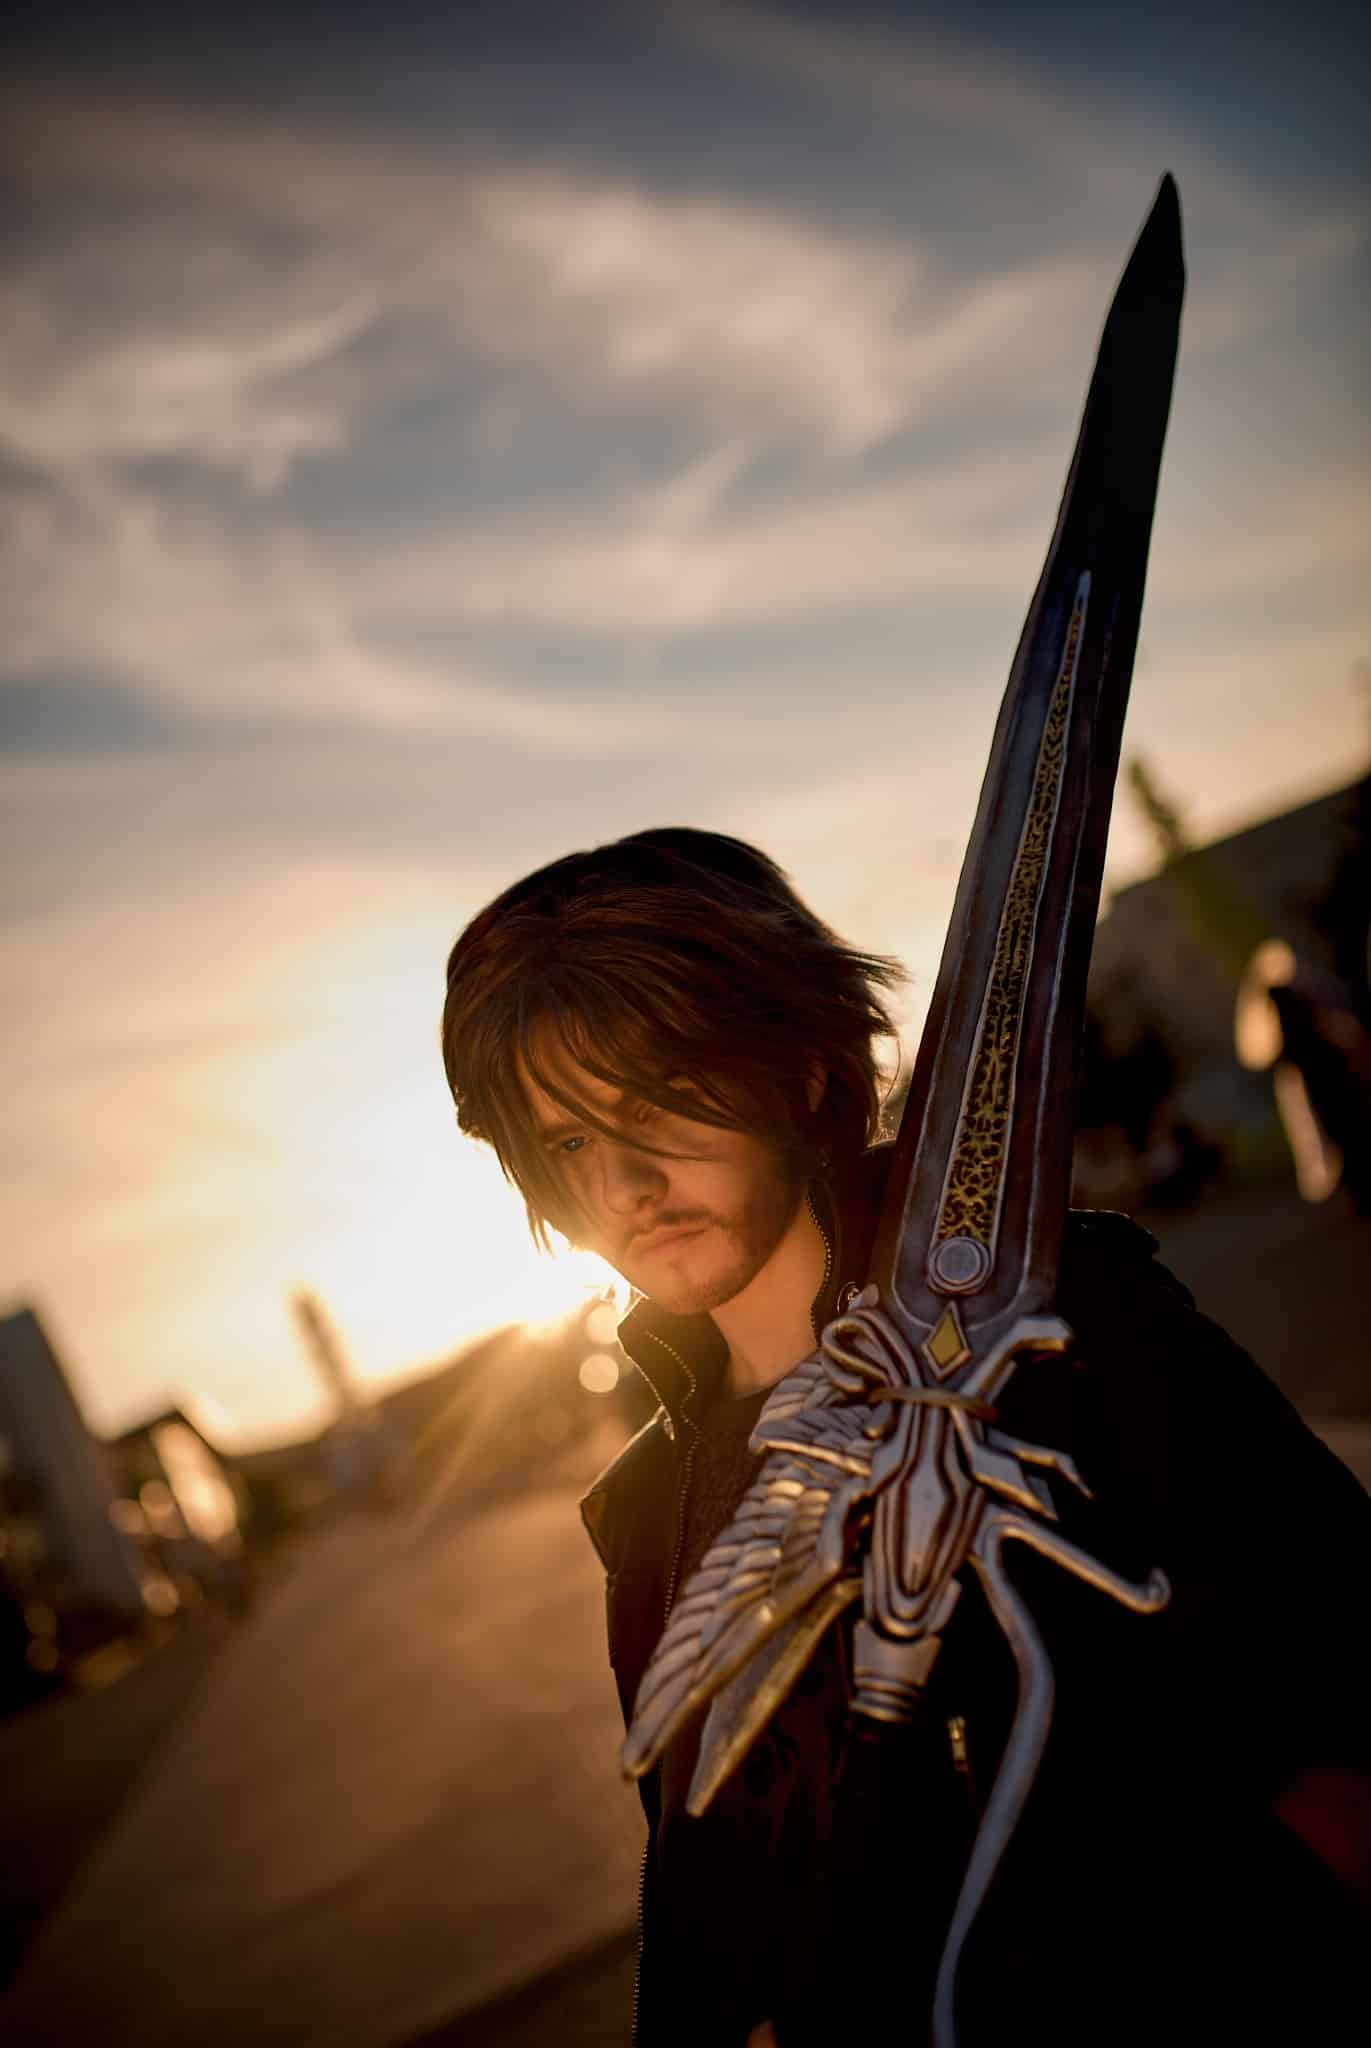
After or during the shoot, try sitting down with the model and talking about the photos. Agree with them on which ones look good, and find out which photos and expressions “work.” You can also take this moment to think up some post-production edits together. It’s no problem to complete the photos’ atmosphere in Zoner Studio and make them more expressive.
How does it all look in practice?
During the shoot itself, it’s good to concentrate on three basic areas:
- details
- the whole costume
- the model’s face
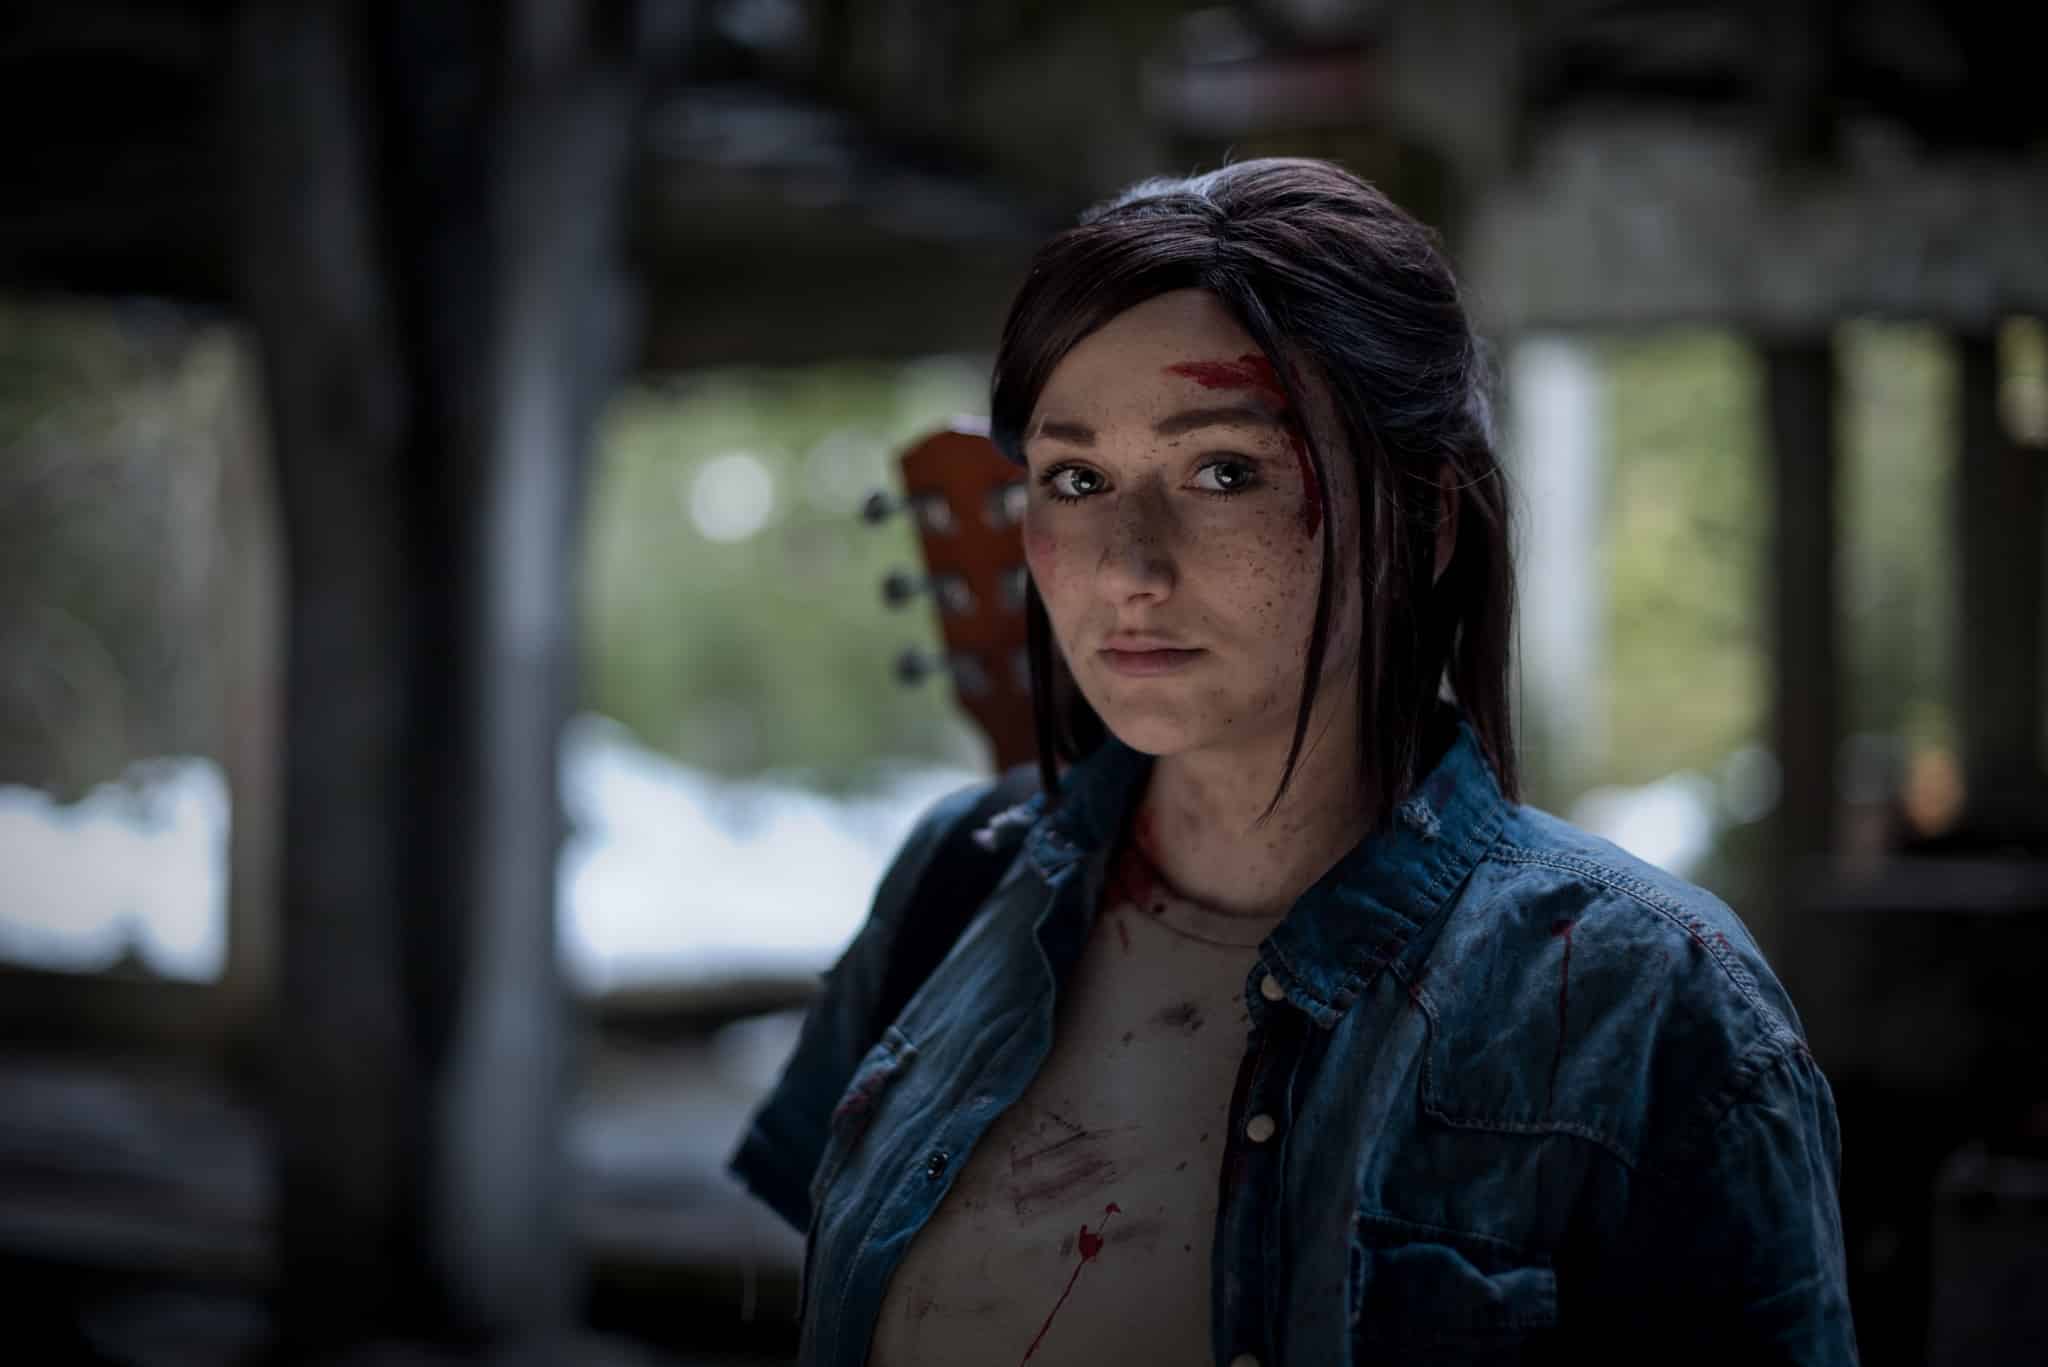
We’ll demonstrate this process with the help of our model Tina, who’s showing off a costume based on the game The Last of Us. She’s cosplaying a character named Ellie.
Make Use of Details
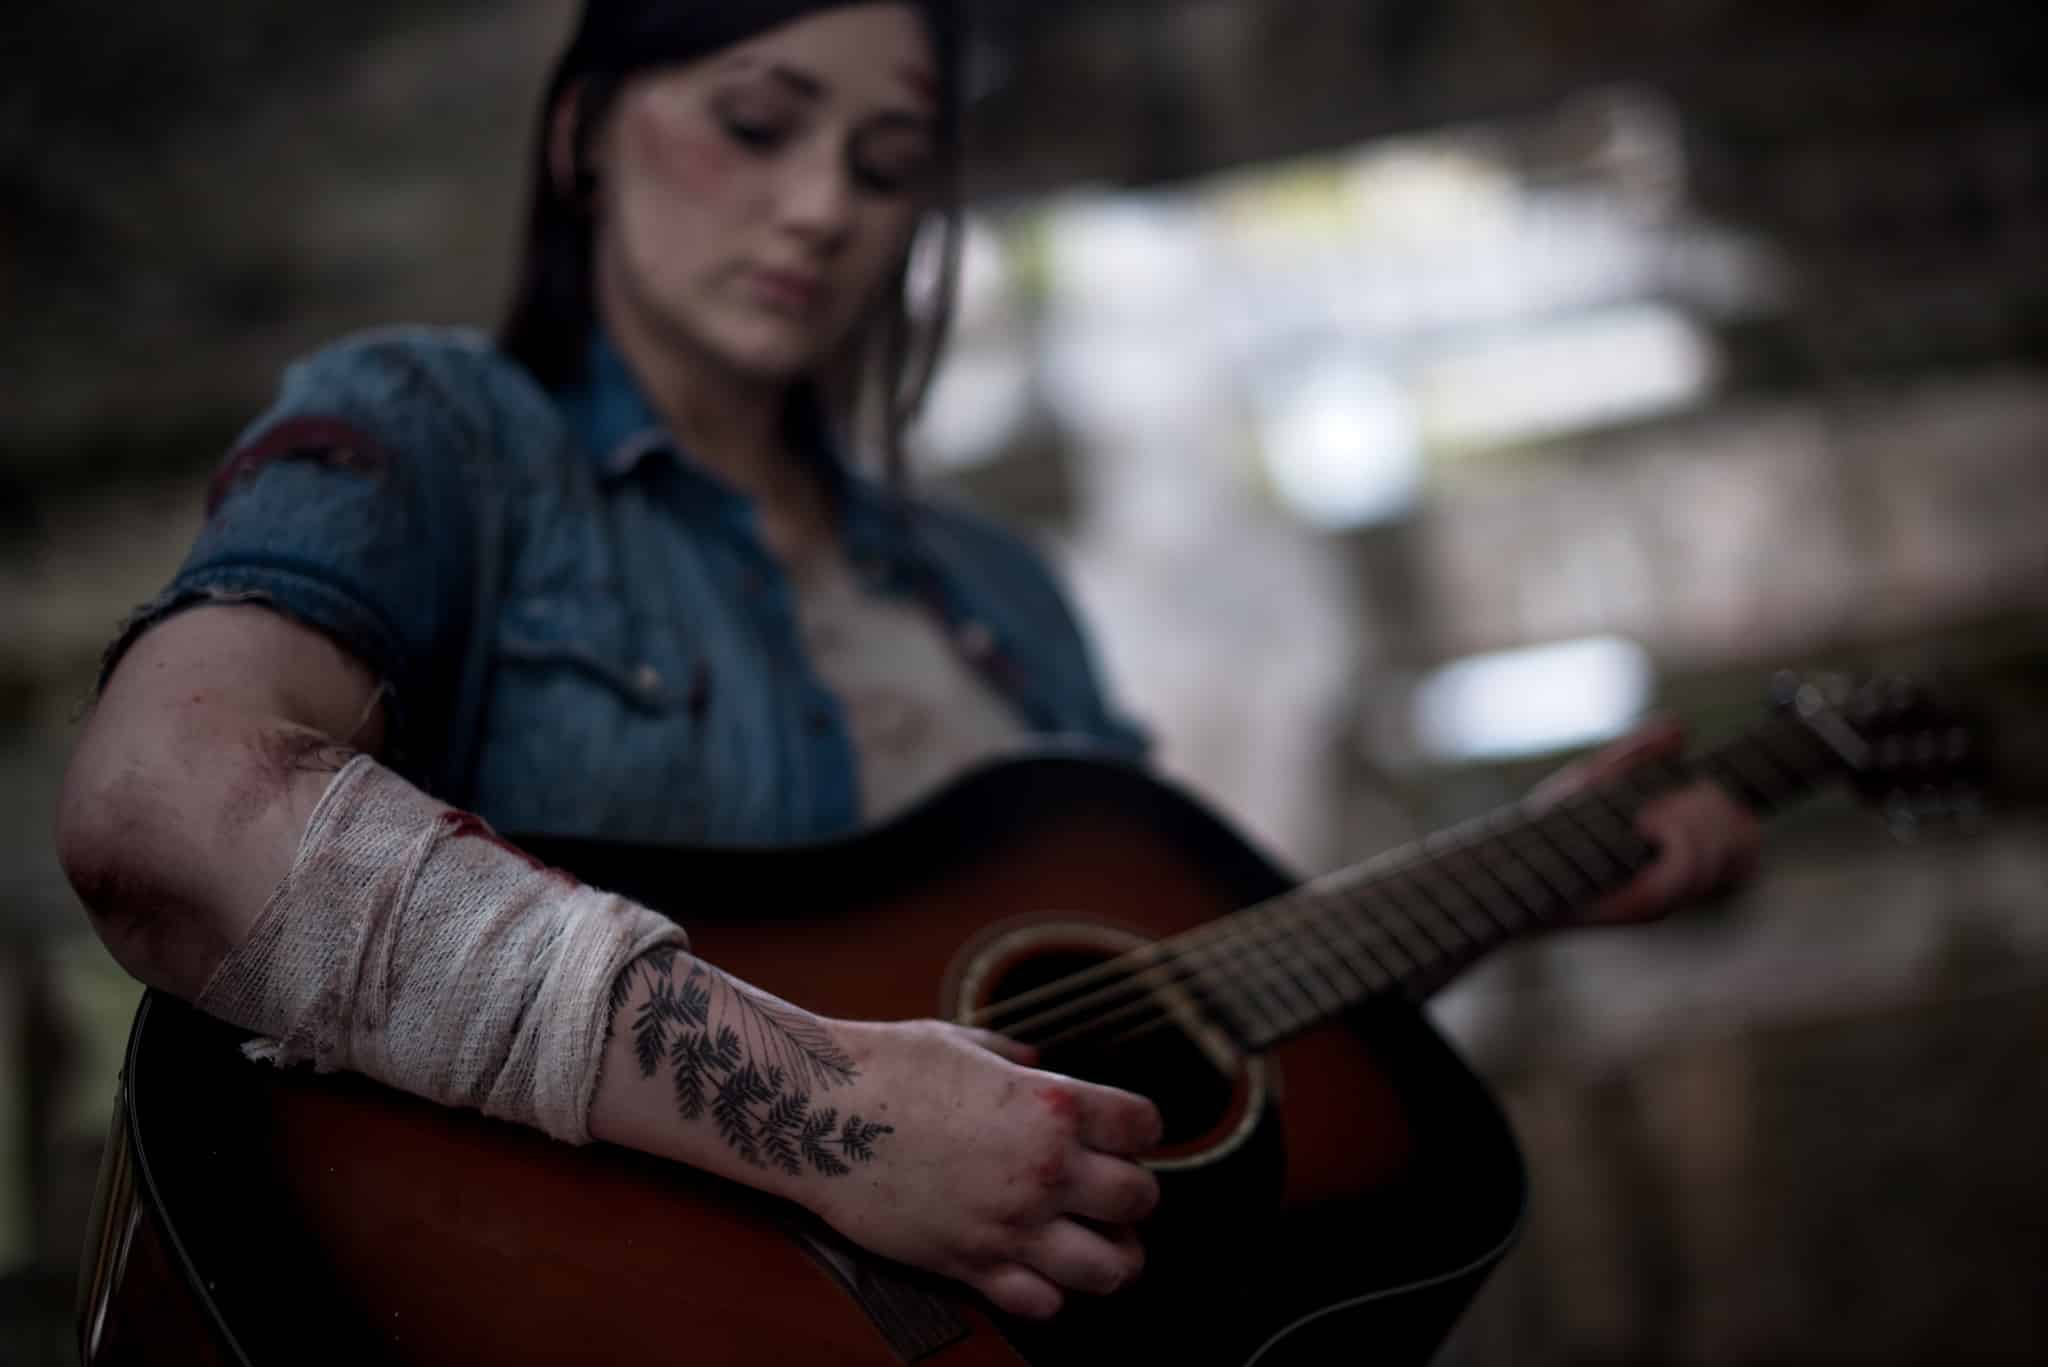
First look over the costume and find anything about it that stands out. Here there are several such interesting aspects: the guitar, the hand and face tattoos, and the original makeup. After picking out these three particular details, we put them to use in the shoot. For example we can photograph the model in a way that makes the tattoo stand out. Or think up a pose where the main subject is the guitar.
And Now the Character
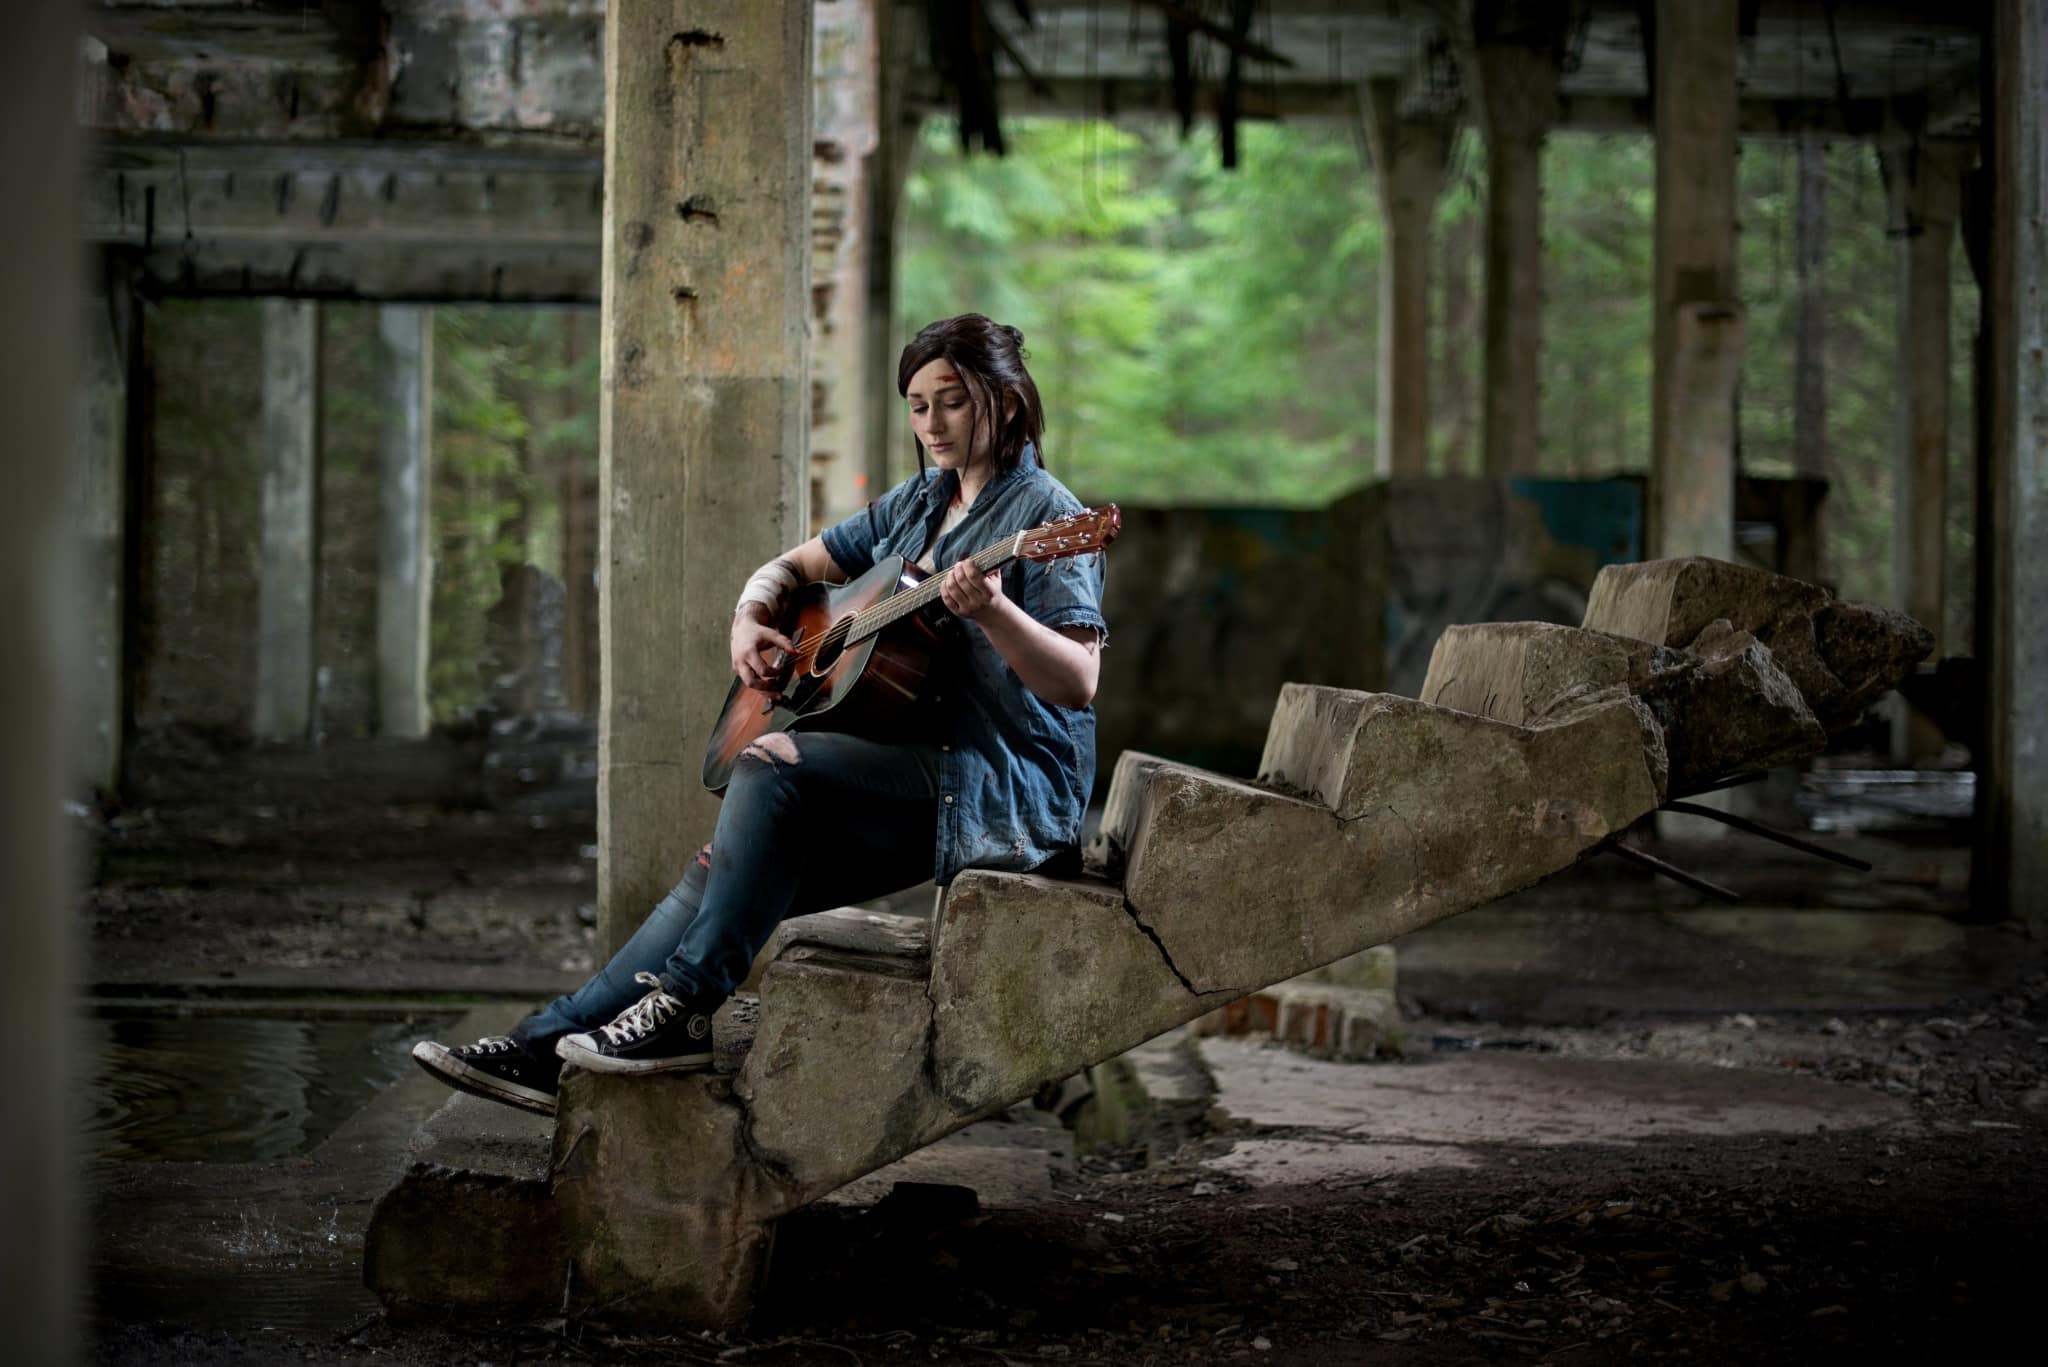
After photographing the details, move on to the costume overall. Taking the full-body shot itself is simple, but how do you make sure it’s special? Here’s where you should remember everything you learned during your preparations for the character. In this case we knew that Ellia lives in a bleak post-apocalyptic world. And that she’s brave and strong. So we gave her a pose where these aspects could stand out. The choice of location we discussed above really comes into play here as well. We let the environment’s atmosphere breathe from the photo.
Don’t Forget Emotions
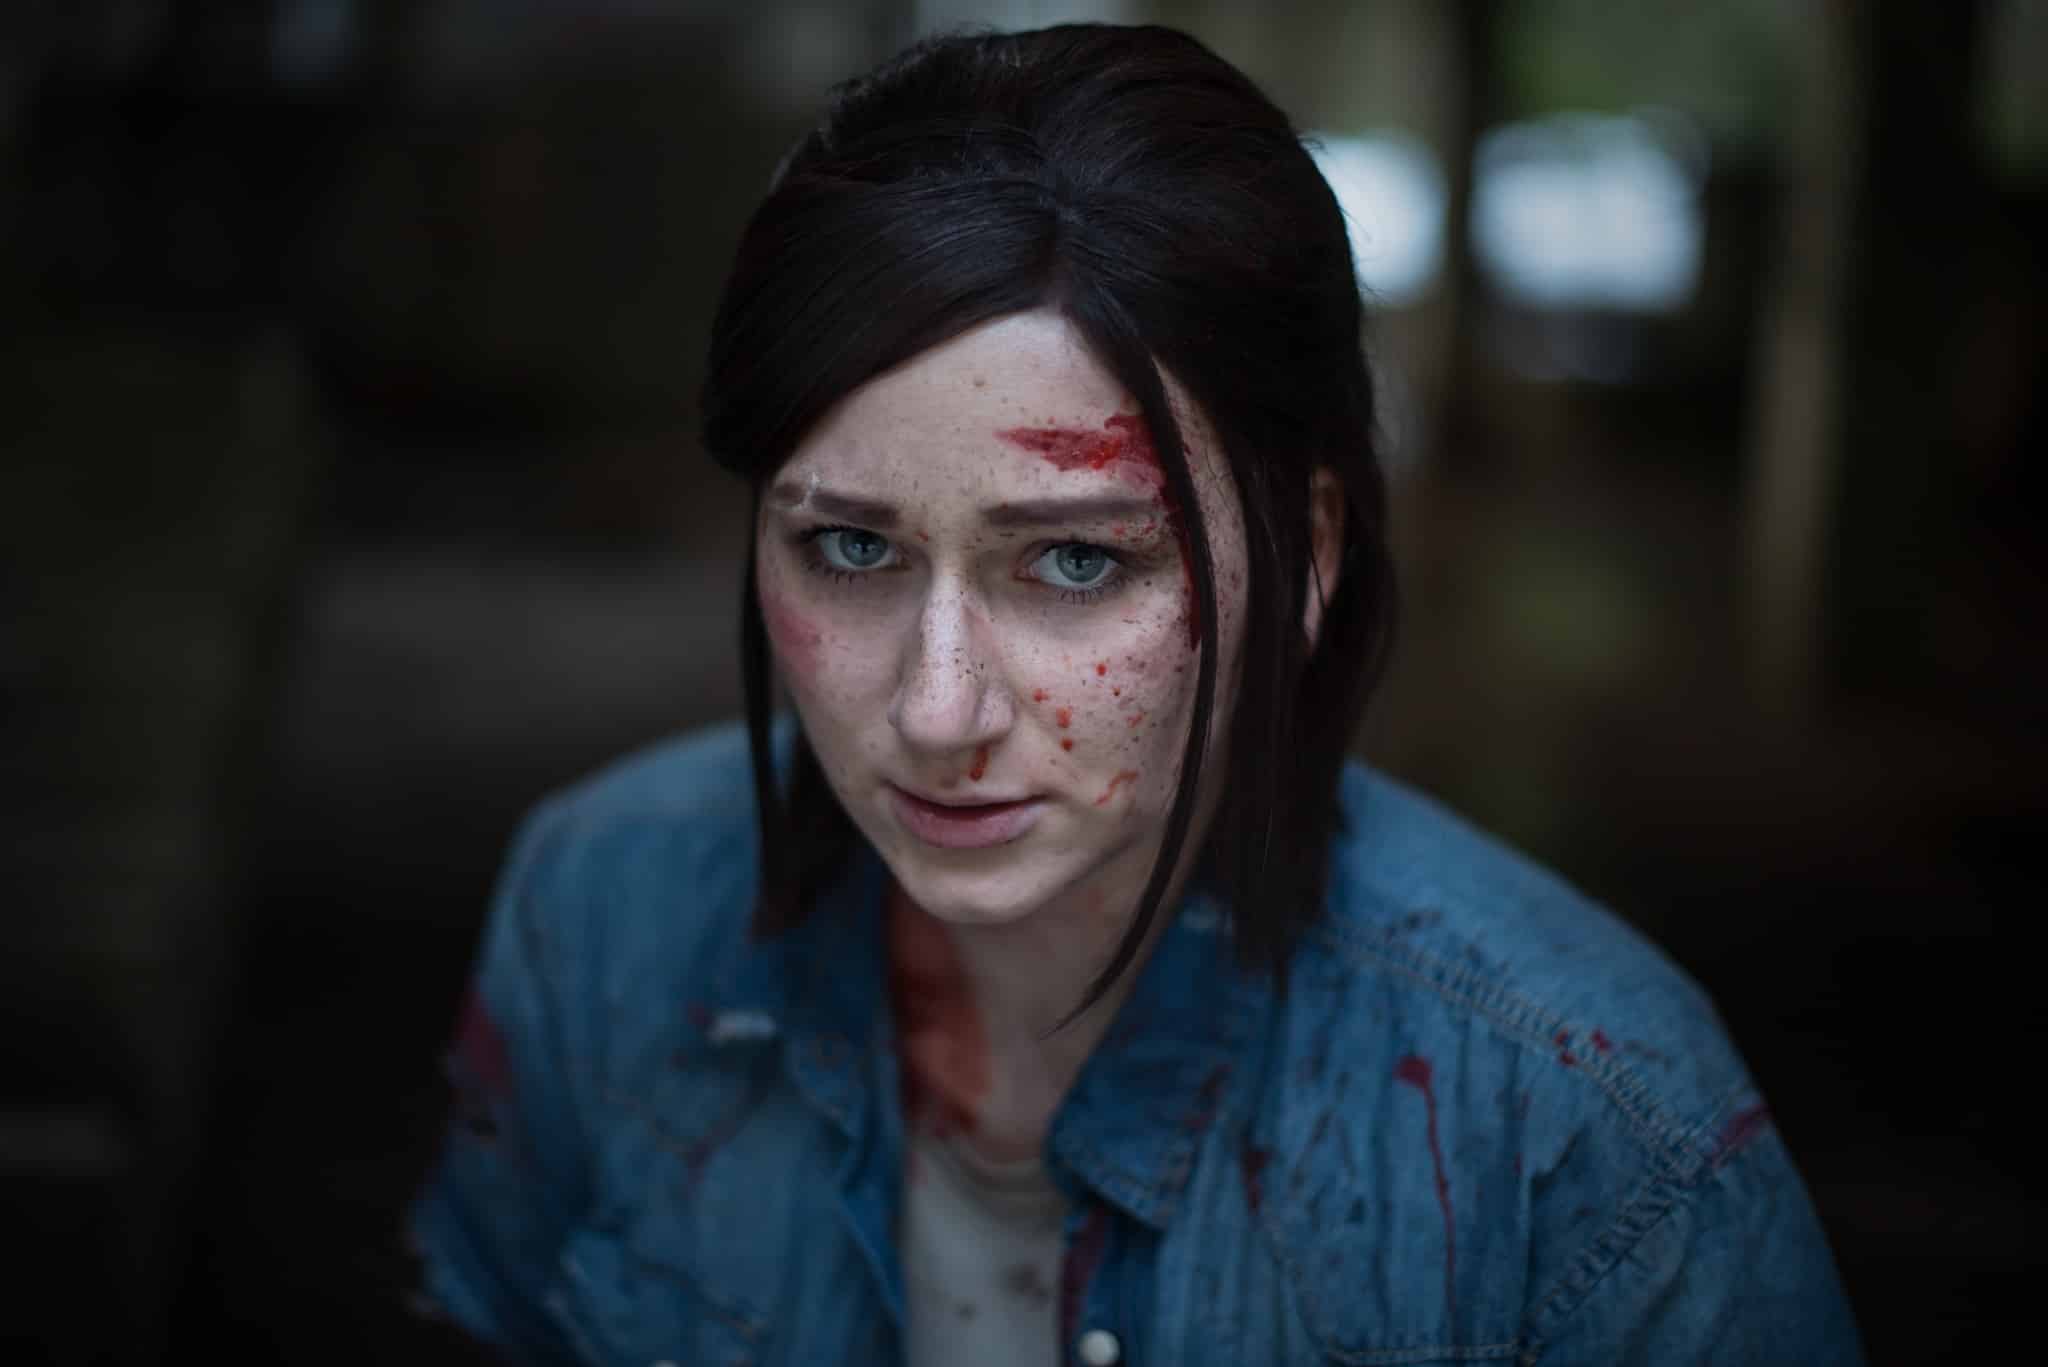
Now comes the third area—the model’s face. One reason why portraits are so popular is that people use them as profile pictures. So how do you make face portraits look special when they’ve become so common? Emotions. Let’s go back to Ellie’s history. What are her defining emotions? Well, Ellie has seen people die and survived the end of the world. So sadness and rage will be the order of the day.
So ask your model to keep all of this in mind for the shoot. It’s good if they give themselves up entirely to the emotion you’re trying to portray. Smile or roar if that’s what needed. Or remember their sad moments. Or you can tell them a horror story and get them scared. And then act fast! These artificially evoked emotions don’t last long. You have to be swift to capture the emotion at just the right moment.
You may find yourself intuitively taking a liking out of nowhere for some place, pose, or object that you find. Don’t hesitate and snap that photo right away. It’s precisely those photos where you get inspired and “time stops” while you’re taking them that tend to be the best.
Cosplay’s Over!
Cosplay photography is creative and fun. You can go to extremes, involve your imagination more than usual, discover new places, and for example use new things in your pictures. You can try out photos with fire, animals, smoke, and more. And “your” cosplayers will be very grateful for the photos, because you’re immortalizing something they created themselves, something they’re proud of. In short, it’s all a nice and new experience.