How to Photograph Water Drops
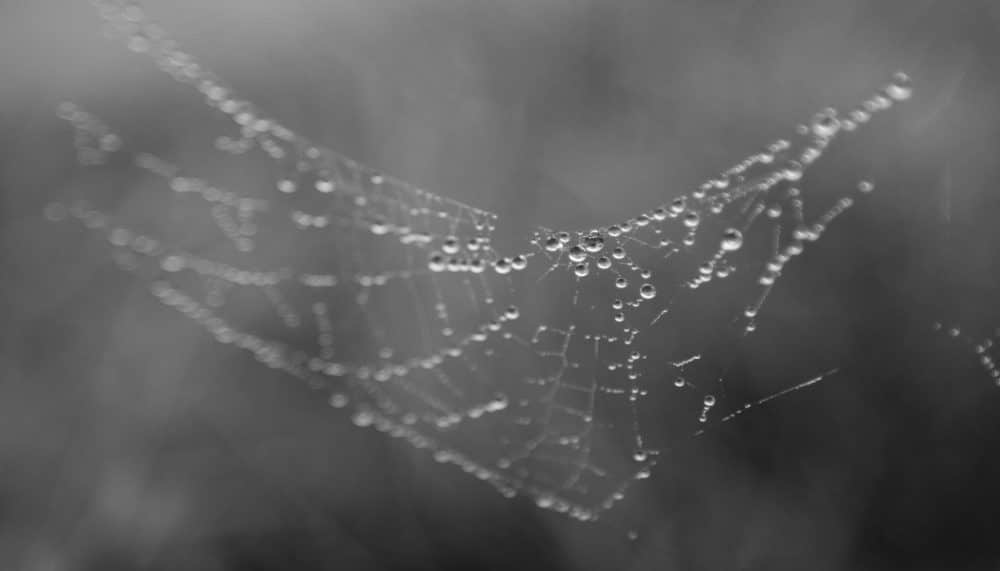
Capturing a drop of water on camera before it falls to the surface, or just when it touches the surface, can seem very difficult. But with a little practice you can capture even these moments easily. Take some inspiration from this photographic experiment!
Photographing drops of water can be complicated, but it can also bring you many interesting pictures that will catch many an eye. And by photographing drops of water, you’re also improving your photographic skills. So why not try a little photographic experiment?
Where to Wait for Water Drops
Even though you can photograph water drops in a studio, we’ll be trying our experiment outdoors.
The ideal seasons for photographing water drops are summer and fall. You’re going to be helping yourself out with a barrel or a bucket under a spout, and by catching a spider on a spiderweb.
What Camera Should I Use?
You can photograph water drops with practically any camera. A DSLR is great, but a compact with a viewfinder so that you can easily watch the falling water drops will work fine as well. For a DSLR, a kit lens (18–55 mm f/3.5–5.6) will do just fine.
For compacts it will help if you set the focus to macro mode, which lets you zoom in more on details; for DSLRs, if you have a macro lens, go ahead and use it, but don’t worry if you don’t have one. Use a tripod if you can to get better and calmer composition.
Taking Pictures in Summer
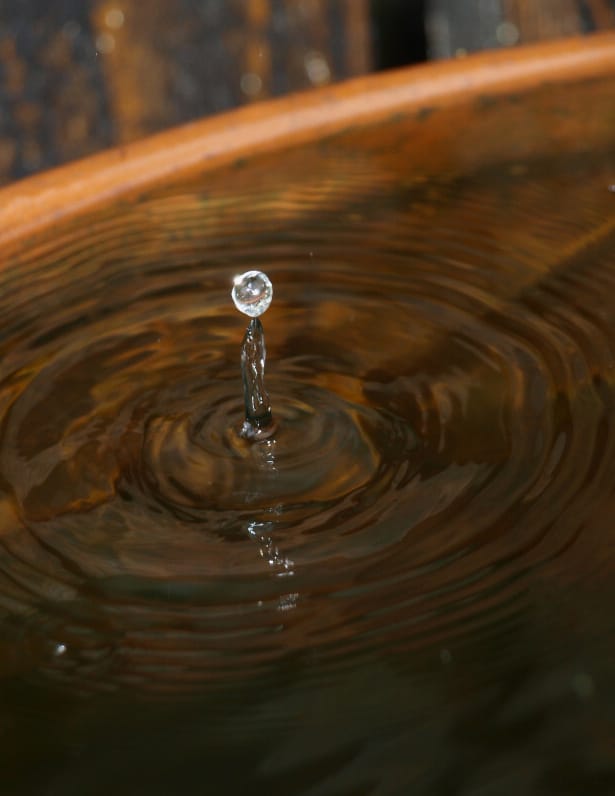
There’s not a lot of fog or frosty dewdrops in summer, but you can use the water surface in a barrel under a water spout as your “studio.” You’ll be trying to capture drops as they land on that surface. This can sound like a superhuman task, but actually it’s easy.
Count the Seconds Between Drops
Once you’ve found the place where you’ll be photographing the falling drops, first try counting the seconds between each drop (although if it’s raining at the moment, then there’s no point). It will make the actual picture-taking much easier. Once you’ve got the focus set up, start taking pictures.
Don’t Fear High ISOs
You don’t need any special camera settings when you’re photographing raindrops. You just need a slightly long exposure time (at least 1/320 second). So set a high ISO—you don’t have to worry about noise, because a beautifully captured moment is more important. If possible, use a high f-stop too (f/4 and up), and bracket your shots. For a good handle on the above I’d recommend A mode (aperture priority).
Focus on the place where the drops are falling manually if you camera lets you; automatic focus often points at the wrong place, or nowhere at all. A bit before each drip of water, press the trigger and see what your camera captures.
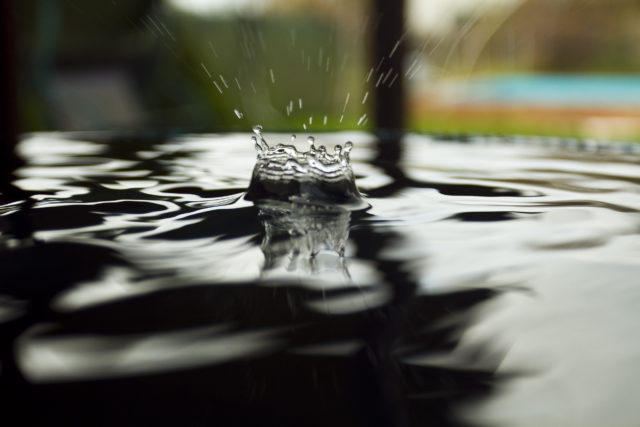
Water Drops in Autumn
Since it often rains in autumn too, that season offers the same possibilities as summer. But it also offers more: autumn offers mornings full of moisture and dew. These two weather situations help water to condense on spiderwebs and vegetation, which gives you a great opportunity to take interesting pictures.
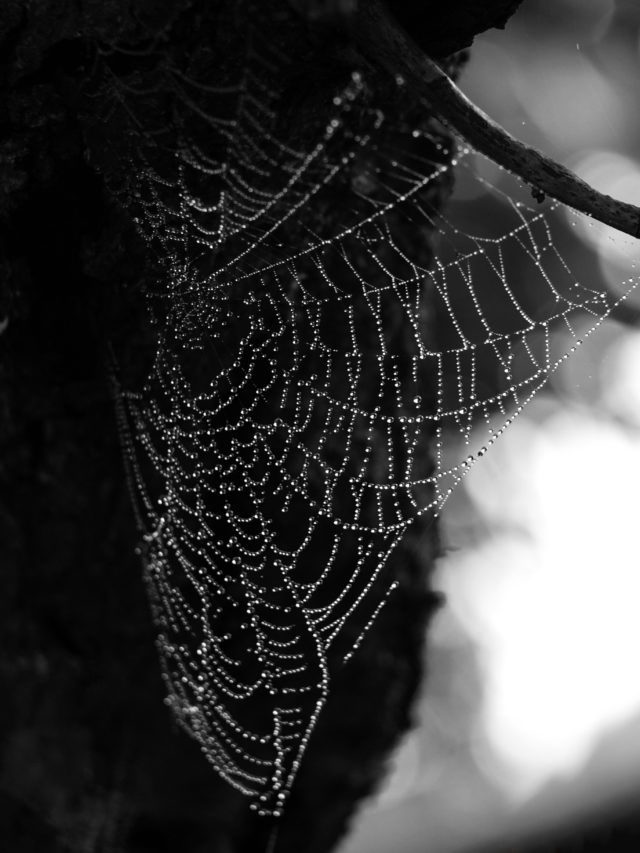
The ideal place for autumn water-drop photography is a fruit orchards with tall grass. Here you’ll find a high concentration of spiders. Their webs tend to be in the lower levels of trees (about a meter off the ground) or in the vegetation around them. Also take note of any drops clinging to the grass.
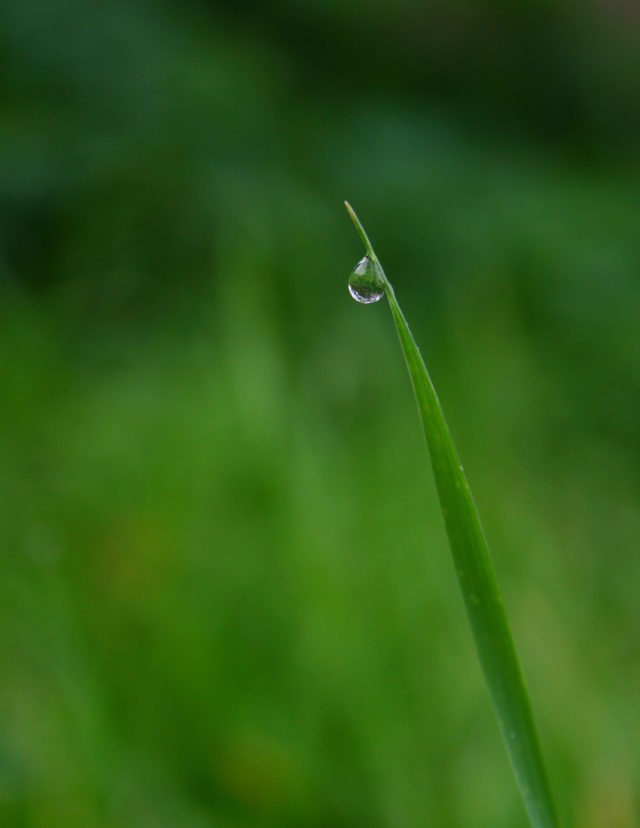
Take Advantage of Backlighting
Both spiderwebs and water drops on them can vary wildly in appearance depending on what angle the light is coming from. It’s normal to photograph objects with the light coming from behind you, but there’s no harm in also trying the opposite—backlighting.
Wake up Early for Spiderwebs
Don’t forget that it’s dampest in the morning. The best month for spiderweb hunting is definitely October. But you can also encounter frost and dew-covered spiderwebs in summer. Train in summer, then head into autumn well-trained.
Experiment
Don’t be afraid to experiment with your camera. Practice is the best teacher.
If you enjoyed this experiment, then try a more demanding one:
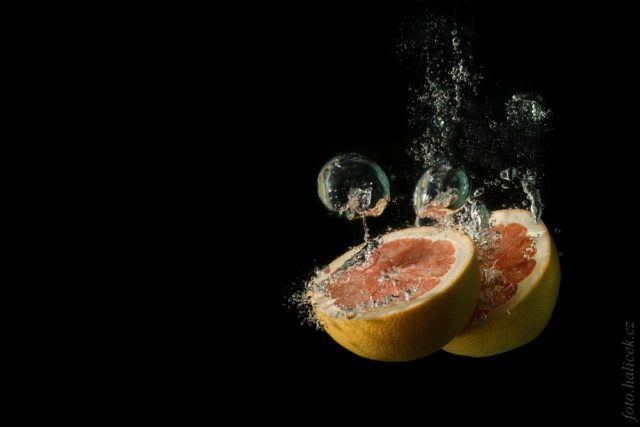
For more on how to take a picture like this, read our article How I Struggled to Deliver a Cliché: Fruit in Water.