How To Remove Skin Glare from Photos
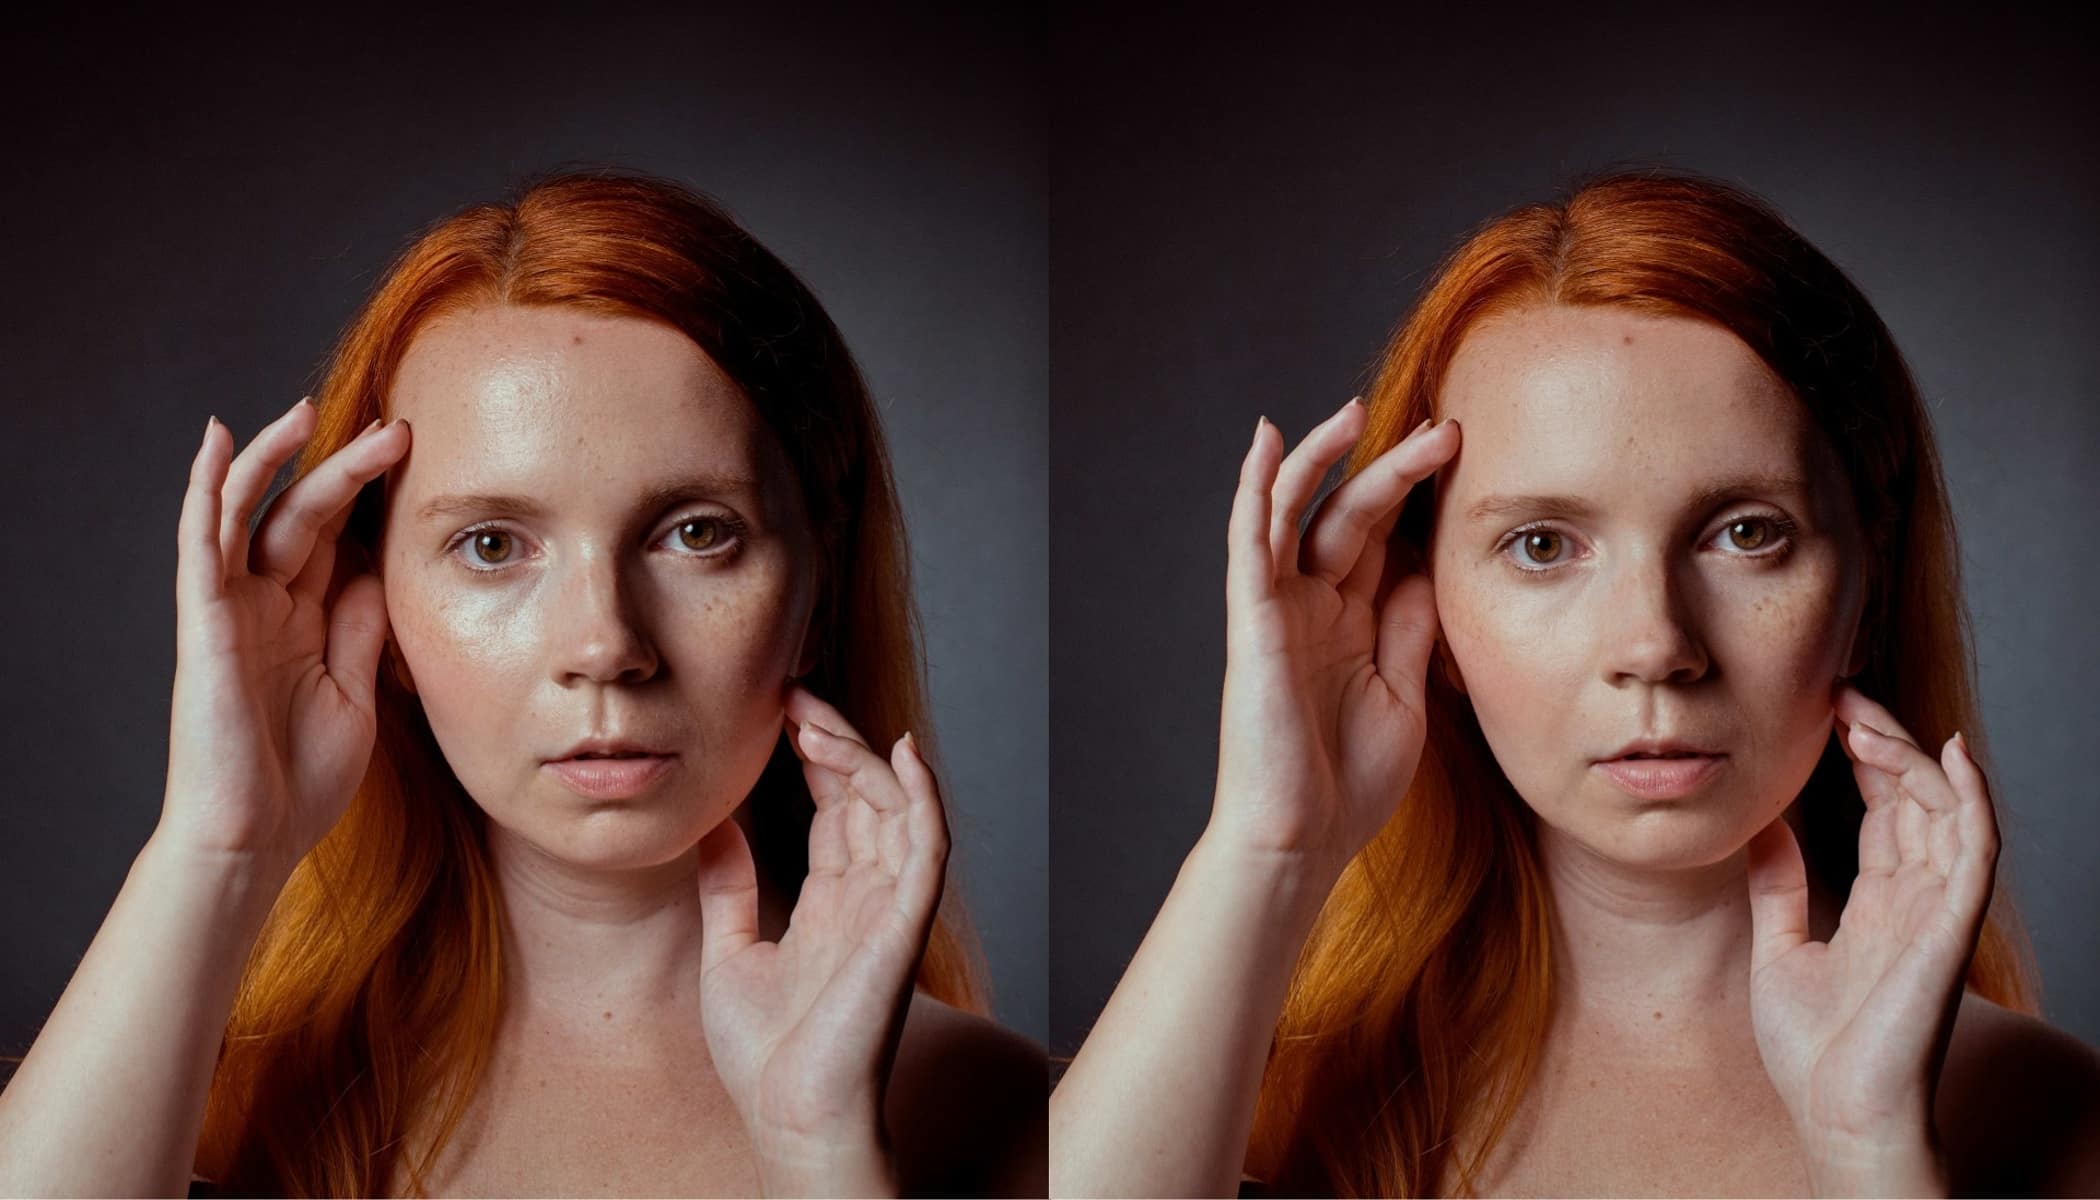
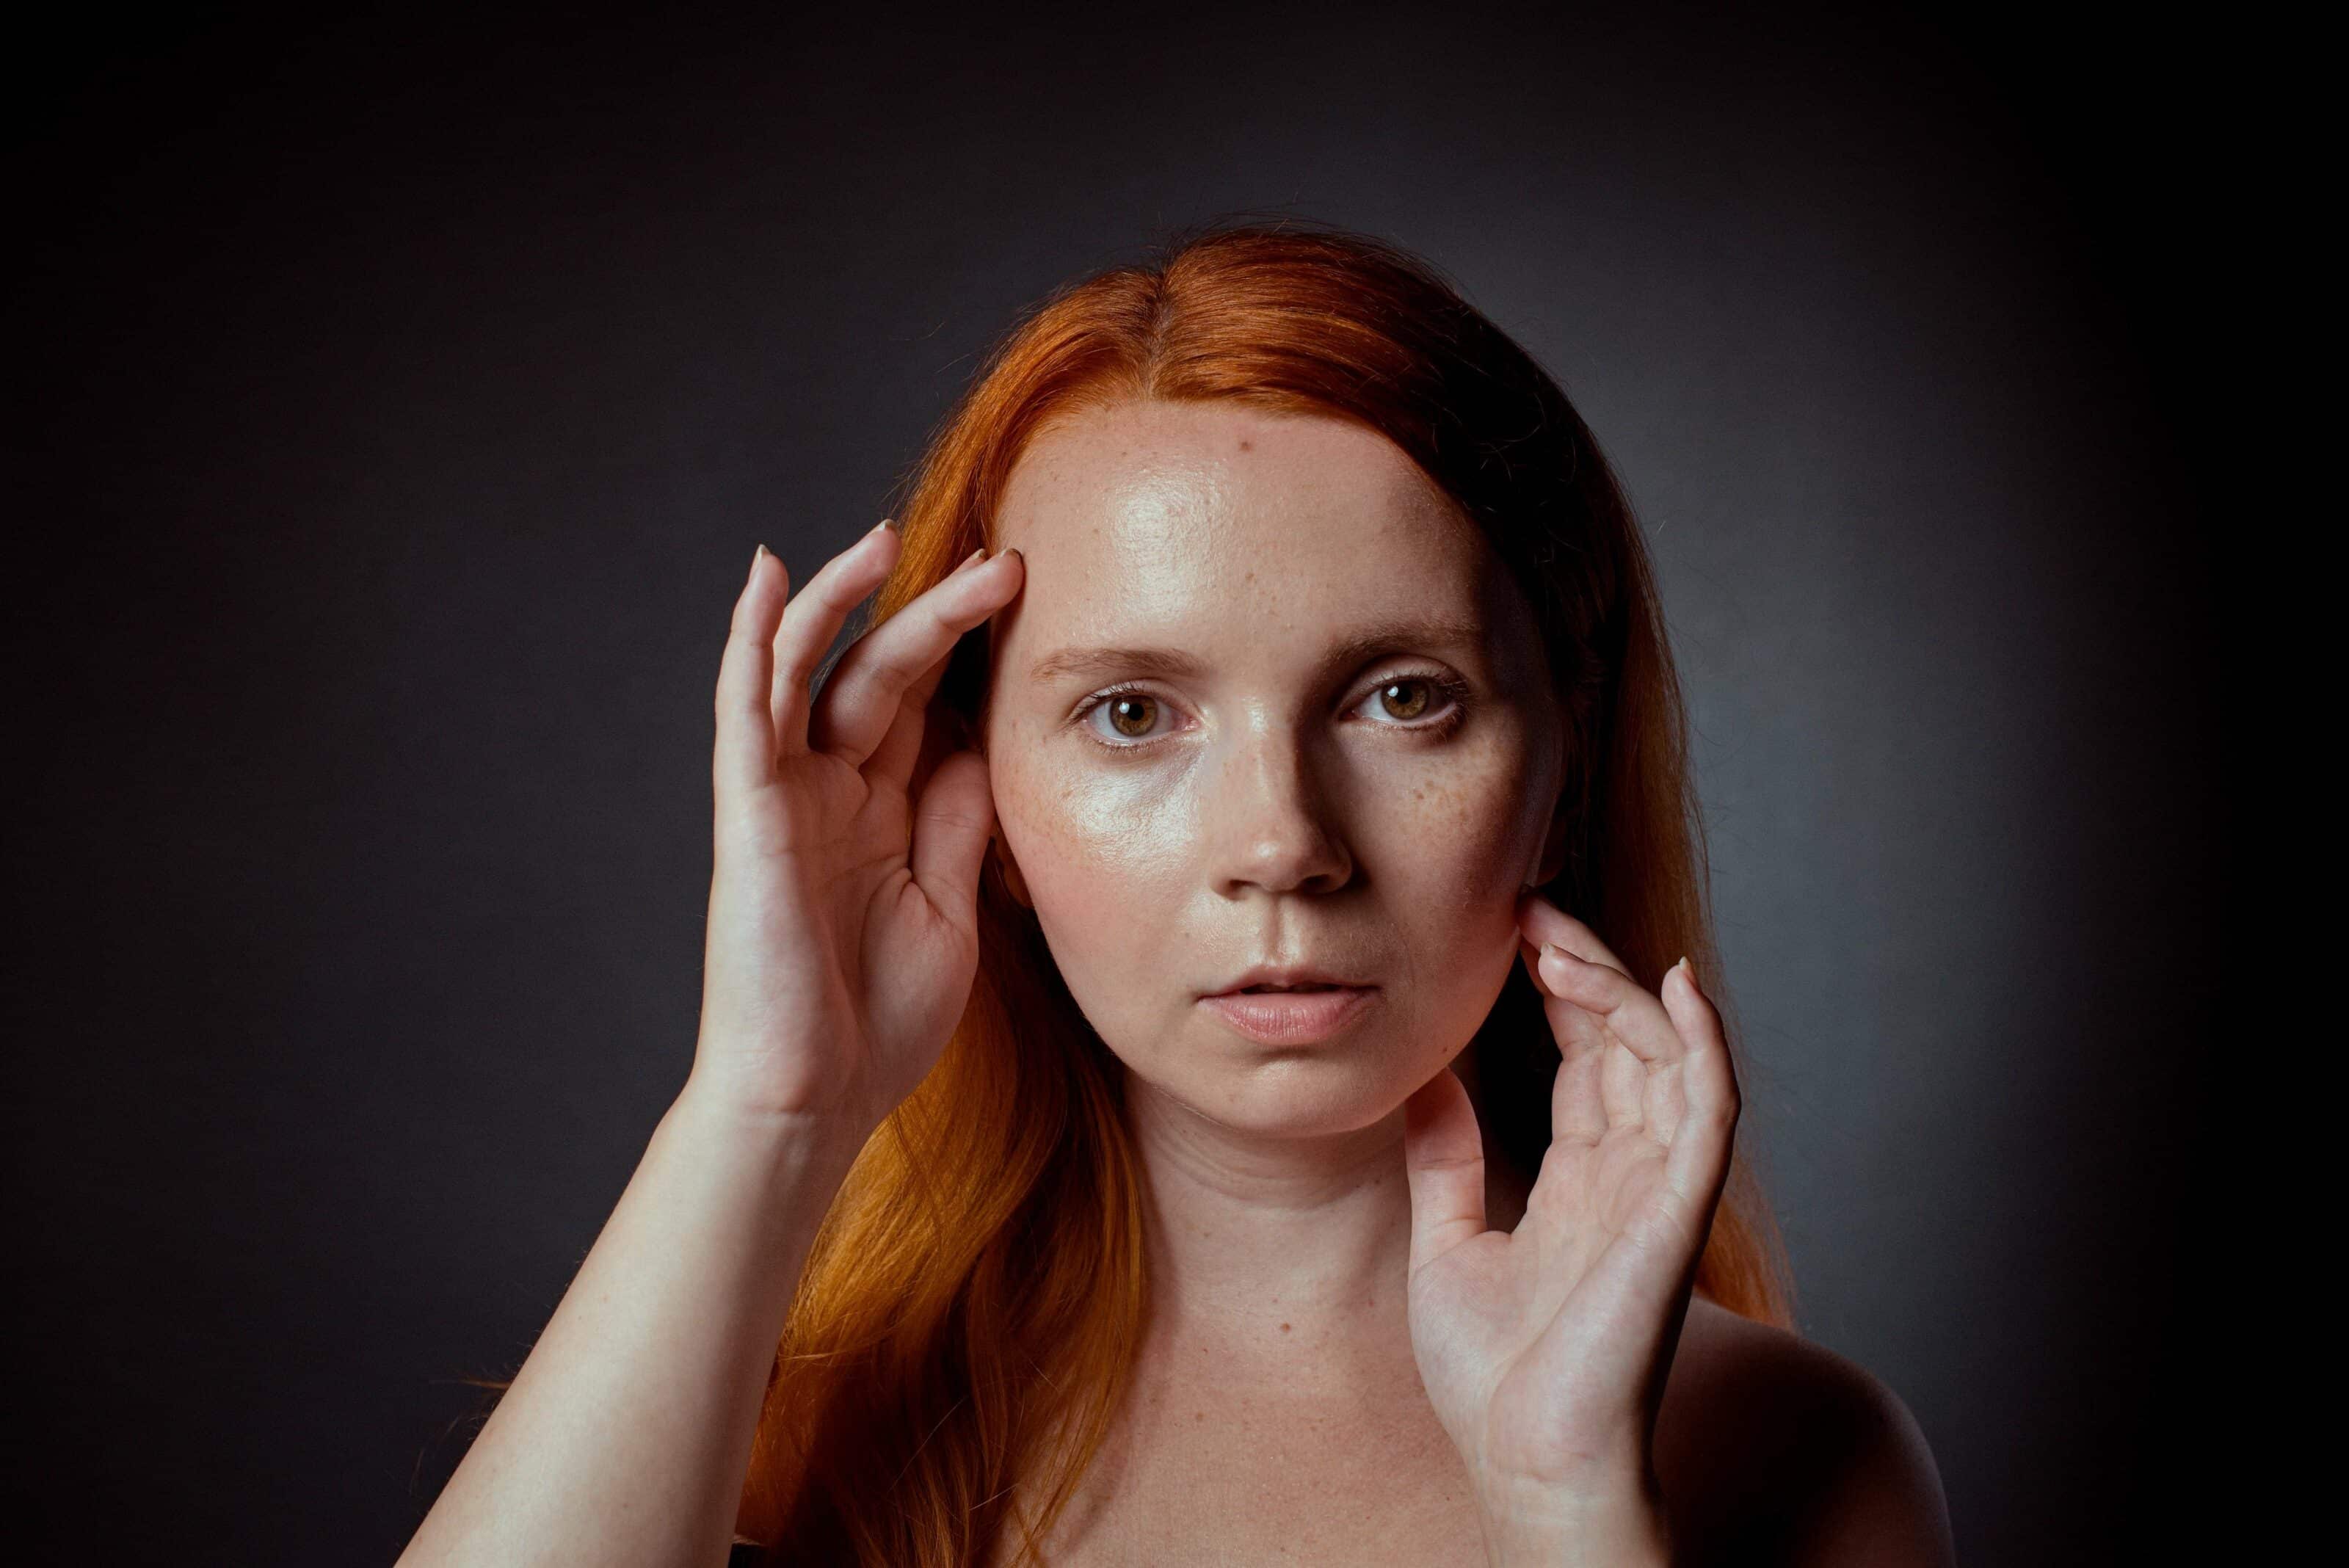
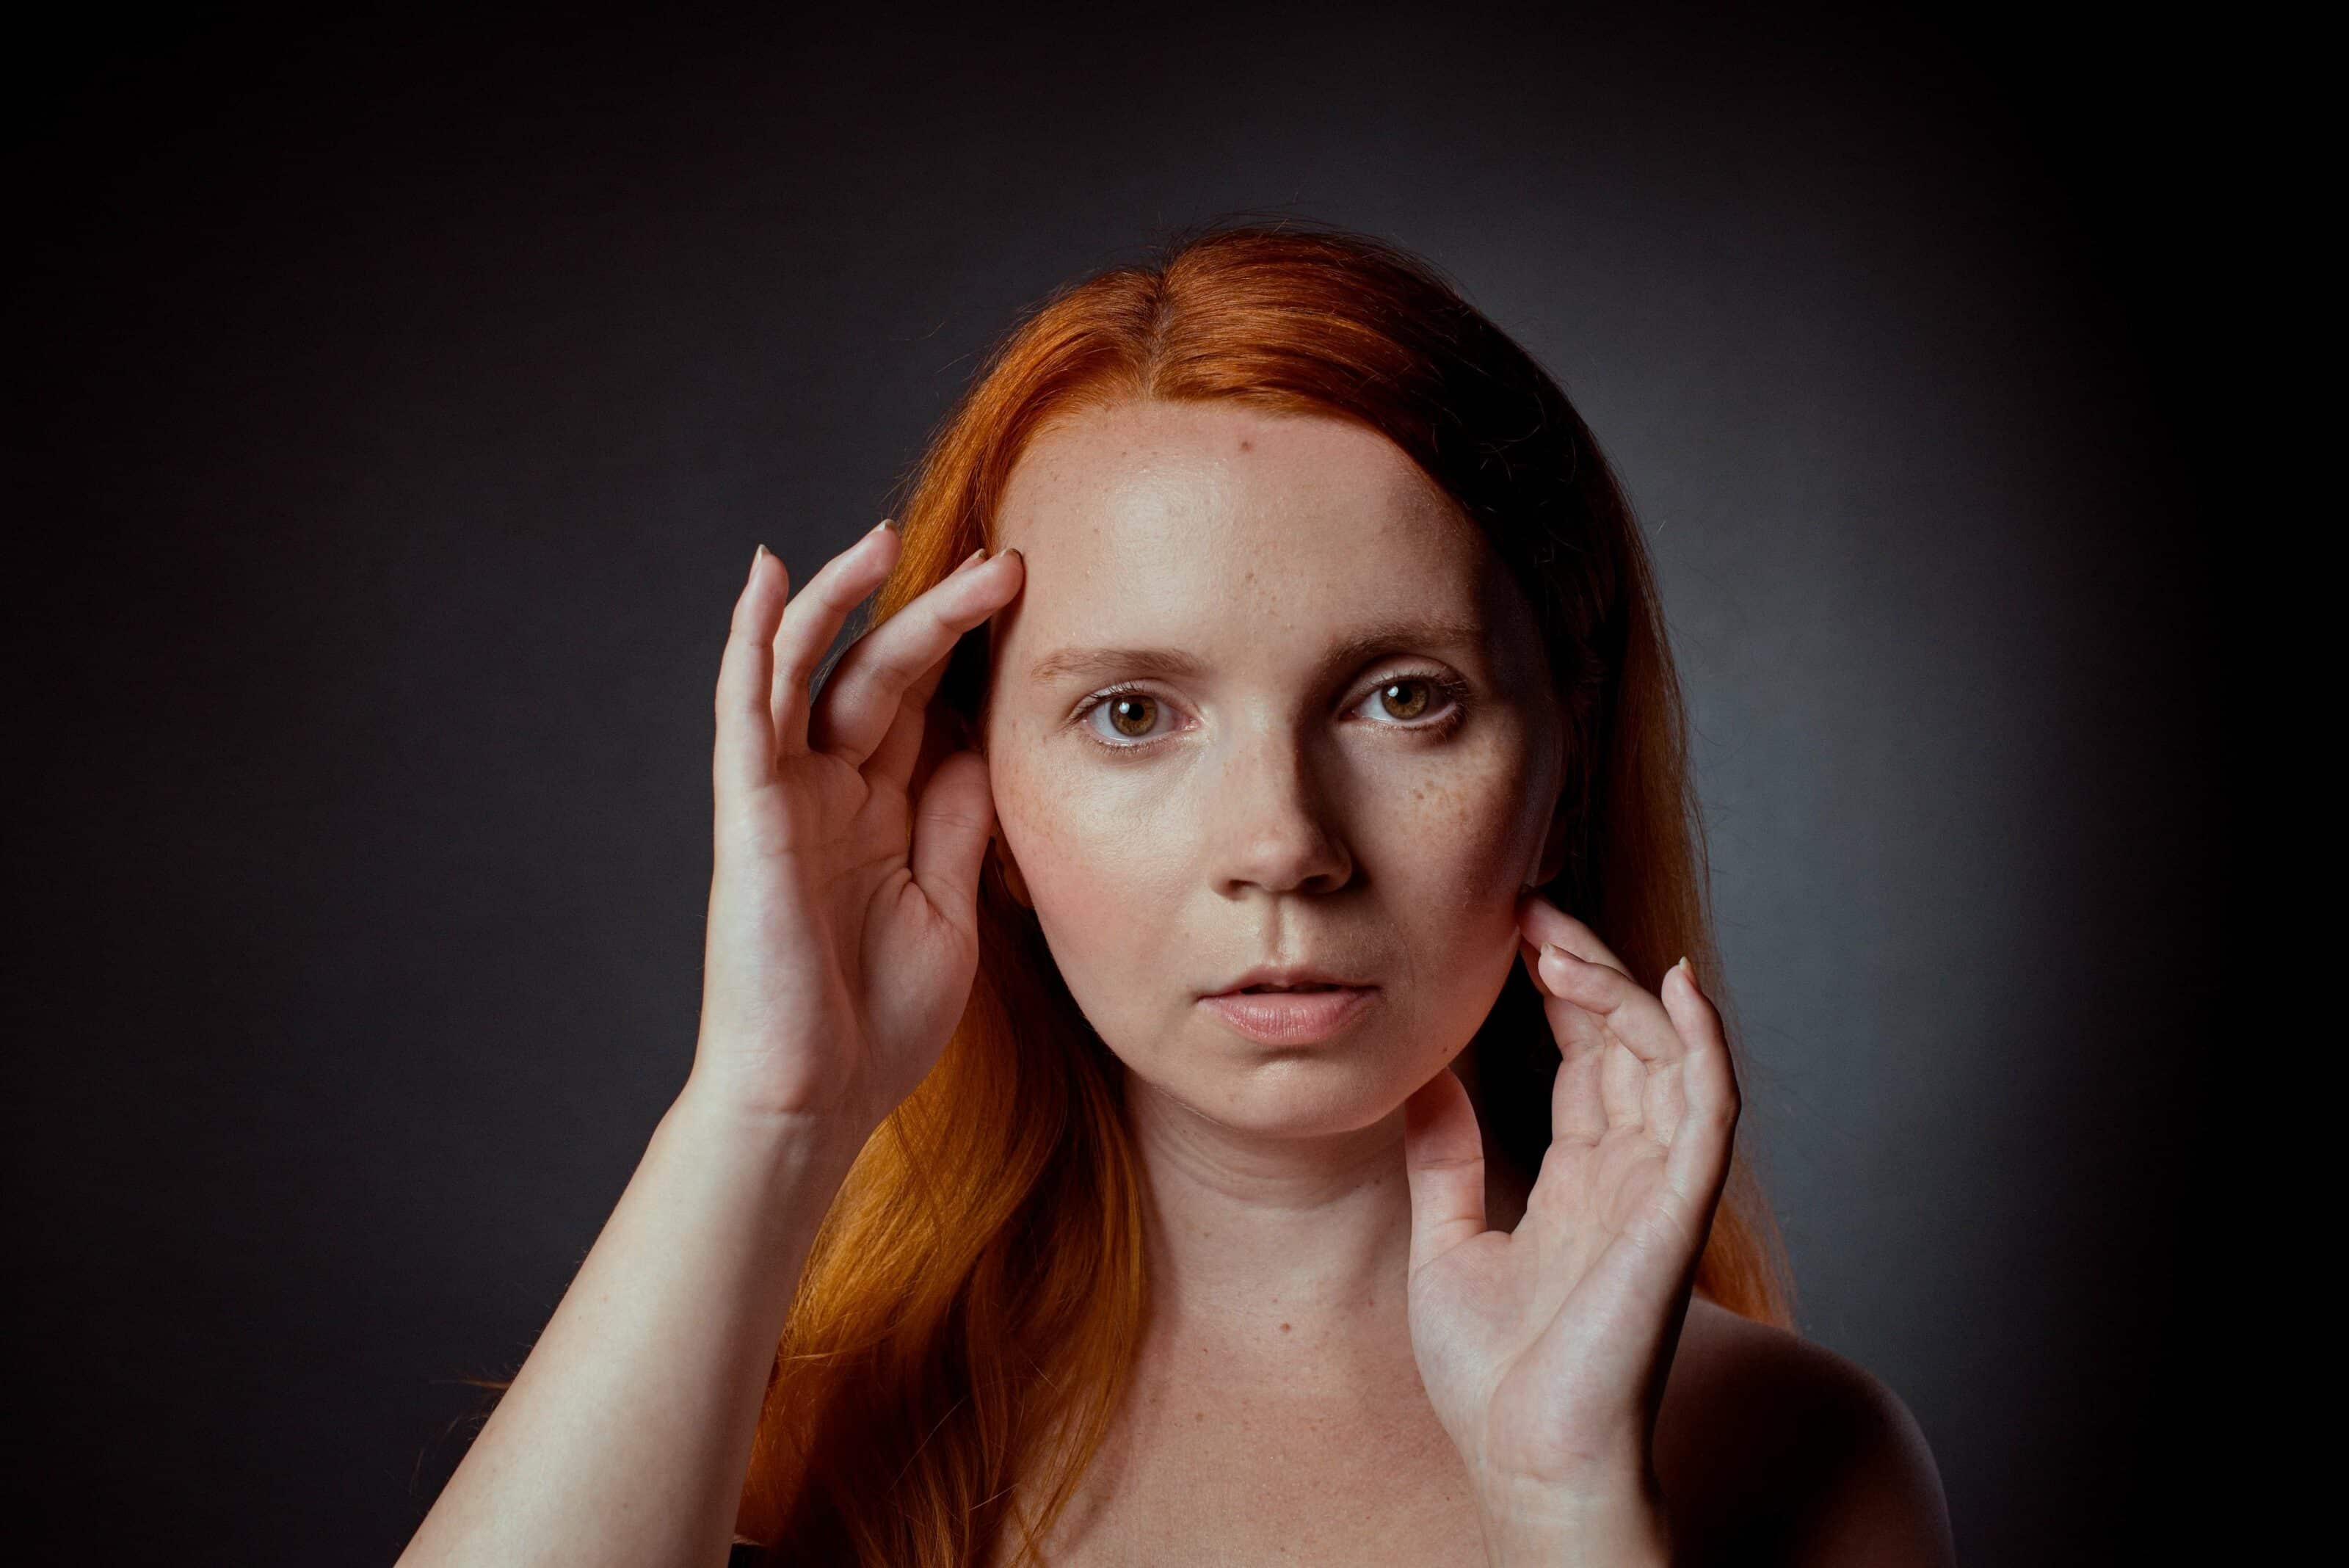
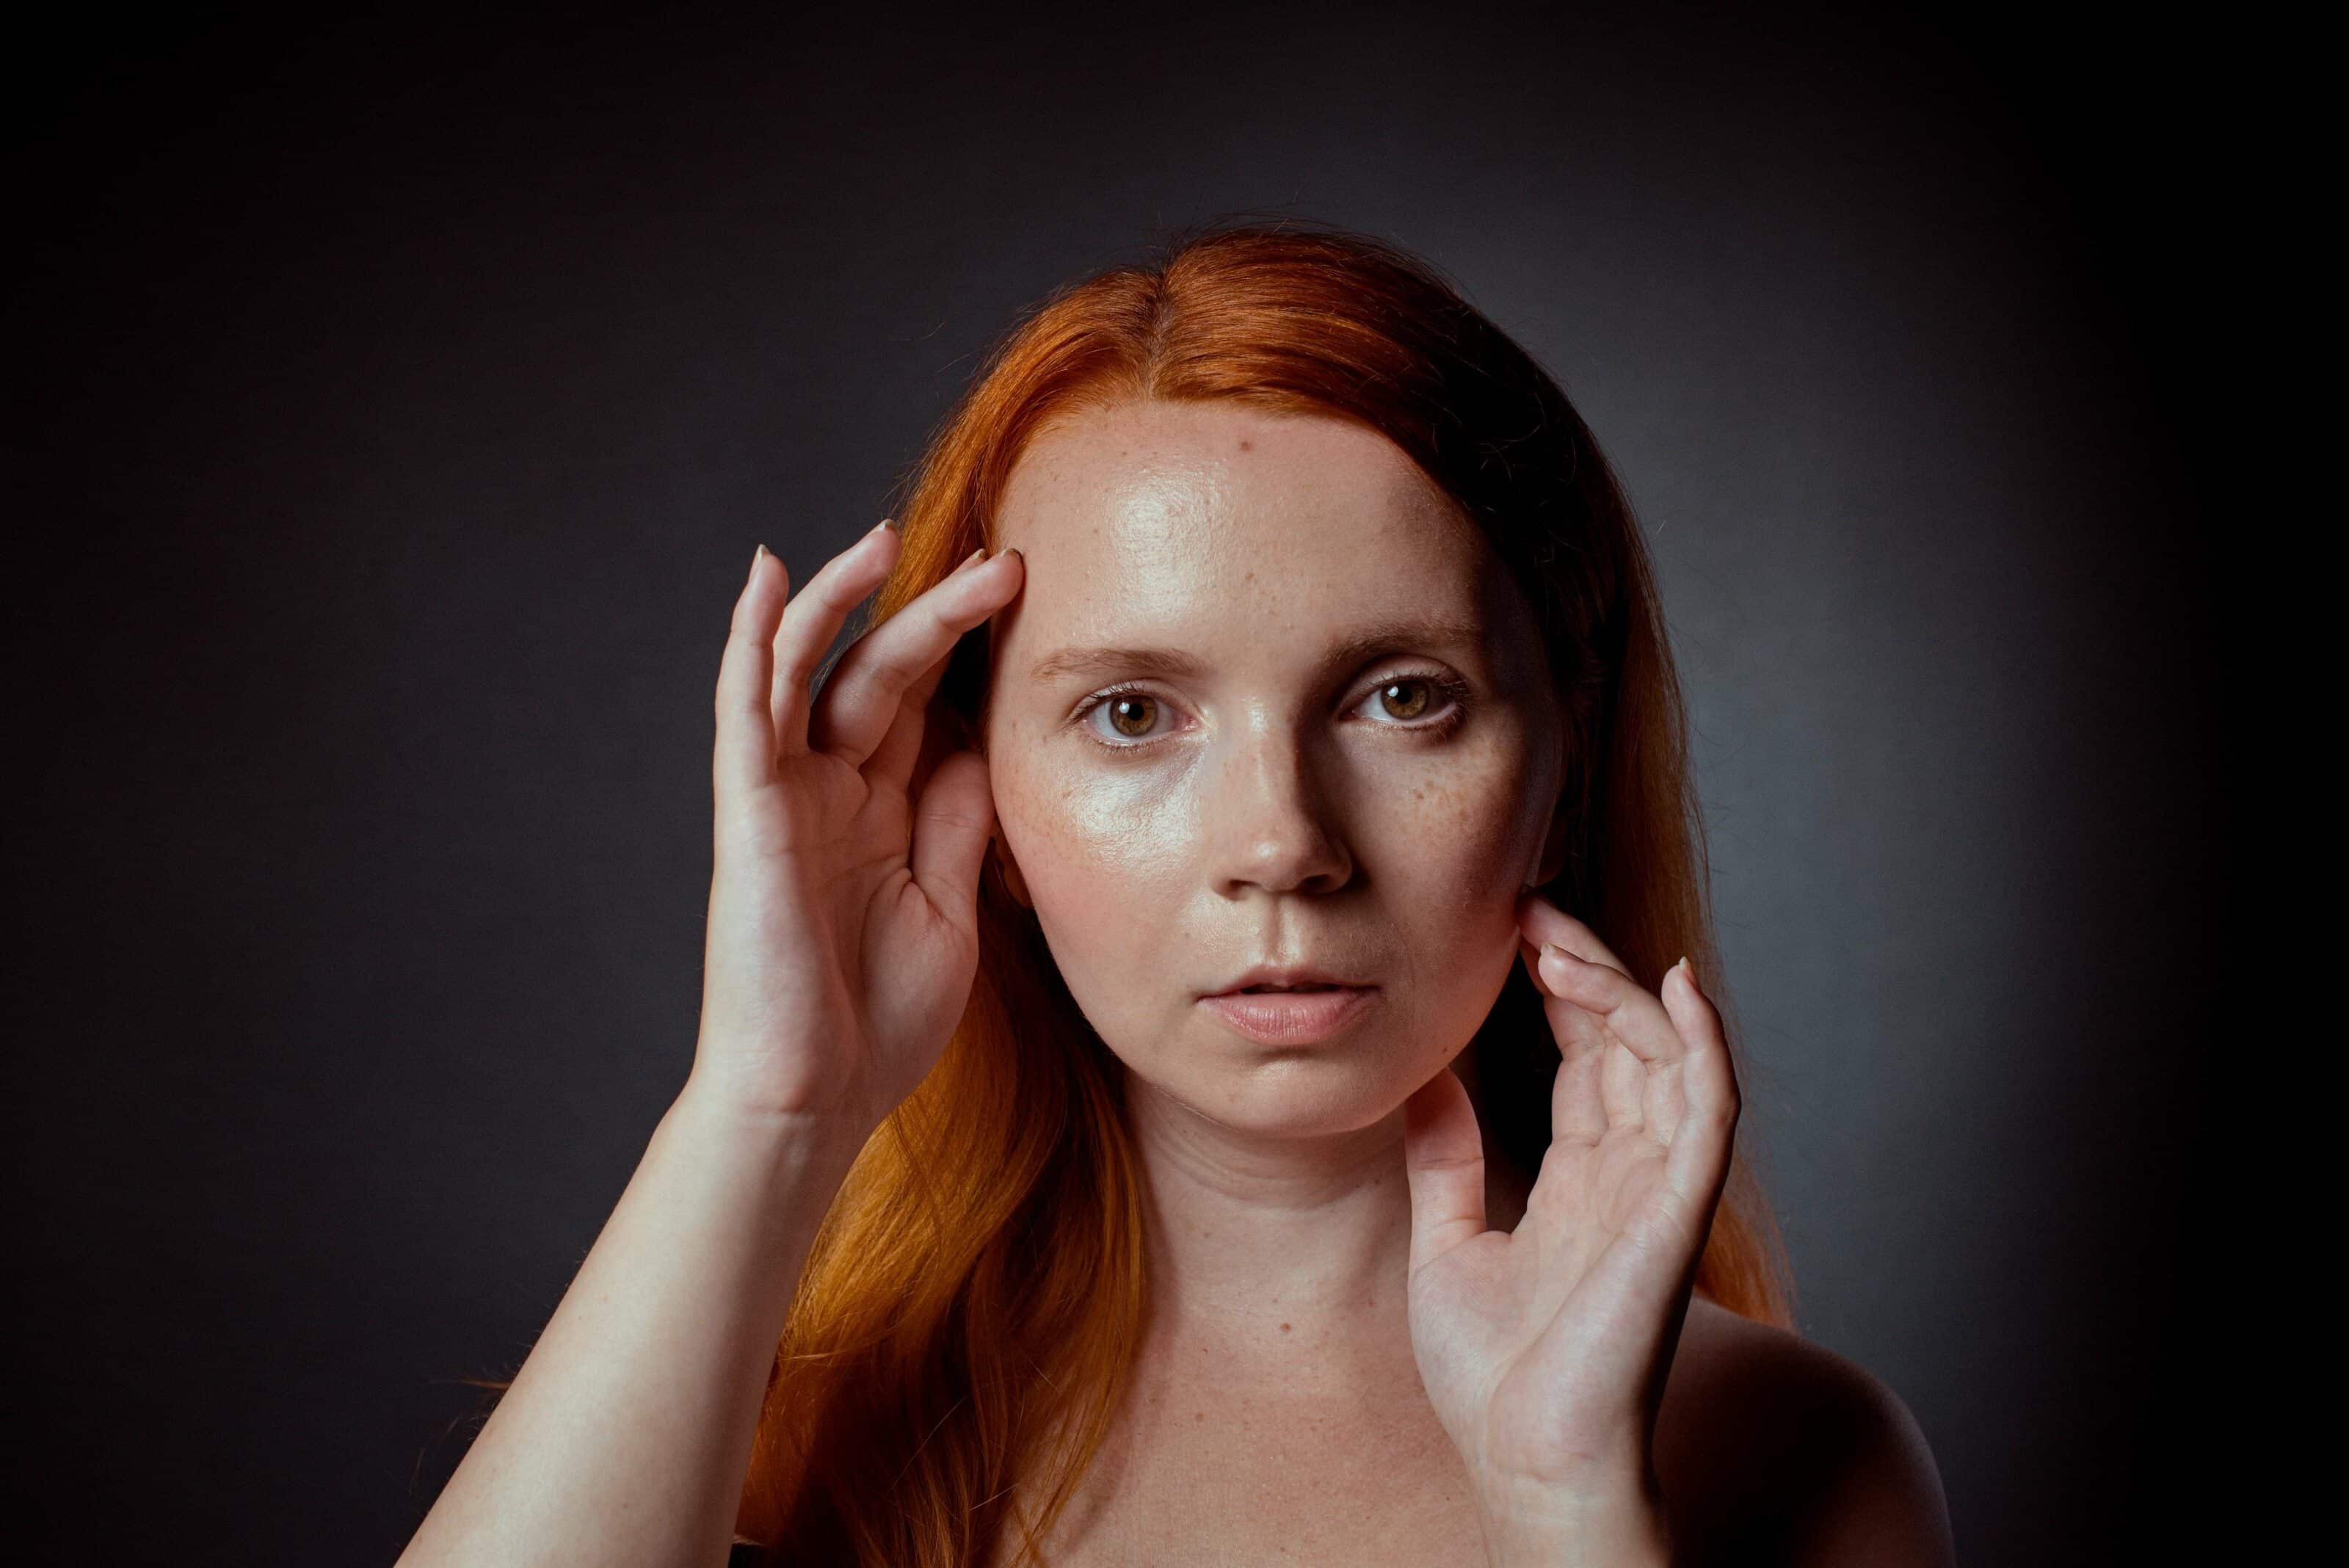
Noticeable skin glare in portraits can be a pain. Skin glare can often be removed during the photoshoot using makeup or powder, but it may not be enough, or you may simply forget to watch out for it. Some glare can be forgiven, but you’ll want to remove most skin glare in post-production. Luckily, it is not a very complicated process.
Skin glare usually appears when using artificial lighting, whether it’s in the studio, or using an ordinary light bulb. Basically, anywhere a harsh light source is used. Using intense light, like a studio strobe, in combination with a higher room temperature and perspiration will 100% result in skin glare.
Sometimes makeup does the trick
First a piece of advice—remind your models to bring powder with them to the shoot. Occasionally reapplying powder during the photoshoot will save you the work of removing glare in post-production. Ideally, collaborate with a makeup artist for the shoot who keeps an eye on these things at all times and can continually reapply makeup.
However, not everyone can afford this luxury. So, just in case, learn the following editing trick using Zoner Studio.
Remove glare using the brush
If you missed your chance to use your makeup brush during the shoot, the brush in the Editor module is your saving grace. Once your editing is done in the Develop module, open your photo in the Editor. Removing glare is among the adjustments you do last, after exposure, composition, and color adjustments in the Develop module. Switch to the Editor module and immediately add a new layer.
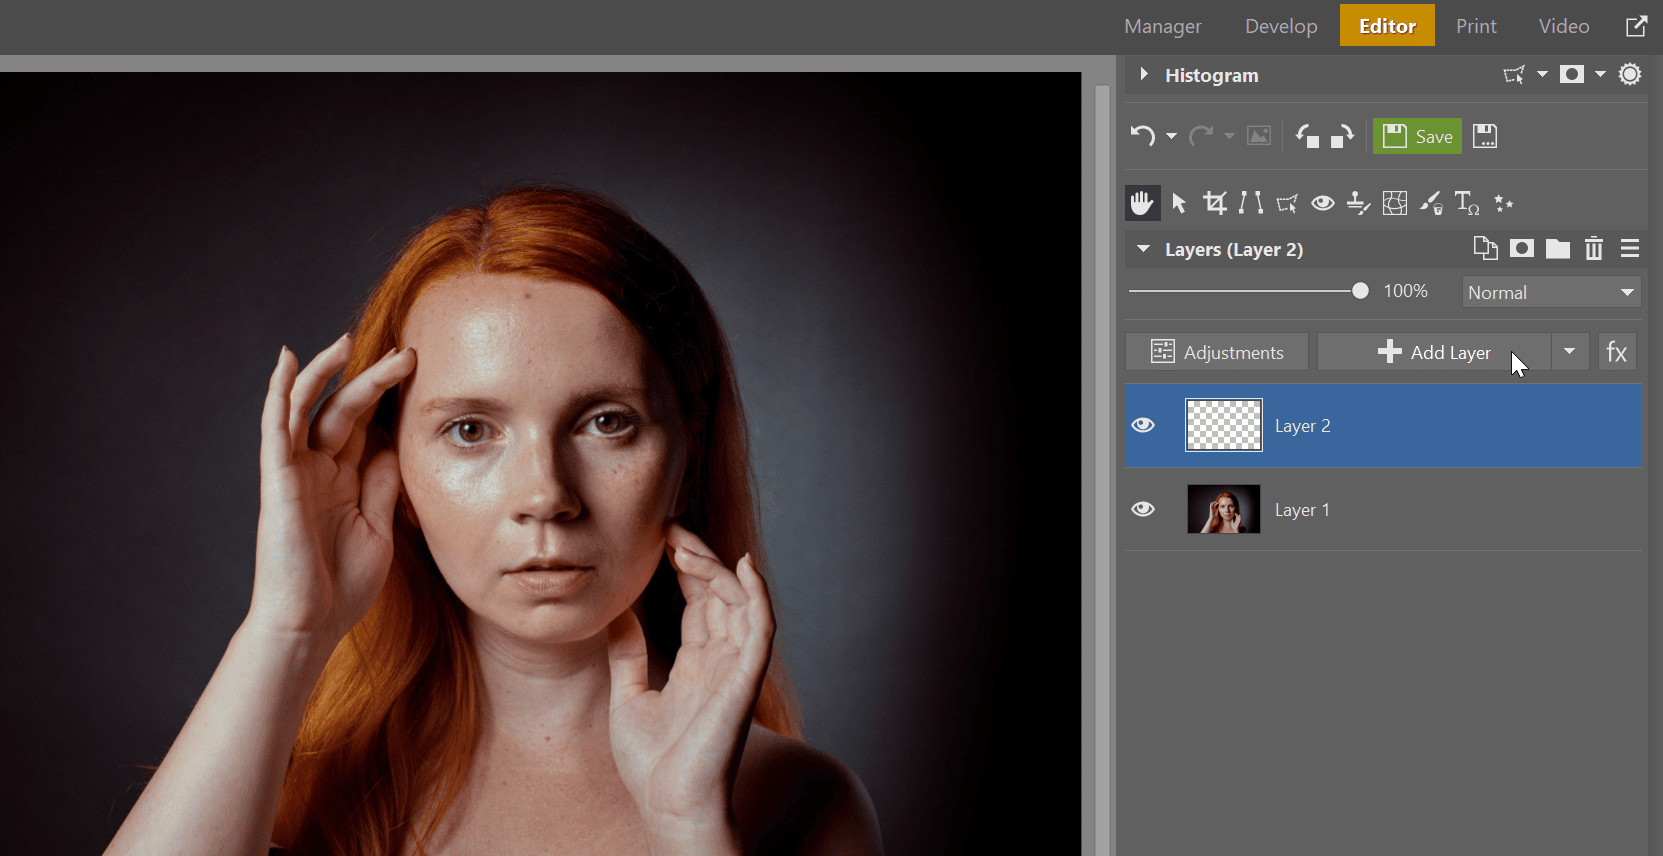
The concept is simple. Select the Brush (B) tool and paint over the overexposed areas in the face using a color that you select from next to it in the empty layer. Then, lower Layer Opacity so the retouching doesn’t stick out like a sore thumb.
Select Brush (B) and set a smaller size, but with maximum blur. This way, any harsh transitions between the skin and the area where you’ll be painting won’t be as visible.
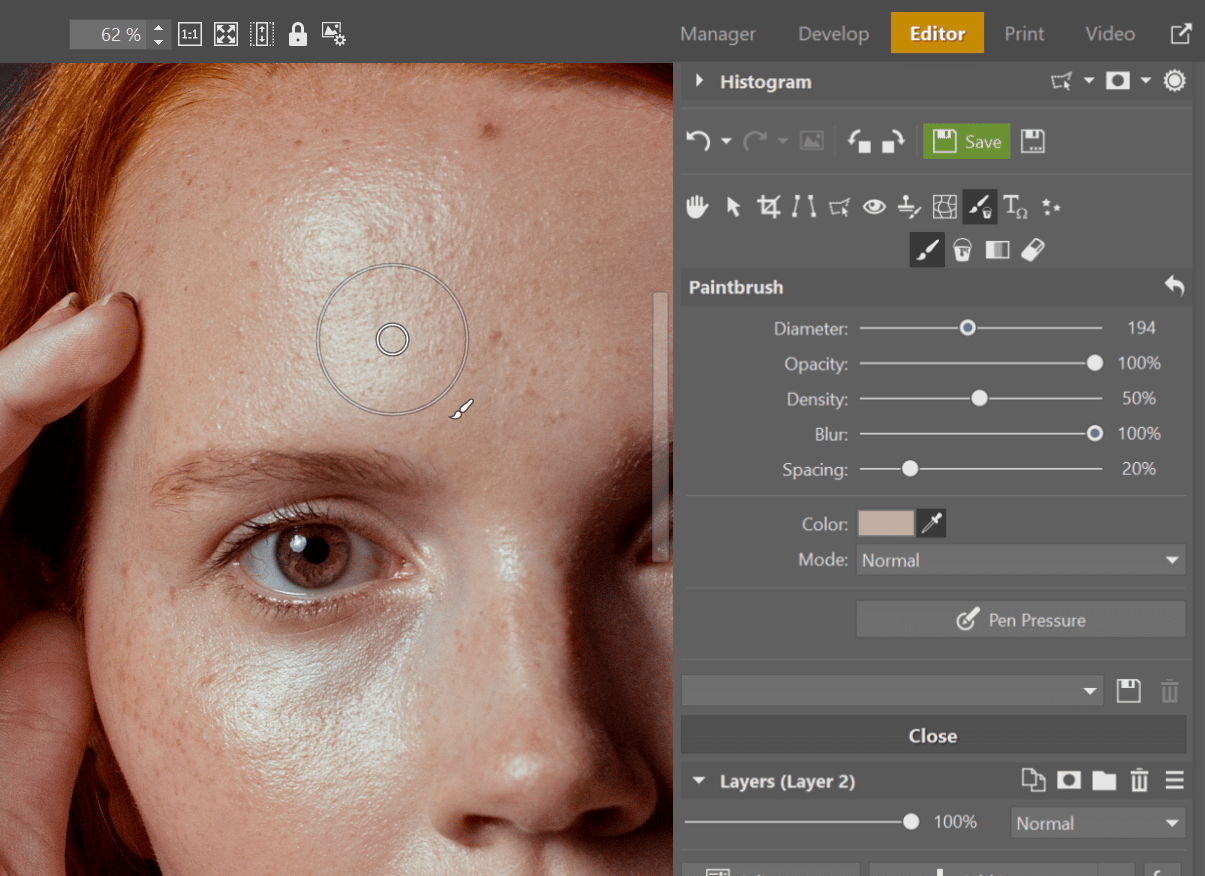
Next, select the exact color you’ll be painting with. You can use the eyedropper by clicking the eyedropper icon in the right panel, or by pressing Ctrl + clicking in the area you want to select the color from. You will most likely find the exact color you need next to the spot with glare.
Paint over glare with the selected color
Once you’ve selected your color, paint over the glare, making sure that you are painting in the empty layer you created at the beginning. Repeat the process of selecting the color and painting over the glare wherever necessary. Remember that the human face is not the same color in all places. For this reason, it’s always necessary to select the right correct, whether it is a slightly different shade for the cheek, forehead, nose, and so on.
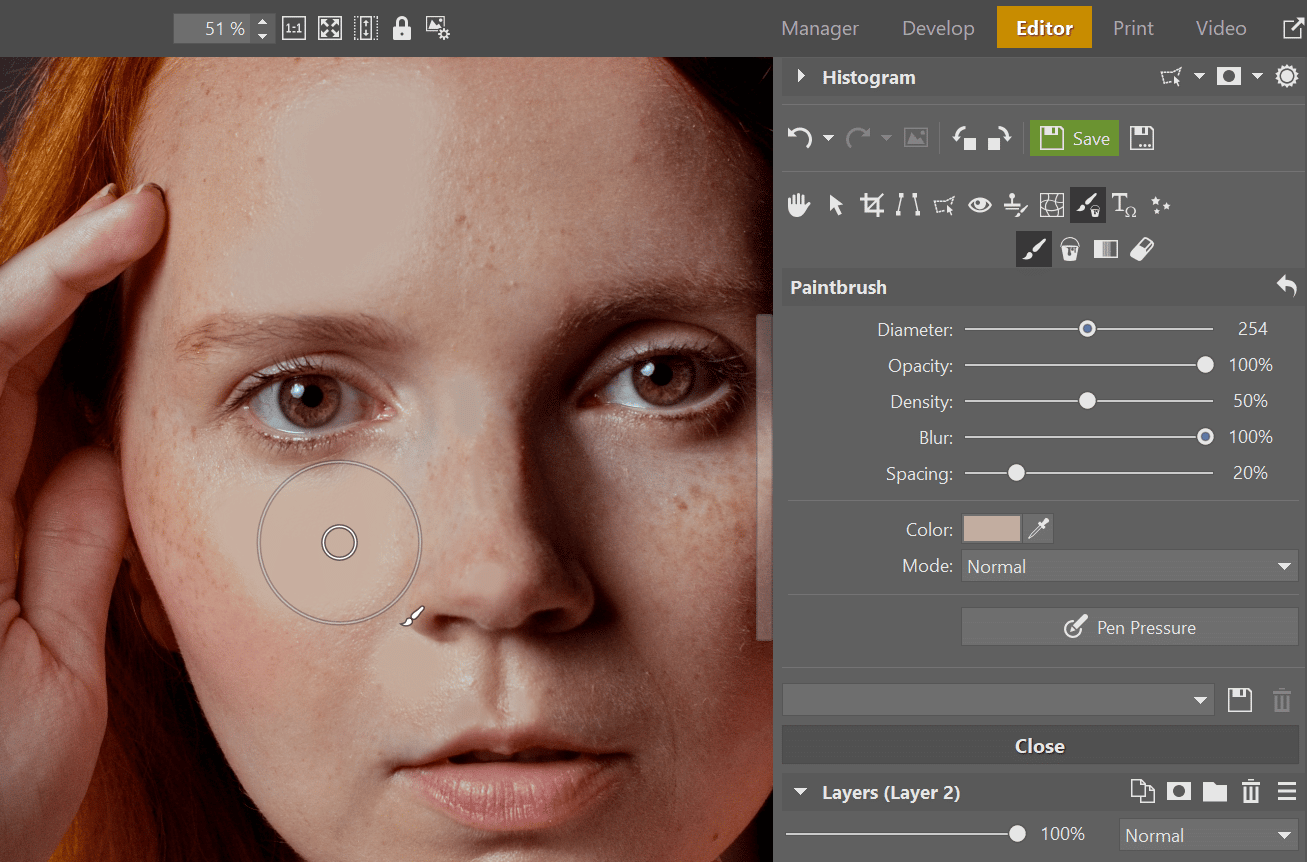
Finally, we add the finishing touches to the adjustment. Reduce Layer Opacity in the places where there are Brush strokes. You may get glare on the forehead that looks good after lowering opacity, but another area of skin glare will not. You can solve this by painting over the glare separately using another new layer and adjusting the opacity as needed.
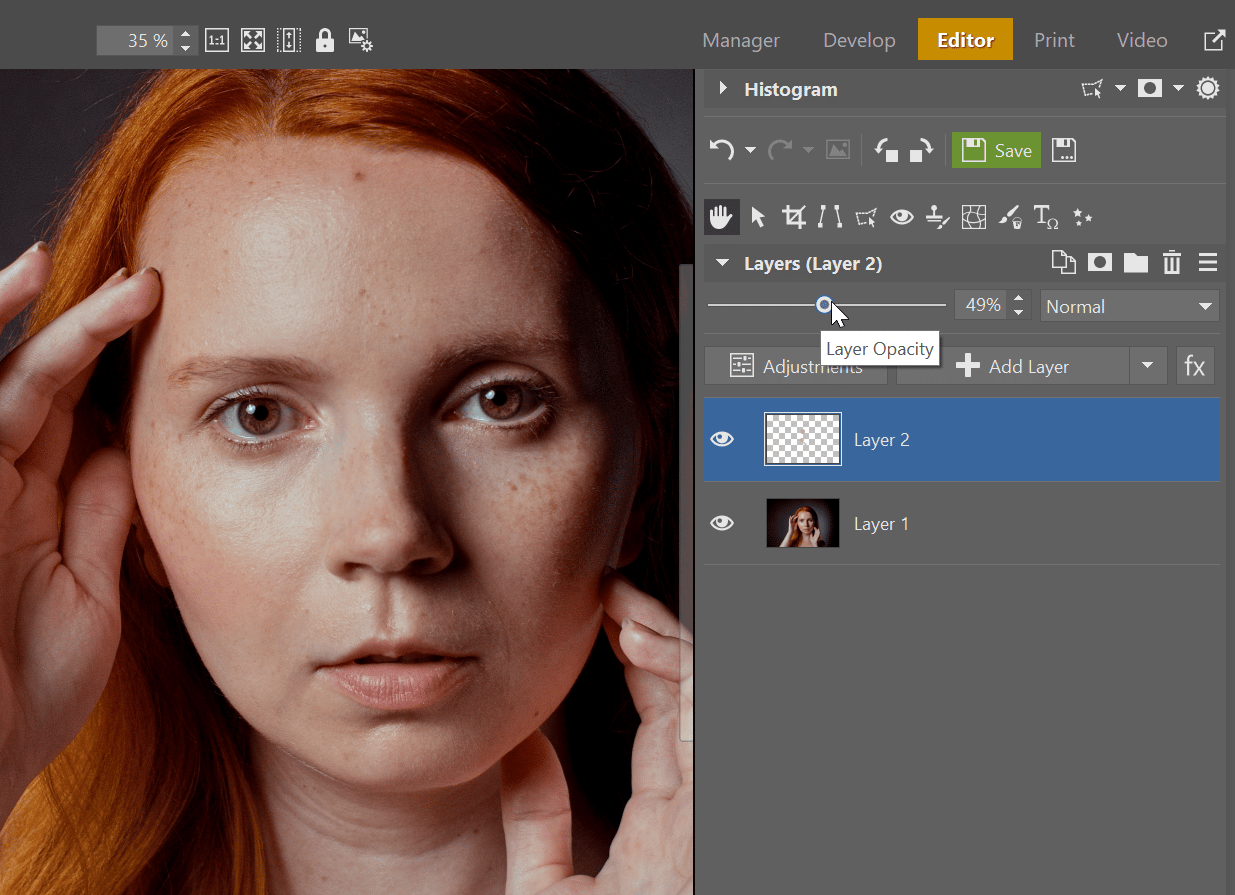
Compare your photo’s before and after
Download Zoner Studio free for 7 days and get a full version with support for all functions. You can then try this method for retouching away unwanted skin glare in your photos.
