How to Take an At-Home Portrait that Looks Straight out of a Magazine
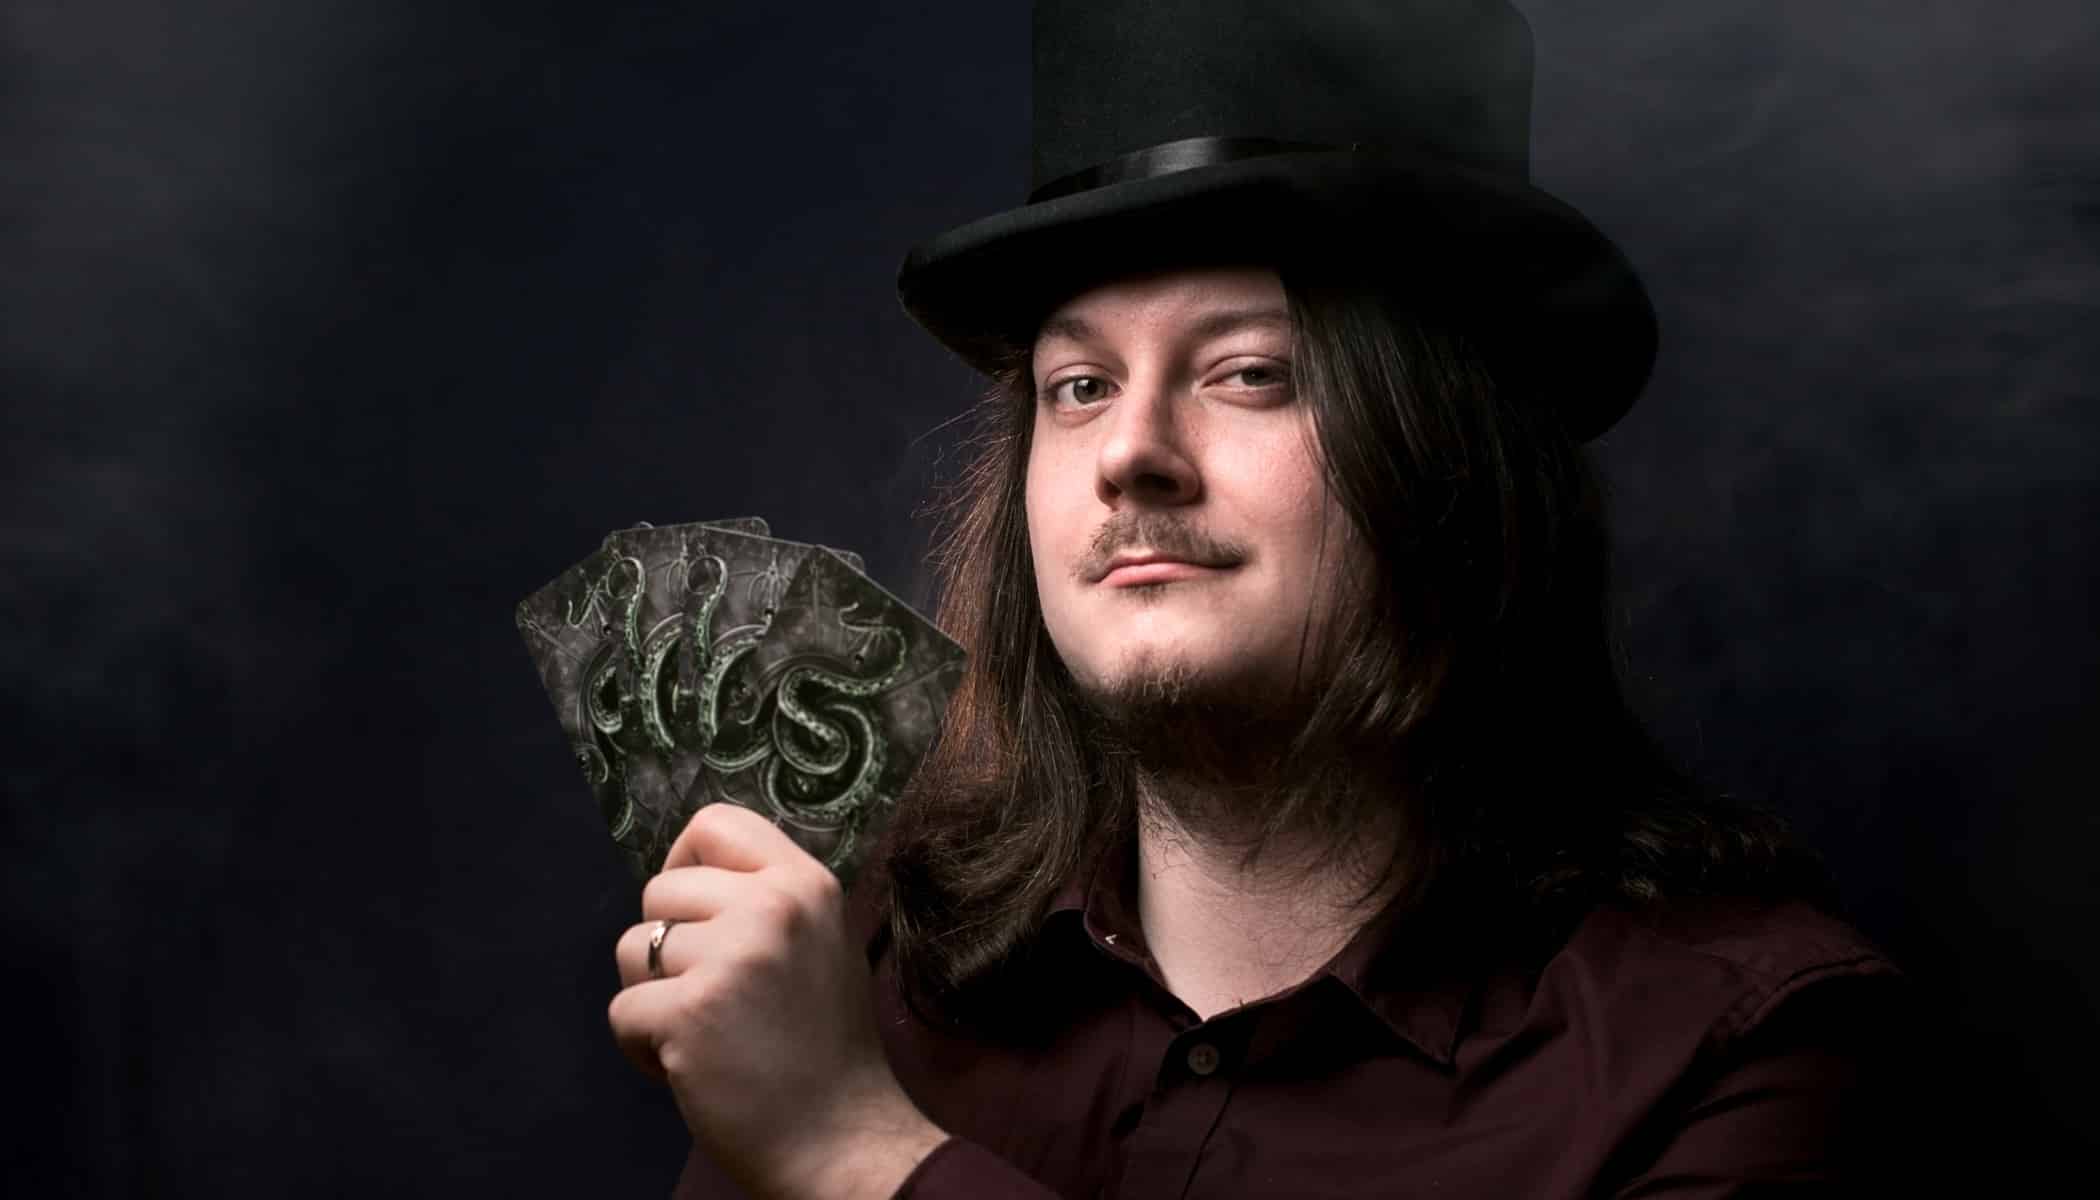
Your home is filled with sources of photography inspiration wherever you look. We’ll give you some ideas for coming up with, preparing for, and shooting an at-home, stylized portrait. It may end up looking like something taken from a book or magazine cover! All it takes is some searching around and planning. Then, set up the scene, and the rest is just details. Let’s see how to do it!
It’s important to start with an idea or vision. Your inspiration might come from movies, books, or things you enjoy or interest you. For instance:
- For those that have a lot of books at home, the theme can be the library or a librarian.
- For those of you that are passionate about cooking, get some flour on you, grab a rolling pin, and run with a cooking theme.
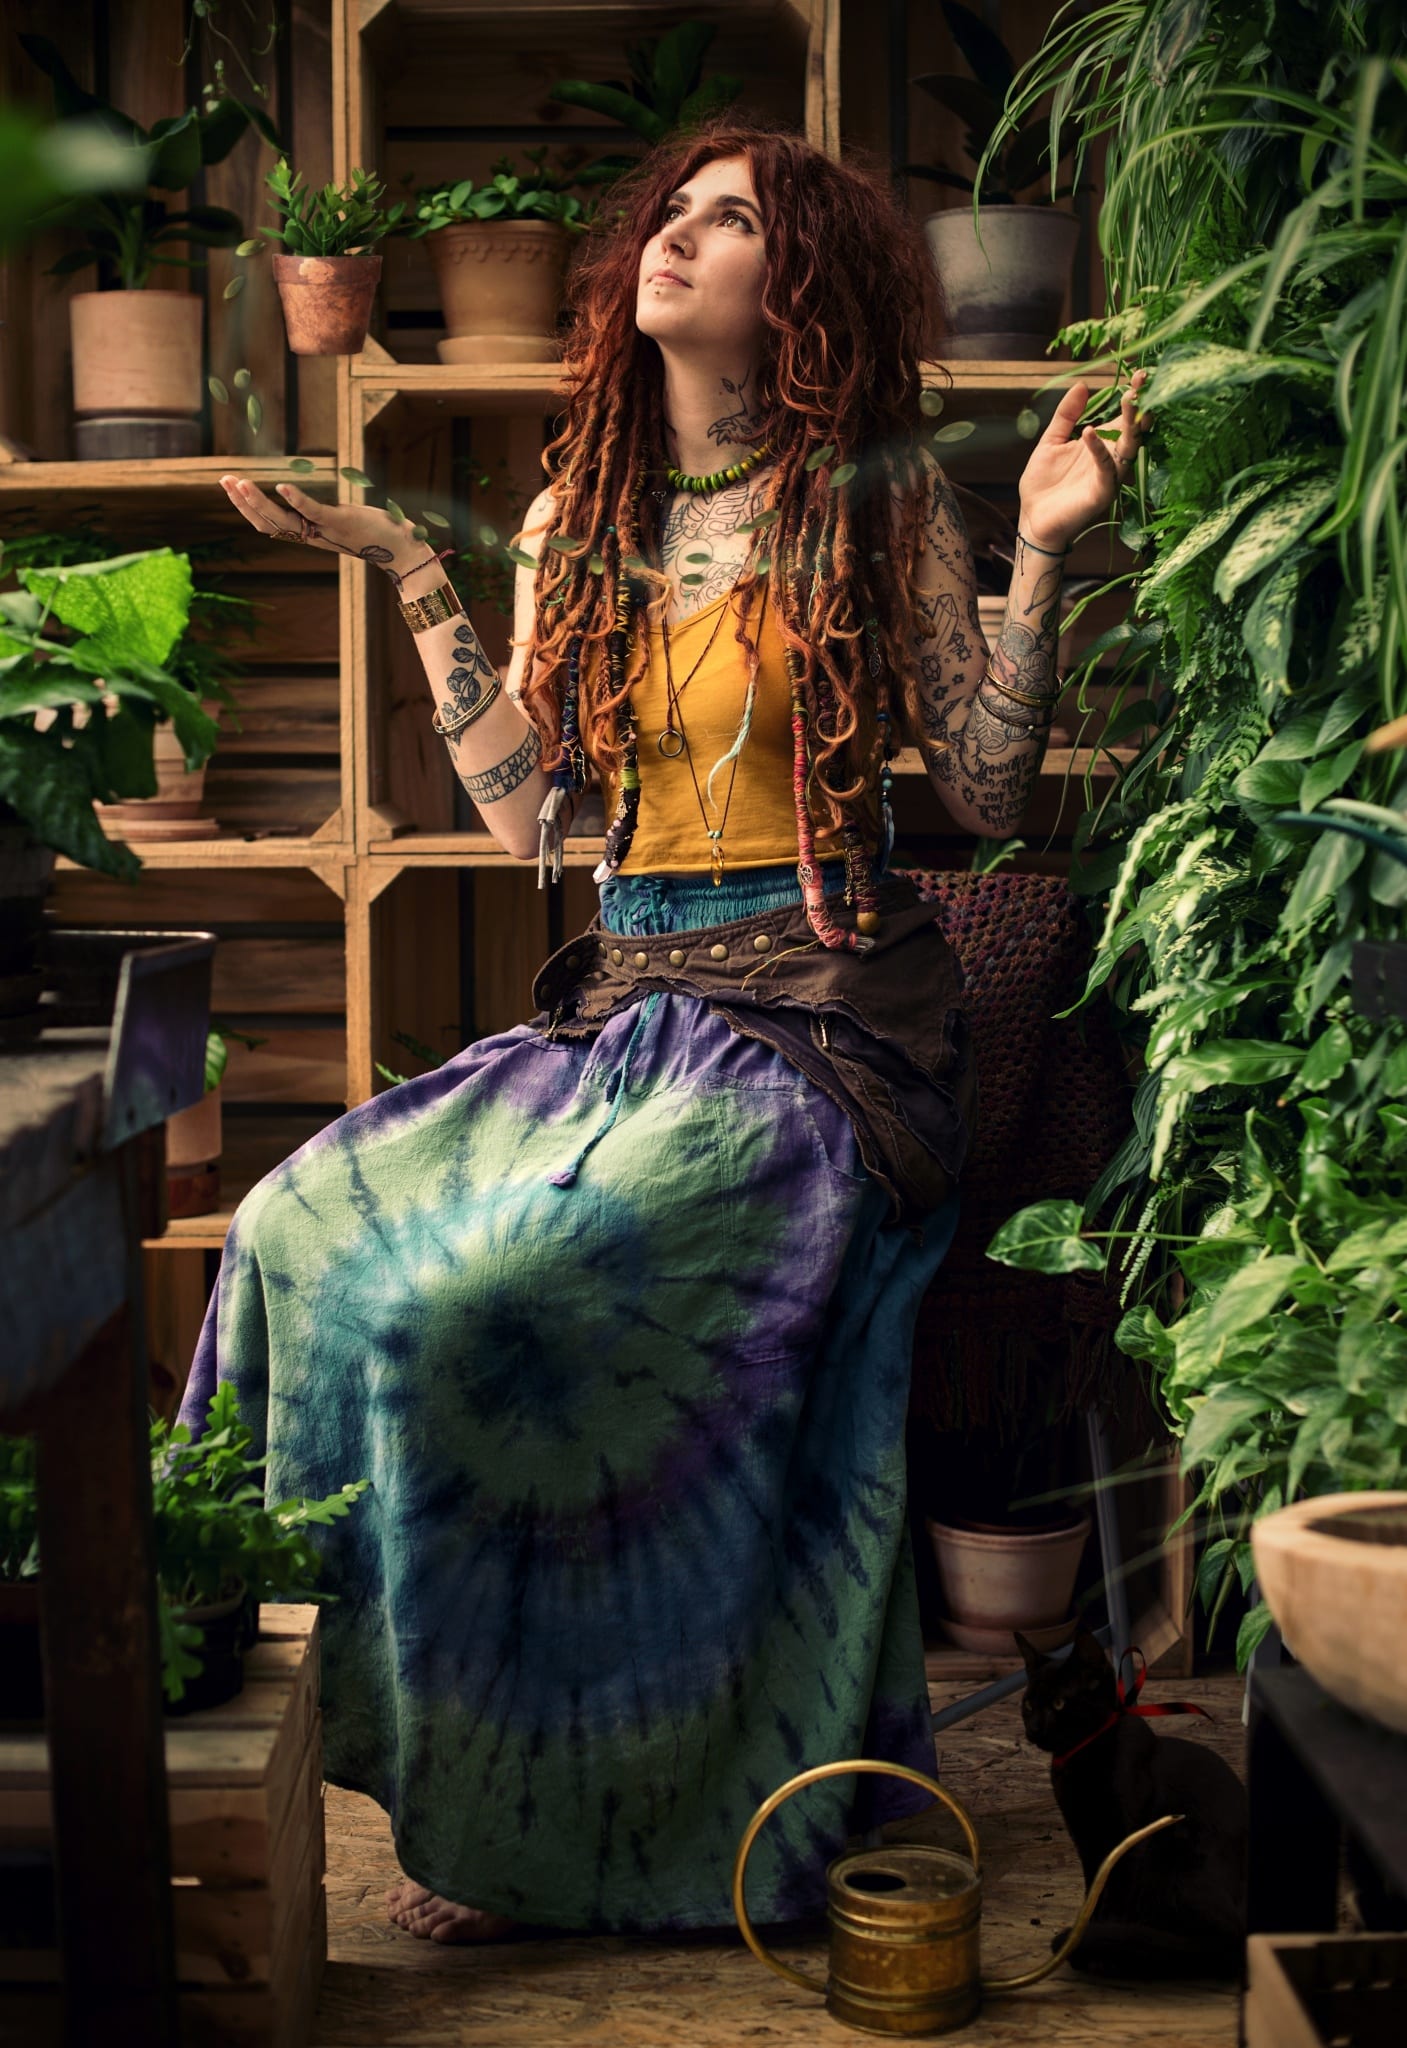
- If you love plants, you can be an herb doctor or herbalist.
- If its cars or motorcycles you’re passionate about, then get a bit dirty with some car grease and take the portrait with your favorite vehicle.
The options and roles you can take on for your portrait are endless. You can also choose a more active portrait where you have your subject dramatically adjust their hood or a cozier portrait with a pet. The most important thing is that the photoshoot is well thought out. You may not come up with any ideas right off the bat, but after some days of brainstorming, several ideas will come to you. Now, how do we put together a script for the photoshoot? Here are some ideas for you to get inspired!
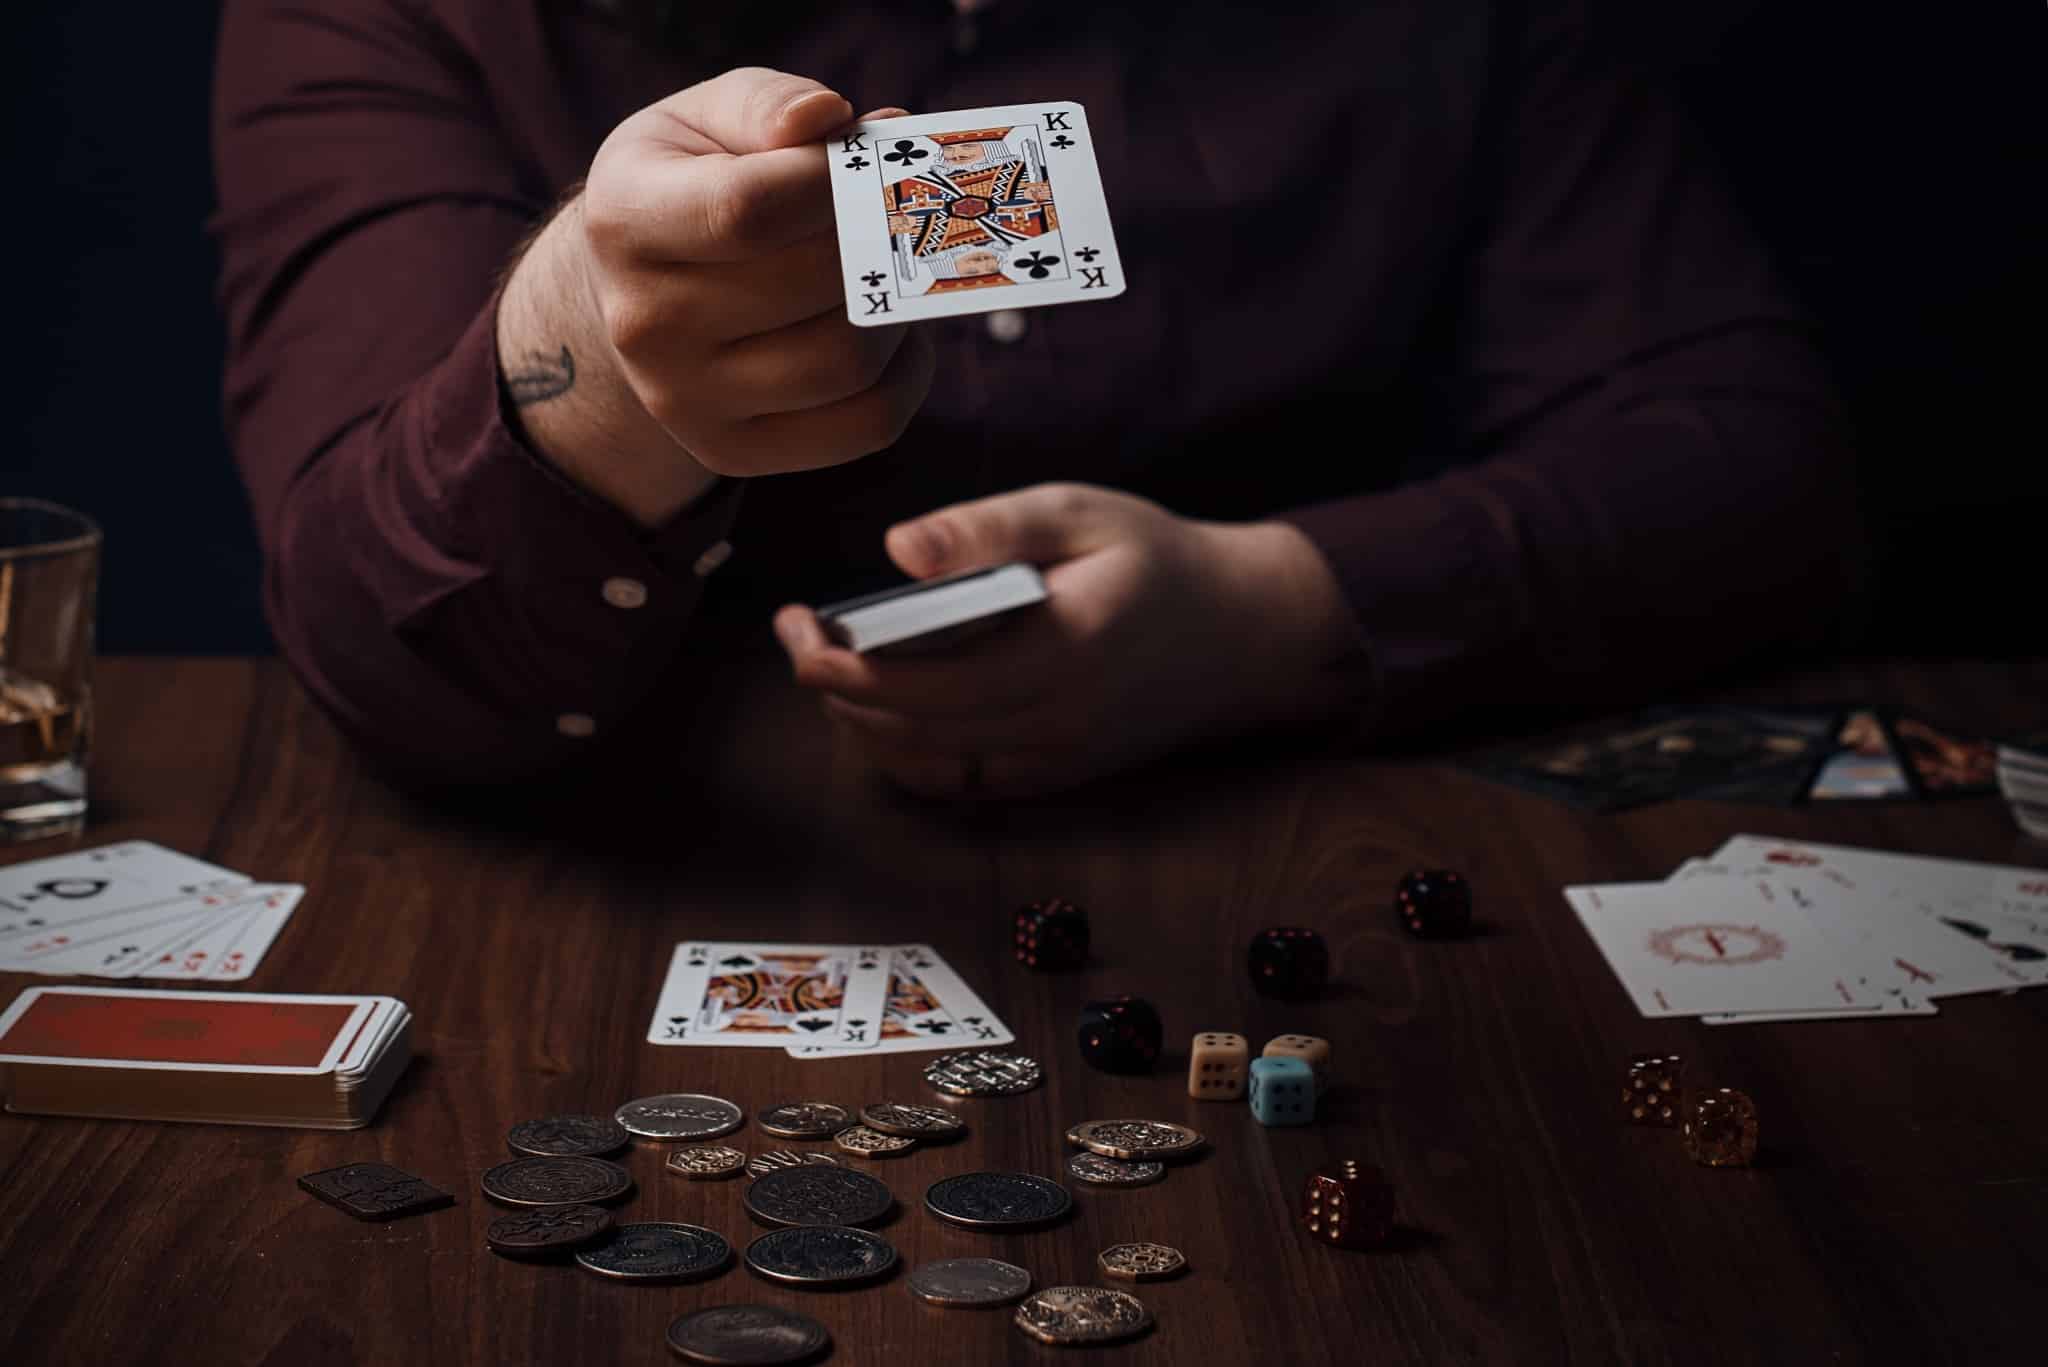
How to set everything up
The foundation of the photoshoot should always be your vision. Do you want the photograph to be dark and rugged? Or would you rather it be light and airy? This will most likely be based on the type of photoshoot and subject. Do you want your portrait to be an action shot? Or more static? In post-processing, will you choose a more colorful style or on the contrary, black-and-white? It’s important to give these things some thought. You may want to browse the work of photographers you admire for inspiration.
Now, who is it that you want to photograph? You can choose to take a portrait of yourself or someone you are close to. Both options are sure to be lots of fun. If you don’t know how to take a self-portrait, we’ll give you some ideas in the article, Self-portraits, or: How to Photograph Yourself Quickly, Easily, and Well.
Prepare your props
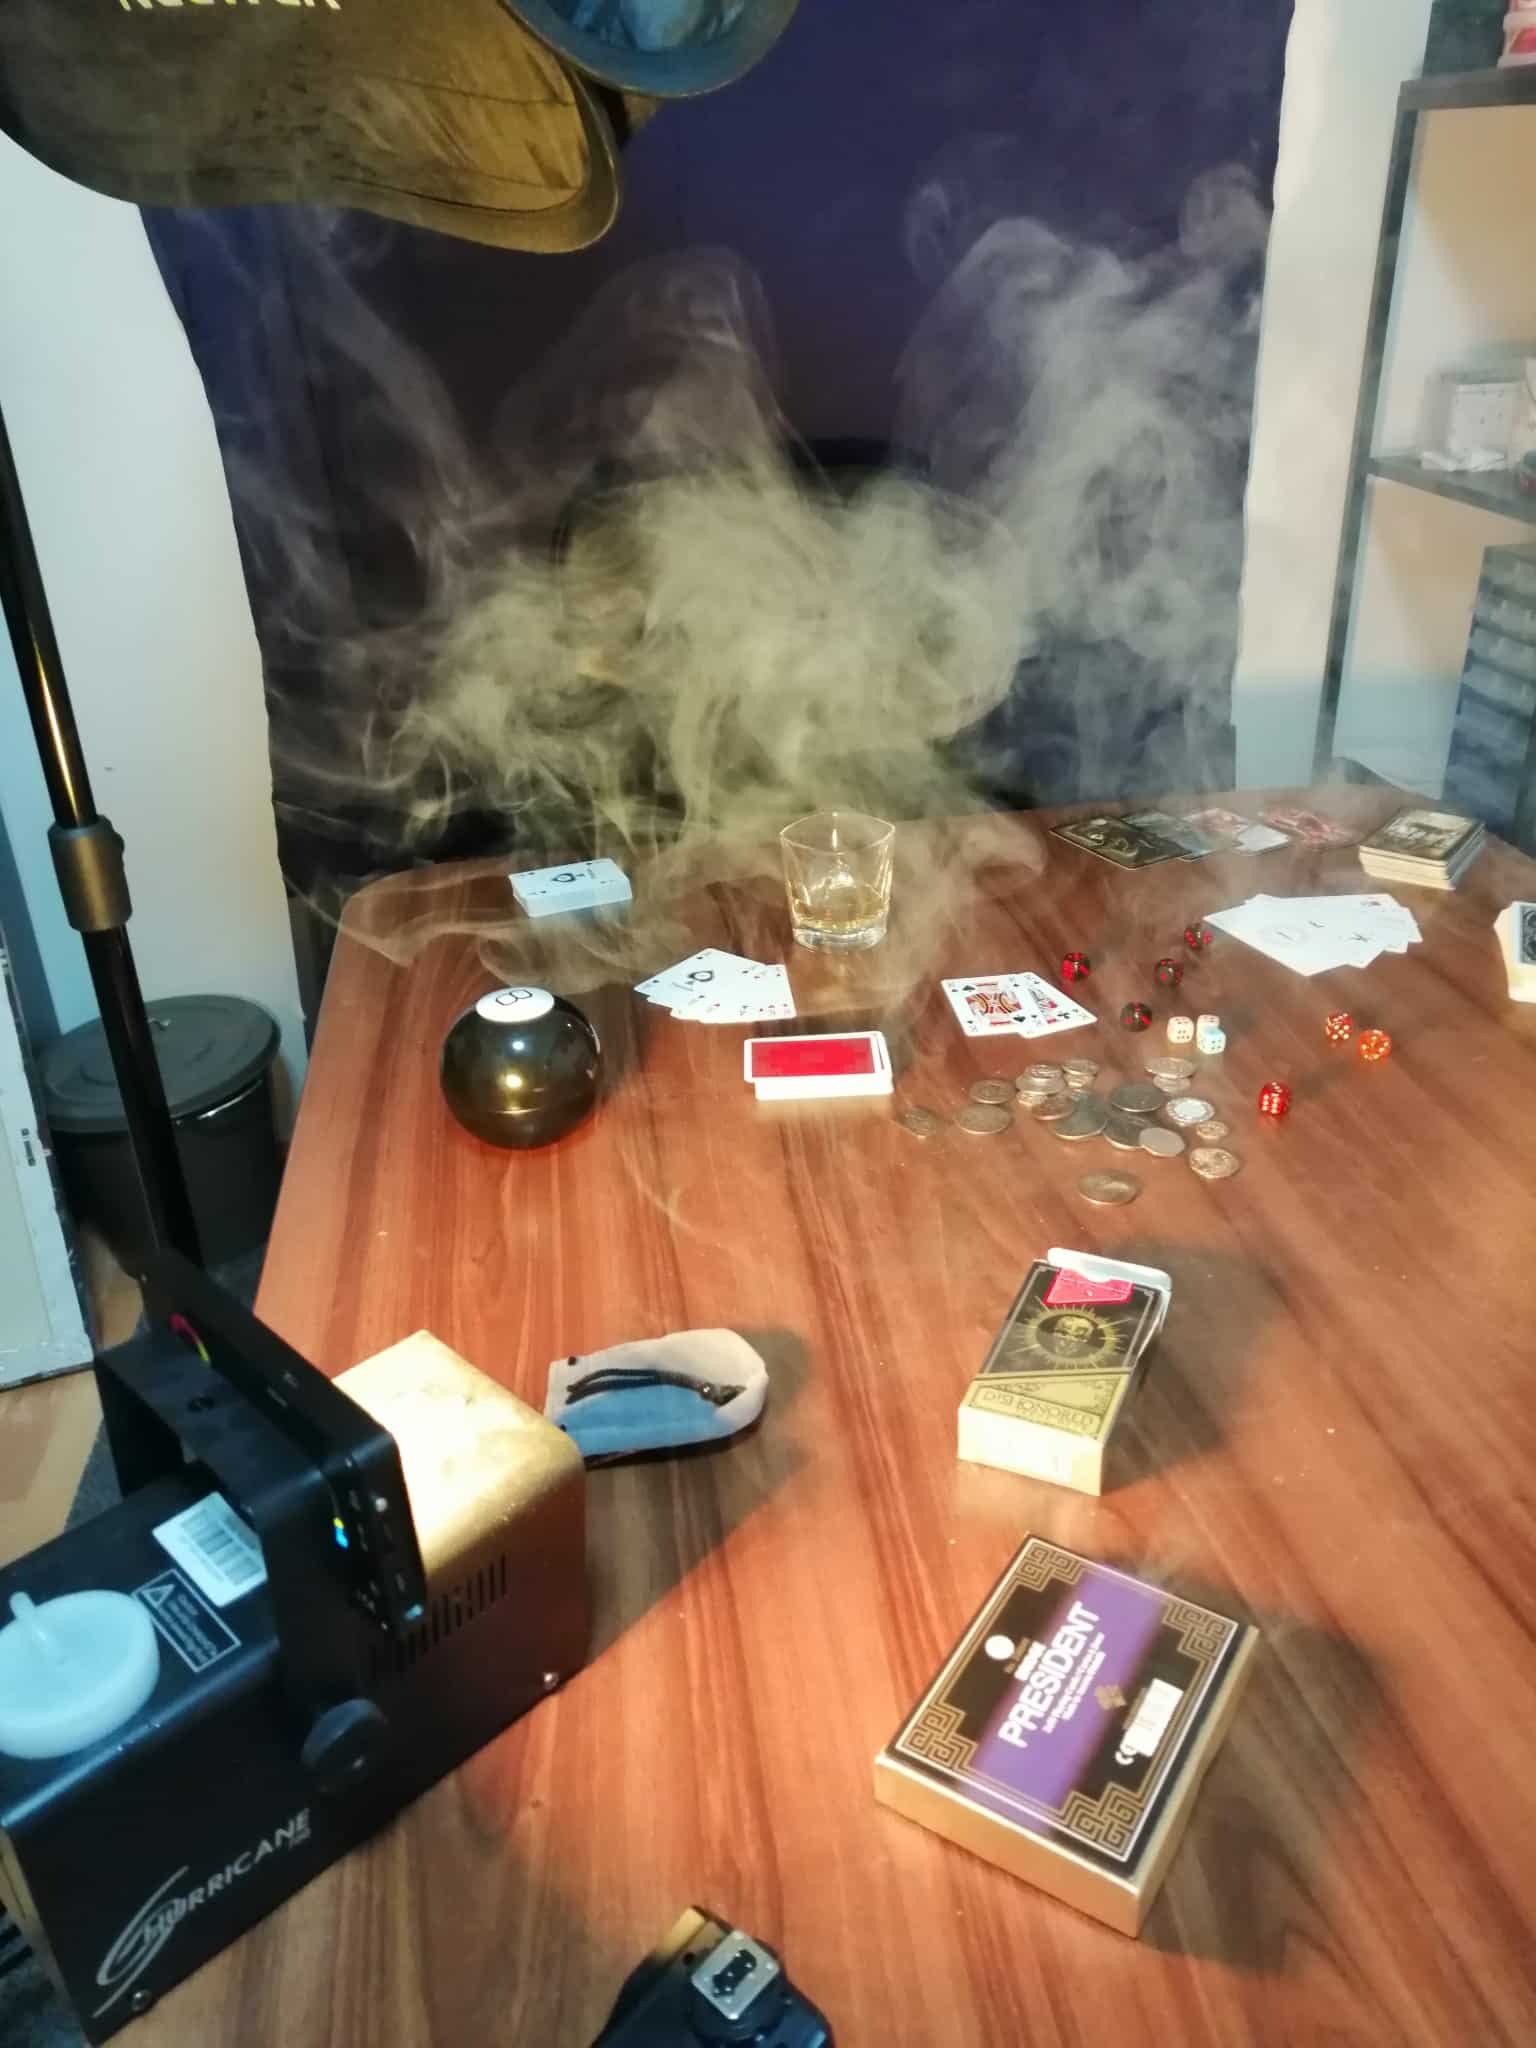
What are you going to need for the photoshoot? Here comes the fun part! Dig out all the things you have at home that go with your theme. That includes anything and everything that could possibly go with your photoshoot. Even if some of the items will barely be seen, or don’t make it into the photo at all, they will help you set up the scene and create the right atmosphere.
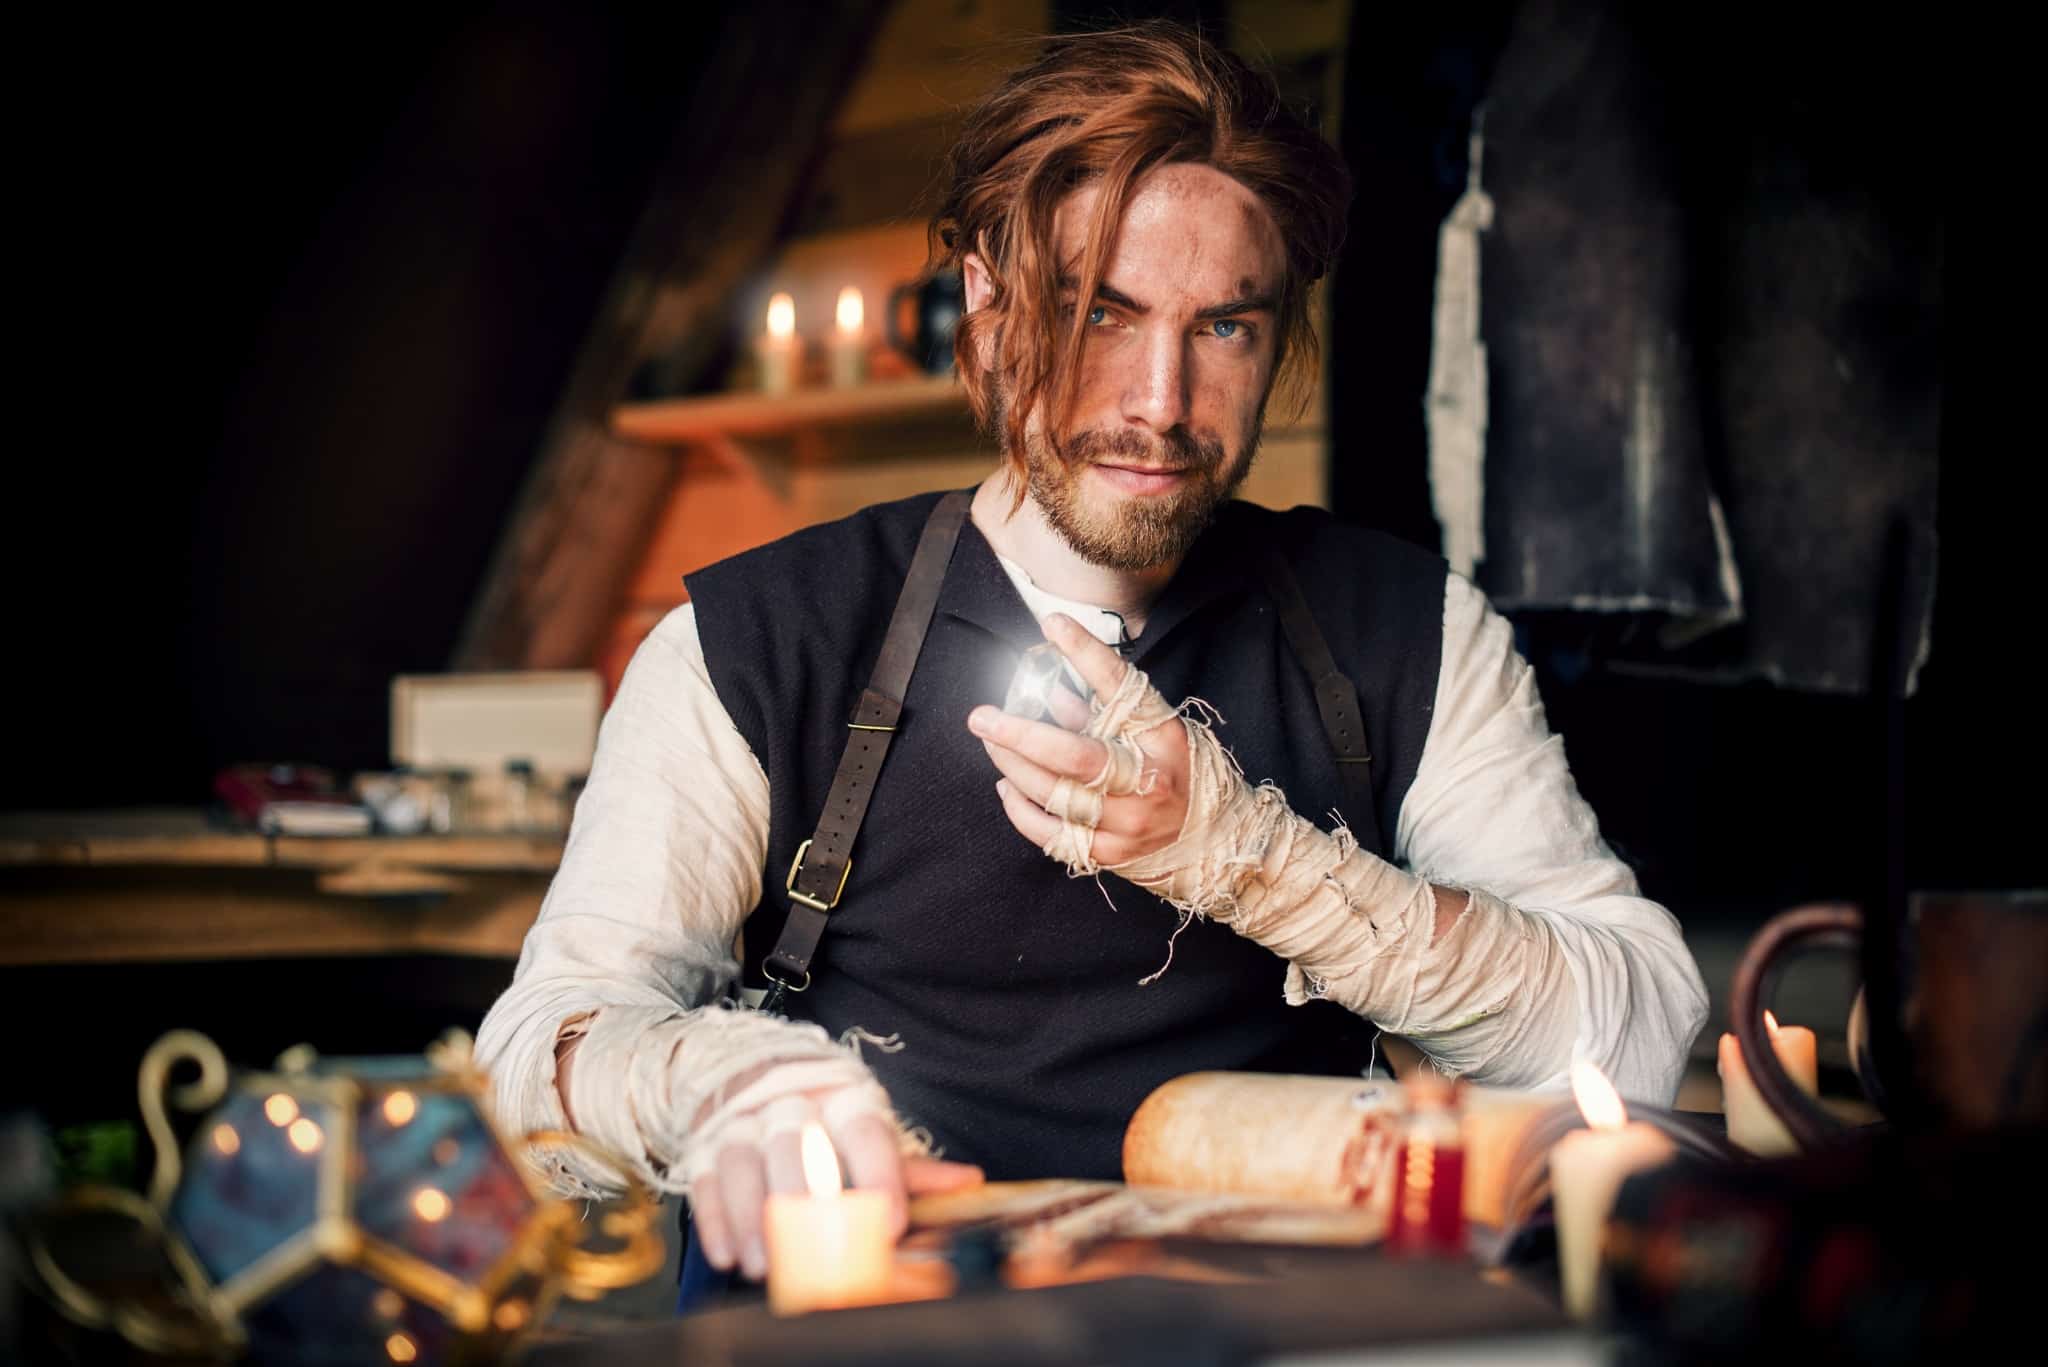
It’s better to be overprepared than have something missing from your photo. Complete the stylized portrait with things that go with your theme. Every item can help connect the vision as a whole. And don’t forget about wardrobe. You can put together an outfit from things you have at home in a matter of a few minutes.
What to use for shooting
We recommend using a portrait lens. A standard 50mm, 85mm, or longer will do. However, it is not a problem to use a wider-angle lens if you don’t have anything else. You can get some ideas from our article Wide-angle Lenses for Portrait Photography? Sure – Just Stand Back and Choose the Right Angle.
It’s best to use a portrait lens, but if you don’t have one, this certainly doesn’t need to put an end to your entire project. Use what you have on hand. If you’re taking a self-portrait, you will need a tripod. If you don’t have one, keep this in mind before setting up. When you put together the scene, do so in front of furniture, a ledge, or window, that can later be used to hold the camera.
You can also use flash, but we recommend using some type of diffuser to soften the light. If you don’t have a softbox at home, a translucent, white, plastic bag will do.
Don’t forget about lighting
Good lighting is the basis of every good photo! It’s important to think about whether you want to use artificial or natural light. If you want to use artificial light, then you can use professional equipment you happen to have at home. Or, more creatively, make use of lamps, overhead lights, flashlights, Christmas lights, or candles. If you want to do a bit of experimenting, you can supplement the lighting with things you find around the house. There are some great ideas for you in the article, Want Truly Original Portrait Lighting? Then Experiment with Reflections and Refractions!
You can choose dramatic lighting, such as lighting from one side, or soft lighting from the front that will conceal any skin imperfections. It’s most sensible to try all the options and then choose the one that you like best. We’ve written about these different ways to light portraits in the article, Portrait Lighting I: Keeping Quality, Intensity, and Light Temperature in Mind.
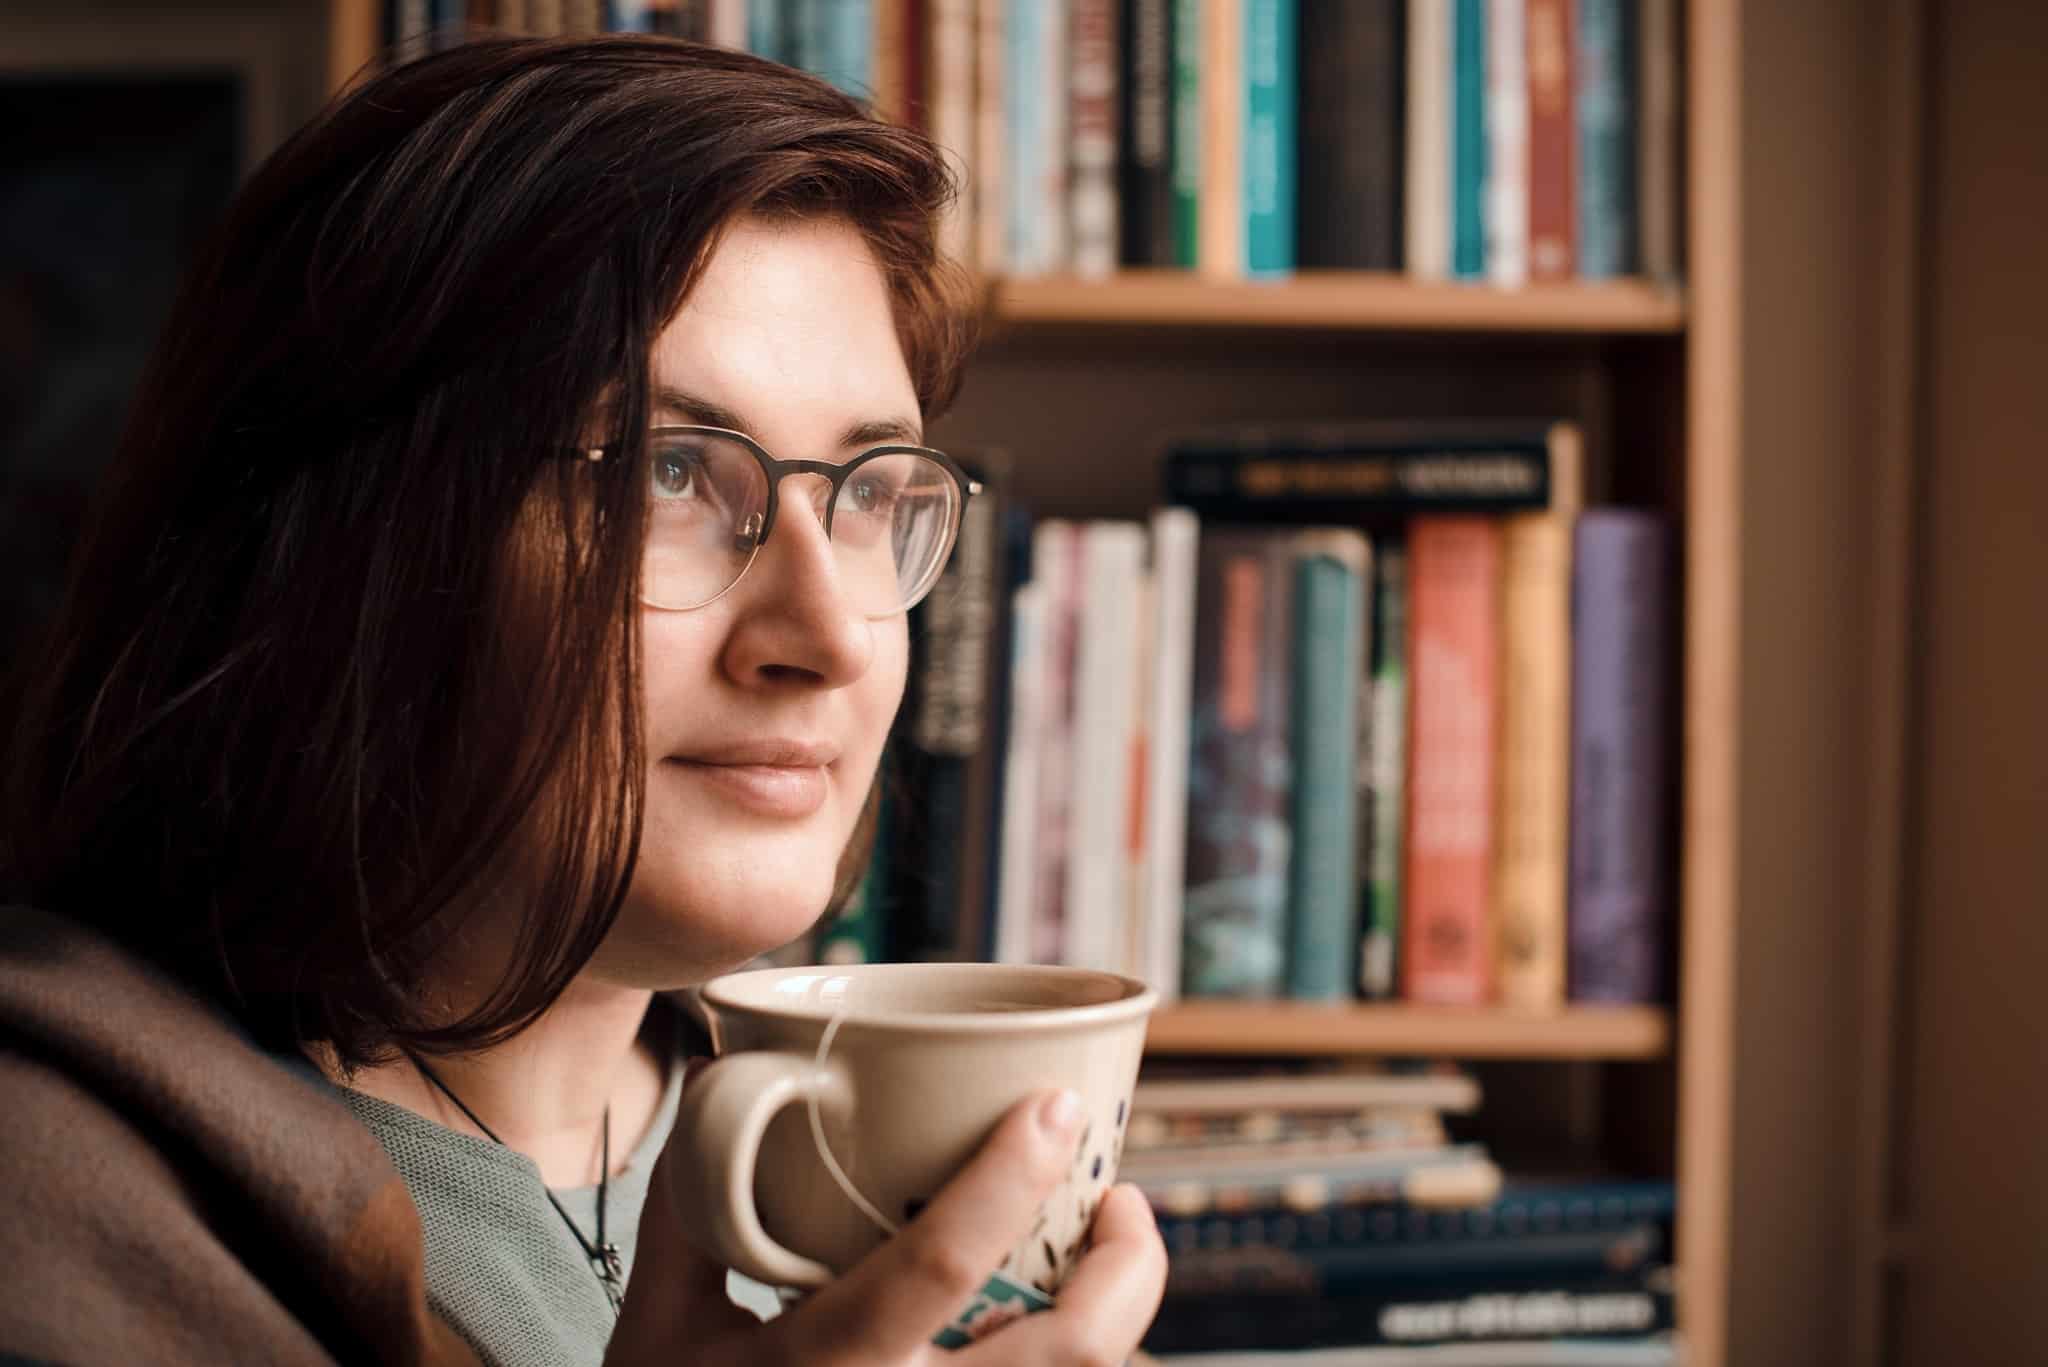
If you choose to use natural light, find a nice place in your home or outside where there is plenty of light. Inside, this is usually by a window. Outside, it can be almost anywhere, but it is better to wait until late afternoon or evening. You can make use of the sunset to give off soft lighting. Or, wake up early to make use of the light of dawn and early morning mist.
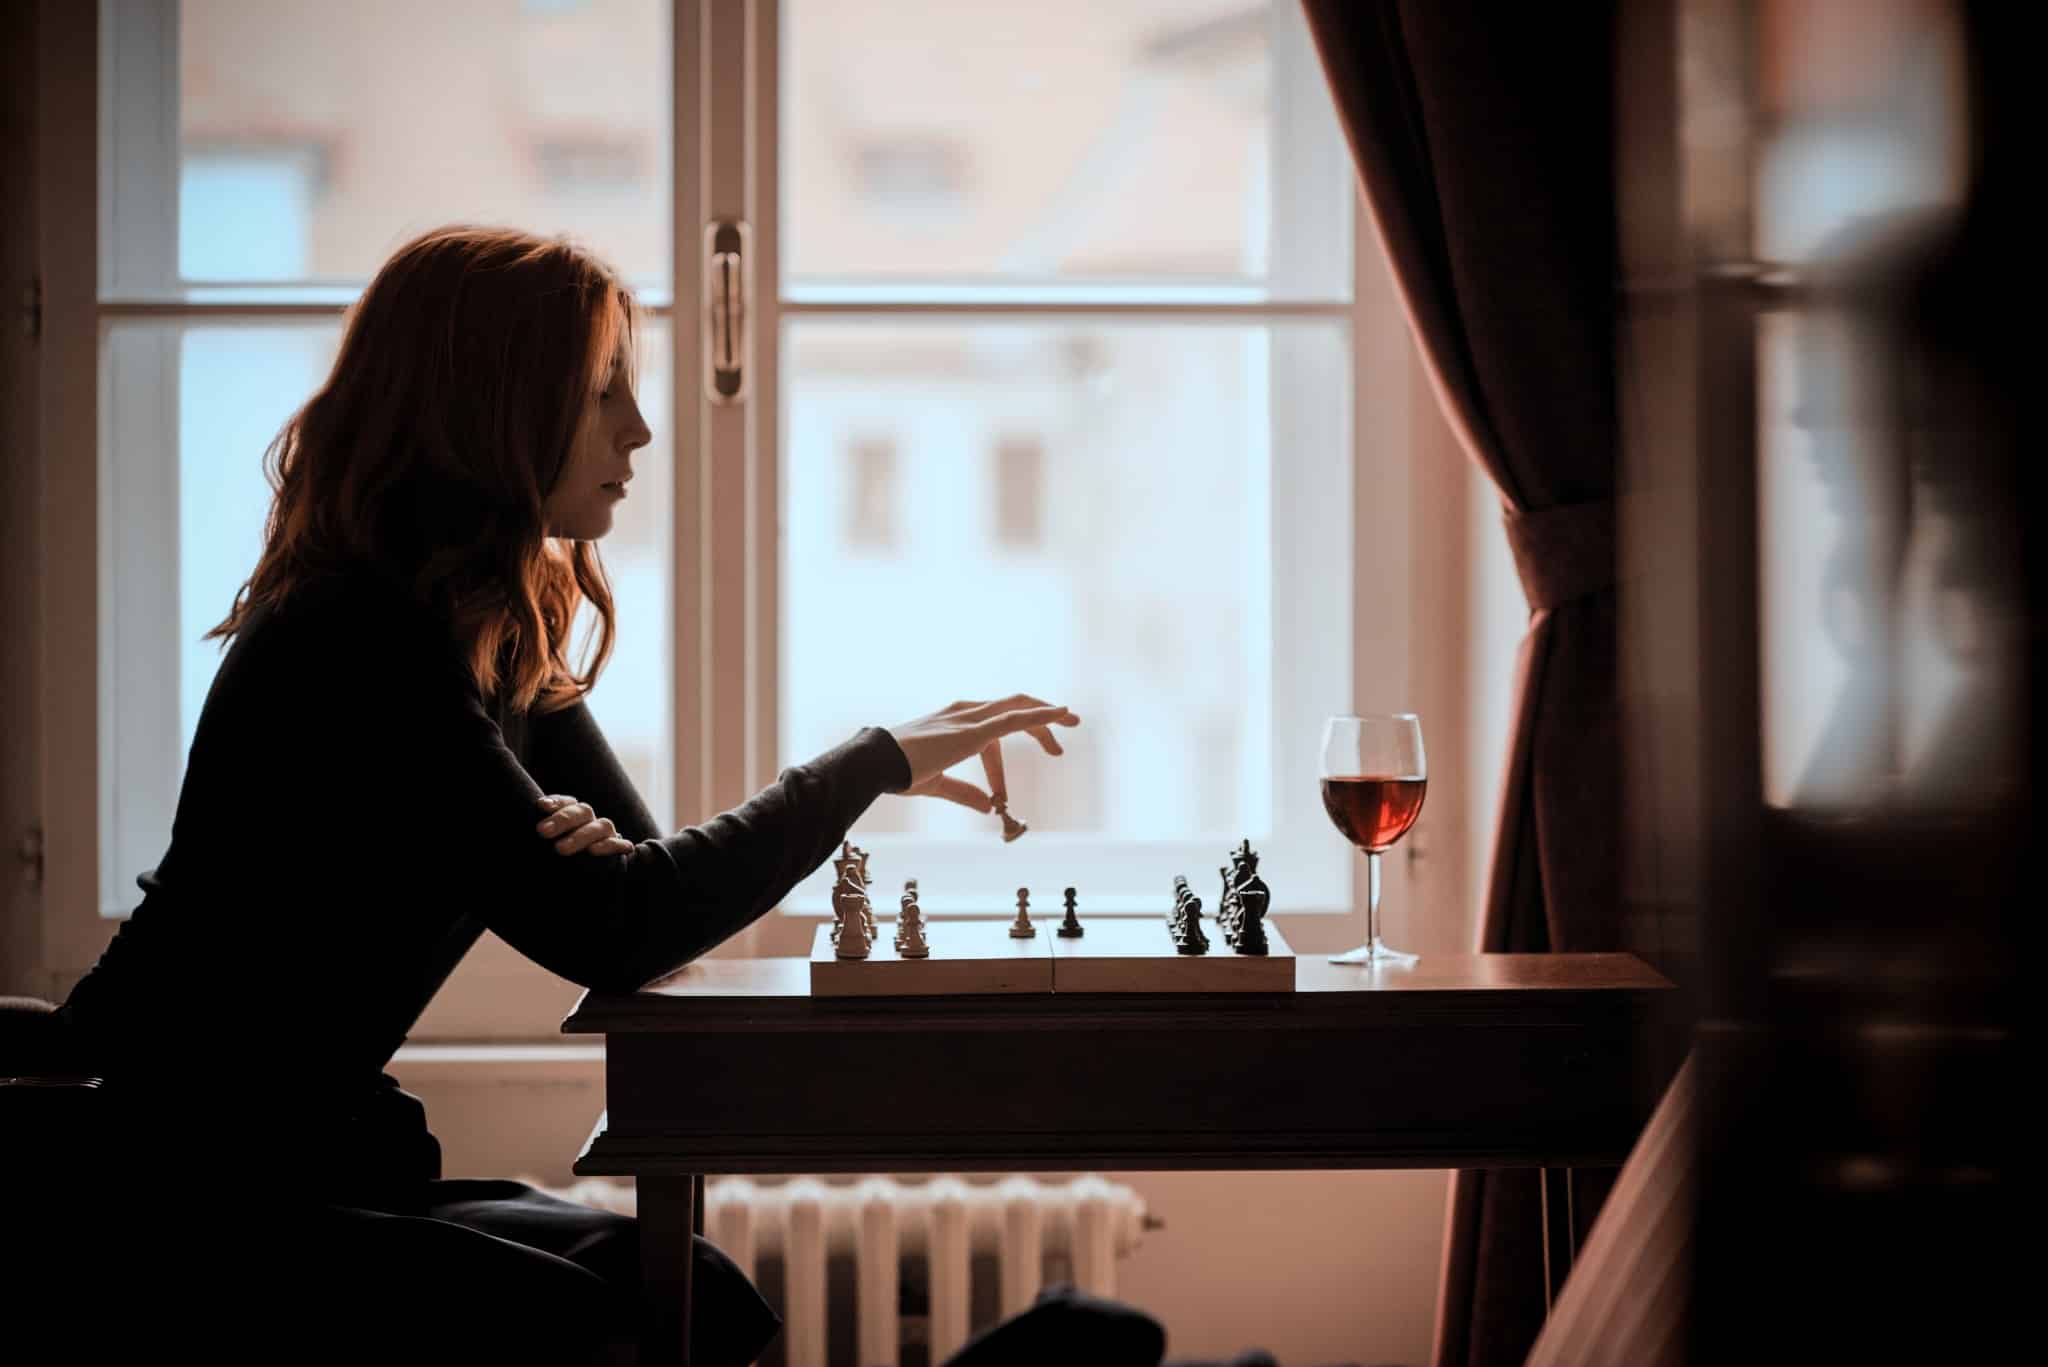
Extraordinary effects using ordinary objects
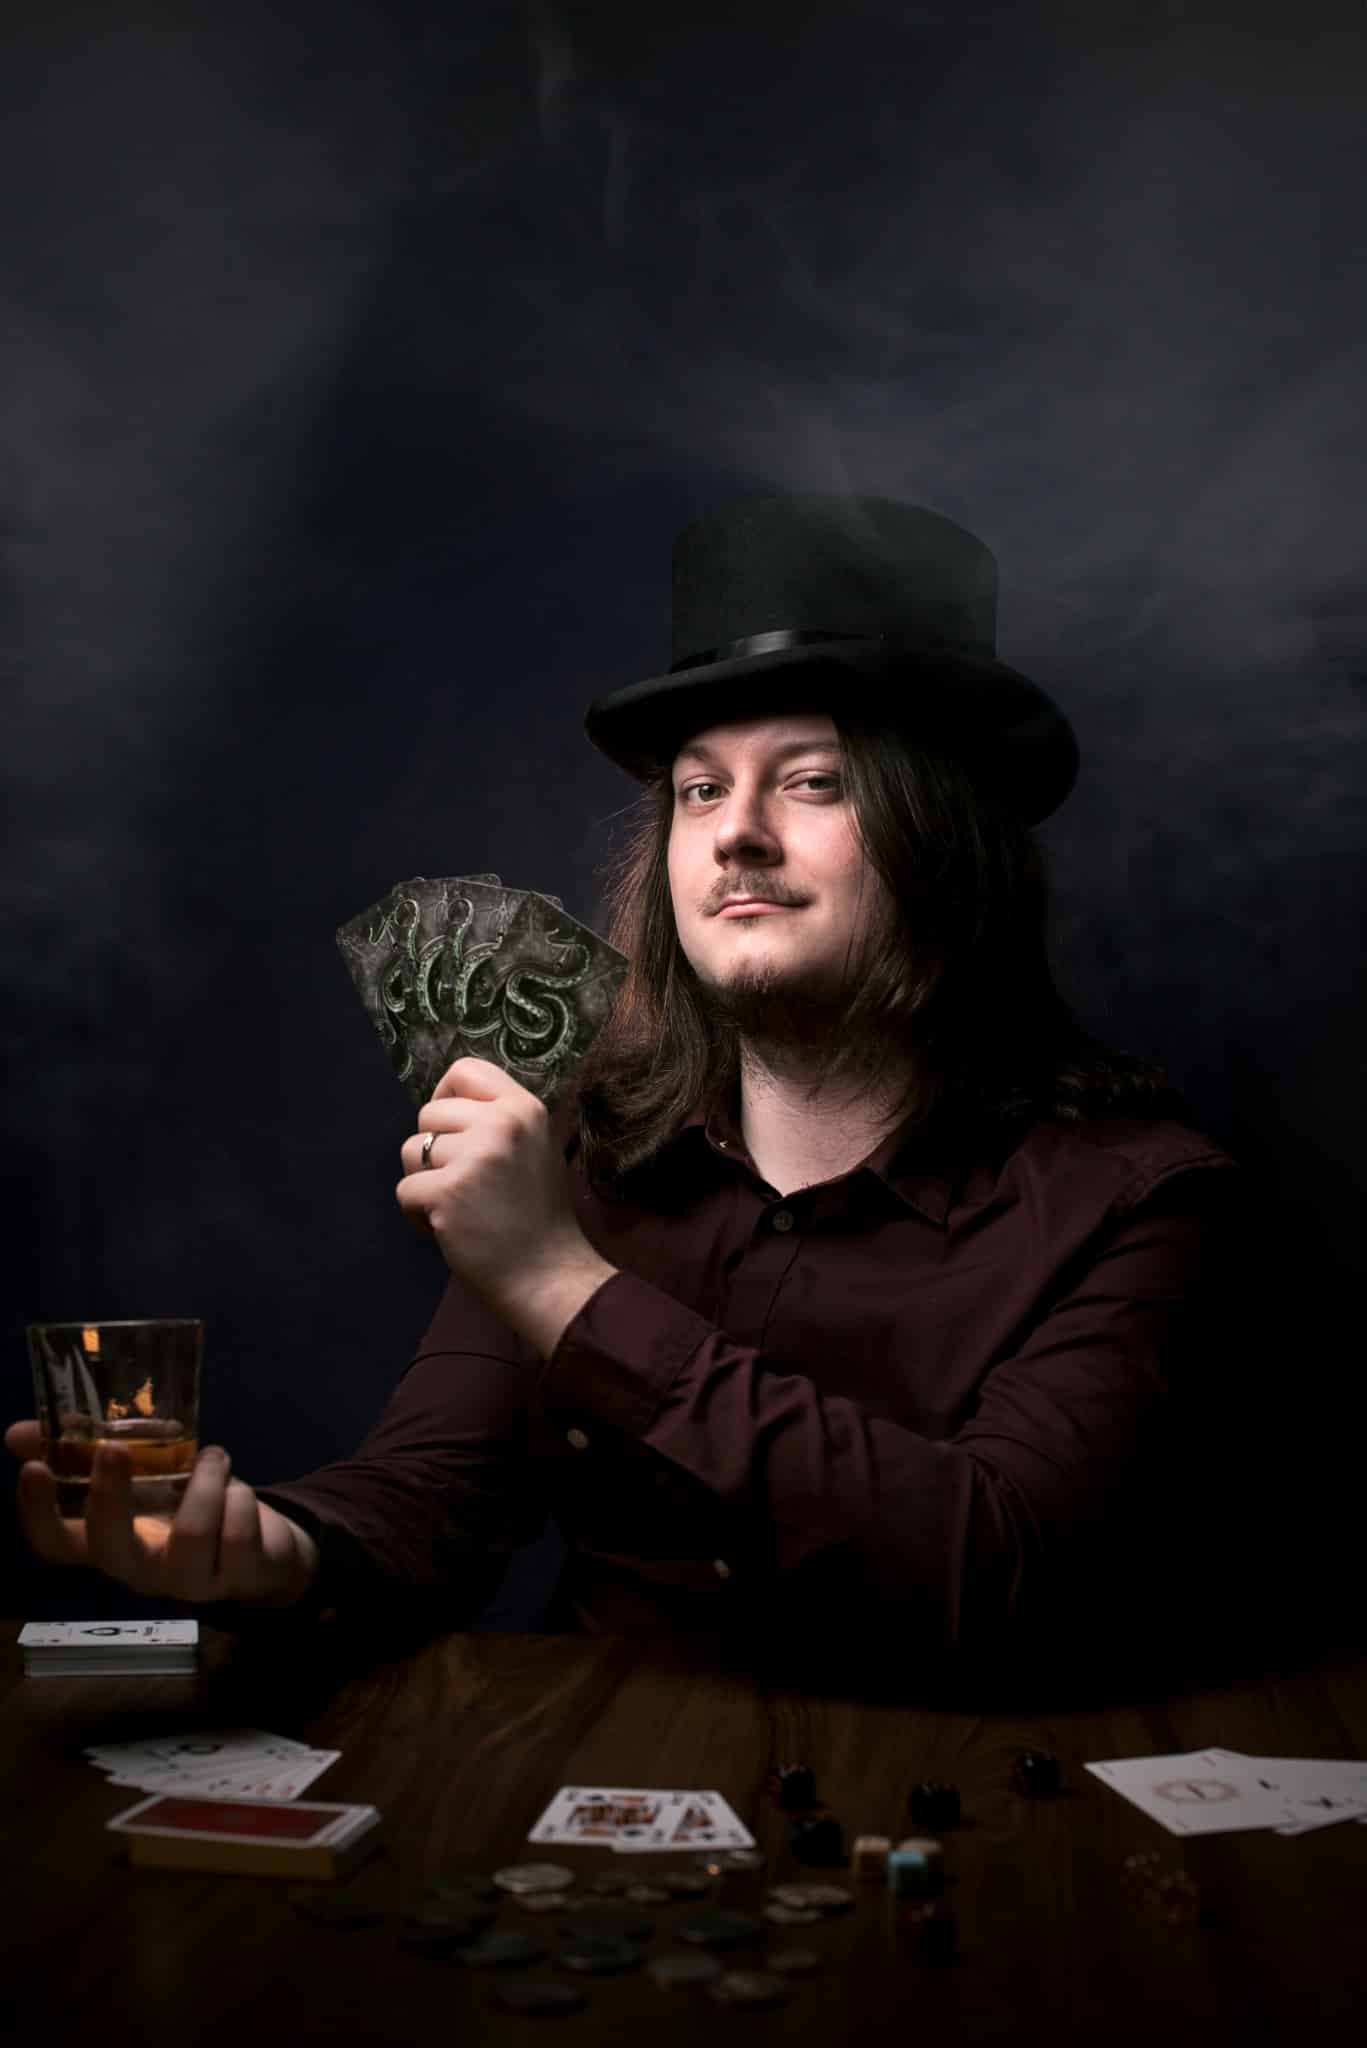
The options are endless. For instance, for a smoky effect, many people use e-cigarettes. If you happen to know someone who smokes these, have them blow some smoke in your scene. Another beautiful smoke effect can be made using a candle or incense that has just been blown out.
Another great idea is to use the steam from boiling water and light it up. Find out when your kitchen gets the most light and set water to boil in order to prepare for the effect. You can also use Christmas lights. Place them far behind you and you’ll get effective bokeh. Alternately, you can darken your background using a blanket or dark-colored sheet.
Outdoors (or if you want, inside), you can play around with water and capture its movement in an action shot. You can surround the room with houseplants and they will be blurred in the foreground or background of the photo, framing the photo nicely and almost giving the effect of being taken in the forest.
An assistant can also wave a large piece of cardboard to create a windblown effect in your scene, adding to the drama of the shot. Inside, a fan can create a similar effect. There are plenty of ideas that use ordinary household items and you will certainly come up with even more of your own.
Getting started with the shoot
And now, we get to shooting this type of portrait. It will most likely be a more time-consuming photoshoot with lots of trial and error, resulting in a single photo. But it will certainly be worth it. Don’t let yourself be discouraged if everything doesn‘t work out perfectly at first. Try a different angle, arrange the lighting differently, or try changing the scene that you’ve set up.
Don’t be afraid to make changes to the script. Sometimes it’s hard to picture things beforehand. In the worst-case scenario, come back to the photoshoot the next day, after you’ve had a day to mull it over. Definitely shoot in RAW so you can use Zoner Studio to perfect the final product.
Conclusion
Don’t let fear put limits on your imagination. Using only ordinary items in your own living room, you can create a photo so epic that everyone will envy it. All you need is some time, an open mind, some patience, and a camera. Have you tried doing an at-home, stylized photoshoot yourself? Share your results with us in the comments or on social media. We are dying to see how they turned out!