What’s the Best Way to Download Your Photos? By Importing Them in Zoner Studio
A photographer’s work is hardly over at the end of the shoot. On the contrary, you need to sort, edit, and maybe also share and send the pictures. But even before all that, you need to get them off the camera onto your computer. There are several ways to get photos onto your computer. For example, you can copy them by hand. But much more elegant and efficient is to import them using Zoner Studio.
Import is a very simple and practical function that does several things for you at once:
- finds the photos in all of the folders on your camera card,
- assigns metadata to them,
- auto-creates structures for your target folders,
- and deletes the photos from the card (if you ask it to).
Connect Your Camera and Click Import
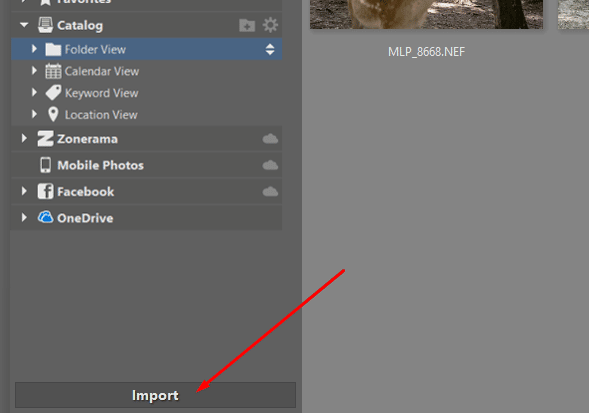
To download photos onto your computer, first connect your camera or memory card. Then in Zoner Studio click the Import button at the bottom left, or instead click Menu, then Acquire, and then Import.
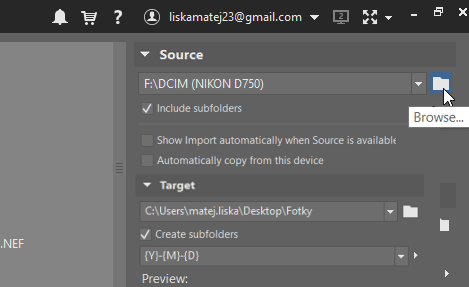
Click the folder icon at the top right to change the source folder if desired. We recommend turning on the Include subfolders option, because cameras often place photos in multiple folders on the card. For example when the counter goes back to zero or when there are more than 999 photos in a folder. The Include subfolders option guarantees that all your photos get loaded even in this case.
Once a source is selected, the program should load the photos automatically. If it doesn’t, make sure that the camera or card is connected correctly.
Choose a Target Folder and Assign Information
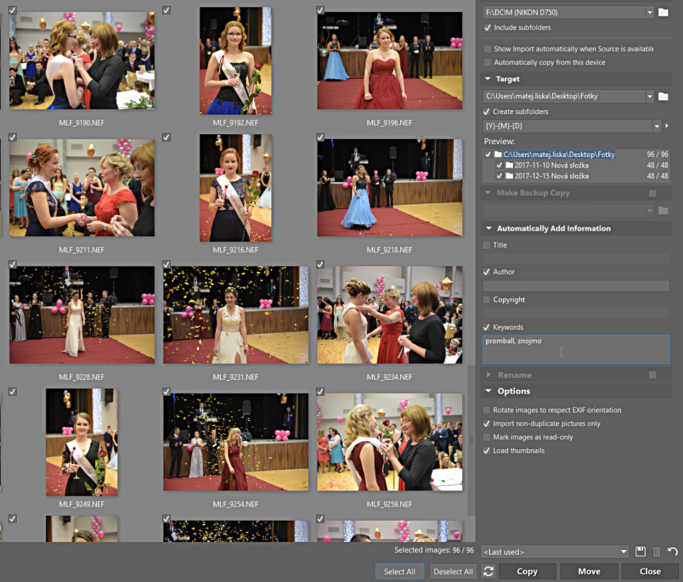
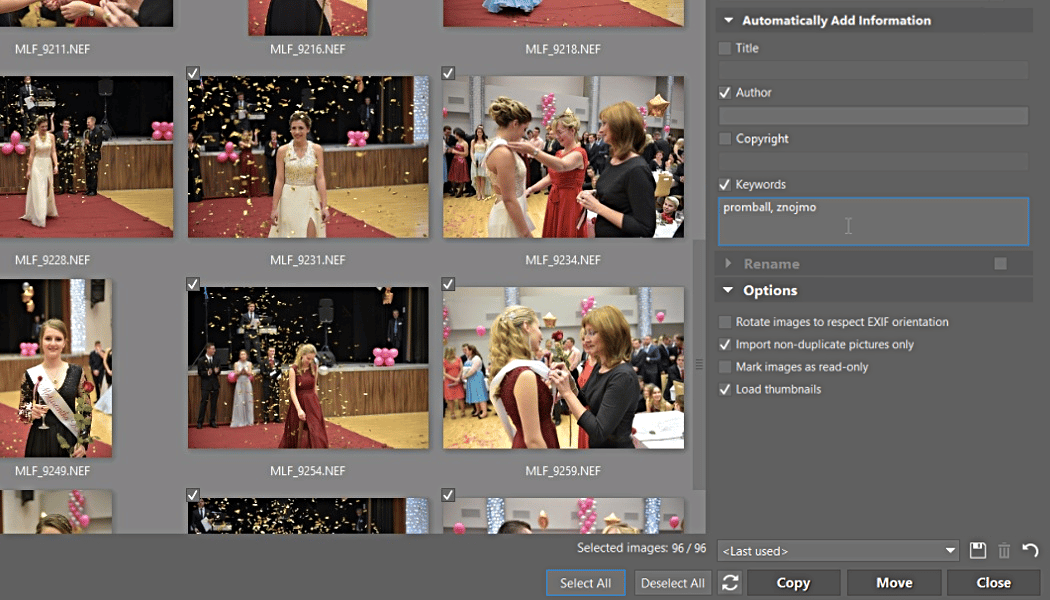
Then in the right-hand panel, configure the details for the import process. For example, pick a more suitable target folder or e.g. keywords. That will make it easier to find the pictures later on.
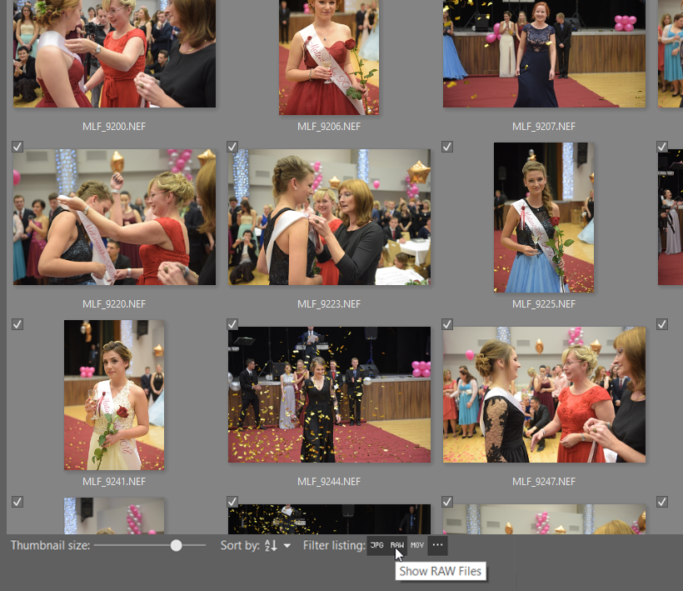
You can remove the loaded photos from the selection one by one using the icons at the top left corner of each thumbnail. And if for example you want to download photos only (and not videos), or JPG files only, use the Filter listing buttons. You’ll find these under the thumbnail listing.
Click Copy to Import Your Photos
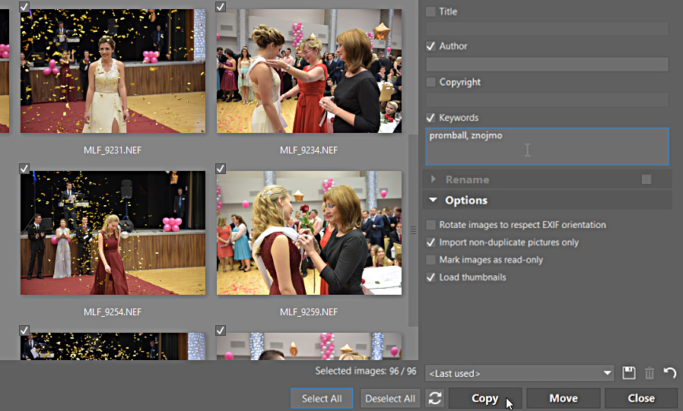
As soon as you have everything set up the way you need, click Copy. (You can also use Move, which deletes the photos from your card after downloading. However, we do not recommend this option. That’s because important photos should always be in at least two places at once.)
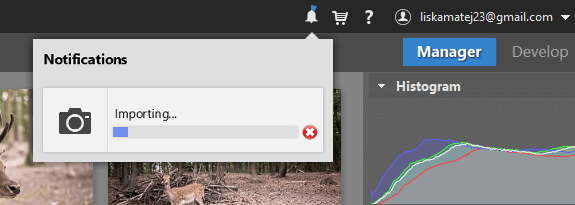
Once you’ve made Zoner Studio start copying the photos, you can for example head off and make coffee. In the meantime the program will copy the photos from your camera onto your computer. An icon at the top right indicates when an import job is in progress. Make sure not to interrupt the connection between the computer and the memory card or camera during the download.
And don’t forget that the speed of the copying job will depend on your computer’s power, the number of photos, and how large they are.
A tip from experience: Double-check that you really did copy in all of the photos—check that both the first and last picture are there in your target folder and that the number of files is right. If for example you copy pictures overnight, you may find in the morning that the computer fell asleep or the power went out in mid-job.
You can see that downloading photos onto your computer is a matter of just a few clicks. Ultimately you can try it out yourself—download Zoner Studio, try it 7 days for free, and organize and edit your photos more easily.