Low-contrast Photogaphy in Zoner Studio
Many famous photographers have gained recognition for breaking the rules. Contrast is one of the basic composition rules for photography. We use contrast to emphasize differences in the highlights, shadows, and colors. This time, we’re going to break these rules using Zoner Studio.
What is contrast? Generally speaking, contrast is the juxtaposition, or interplay, of two different elements. In photography, we often think of contrast in terms of color or light. Light is what gives life to photos. Let’s take a look at how to break the rules of contrast using low-contrast adjustments.
Types of photos to apply low-contrast adjustments to
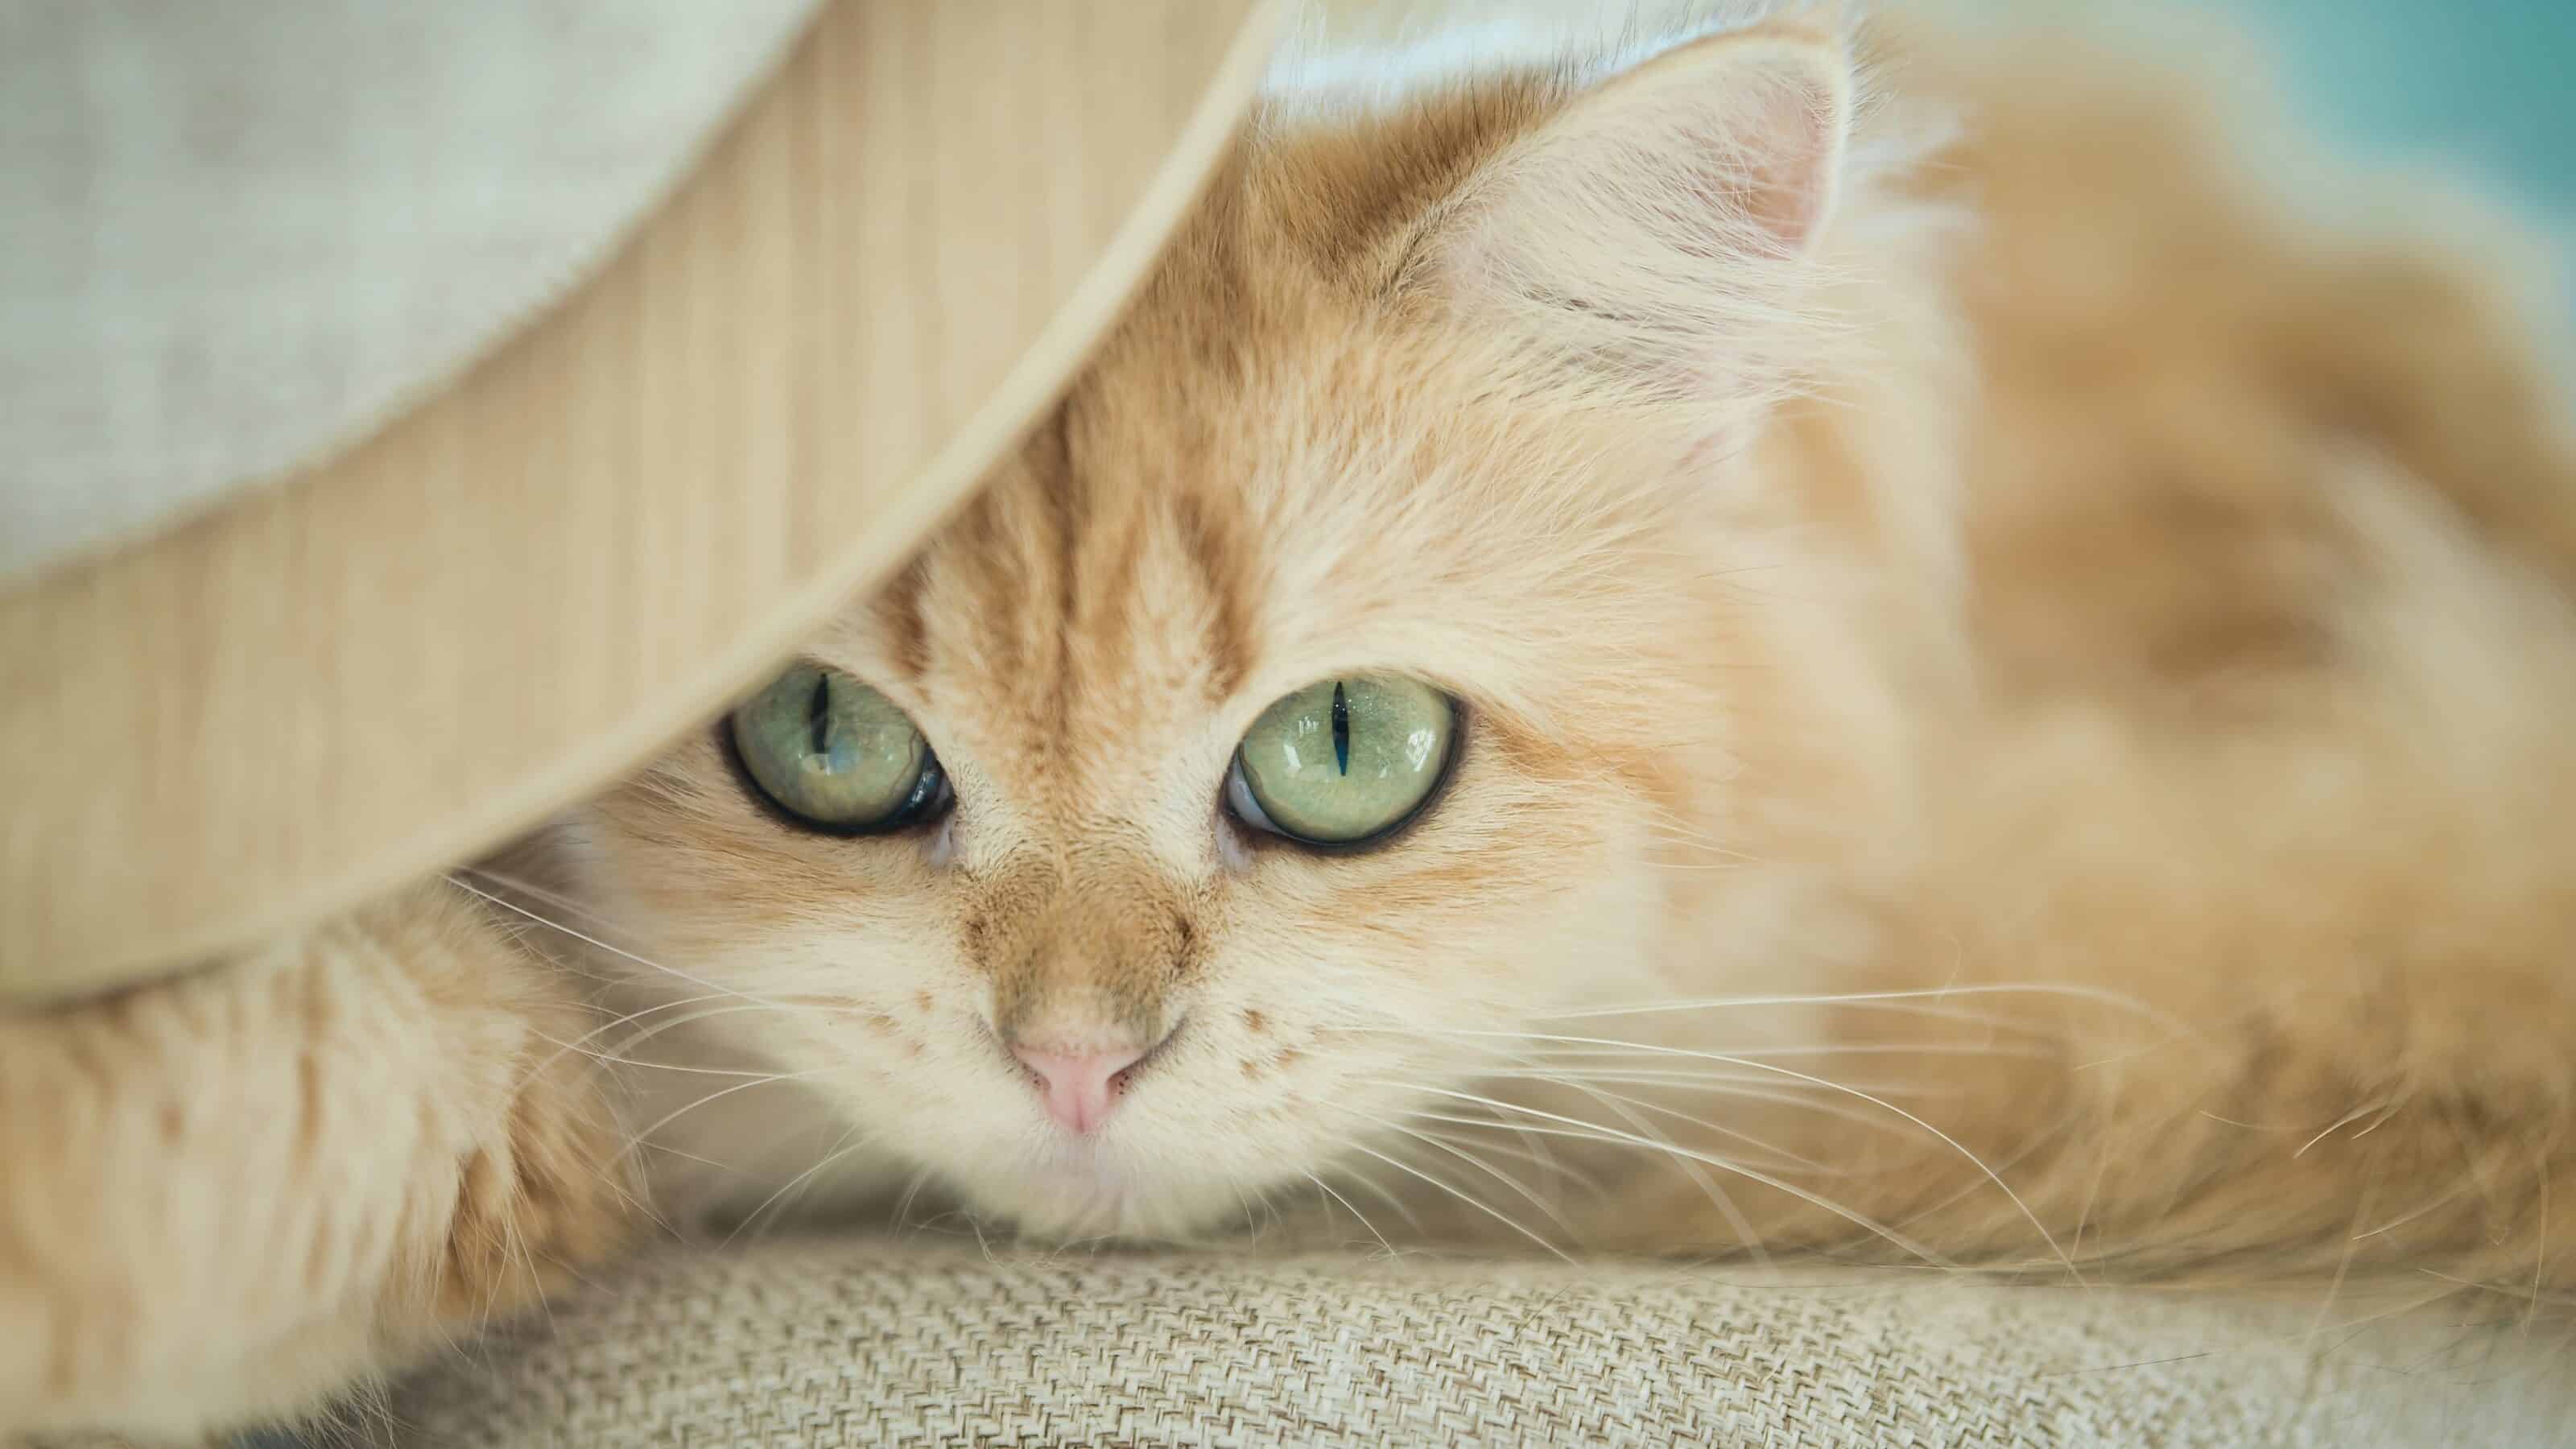
Soft, diffused light, like fog, is perfect for low-contrast editing. Fog filters light so that you can’t find softer or more diffused light in nature. Cloudy or overcast skies are also great for softening light.

The Histogram
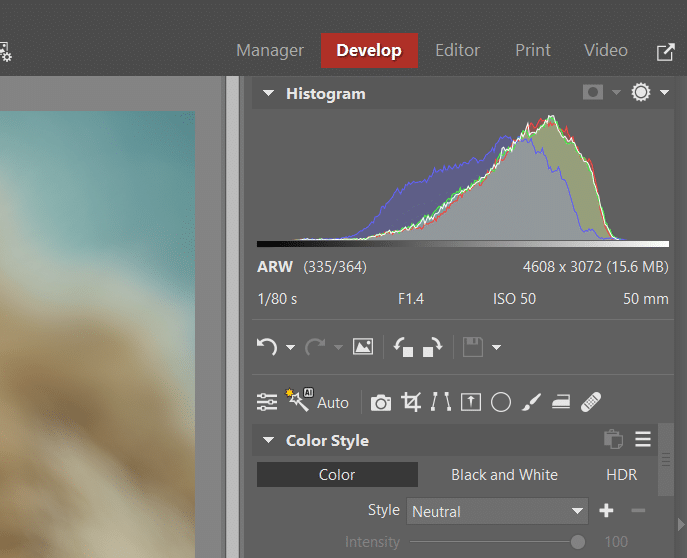
If you look at the Histogram for a photo like this, you will notice a distinct lack of black. You have to shoot with the intention of using low-contrast adjustments. For this reason, set your camera’s exposure to positive values.
Editing process
It’s best to edit this type of photo in RAW format in the Develop module because RAW images contain much more image data.
First, tweak the exposure, if needed. It’s also a good idea to shift White Balance to cooler tones. Cooler tones look better and go with low-contrast photography.
Next, try decreasing Contrast. This doesn’t necessarily mean moving the Contrast slider. You can adjust Contrast using other sliders in the Exposure section.

To get low-contrast photos, you need to reduce the difference in brightness between the light and dark areas.
Decrease Lights and brighten up Shadows. You can also reduce contrast using the Black Point and White Point sliders. Use the same method—darken the bright areas and brighten the dark areas.
You can bring some contrast back to the photo using the Contrast slider. It may seem strange given our intent, but the goal is to get a balanced result. Low-contrast editing doesn’t mean getting rid of 100% of the contrast.

Low-contrast editing means getting less distinctive colors. Finally, decrease Saturation. You can also sharpen the photo and add Vignetting.

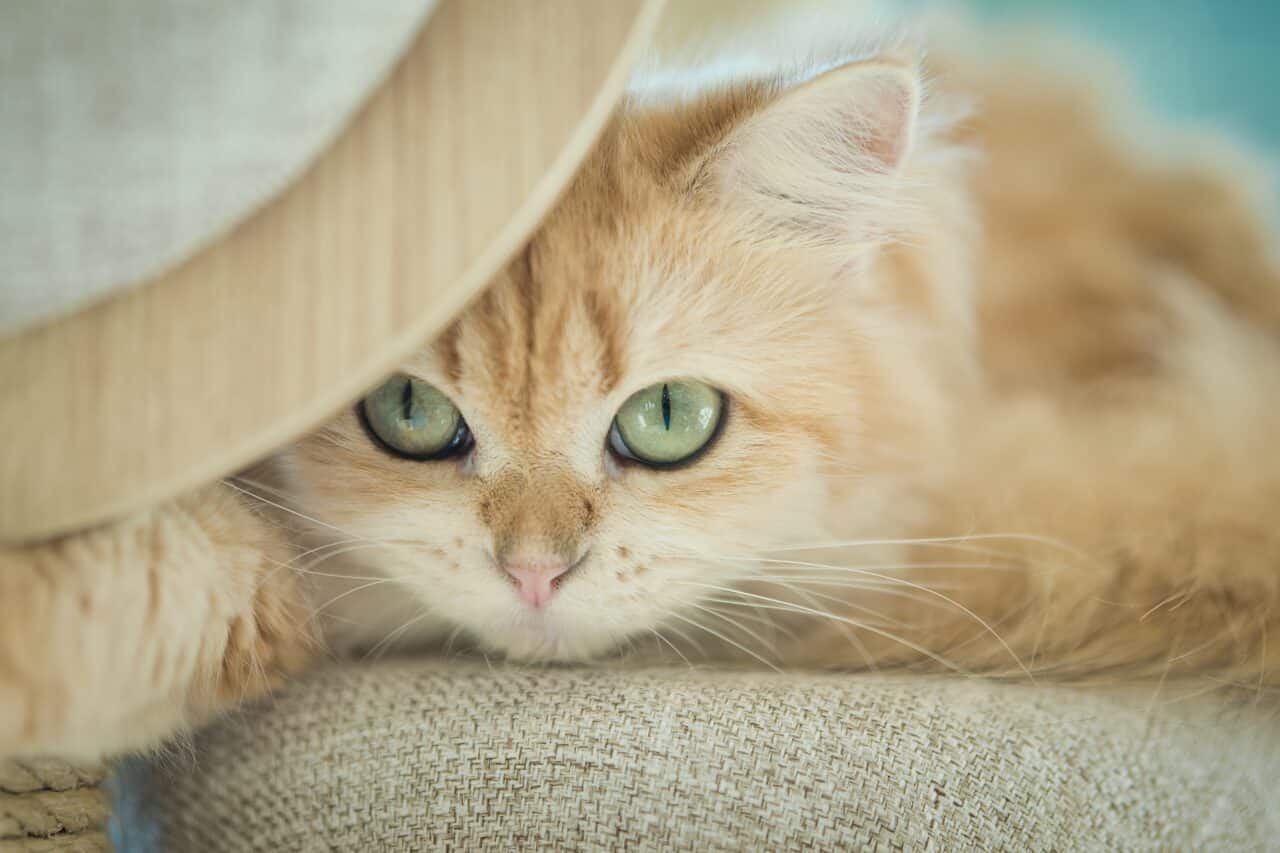
After processing RAW image.
Use Color Style or 3D LUT
Zoner Studio offers other quick options for achieving a low-contrast look. You can try the Color Style feature at the top of the right panel of the Develop module. For example, the Cinematic color style is included in Zoner Studio. This color style adds an analog matte look by reducing contrast.

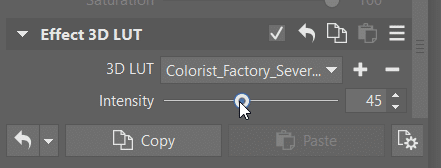
You can also get a new look in both brightness and color contrast using Effect 3D LUT. Effect 3D LUT is found at the bottom of the right panel of the Develop module. You can download additional LUTs online, many of which can also reduce contrast.
Download Zoner Studio free for 7 days with support for all these features and more. Try low-contrast adjustments on your photos today!