Master the Blending Modes in Zoner Studio
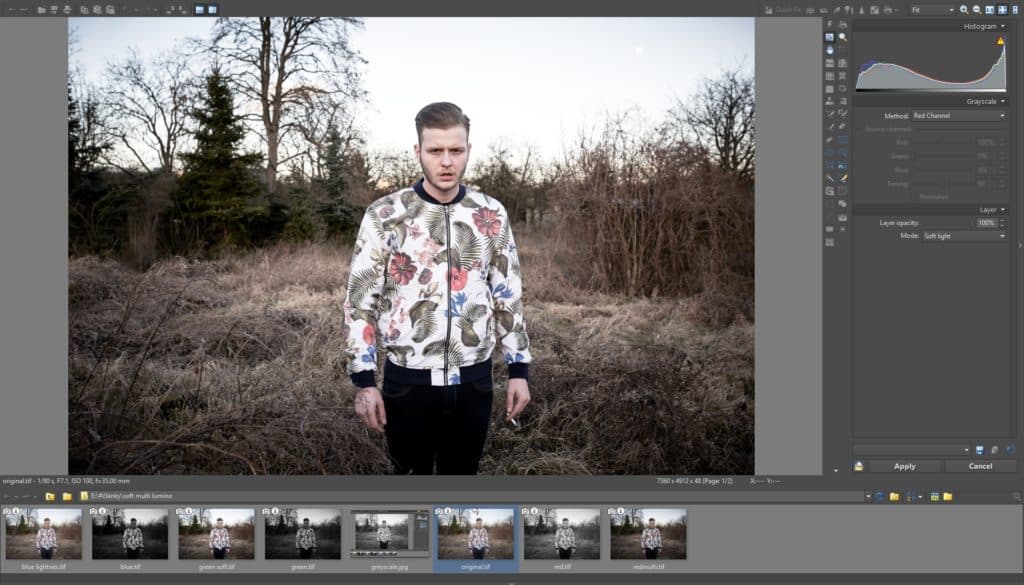
How can you give photos just the right look, one that lets the right colors shine through? The blending modes in Zoner Studio are your friend here—especially the Multiply, Soft light, and Lightness modes. In this article we’ll explain what they are and how they work. Most edits in Zoner Studio lie on a temporary layer until you apply them, and that layer can be blended into the picture in various ways, called modes. To pick the most useful mode for a job, you need to know how modes work and what kinds of image information go best with which modes.
The Temporary Layer and Blending Modes
To know how and when to use the Multiply, Soft light, and Lightness modes, it’s essential to know what the temporary layer in Zoner Studio is, and how modes affect it. Layers, in general, are digital images “laying on top of each other.” Zoner Studio doesn’t have classical, savable layers, but edits rest on a temporary layer “above” the picture until you click Apply. There are a couple of settings that affect how this layer is blended in. One is the Layer Opacity, which sets the intensity (in percent) of how strongly the edit actually affects the picture. Imagine the edit as being printed on a plastic sheet that’s then laid atop the picture. At 100%, it’s printed as-is. At 0%, nothing is printed at all. The other setting is the blending mode—the Mode.
Modes set how the edit is used. Various Modes react to different degreess of brightness variously. The intensities of whites, blacks, and other grayscale tones in a picture tend to be important for how a mode affects it. Some modes ignore whites on the temporary layer while darkening its blacks. Other modes, meanwhile, do the opposite. And we’ll be talking about three of the most frequently useful modes in this article. We’ll show how and where they can be useful.
Multiply
To put it simply, Multiply mode darkens everything that’s darker than pure white. The darker a part of an image is on the program’s temporary layer, the more strongly that part is darkened. But everything that’s pure white stays untouched.
This is useful as a tool for darkening of many kinds—e.g. darkening blue skies. But it’s not appropriate for darkening people’s faces.
Soft Light
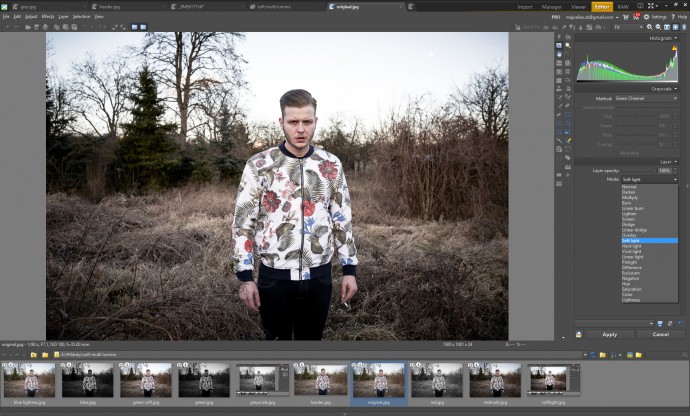
The Soft light blending mode is a natural for increasing contrast. It makes neutral gray on the temporary layer transparent. Everything lighter than that gets brightened. And everything darker than that gets darkened. Soft light helps to mildly increase contrast or brighten faces.
Lightness
The Lightnesss mode is the opposite of Multiply. So this mode brightens all the dark surfaces in a photo. It gives a photo dramatic, drawing-like lights and shades.
What Looks and Feels Do These Modes Give in Practice?
Let’s look at how these three blending modes affect one particular photo edit in practice. We’ll be using the following photo to demonstrate how the different RGB color channels are affected by these different blending modes.
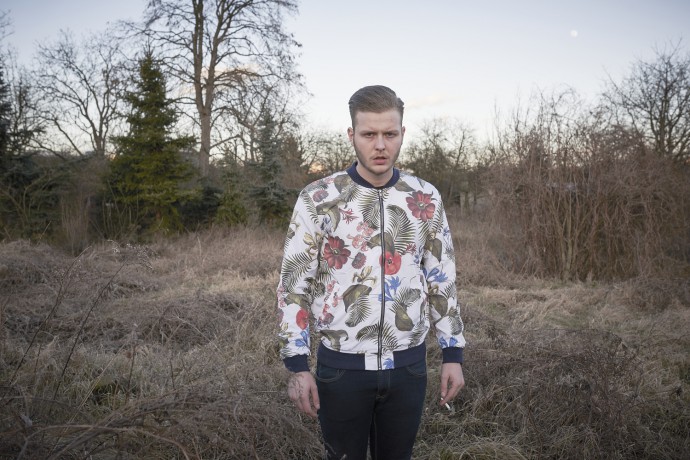
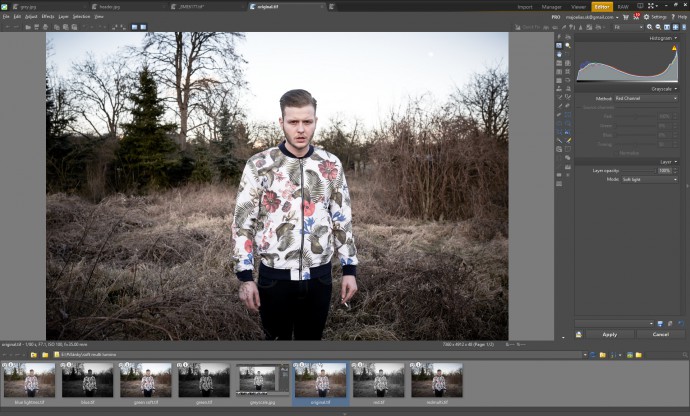
I’m Blending in Some Edits with These Modes… But Which Edits? There are a few edits that are exceptionally well-suited for work with blending modes. The simplest edits to work with here are those that work directly with the photo’s image data—especially Mix Channels and Grayscale, two edits in the Effects menu. Mix Channels manipulates a picture’s individual RGB channels, and Grayscale uses those channels to create a grayscale, black-and-white picture.
In Grayscale, you pick a channel to be the basis for the grayscale image, and then, as with all similar edits, you click Apply to blend it into the original picture. Thanks to modes and layer opacity, this can mean anything from simply replacing the original with the grayscale version (blending with Normal mode and 100% layer opacity) to, for example, using the grayscale effect to mildly adjust the “real” color picture (blending with, say, Soft light mode and 10% layer opacity).
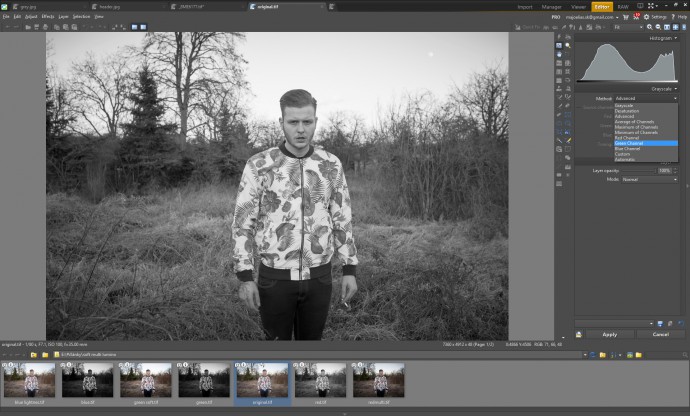
If the effect has produced, say, a neutral black-and-white image based on the green channel, then mildly blending it in using the Soft light mode gives a mild contrast boost, with lighter lights and darker darks.
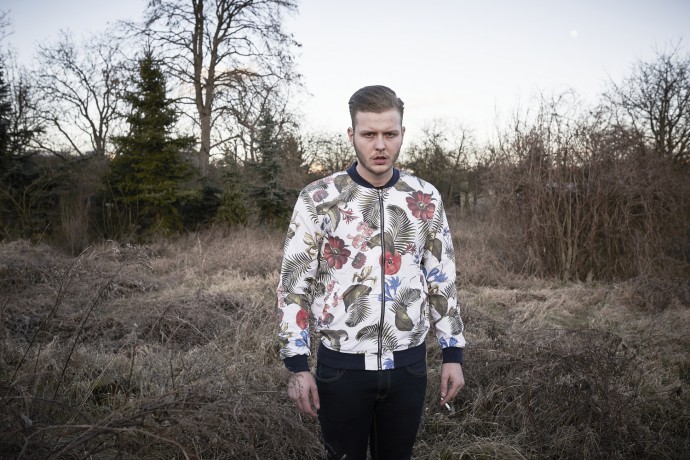
If you work off of the red channel, which lights up everything that contains red color data, and then you apply that effect with the Multiply blending mode active, nearly everything is darkened. But skin color in portraits is very white, so it stays nearly untouched. That fact makes Multiply mode great for drawing attention to a portrait’s subject.
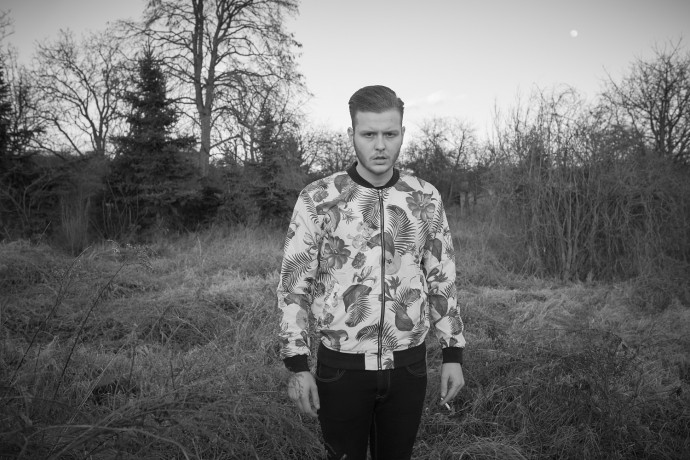
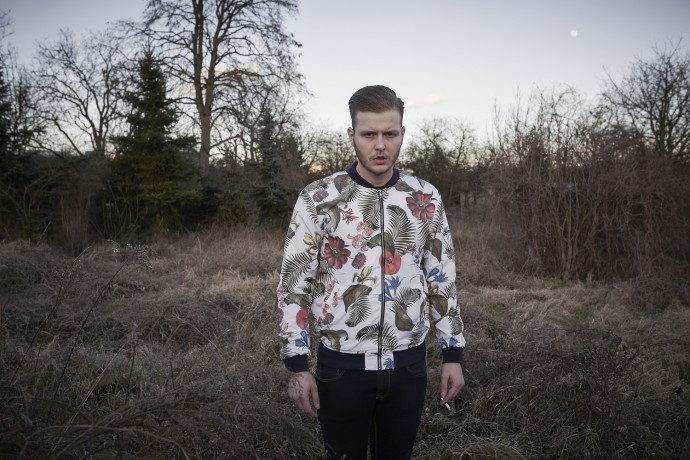
Meanwhile by working off of the blue channel, which lightens everything containing blues and darkens things containing reds, and then blending in the edit via the Lightness mode, you get a picture that has much lower contrast, and yet also has a certain drama. (If you’re the curious sort, you can google “chiaroscuro” to learn more about this.)
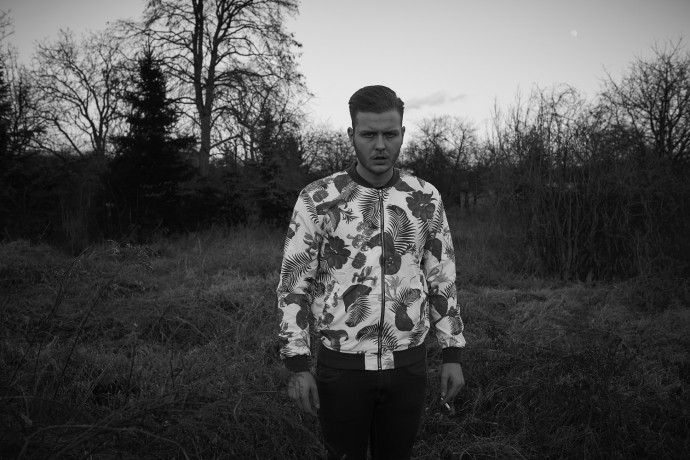

Once you’ve developed a feel for how modes work and how RGB-channel-based effects like Mix Channels and Grayscale work, you can start experimenting with various combinations. How much you experiment is up to you. We hope that you experiment more than enough to feel how “less is more” for these edits. Keep in mind that in all our examples above, we used layer opacities of 40 percent or even lower. What we’ve covered today is just the beginning, since you can for example work with all three color channels one after the other… and that right there is precisely the technique we’ll be showing you in our next article.
Eager to experiment with the Temporary Layer, but don’t have your testing laboratory yet? Test Zoner Studio for 7 days for free.