One-Minute Editing: Save Your Composition Using Cropping
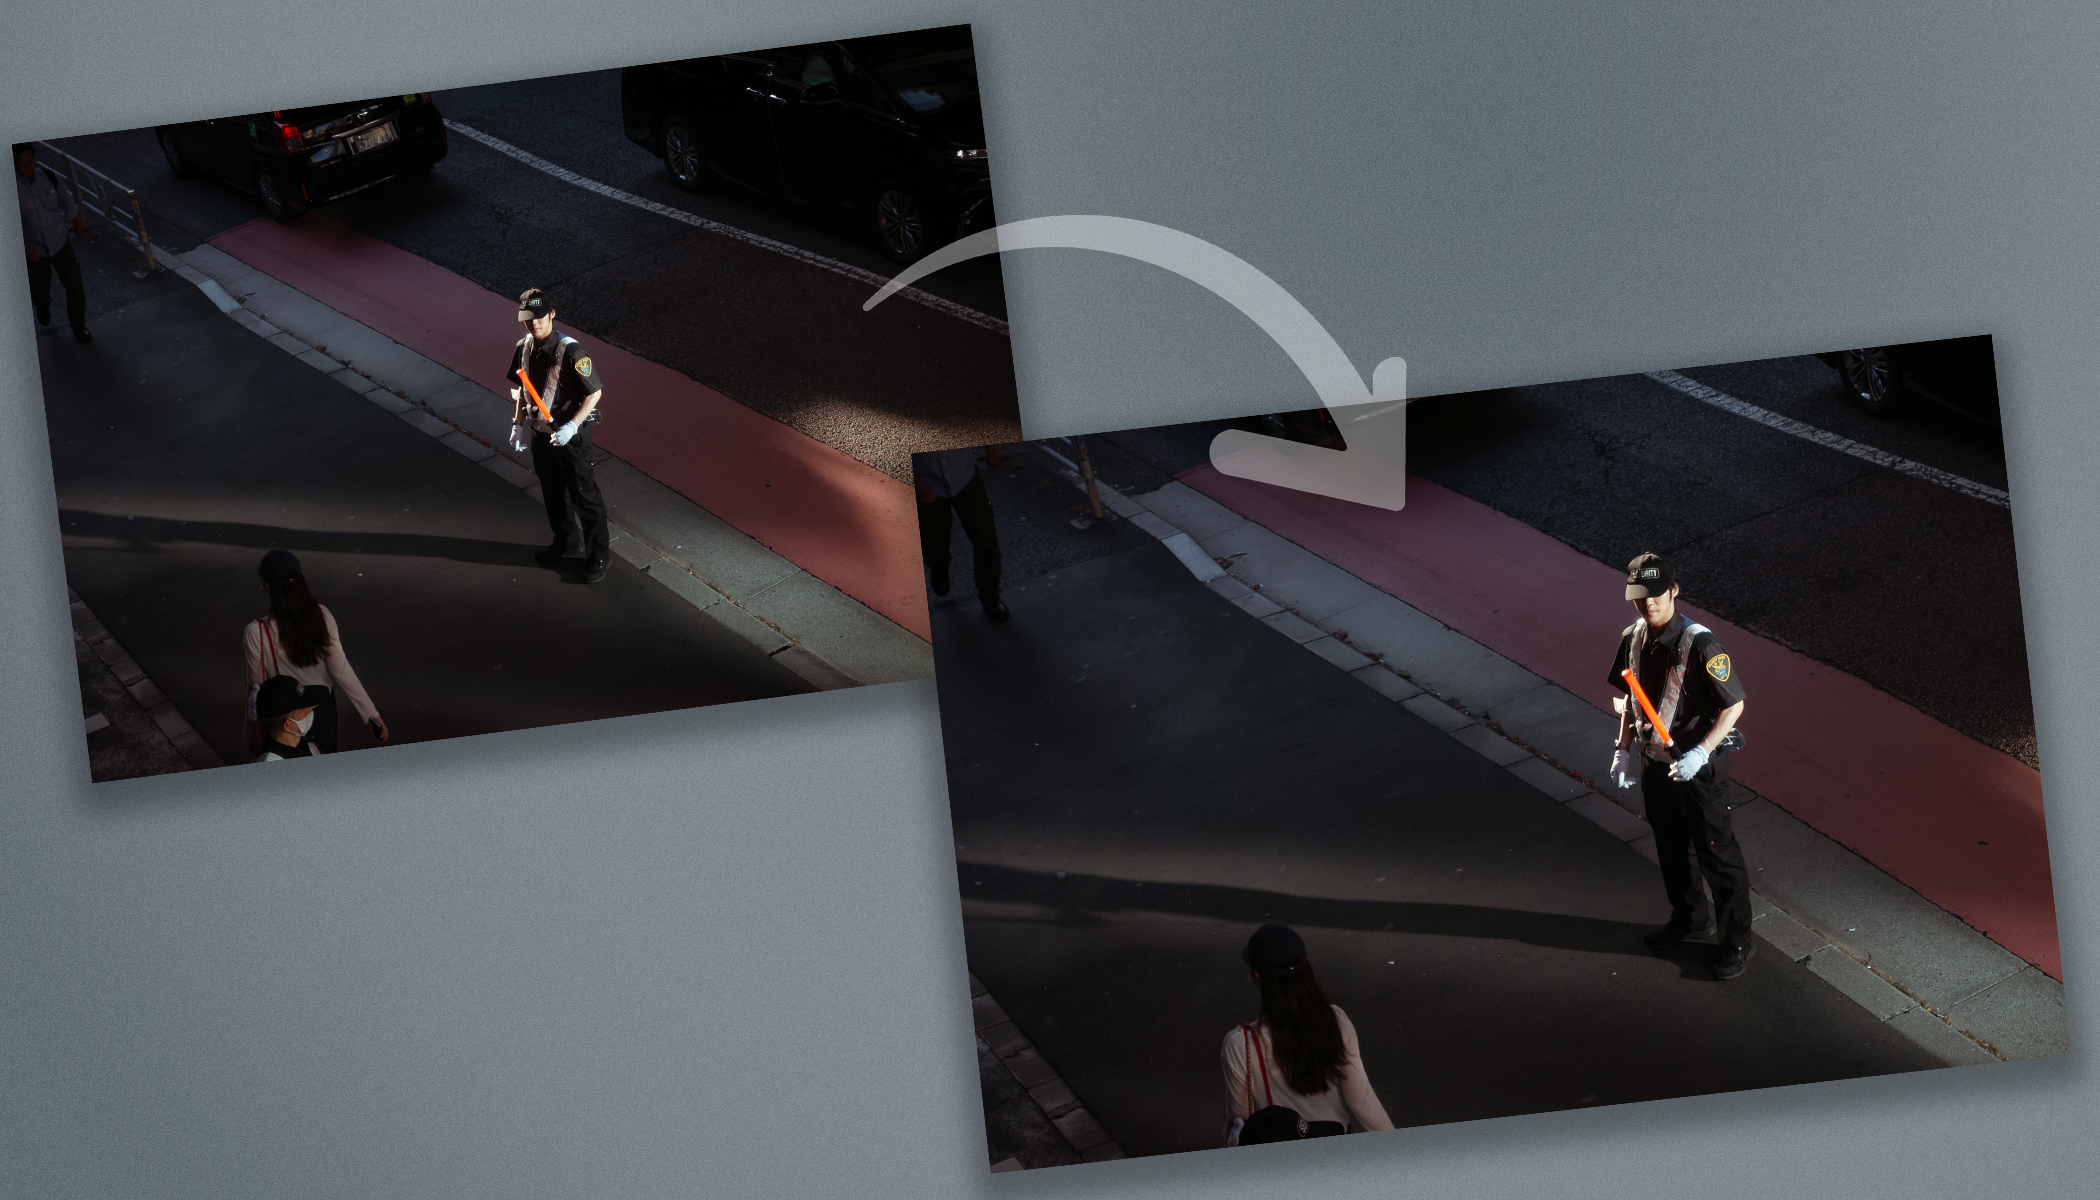
Your photo includes too much of its surroundings, the main subject is centered, or there are distracting objects around the edges of the frame. Often, a single adjustment is all it takes to make a photo look much better. See how you can crop your photos in Zoner Studio to improve them in just one minute.
Cropping is more than simply resizing a photo. It helps you position your main subject more effectively, remove distracting objects, and straighten the horizon. Crop marks make it easier to create a more natural, balanced composition.
Browse through the gallery below to see each step explained in detail, or read the information beneath the gallery. If you don’t have Zoner Studio yet, but want to try this adjustment yourself, download a free 7-day trial. This adjustment is simple enough even for complete beginners.


Improve your composition by cropping in Zoner Studio
1. Open Crop and Rotate
Open your photo in the Develop module and select Crop and Rotate. The quickest way is to use the keyboard shortcut C.
A crop frame and composition guidelines appear immediately to help you fine-tune your composition.
2. Choose Crop Marks
From the menu, choose the crop mark that best suits your photo. For example, you can use the Rule of Thirds, Golden Ratio, or Diagonals.
Don’t hesitate to switch between different crop marks. Each emphasizes different compositional relationships and can help you find the crop that looks most natural.
3. Remove distractions and adjust the composition
Move or resize the crop frame so your main subject aligns more naturally with the selected composition guideline. Don’t be afraid to get rid of any empty space or distracting objects at the edges of the frame.
If necessary, rotate the photo slightly to straighten the horizon. Even a subtle adjustment can significantly improve the overall look of your photograph.
4. Don’t be afraid to experiment
Cropping in the Develop module is non-destructive. Your original photo remains intact, so you can always go back and try a different crop or experiment with other crop marks.
It’s worth comparing several versions. You’ll often find that a small change in composition makes a surprisingly big difference.
Key takeaways
The right crop can dramatically improve your photo’s composition. Open Crop and Rotate (C) in the Develop module, choose the right crop mark, and adjust the crop to emphasize your subject while removing distractions.
Because cropping is non-destructive, you can come back later and experiment with different compositions without affecting your original photo.


Before and after composition adjustments.