Batch Photo Operations: Panoramas, Focus Stacking, and Removing Distractions
Sometimes one photo isn’t enough. Batch Operations in Zoner Studio allows you to combine multiple shots into a single image, whether it’s a panorama, focus stack, exposure bracketing, long exposure, animation, or removing moving objects.
Before we get into batch operations, let’s go over a few reminders for shooting and preparing your photos. Whether you’re shooting panoramas, focus stacking, exposure bracketing, or something else, I recommend setting your camera to manual mode. White balance, focus, and exposure must be consistent across all the photos you use to ensure the final result turns out properly.
Before you start editing, it’s a good idea to apply a lens profile to your photos. Wait until you’ve created the final result before applying further adjustments and retouching.
Where to find Batch Operations in Zoner Studio
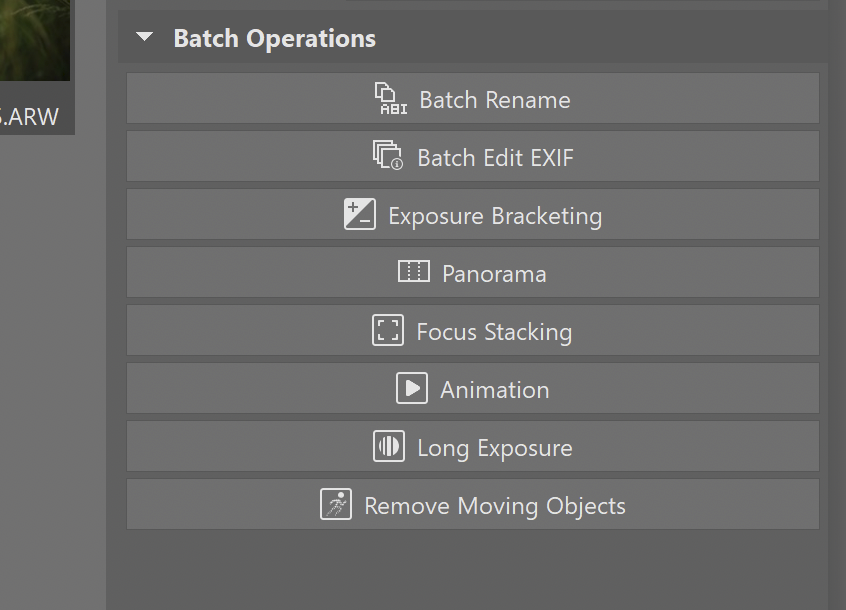
If you select multiple photos in the Manager module of Zoner Studio, the Batch Operations feature appears in the right panel.
Panoramas
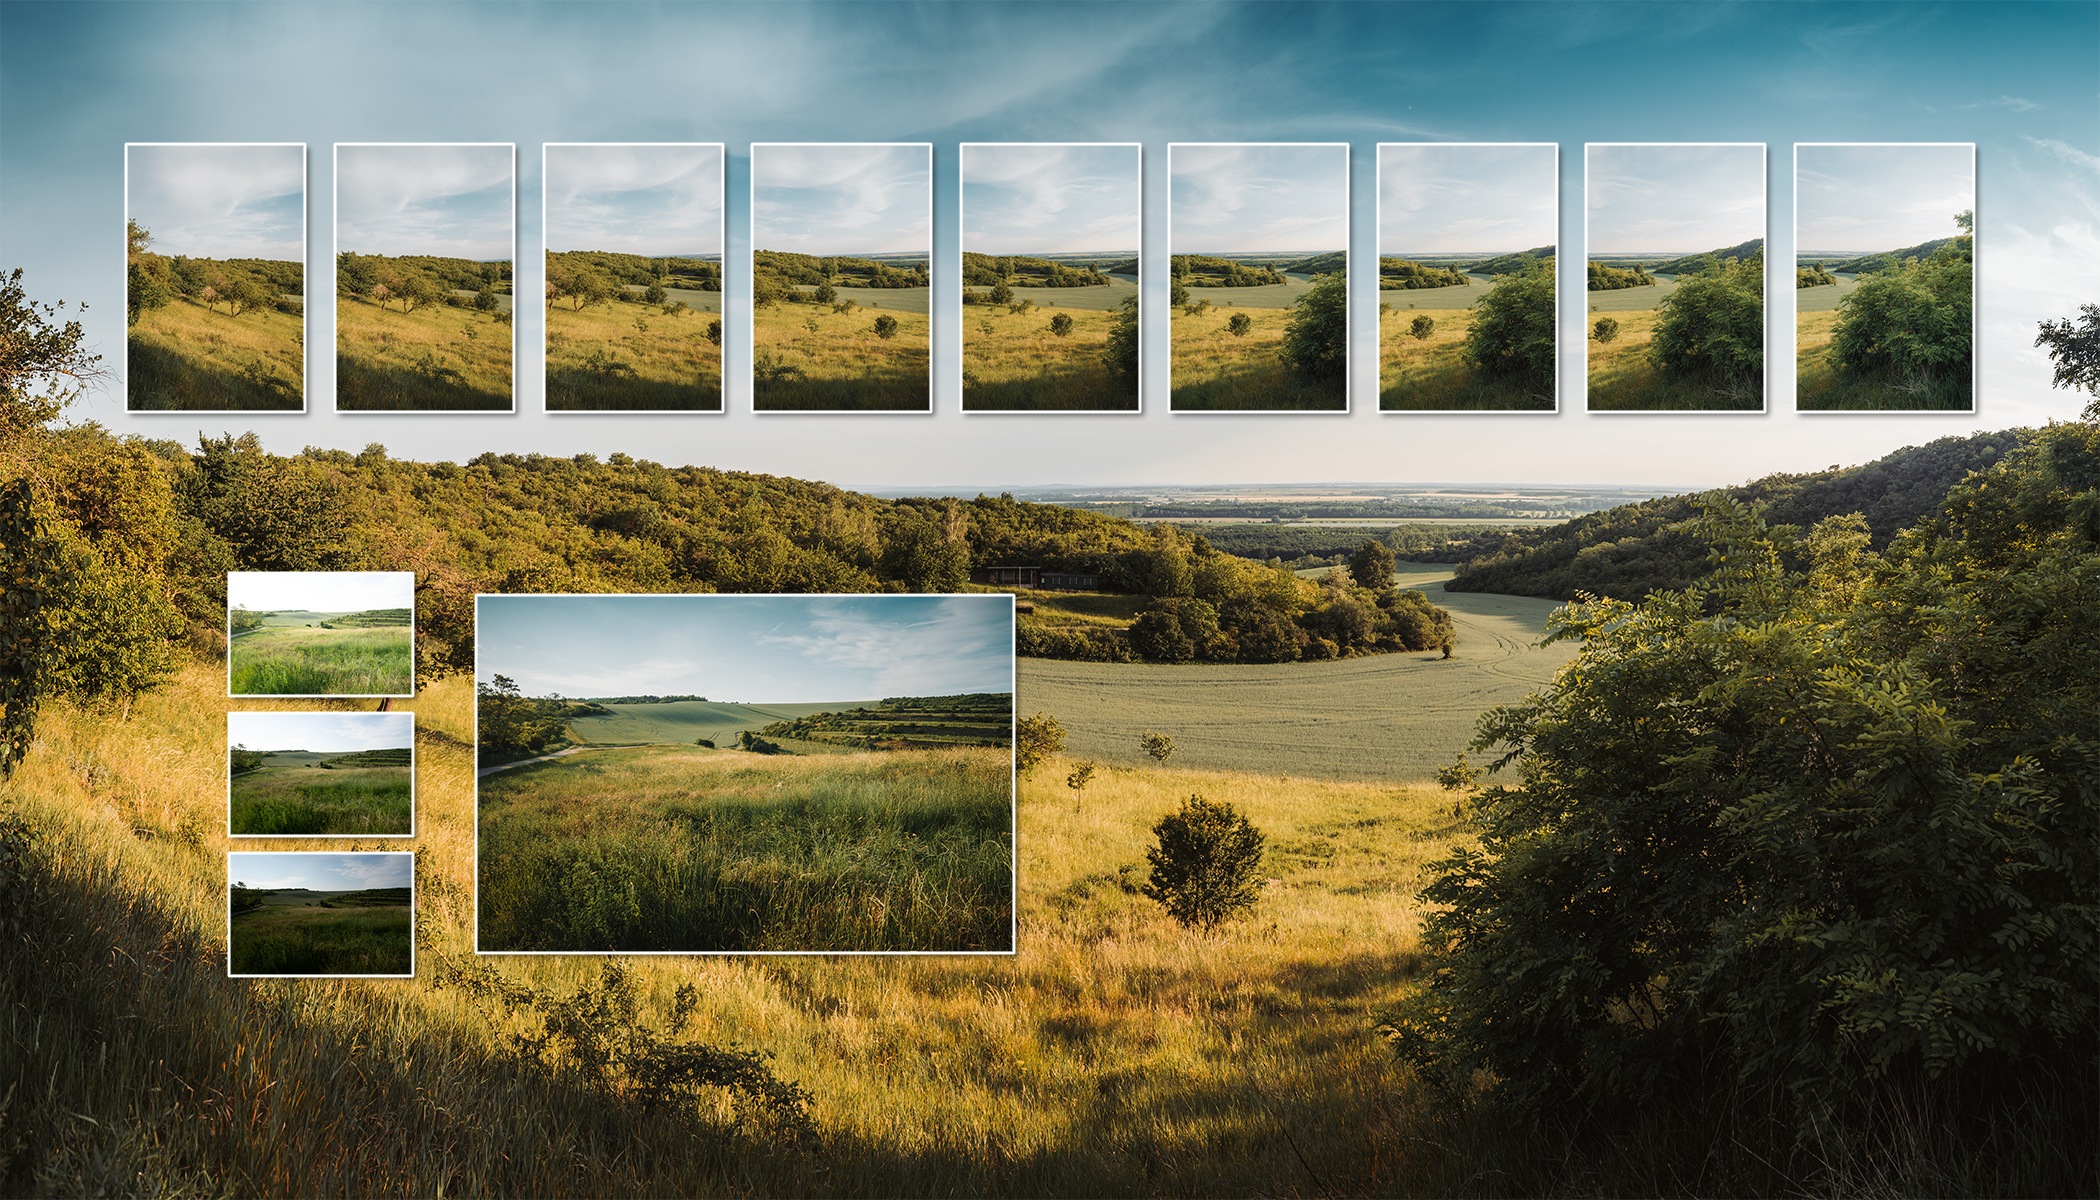
We completely redesigned the Panorama feature. Select the photos you want to stitch together and click Panorama in the right panel. Zoner Studio can even handle photos taken in multiple rows.

A window opens where you can choose from several methods. There is always some level of distortion when stitching together a panorama. For this reason, you have multiple options for assembling the final image. The panorama can be more rounded, which often looks more natural for landscapes, or it can have straighter edges, which is better suited for architecture photos. With several modes available, it’s a good idea to click through them one by one to see which works best for your image.

Focus stacking
Focus stacking involves taking several shots from a tripod while gradually adjusting the focus. For macro photography, this is often the only way to keep the entire subject in focus because even with a wide aperture, the depth of field is so shallow.
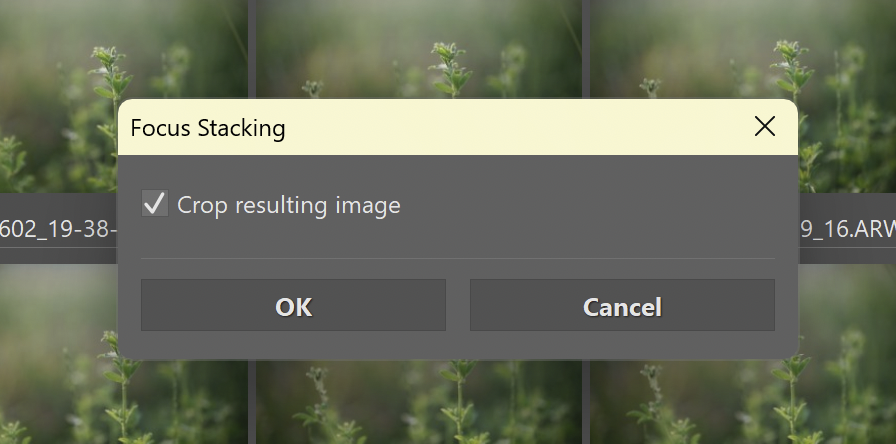
Select the photos and click Focus Stacking. Click OK to confirm, choose a location, and continue editing. With macro photos, some retouching might be required.
Exposure Bracketing
This feature used to be called HDR, but that term is now more commonly associated with HDR displays and editing with HDR monitors. Exposure Bracketing (often labeled BKT on cameras) involves taking three or more photos with different exposures. The photos are then merged into a single image with very high dynamic range. It’s useful when photographing sunsets or scenes with significant differences between highlights and shadows. For example, an interior with windows where you want to preserve detail both inside and outside without it being overexposed.
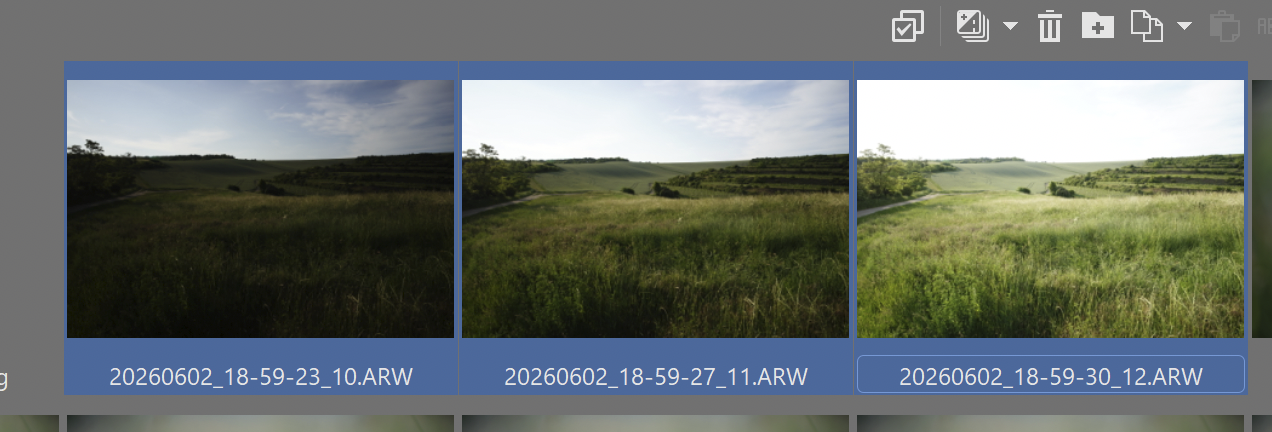
Select your photos and click the Exposure Bracketing icon in the right panel. Choose a method—Tone Mapping usually works best. Extended Dynamic Range is useful when you need to handle extreme differences between highlights and shadows.
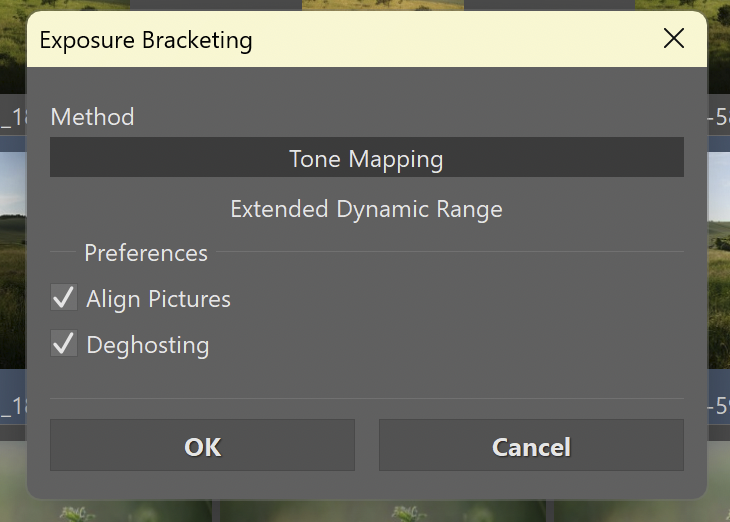
Click OK and choose a location. A new TIFF file is created containing the dynamic range of all the selected photos.
Animation
This feature is very simple—it creates a video from your photos. Select the photos and click Animation in the right panel. Choose the resolution and save the video. This is useful when shooting in burst mode and you have a sequence of photos that can be turned into a video, or when creating a time-lapse from images taken on a tripod.

Long Exposure
The Long Exposure feature comes in handy when you’re photographing a waterfall on a bright day and don’t have an ND filter or tripod, but still want to capture the motion of the water. Take several shots, and Zoner Studio blends them together, creating motion blur in moving areas, similar to what you would achieve with a long exposure on a tripod. The photos are automatically aligned, so you can shoot handheld without any issues.
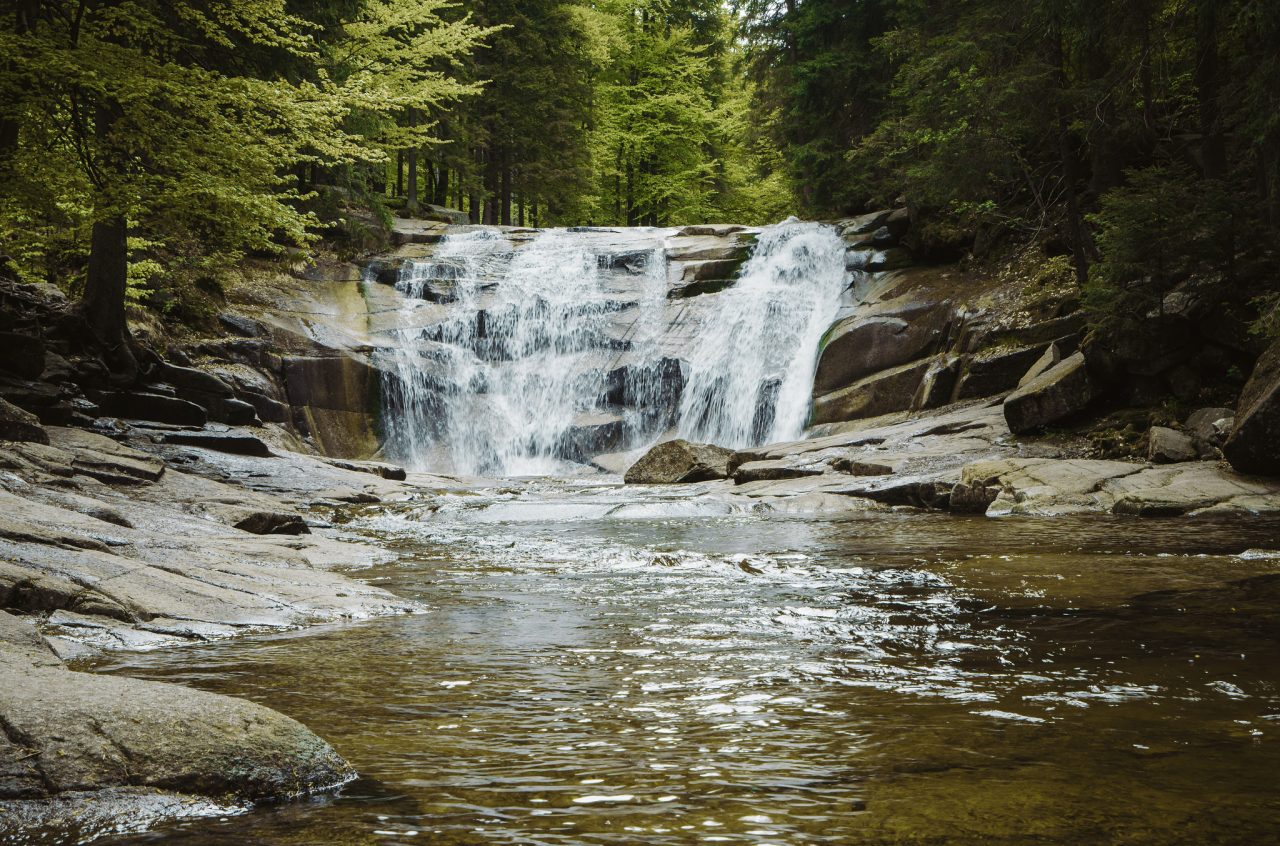
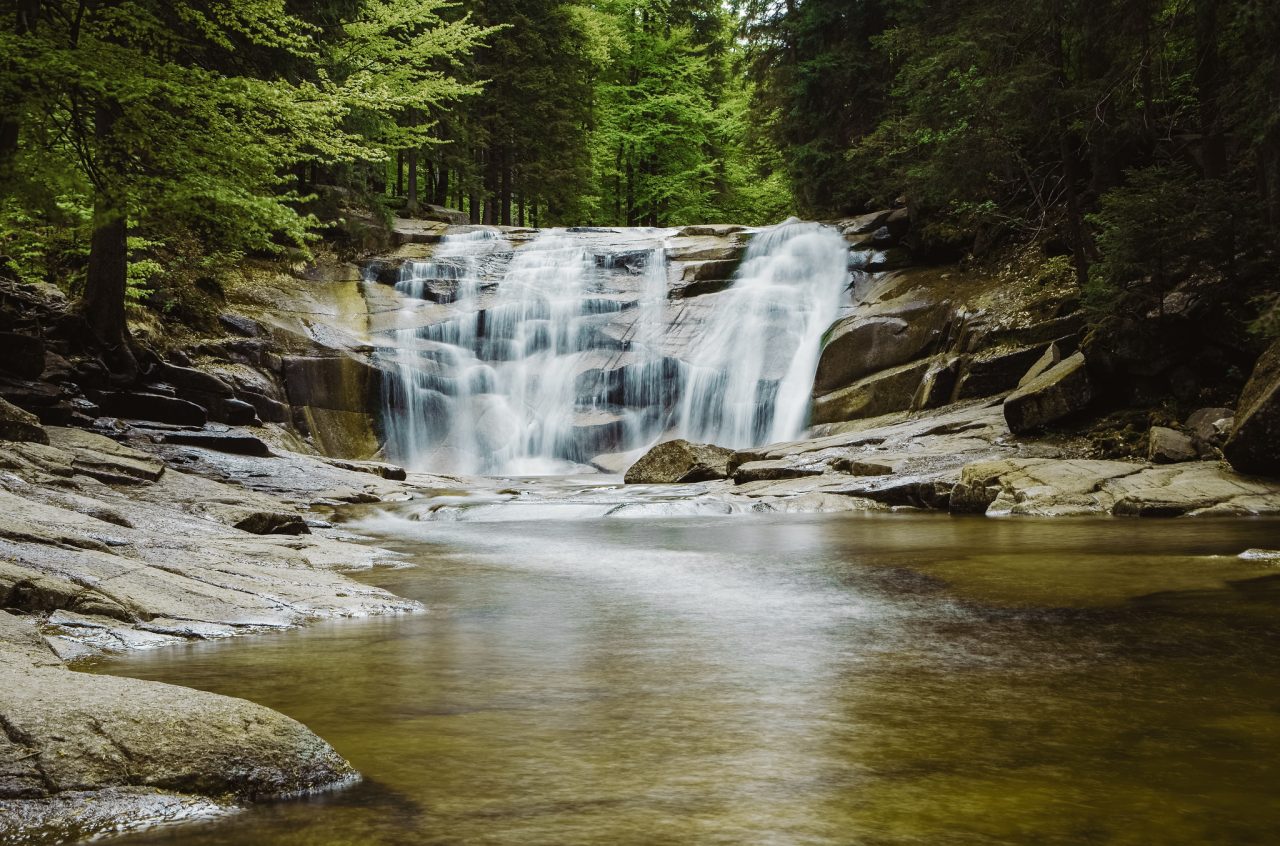
The difference between a single photo and a composite of 36 images. You can use fewer images, but the more you use, the less likely it is that any part of the water will remain in focus.
If you blend 20 or more photos, most people won’t be able to tell whether it’s a true long exposure or a composite image.
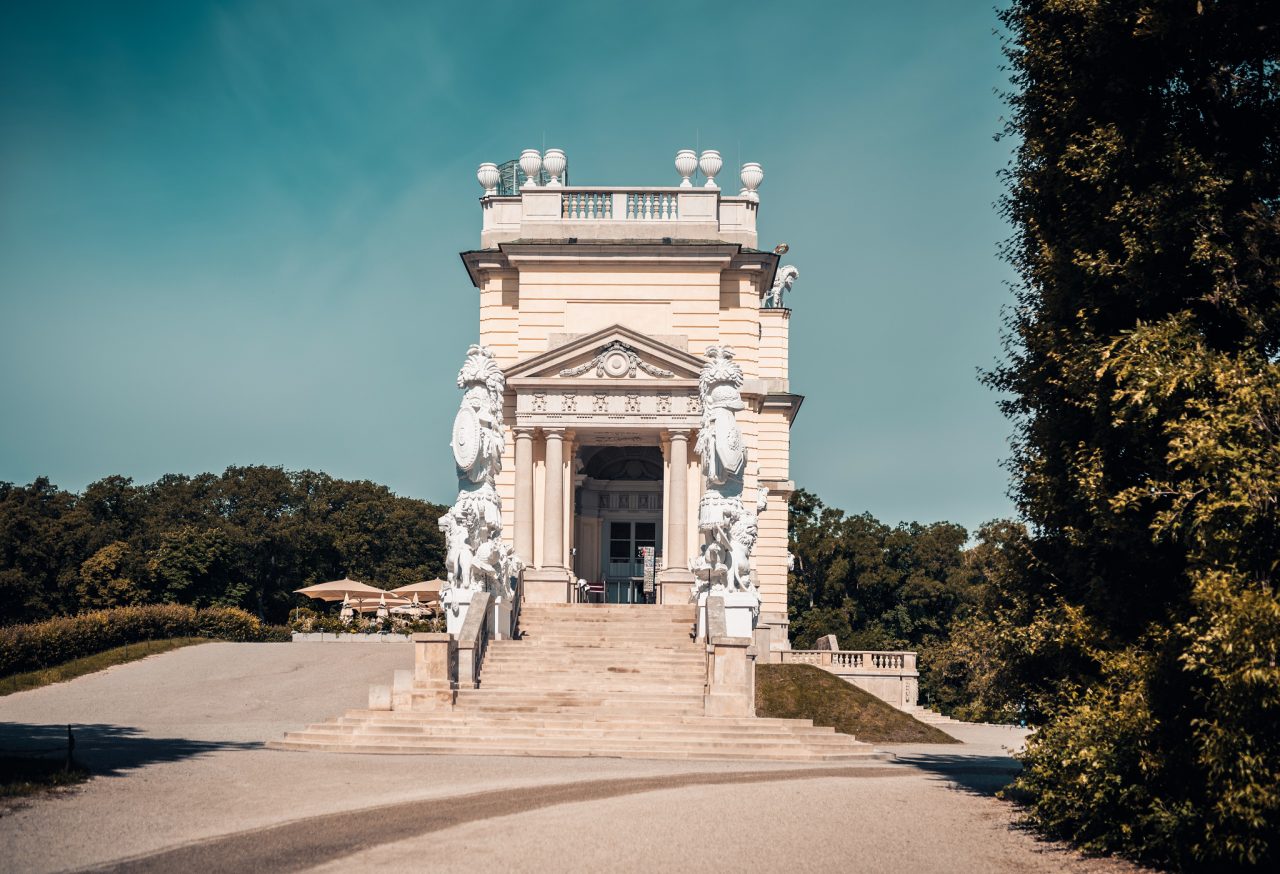
Removing moving objects
The Remove Moving Objects feature is extremely useful when photographing popular tourist destinations. You take several photos, let Zoner Studio automatically merge them, removing anything that was moving, particularly people.
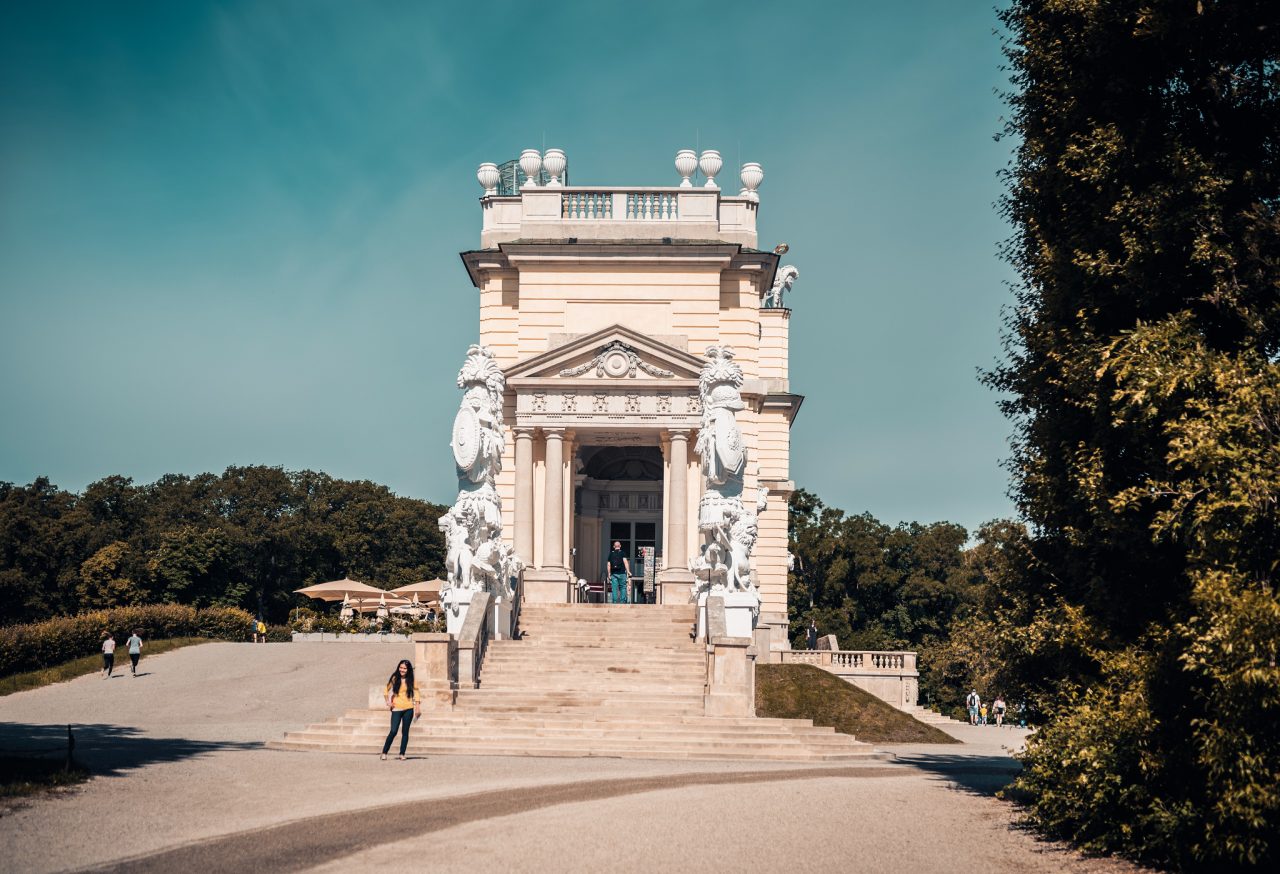
It’s important that the unwanted people in the scene are moving. If someone is standing in one place, taking photos just like you, they’ll still appear in the final image, even after merging. That’s when traditional retouching comes in handy.
Multiple tools in one place
Batch Operations in Zoner Studio provides a versatile set of tools for combining images. Whether you need to merge exposures for a high dynamic range photo, create a long exposure, focus stack, remove unwanted people, or create an animation, you can do it all in Zoner Studio with just a few clicks. Download Zoner Studio free for 7 days and try it for yourself.