Photographing Children in Low Light—Practical Tips for Sharp Photos
Photographing indoors or in low light can be a challenge—kids are always on the move, there isn’t enough light, and the photos often end up blurry. In this article, we show you how to photograph children with and without flash, how to set up your camera, and how to use light to get natural-looking photos.
In this article, you’ll learn:
- How to photograph children in low light.
- How to use natural (continuous) light indoors.
- How to use small light sources like flashlights or lamps.
- How to set up your camera so photos aren’t blurry.
- When it makes sense to use a high ISO and why you shouldn’t be afraid of it.
- How to work with built-in flash in different situations.
- How to combine flash and ambient light for a natural result.
The biggest challenge when photographing children isn’t technique itself, but the combination of movement and low light. The good news is that even in these conditions, you can capture sharp, atmospheric shots. You need to understand how to work with light, adjust your camera settings, and know when to use flash.
How to photograph children without flash (Continuous light)
Continuous light includes everything that shines constantly: daylight from a window, indoor lamps, or various light sources in a room. The advantage is clear—you photograph exactly what you see. On the other hand, the disadvantage is that you usually can’t increase its intensity very much.
If there isn’t enough light for the shoot, you can do one of two things. The first is to position the child against the light source itself. This creates silhouettes or dramatic backlighting which can result in striking, atmospheric images.

The second option is to add a small light source that highlights the most important parts of the scene. It doesn’t have to be anything elaborate. The more naturally the light fits into the situation, the better the photo looks.


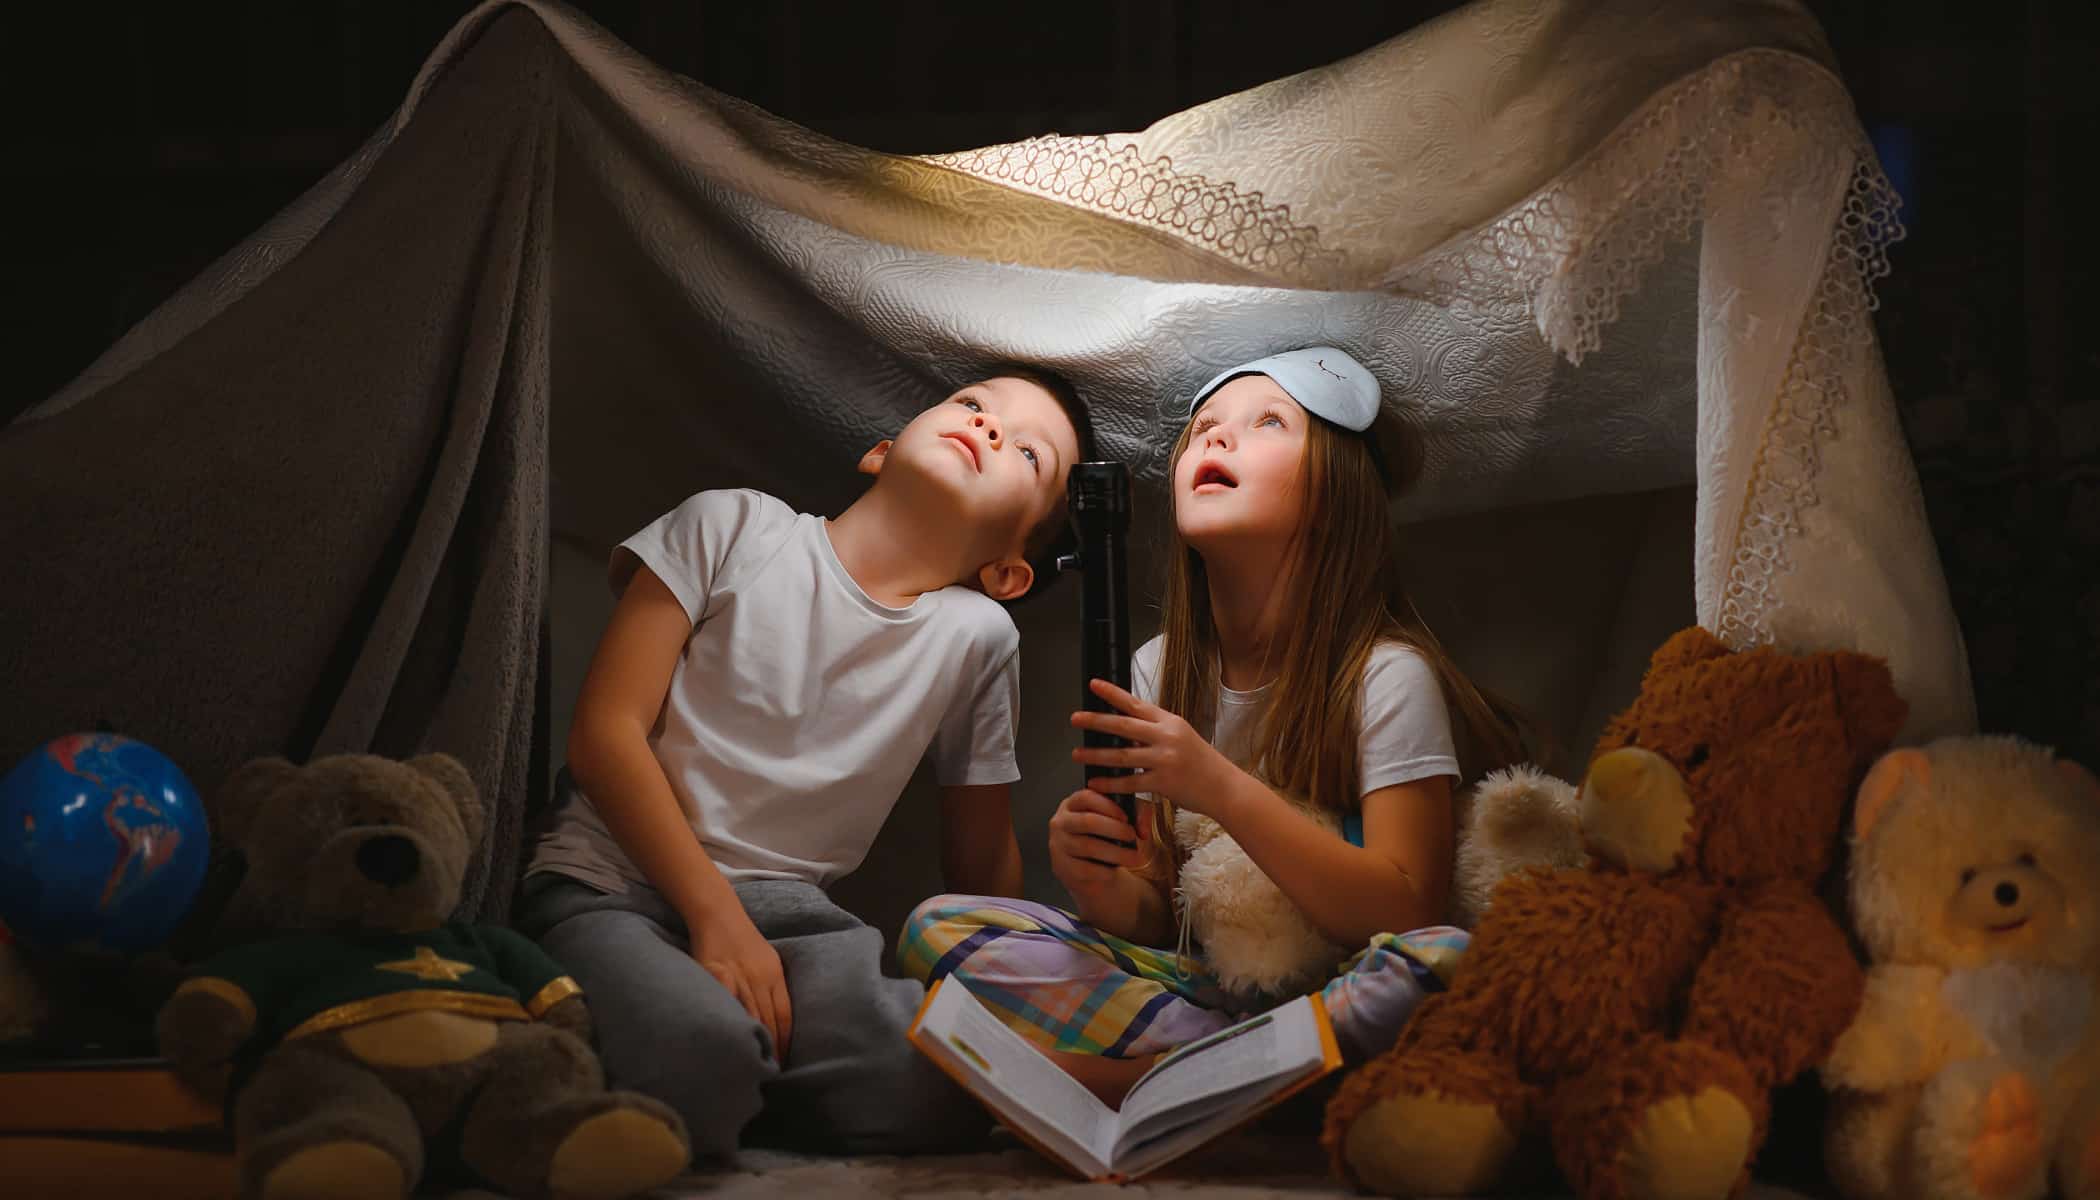
A simple flashlight in the child’s hand works very well. They can shine it on the floor or at an object, and you can use the light it creates. A lamp shaped like a book, a light hidden in a box the child is searching through, or any other small light source that makes sense in the scene can work just as well.

Camera settings for photographing children without flash
When it comes to camera settings, the most practical approach is to shoot in shutter priority mode. The biggest obstacle is motion blur. Children are constantly moving, and if the shutter speed is too slow, the photo will be blurry. Keep the shutter speed fast enough (1/160 s and faster) and accept that the ISO will increase. Modern cameras can handle higher ISO much better than before, and slight noise is far less of a problem than blurry photos.


TIP: Fast lenses aren’t always the solution. When you shoot at the widest possible aperture (lowest f-number), the depth of field becomes very shallow. Sometimes only one eye is in focus. And if there are multiple children, you have to choose which one to keep in focus.

Photographing children with flash
The second option is to use flash, typically an external flash mounted on the camera. This gives you more control over the light, but also requires a slightly different approach.
You usually find yourself in two situations.
The first is when you know exactly when something interesting will happen—for example, a child sitting at a table, building with blocks, or playing in one spot. In that case, you can position the flash so that it illuminates just that part of the scene.

TIP: A remote flash trigger can be a great solution when you need a stronger light, but you don’t want it to be direct. You can connect one or more external flashes to your camera.
The second situation is much more chaotic—a school event, children’s birthday party, or any large gathering where children move freely and you can’t control the scene. In these cases, the simplest solution is to bounce the flash off the ceiling or walls.

Reflected light is softer and more natural than direct flash, but there are a few things to keep in mind. Ceiling height plays a major role. If the ceiling is too high or dark, the light won’t bounce back. On the other hand, a very low ceiling can make the light too intense. The subject may be overexposed while the rest of the scene remains underexposed.
The color of the reflective surface matters too. Light takes on its color, so bouncing flash off a brightly colored wall will tint your photo the same way.
Camera settings for photographing children with flash
When using flash, you need to keep technical limits in mind. In most cases, the shutter speed can’t be faster than 1/160 s. Otherwise, a dark underexposed bank may appear in the image. (Editor’s note: The dark band is caused by your camera’s sync speed. Find out what your camera’s sync speed is and don’t use a faster shutter speed).
However, you can use slower shutter speeds. This opens up more room for more creativity. A slower shutter speed allows more ambient light into the scene. The resulting image doesn’t look like typical flash photography, but is more natural-looking.

A lot depends on the effect you want and how willing you are to experiment. Sometimes, a fast shutter speed that freezes movement is best. Other times, a slower shutter speed is more effective, letting the atmosphere of the scene come through.
FAQs
How can I photograph kids at home without flash?
Use natural light from a window or small light sources in the scene. Set a fast shutter speed and don’t be afraid to use a higher ISO.
What shutter speed should I use when photographing children indoors?
Ideally, at least 1/125 s or faster to minimize motion blur.
What ISO is usable for children’s photography?
Modern cameras can handle an ISO of 1,600–12,800. Slight noise is better than a blurry photo.
When should I use flash?
When there’s very little light, or you need to freeze motion. Bounce the light off a ceiling or wall for a more natural look.
How do you avoid harsh flash when photographing children?
Use light reflected off the ceiling or wall instead of direct flash.
How do you prevent photos from being blurry?
Use a fast shutter speed, hold the camera steady, and use flash if needed.
Is a faster lens better for photographing children?
A fast lens can help, but the shallow depth of field makes it harder to keep multiple children in focus.