Polaroid-Style Photos
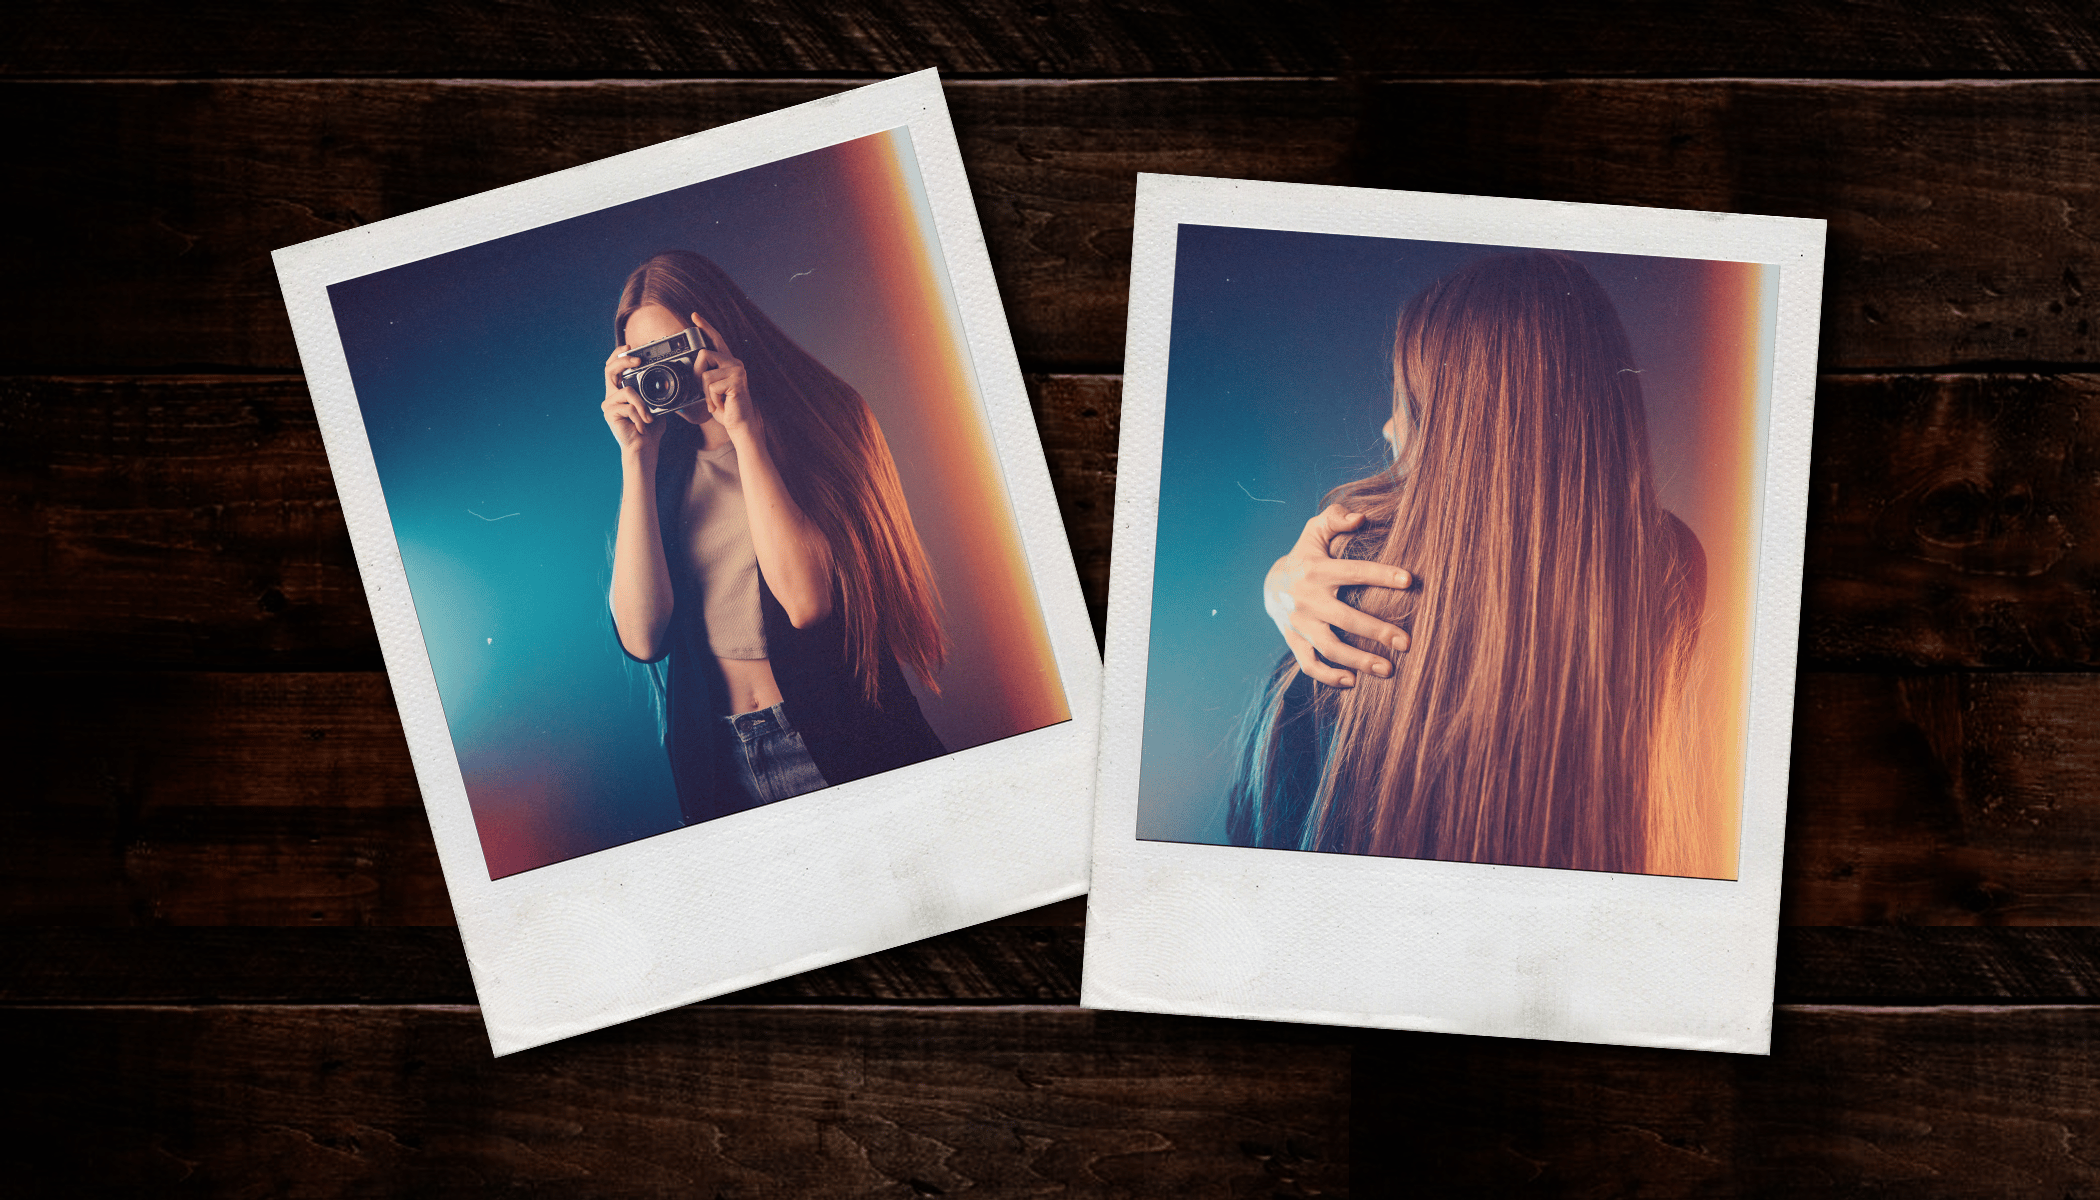
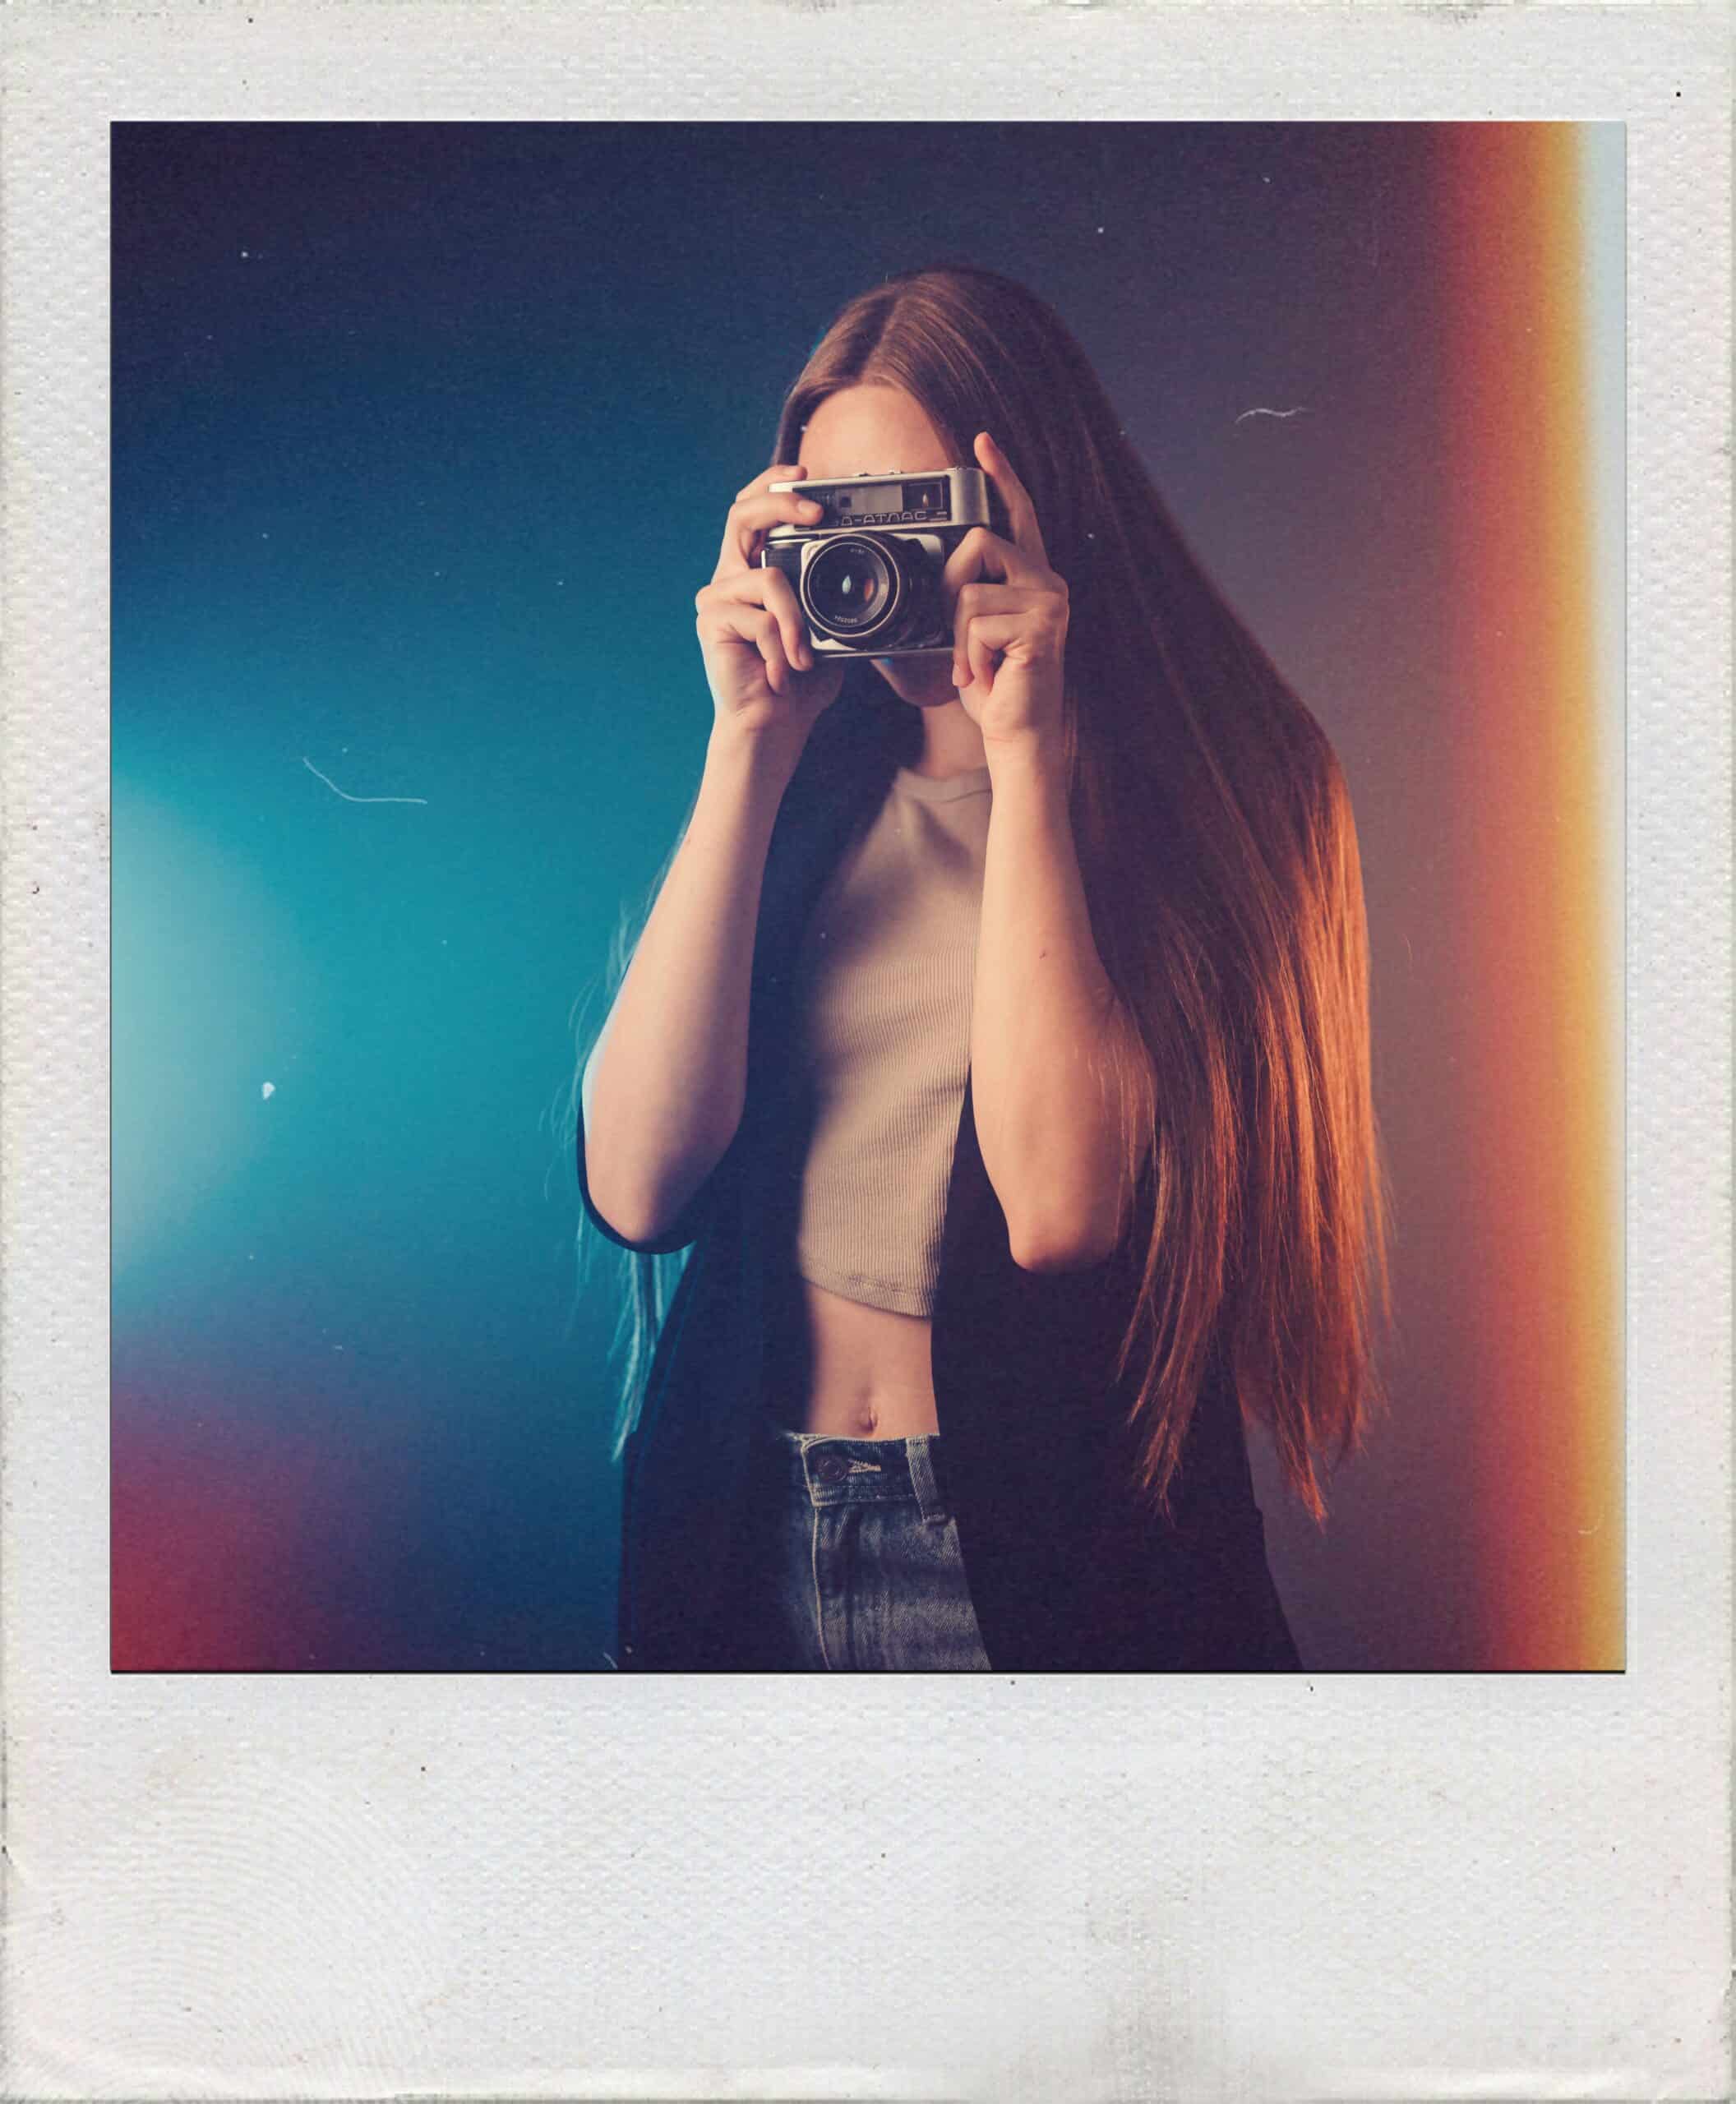
Polaroid photography has made its way around the world. Its unique white frame is recognized by practically everyone. The idea of getting a photo printed within minutes of exposure also adds to its appeal. We tried imitating the look of Polaroid photography and we have a filter and downloadable template that will do all the work for you!
Before we jump into the specifics of how it’s done, let’s take a look at Polaroid’s history. For those younger readers among us, Polaroid is an American company that specialized in the production of cameras and film of the same name. The distinguishing feature of Polaroid products was a new type of film known as instant film. After snapping a shot, a photograph approximately 9x11cm in size, was ejected from the camera.
The history of instant photography
- 1929 – Polaroid’s history began in 1929 when Edwin Land decided to solve an unsolvable problem – polarizing light without the use of a large crystal. He solved the problem and patented the first polarizing filter. Five years later, Land started mass producing polarizing sheets, primarily for Kodak, which used it for their camera filters. In the same year, Polaroid glasses were introduced that limited the amount of glare in glasses. In 1937, Land officially founded the Polaroid corporation.
- 1944 – The company’s first dabbling in instant photography dates all the way back to 1944 when Edwin Land’s daughter asked why photos couldn’t be seen right away. By doing so, she planted a seed in Land’s head that gradually grew until it developed into the introduction of instant photography in 1947.
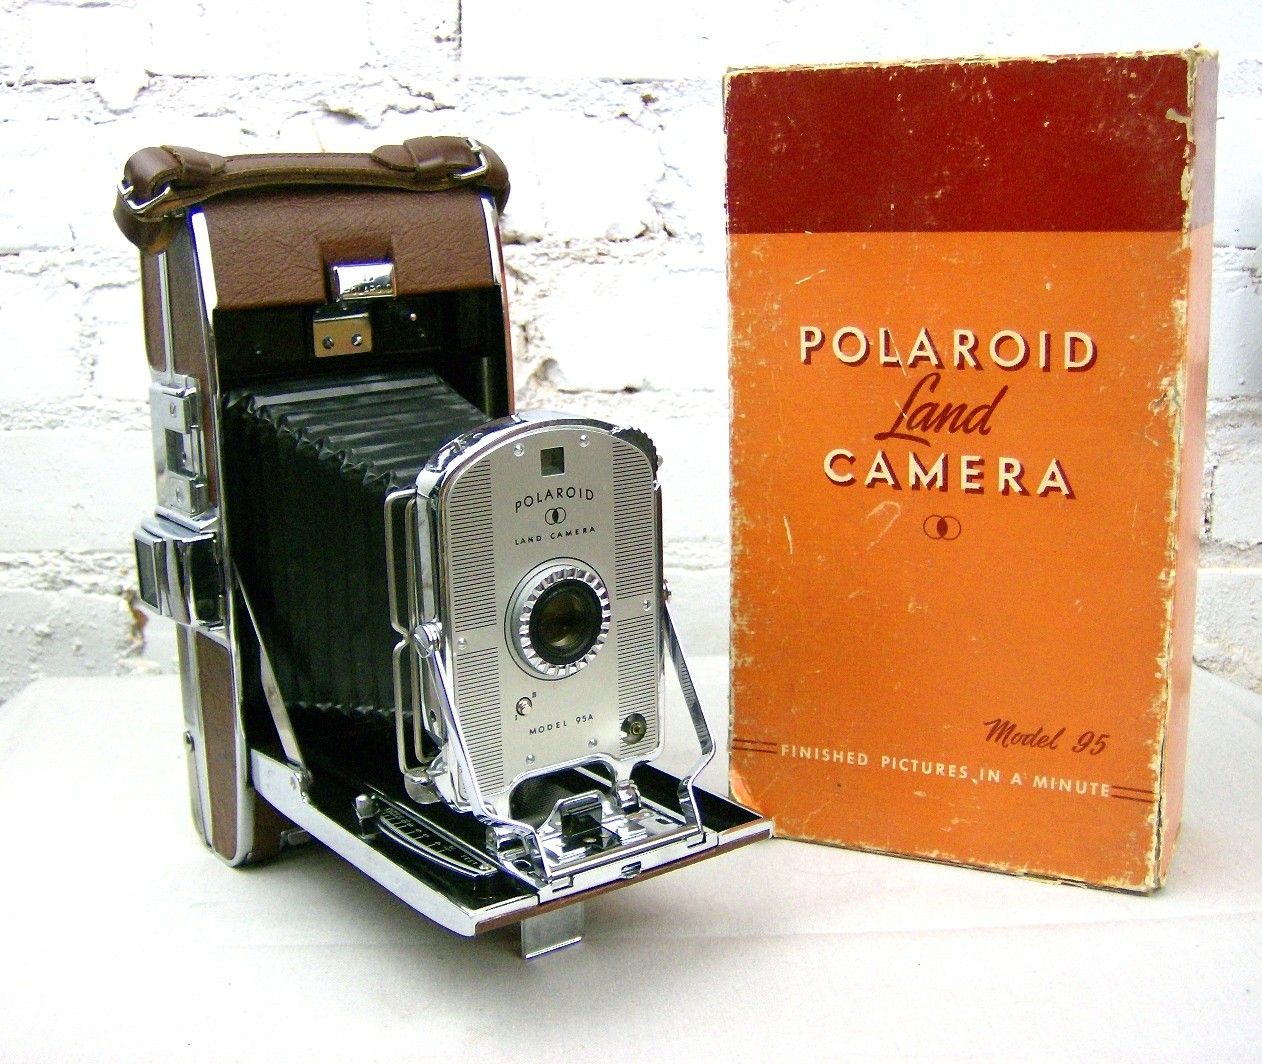
- 1948 – The first camera with instant photography technology was introduced and was sold under the name Polaroid Model 95.
From this point on, the development and popularity of instant photography was on the rise.
- 1960 – A major change occurred in 1960 when Polaroid expanded to Canada and Europe, eventually introducing the Model 900 camera, which could automatically determine exposure.
- 1963 – Over 5 million cameras were produced and for the first time, color film hit store shelves. From the start of production, Polaroid labeled its film with numbers. The first was Type 40 and the first color film was Type 108.
- 1967 – During the second half of the 1960s, several cameras were introduced as part of the Automatic 100 series. And for the first time, type 51 film with dimensions of 4x5in was sold.
The instant camera
- 1970 – Polaroid went through a period of development, the end of which saw the introduction of one of the most popular cameras in history, the Polaroid SX-70
- 1972 – The SX-70 folding model was first introduced to the public in 1972 by Sir Lawrence Olivier and was sold in Florida. In just a short time, the camera became the subject of interest to many media outlets and photographers, because it was foldable with simple operation that instantly provided finished photographs. The camera had a 116mm focal length lens with an f/8 aperture that could focus from 26cm. The shutter speed ranged from 1/175s to over 10s. Accessories were also sold with the camera, including flash, close-up lenses, and others.
- 1980 – The new 600 Series was introduced, mainly geared toward amateur users that wanted to produce photos without lengthy camera setup. Cameras in this series were part of the “point and shoot” group of models, primarily made from plastic.
- 1986 – The Spectra series was launched. From this point until the end of the millennium, a variety of models were made in three series. The SX-70 and the 600 Series had the same dimensions (79x79mm) with the classic white frame around the picture.
- 2008 – At the end of 2008, Polaroid halts production for both cameras and film.
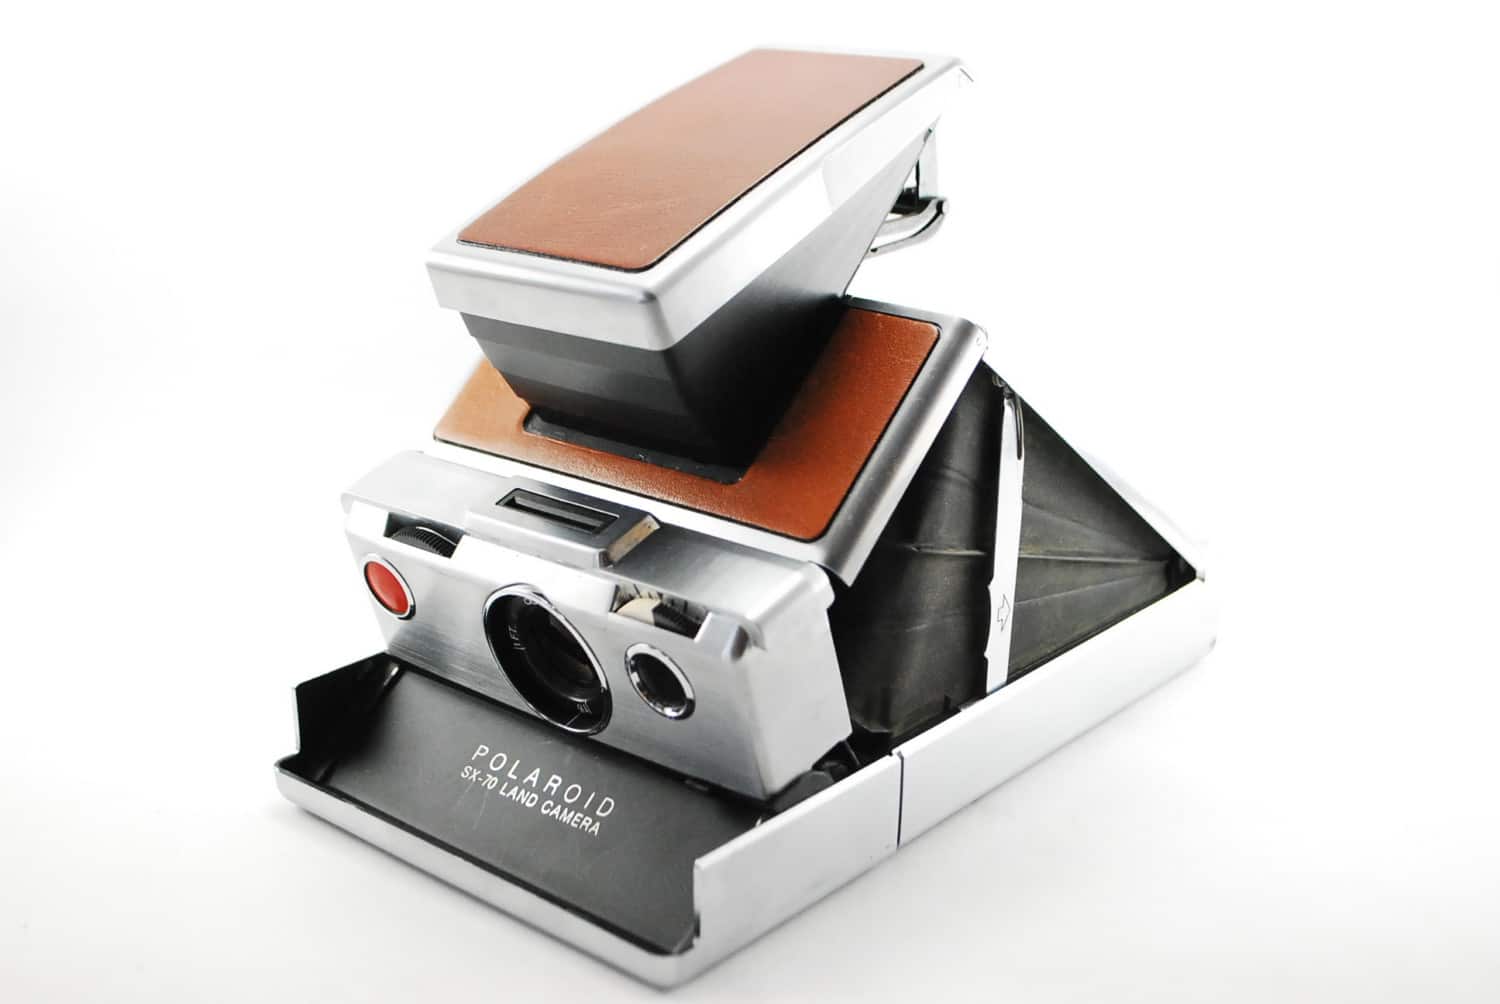
Polaroid SX-70
Polaroid in the hands of professionals
Instant photography was a phenomenon of its time not only for the ability to instantly view images, but later for its relatively affordable devices and ease of use. The user didn’t have to know much about photography and could immediately hold a photograph in their hands. The fact that there was no need to send images to be developed in a photo lab was also a major contributor to its popularity. This allowed for freedom in developing photography, especially during the sexual revolution of the 1960s.
Walker Evans, the famous American photographer that documented the Great Depression was among the first photographers to use Polaroids as a professional tool (not just for checking the scene). Lucas Samaras also used Polaroids. This Greek-born artist started as a sculptor and later added other disciplines, including photography. Andy Warhol, the most famous pop art artist whose art also spanned many disciplines, was a Polaroid user. One of the very first users of Polaroid cameras was Ansel Adams, the American photographer known for creating the zone system.
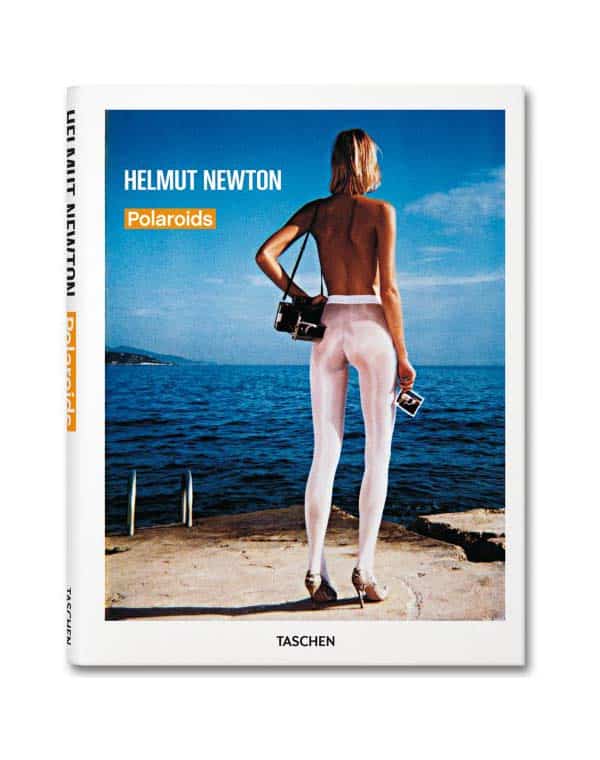
The Italian designer Carlo Mollino used Polaroids to capture the clandestine prostitution scene in Turin, Italy. Over 2000 Polaroid photographs were discovered after his death. However, Polaroid photography was probably made most famous by Helmut Newton, who at one time made the Polaroid his main camera.
Iconic color
Several features make Polaroid photographs unique. One is the white frame around the picture. The other is the image’s color. The photographs are more saturated than normal and usually have warmer colors slightly tending to a yellow tint. Contrast is generally lower and images appear to have a sort of milky veil. Shaking the picture to make it dry faster also had a fairly significant effect on the final picture, so the final photos could be influenced in various ways.
Get the Polaroid look with Zoner Studio
We’ve created a batch filter that can easily be used to simulate the look of a Polaroid photograph. Just apply a square format to your image and the result will look like a Polaroid including the right dimensions. First, download the filter and template to your computer.
- Open the template in Zoner Studio. It is a .Zoner Studio file containing several layers.
- Switch to the Editor module. Individual layers are named so that their contents are clear. You can turn them off if necessary.
- Start the editing process by adding your own photo to the template.
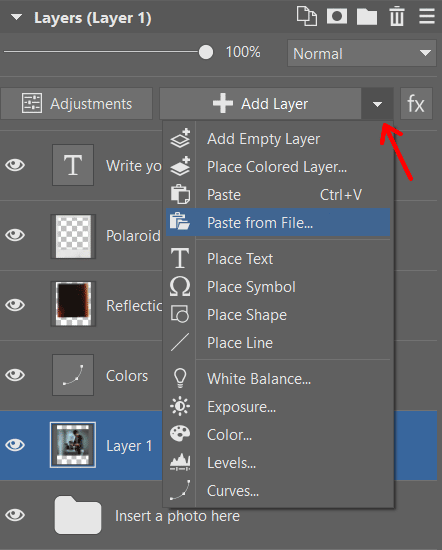
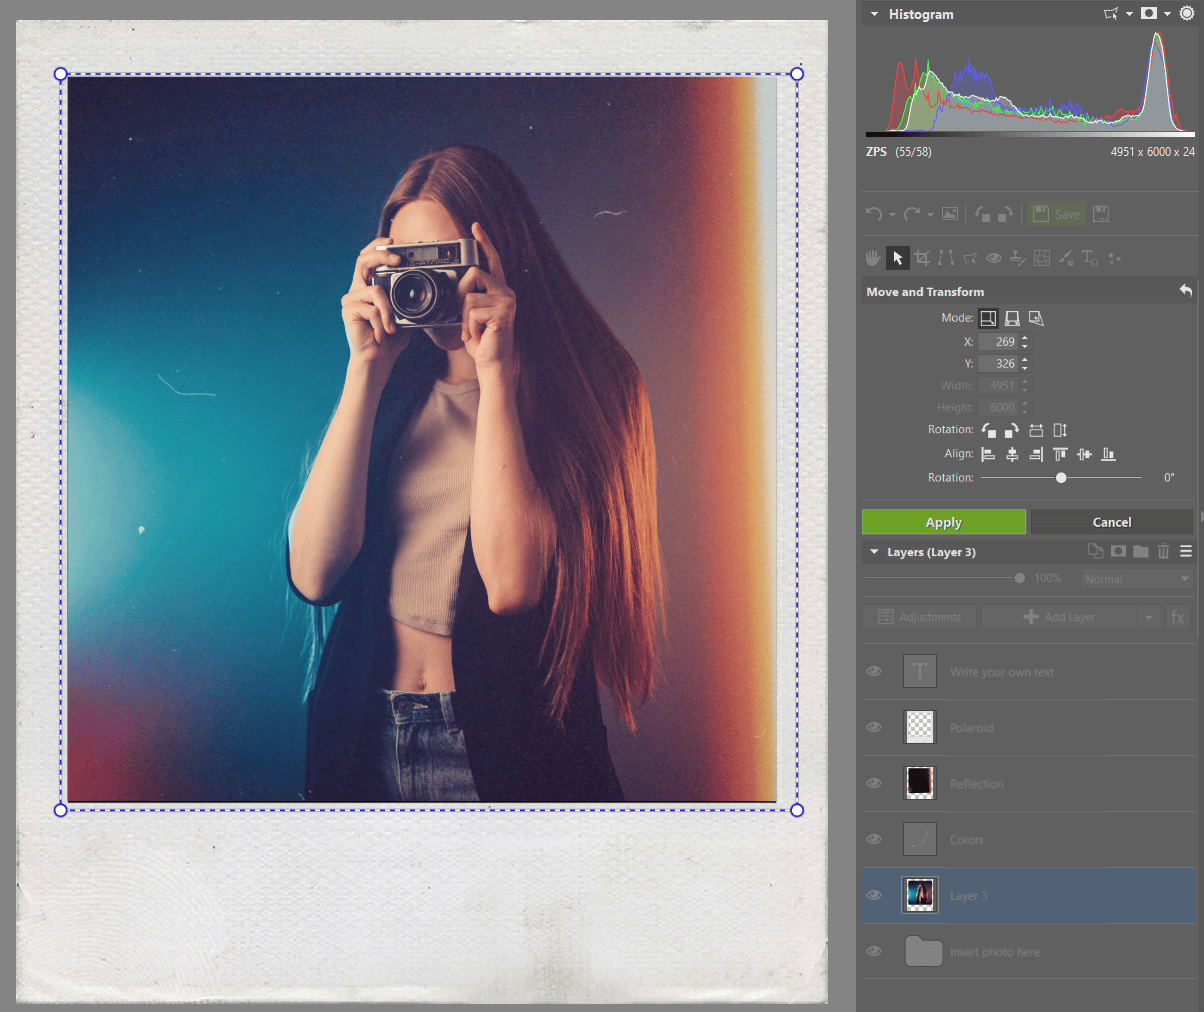
- Click on the layer named Insert photo here and use the arrow next to the + Add Layer button and select Paste from File.
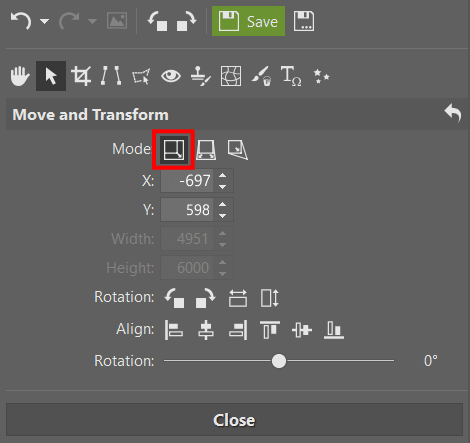
- Move the photo so it fits in the frame. Photo sizes and aspect ratios vary, and the template may not automatically fit all photos. After pasting your photo, the Move and Transform function automatically opens. Move or resize your photo to fit the frame. Just make sure the first mode, Resize, is enabled.
- Finally, test if the color adjustment and glare layer work for your photo or activate an invisible layer with text. Keep in mind that in addition to hiding a layer you can also lower a layer’s intensity. So, if the colors seem like they’ve been edited too much, or the glare is too pronounced, lower Layer Opacity.
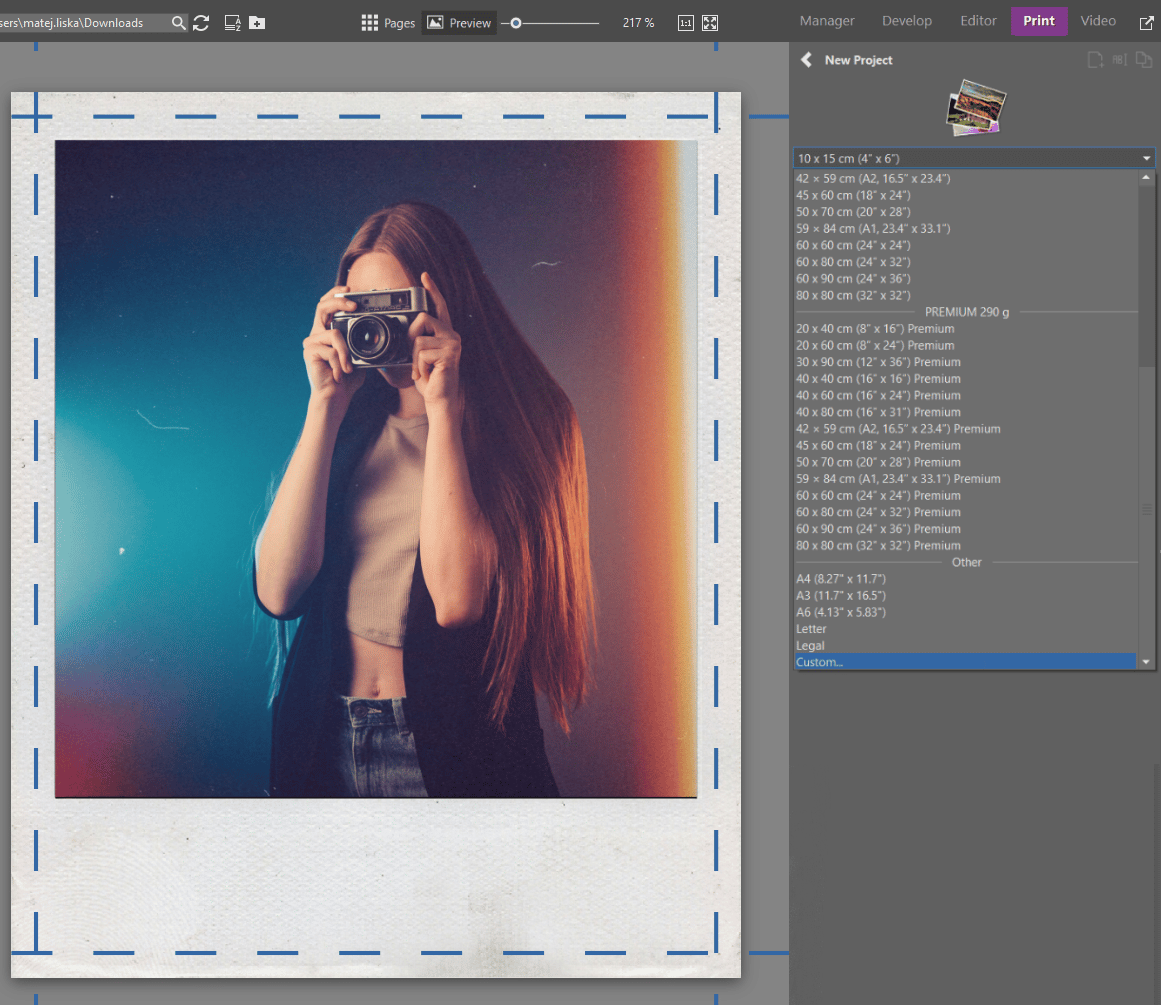
- You can now print the photo as is or order prints. After switching to the Print module, select Print Photos. If you’d like the exact dimensions of a classic Polaroid, select Custom format and enter 108x89mm. Or, choose another size format that suits you. If you choose from one of the standard formats, you can add the photos to your cart and purchase directly in Zoner Studio.

