Presets: The Faster Way to Edit Photos
Exposure, contrast, black point, noise, sharpness, vignetting… there’s no shortage of things you can adjust in typical photo software. But sometimes you don’t have the time or aren’t in the mood to work with them one by one. Fortunately there are simpler ways to edit your photos too. For example, the settings called “Presets.” Try them and you’ll finish your edits in seconds.
Presets are pre-configured adjustments to pictures’ settings. Use them to edit photos quickly and easily. You’ll find them in the Develop module of Zoner Studio under the “sliders” icon next to automatic enhancements. They’re divided up into several categories:
- Auto-enhancement,
- Color,
- Black and white,
- Components,
- Tool actions,
- Old presets,
- and Custom.

Try Auto-enhancement for Quick Photo Fixes
The first preset category is Automatic enhancement. It works with the exposure tools only, and it picks tools and intensities that should work well with the given picture.
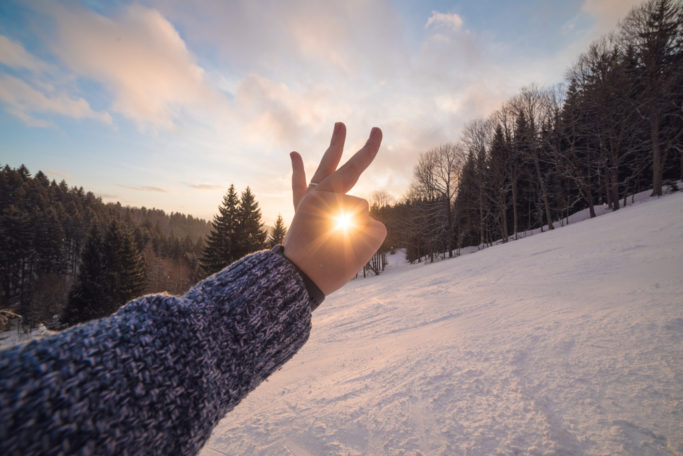
When you’re working with this category, try Full automatic first. Then if that doesn’t do the trick, try some more specific mode aimed at the given type of photo. In this example here, the Landscape setting will work best. It draws structure out of shadows, suppresses lights, and highlights details using the Clarity slider.

However, even with this more customized auto-enhancement, you’ll still want to finalize things yourself.
Easy Fine-tuning for Colors
After that quick exposure adjustment, continue on to colors. The Color and Black-and-white presets will help you with this. They adjust the settings in the Colors group, as well as individual curves.
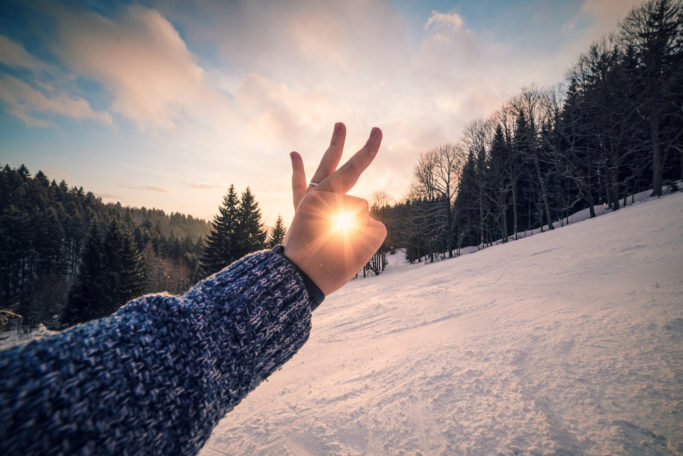
Here again it’s best to try out individual presets and choose one that will please you and suit the photo. After that you can fine-tune specific settings however you need.

You can apply the same approach in the Black-and-white category as well. So if you want a black-and-white photo, here again it pays to try out the different options, use the one that’s most suitable for you, and then fine-tune things.
For Specific Edits, Use Components
The Components presets always use only the tools listed in their names. Among them you’ll find things like sharpening and noise reduction. They are set up to speed up your work or show you some universally used values for a given edit.
Unlike the previous categories, you can combine them in various ways with other presets. You can then save the resulting combination to your Custom Presets and can return to it at any time.

Make Local Edits More Easily
Tool Actions make it easier for you to edit just part of a picture using the Filter Brush or the Gradient Filter. You’ll especially appreciate it for portraits and landscapes, but it comes in handy for other types of photos as well.
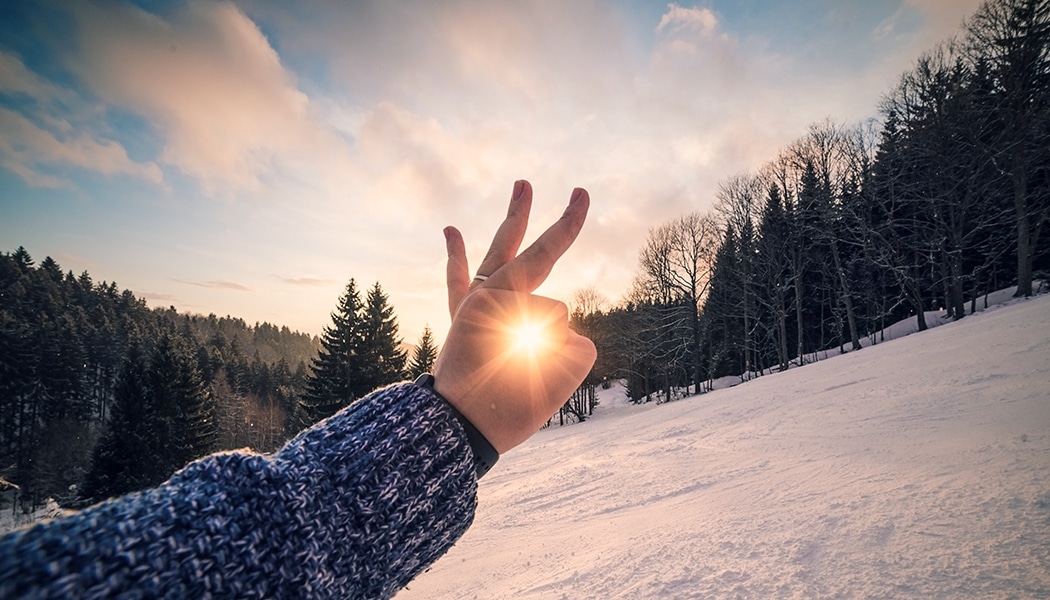
For example, this photo will look better if I add a gradient filter to darken the sky.

Old Presets
Similar presets were also in older versions of Zoner Studio. However, they worked slightly differently. If you prefer to keep using them, you can now find them in the Old Presets folder. So you can apply your classic favorite effects to your pictures at any time.
Easier Editing Using Custom Presets
The last category—a very important one—is Custom. You can add your own custom presets to this category. And you can come back to them at any time without having to set them up again.
Just:
- Set the parameters for the tools you want to work with (feel free to use Presets for that, and then fine-tune things as needed).
- Click on Save Settings (Ctrl+S).
- And name the preset.

The next time, you just need to open your presets and choose the preset you saved. Then just fix anything that’s not quite right and continue on to the next photo.
Presets are a simple way to edit photos faster. Especially when you use the same steps often. You’ll be able to handle even demanding edits in just a few clicks. Just download Zoner Studio, install it, and get to work—you can try it free for 7 days. And you’ll see how quick and simple photo editing can be.