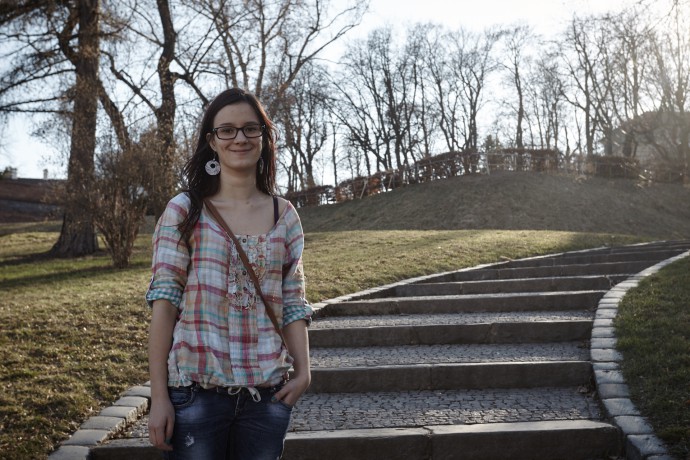
Take Better Family Photos

Every family has their photos, the ones that capture exceptional moments—times of joy and pain. How should you approach this kind of photograph? What are the things to avoid and rules to respect? To learn all this and a little more too, read today’s article.
While pro photographers publicly release photos to earn renown, the photos in family albums are aimed at a different audience: family and friends. Thus there’s no need for poses that please the public.
Be Natural
For family photos let your subject know: “be yourself—today, you can!” This gives a better photo than any picked pose. It gives the picture a new dimension. After all, the photos were taken for your family, and they’ll definitely know what they mean. These photos will help your family remember special moments and recall past times of joy. Meanwhile, family photos also don’t even need retouching—or more precisely there’s no reason for it.
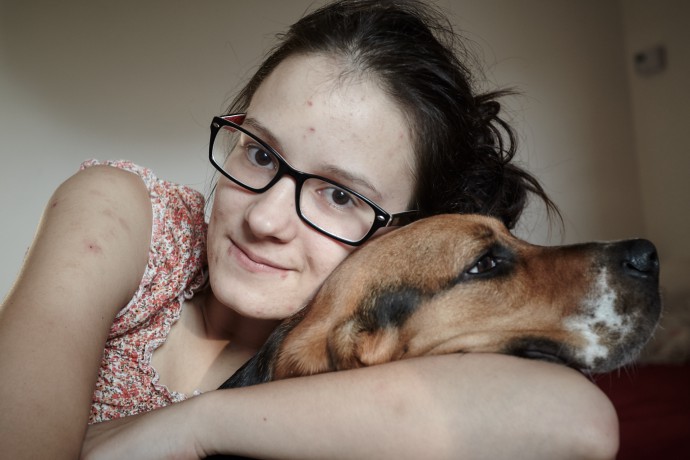
Photographing the Photographer
The authors of family photos are usually missing from their own pictures. That’s why it’s good to train an in-family partner in photography’s basics, so that you can be in at least some family photos. Don’t worry—anyone can learn the basics of composition.
Now let’s take a look at what to keep in mind while pressing the trigger, as well as how to pick and edit photos for a family album.

Composition and Guidelines
Even though family photos aren’t presented to the whole world, they still should follow some basic rules. Remember and observe the rules of composition. Fine-tune the colors, straighten the lines… family photos are worth this much.
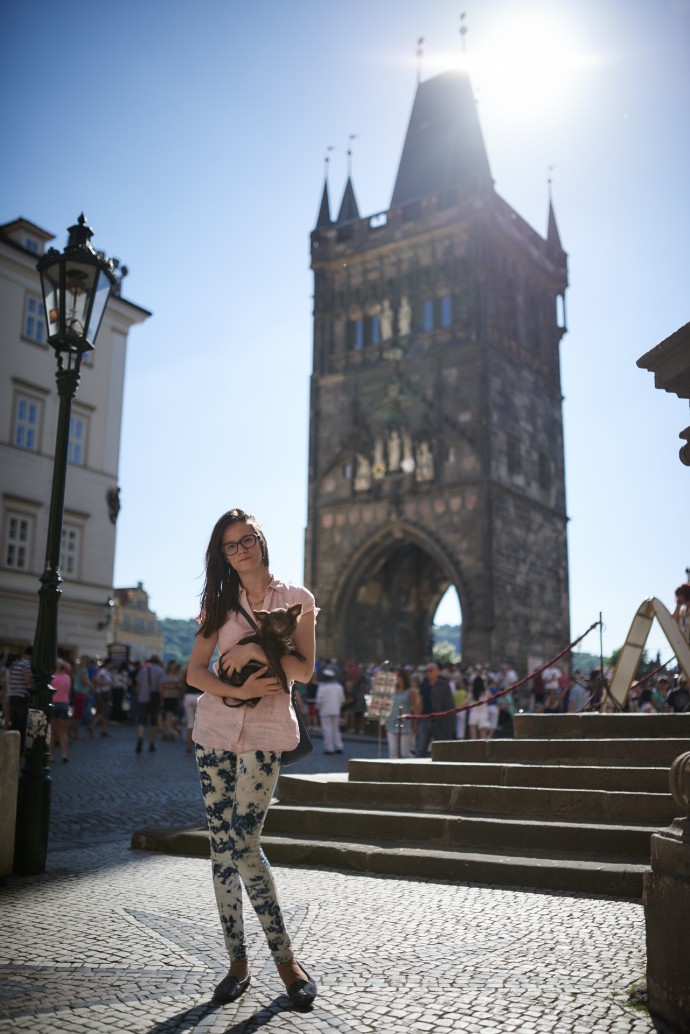
Select and Reject
Nobody likes rejection, but a family album deserves only the best photographs. So how should you select them? Well, above all remember that the nice thing about family photos is that no publisher is pushing on you with a deadline. You can make your choice in peace, and maybe give yourself months, or even years for it. For your list of finalists, pick the photos that bring you the most memories and emotions. You can read up on the technical side of that in our article Saving the Best from the Rest.
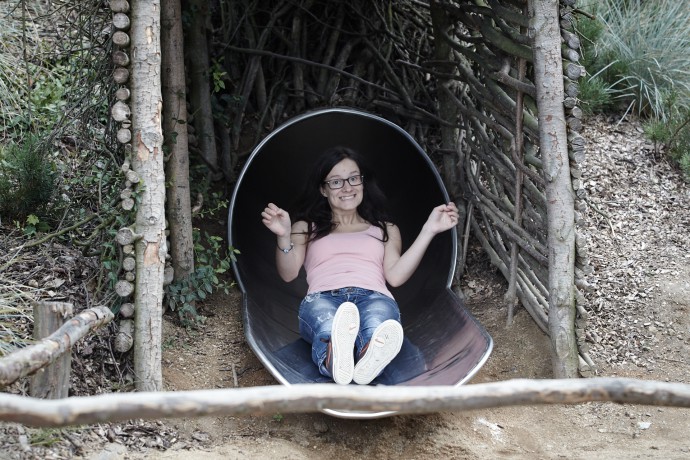
Shrink and Sharpen
To fine-tune the photos you pick, use the Editor in Zoner Studio. Worry about the basics mentioned above; don’t sweat the rest. To shrink a batch of photos at once, use the Manager. For printing, use the Editor. Turn on the option for setting the size in centimeters, and choose a size based on your goals for the final print. Use 300 dpi for the resolution.
Dimensions and Preparation
For family photos, quality is not as make-or-break as for gallery photos. What’s much more important is that your prints be long lasting and hard to damage. So keep an eye out for minilabs that prepare your photos via a chemical method, not using cheap printers. And don’t think you need a photo big enough to hang on a wall. Consider 5×7 inch, or 13×18 cm, dimensions for the photos in your family album. This format is superb because it’s not tiny, it’s very space-efficient, and it’s a great size for recognizing faces.
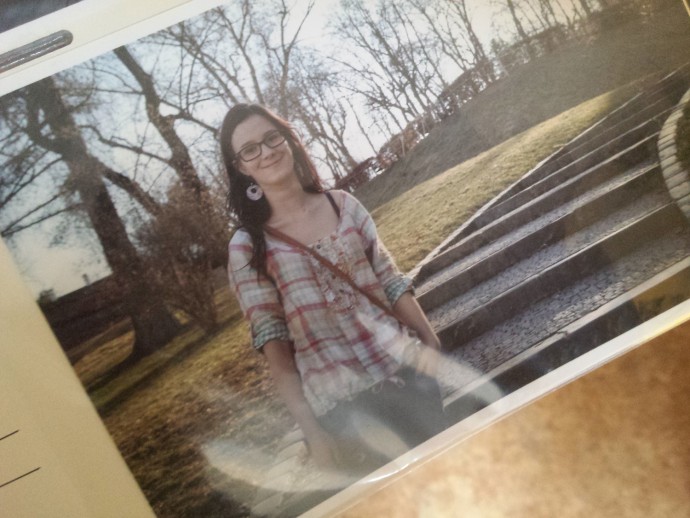
Don’t leave your family photos just sitting on your hard drive. Print them out and put them in a physical family album. That way, priceless photos won’t be forgotten and will always be there before your family’s eyes. Paging through a good family album is a lovely, emotional experience, so pick your photos thoughtfully and well, filling your album with only the ones that bring back the very most emotions and memories.
