The Art of Noise
There are plenty of photography websites that will tell you how to improve a picture by removing noise. But this article will tell you how to improve a picture by adding it. Noise can improve a picture for various reasons, but today we’ll stick to one technical reason.
As photographers we’ve all learned to fear noise, and there even whole software products sold on just one promise: delivering you nearly noise-free images. Meanwhile camera technology has reached a stage where pictures straight from the camera no longer frequently demand noise removal before they’re published.
People still use noise reduction today, but more and more often you’ll also find guides to adding noise.
There are several reasons why you might want to do this. For example you might want to imitate how film photos used to look, where pictures used to contain “grain.” And that’s why this function is called not Add Noise, but rather Add Grain.

But the guide below is really less about making art than about making up for mistakes.
Banding—Smooth Transitions Gone Wrong
Take a look at the picture below:

The top third of this picture contains a close-up of a picture that has a black object in it.
To make the black object blend in better with the rest of the picture, I blurred it. In the middle you see the result: visible bands of different tones. The monitor can’t show a finer transition than this (there are no “half-tones”), but the human eye can still distinguish the different neighboring brightnesses. The result is bands with different tones. That’s why this problem is called banding.
There are several solutions for banding, and one of the most practical is to add a little noise, which hides the bands. The bottom close-up shows this in practice.
Getting Better Blurring
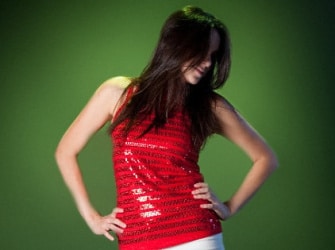
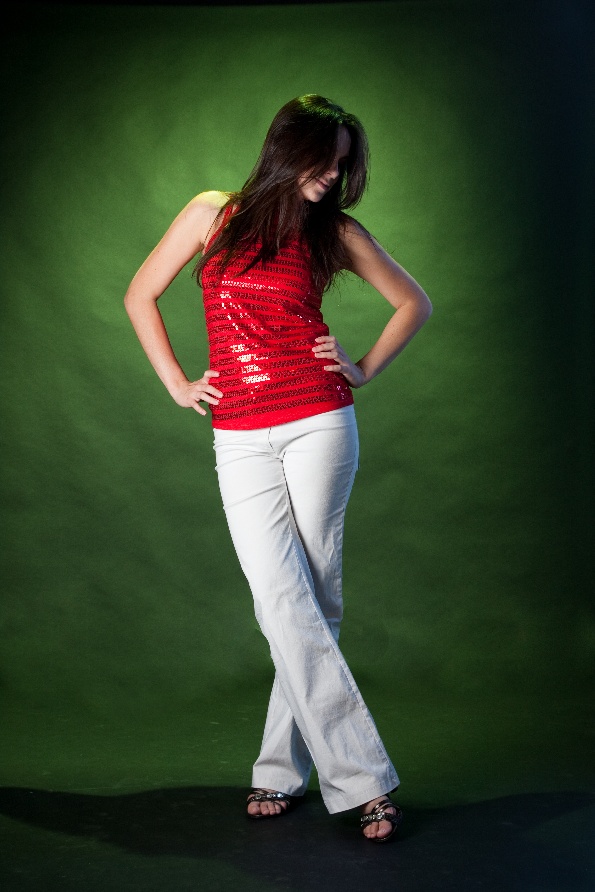
I chose the photo below to illustrate the whole process to use in Zoner’s Editor in this kind of situation. This photo needs some blurring, because the paper background behind the model was lighted in a way that unfortunately emphasized the paper’s every bump and crease.

To smooth these out, I used selective blurring of the background (but not the model) and then added noise.
I started by selecting just the background. I used a combination of the Lasso and Selection Brush. I then blurred the border of that selection mask by opening the Selection | Modify Selection window and raising the Blur value. That let me get away with an imprecise selection, so I could create a useful mask more quickly.

I then blurred the selected area with Adjust | Blur. I used Gaussian blur with a strength of 50 and turned on Blur only selected area. Several applications of Gaussian blurring in a row are a good route to heavy blurring. The right amount of blurring to use depends on your intentions and the size of the photo. My sample picture had a size of 10 megapixels.

On close inspection it suffers from the “banding” problem mentioned earlier. Some of the bands are severe enough that they’re visible even without zooming in.

I kept on using the selection that was set up for the blurring, so I could add grain in precisely the same part of the picture that I’d blurred. I went to the Effects menu, used Add Grain, and set the noise type to Digital and the grain size to Fine. Note that getting the Amount right here is important, and takes some experimentation. The right value will depend on both the size of the picture and the sizes of the bands. For my picture I tried two different values, 3 and 4, and eventually settled on the second of them.

Time to Disband
Banding doesn’t just happen after you blur a picture, but also for example when drawing with a soft brush tool or when using a color gradient. But now you know how to deal with banding, so there’s no reason to shy away from these types of edits.