Use a Gray Card to Measure Exposure
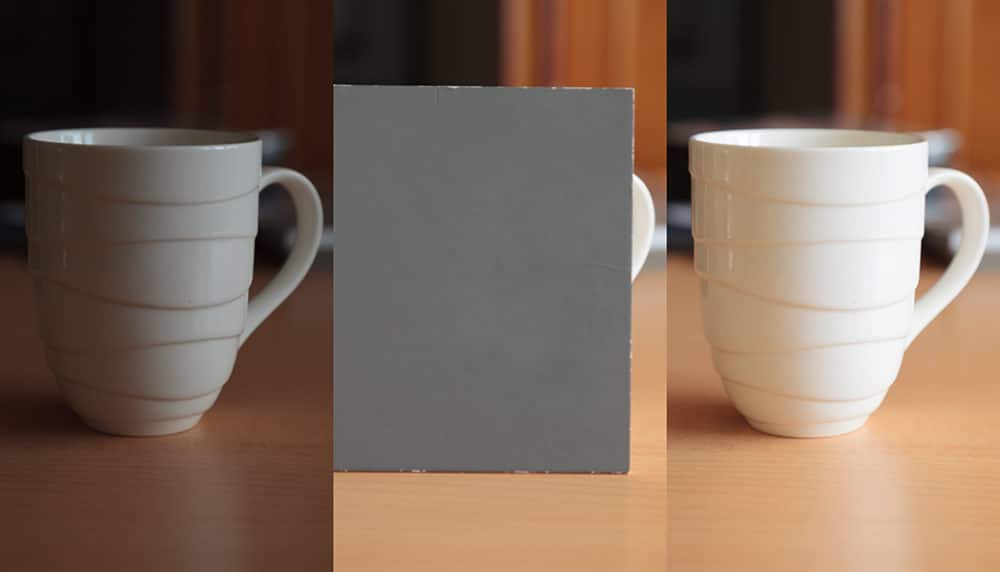
You’ve probably heard of gray cards in connection with white balancing. But there’s also another use that, while it may sound strange, is perfectly sensible: getting a firm grip on exposure.
Exposure Metering Basics
Exposure metering is the job of light meters. Back in the days of manual cameras, we used external light meters. Today we measure exposure using light meters built into our cameras. They’re cheap (cheap enough to be built-in), but they have a downside: they measure the light reflected from the scene, not the light falling on the scene. They also assume that the scene has average reflectivity. If a background has a higher or lower than average reflectivity, then your meter will measure incorrectly.
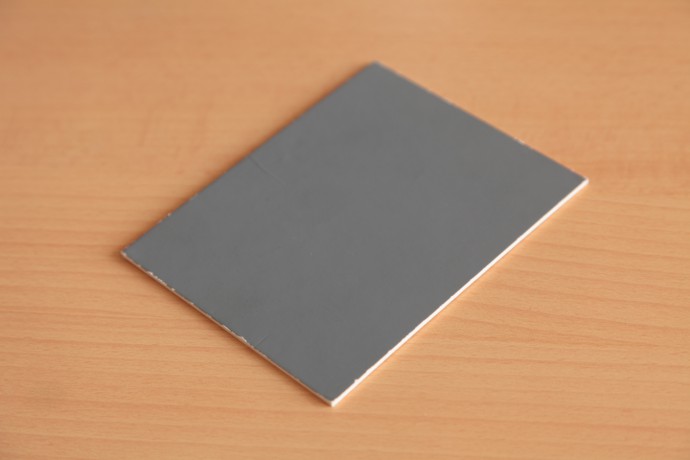
Experienced photographers can look at the scene, estimate how far from average its reflectivity is, and correct the camera meter’s measurement. But for precise metering, they still use external light meters. However, these are fairly expensive; an external light meter costs more on average than a typical amateur camera. Fortunately there is a cheap and simple solution for measuring exposure precisely even with just your camera’s internal light meter—and that solution is a gray card.
Gray Cards
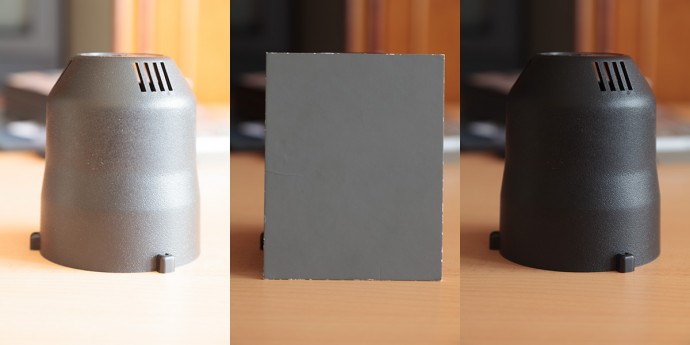
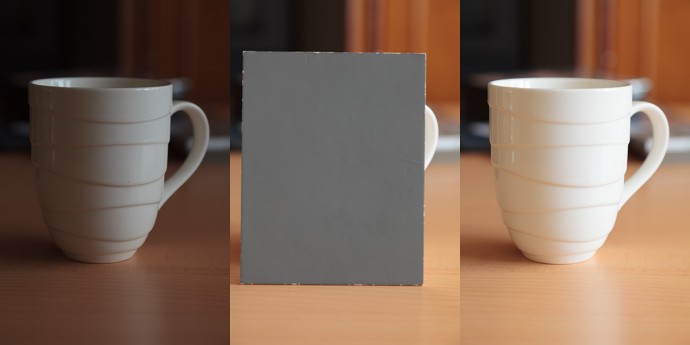
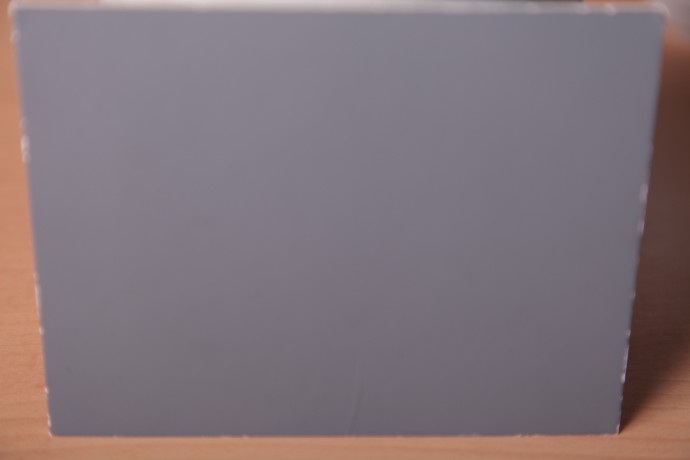
Gray cards are usually either hard paper cards the size of a postcard, or a type that resembles a folding reflector. Gray cards have average reflectivity: they reflect 18 percent of the light that falls on them. So in theory, if you replace a photographed scene with a gray card, it will have average reflectivity, and so the camera’s meter will measure exposure correctly.

How Gray Cards Are Used
Gray cards are relatively simple to use. You place the card in the scene so that the same lighting is hitting the card and the subject. Try to place the card as close as possible to the subject. Be careful not to place it in shadow, or let spot lighting hit it. If the spot where you’re shooting from has the same light level as the scene, you can work with the card straight from there—you don’t have to place it in the background.
Filling the Whole Viewfinder
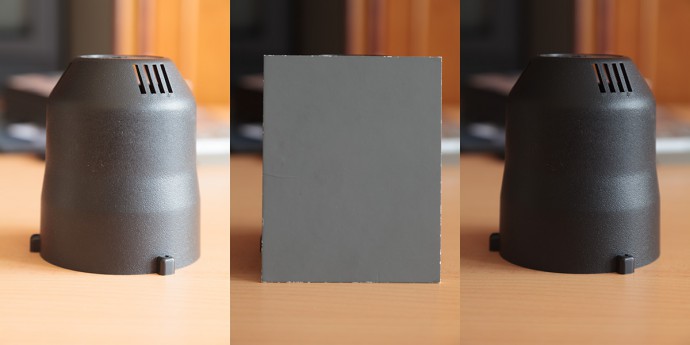
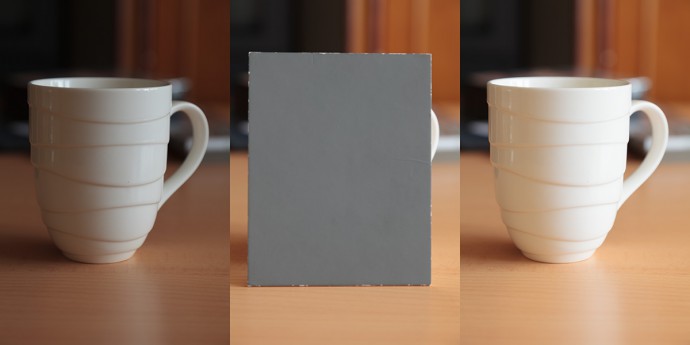
When using matrix or center-weighted metering, compose the gray card so as to make it fill up the whole viewfinder. Make sure not to place the card in shadow while doing this. Press the button down halfway and lock the measured values using the exposure lock, or set them directly in manual mode. Then remove the gray card, recompose the picture, and take the shot.
Using Spot Metering
If your camera offers a spot metering mode, then you don’t need to compose the gray card across the whole viewfinder. It’s enough to place the active focus point on it. That is: it’s usually enough. Check your camera’s manual to see if its spot metering mode uses the active focus point, or just the center focus point. The steps from there are the same: lock the exposure and take the picture.
Using a Gray Card when Working with Studio Flashes
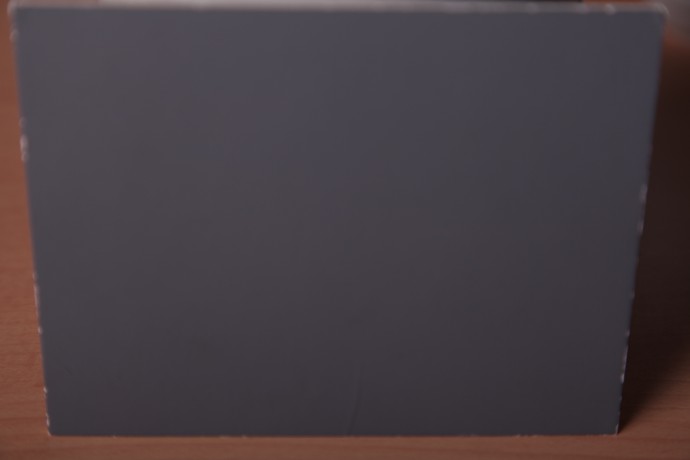
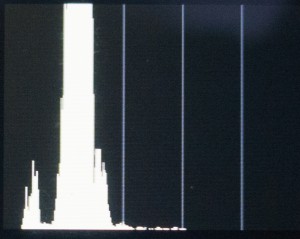
When you’re working with studio flashes you can’t use the methods described above, because their light is only in the scene for short moments at a time, during shots. But gray cards are still useful exposure tools even here thanks to a comfort of the digital age—the histogram. Here too the gray card needs to fill up the whole viewfinder. Set some test values for exposure and take the picture. Its histogram will be a single, narrow peak. That peak should be right in the middle. If it’s not, then change the flashes’ intensity or the exposure settings and take another test picture.
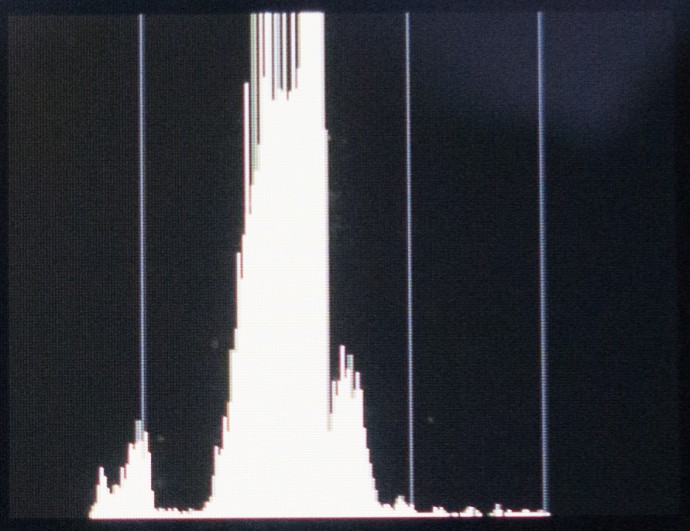
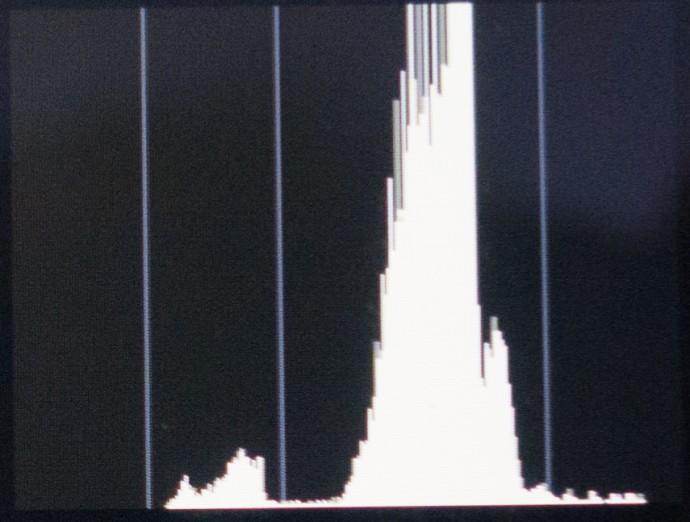
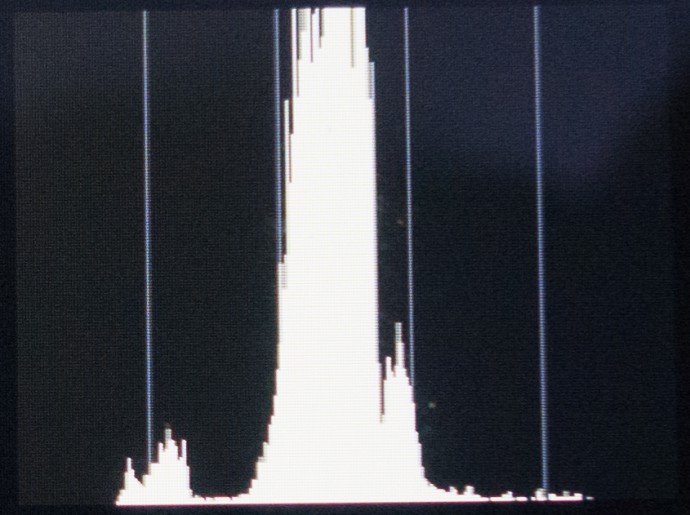
This method gives you precise exposure after just a few test pictures. But despite this, if you’re going to be making heavy use of studio flashes, I recommend that you acquire an external all-in-one light meter/flash meter.
The Automatic Route
Digital cameras’ inbuilt meters do a relatively good job and are precise enough for day-to-day photography. Minor exposure-measurement mistakes are easy to correct in Zoner Studio. But if a picture’s subject isn’t in motion and you have enough time, there’s no reason not to go for precise exposure. You’ll spend less time fixing exposure on your computer and avoid the degradation of your pictures’ quality that digital edits can cause.
Want to Learn More About Exposure? Read our other articles on this topic:
Learn What Exposure Is and How It Shapes Your Photos
Discover the 3 Keys to Good Exposure: The Exposure Triangle
Discover the Three Keys to Good Exposure: ISO