Use the New Features in the Zoner Studio Collage Tool to Create Better Collages Faster Than Ever
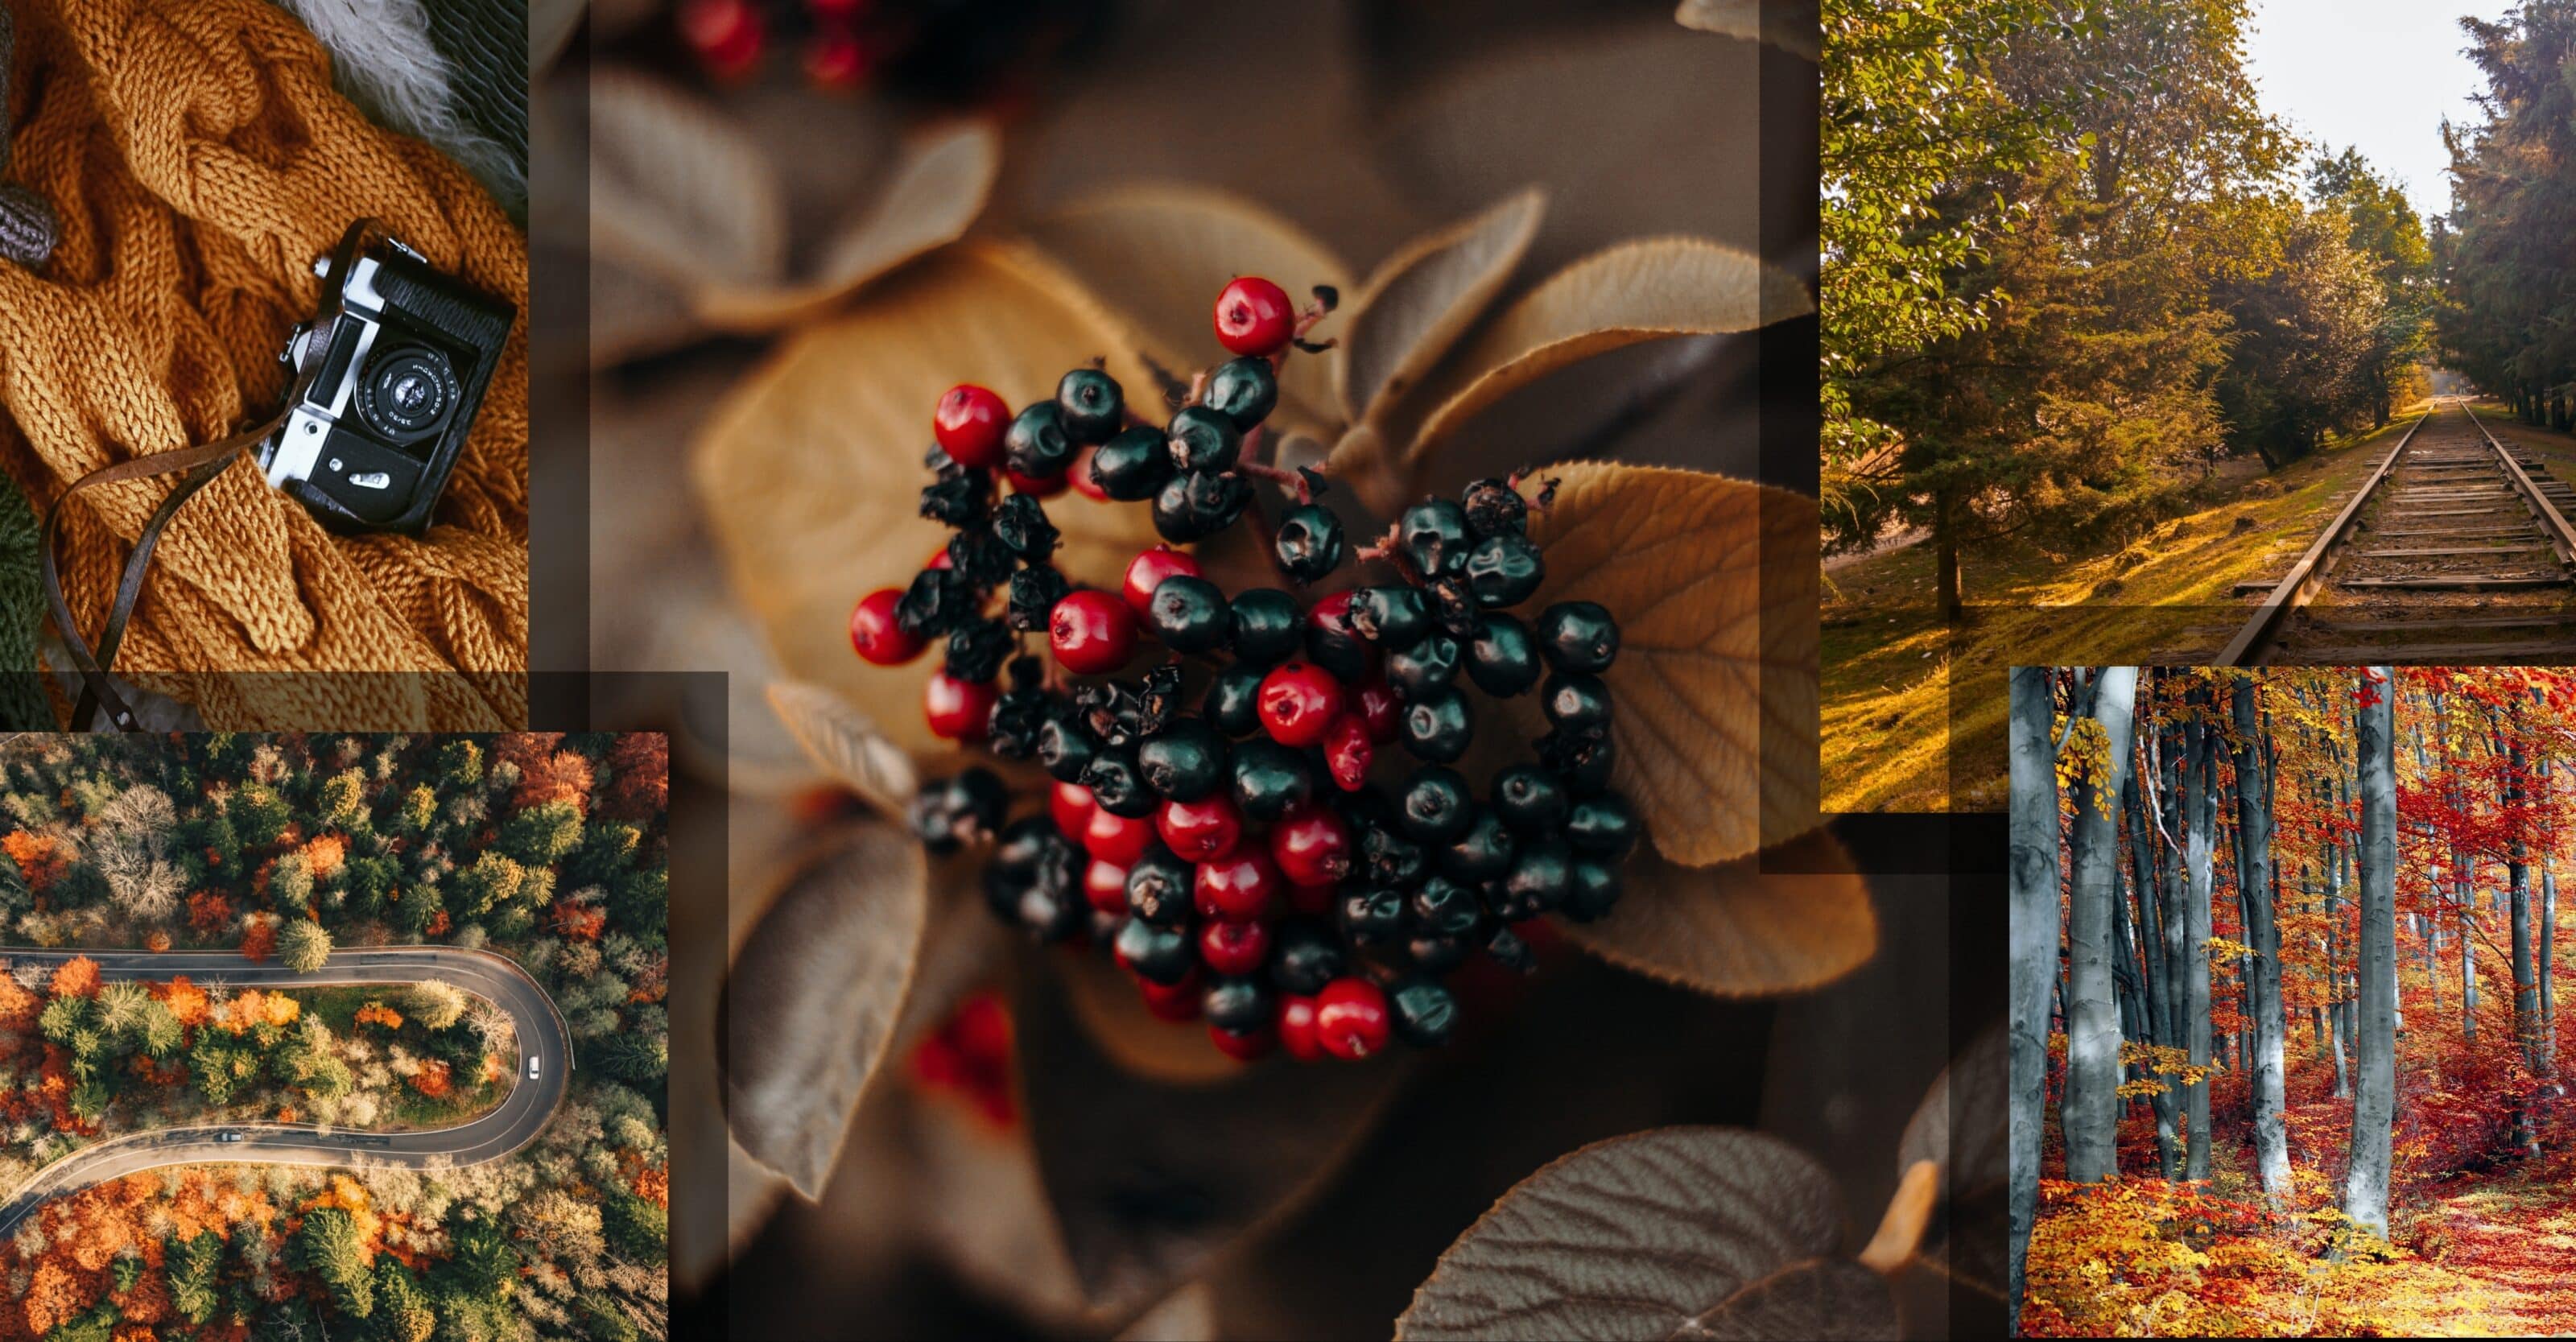
A series of photos can capture a certain occasion better than a single photo. However, it’s not always practical to present an entire series of photos as separate pictures. That’s why in certain situations, it’s best to design a collage that shows everything important all at once. We are constantly improving the Collage feature in Zoner Studio, and now, it has functions that will make designing your collage a piece of cake and give you great results.
The Collage feature is found in the Print module of Zoner Photo Studio. You don’t have to have all the photos you want to use selected. You can always add them to the collage template later.
Choose the size of the collage
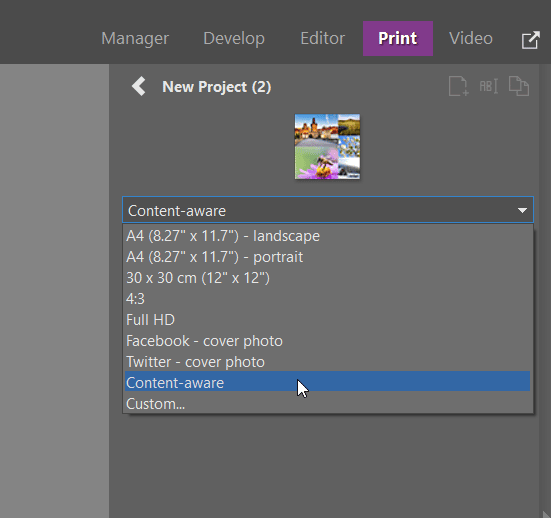
First, choose the size for your collage. Several predefined sizes can help you, such as Facebook – cover photo, Full HD, or Custom. If the exact size of your collage doesn’t matter, choose the Content-aware option. With this option, the final size of the collage automatically adapts to the photos you have chosen, making them fit as best as possible without being cropped.
Arrange your photos
Simply drag photos from the bottom filmstrip to the picture boxes above. You don’t have to limit yourself to only photos from the selected folder. Use the left panel to select any folder from your computer.
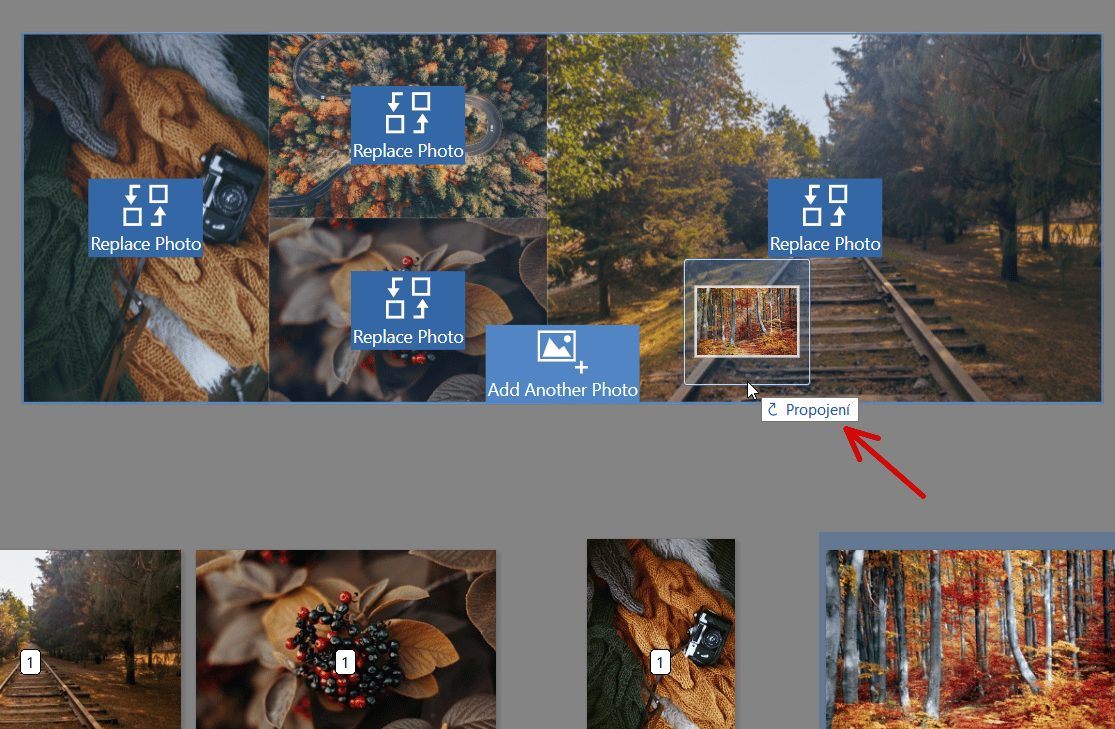
Set how the photos will be cropped
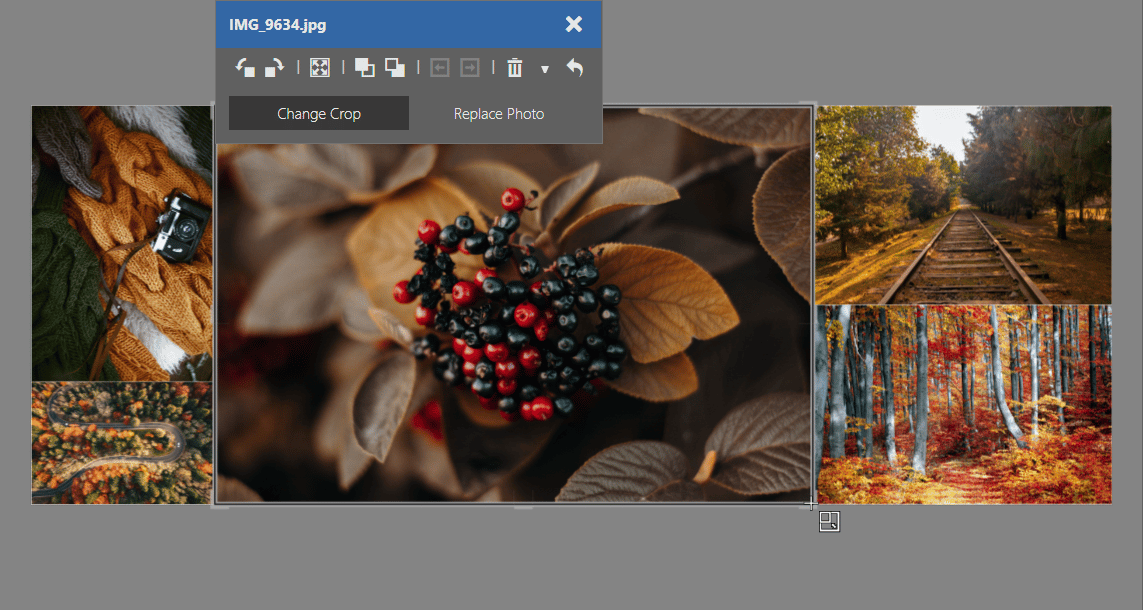
Click a photo in the collage to show tools for cropping, rotating, deleting, and so on.
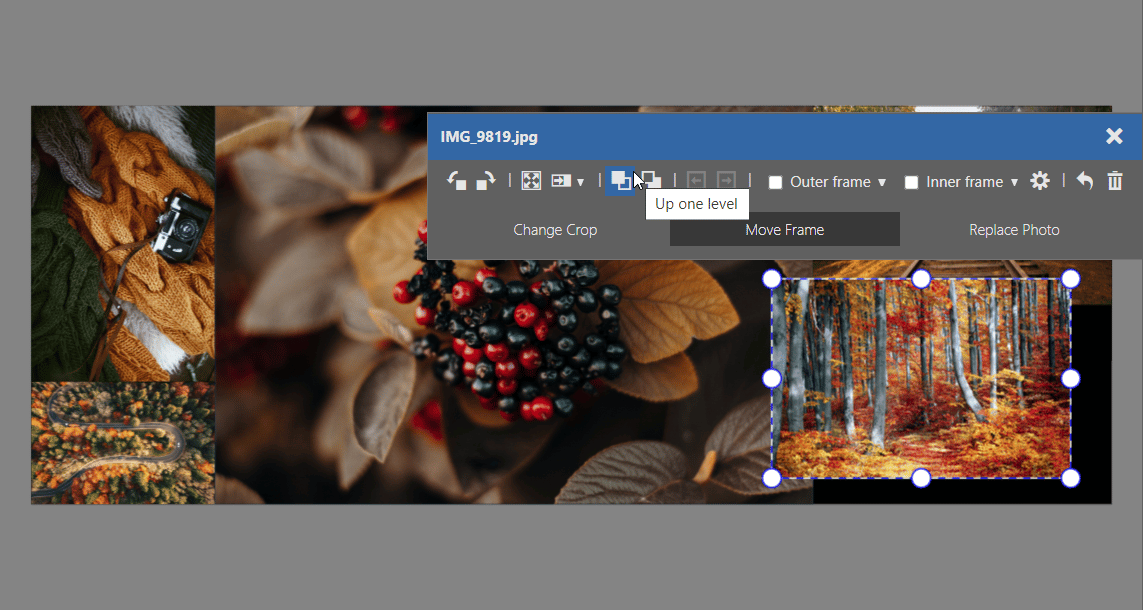
You can also try clicking Break Layout Into Objects which gives you the new Move Frame option in the crop window.
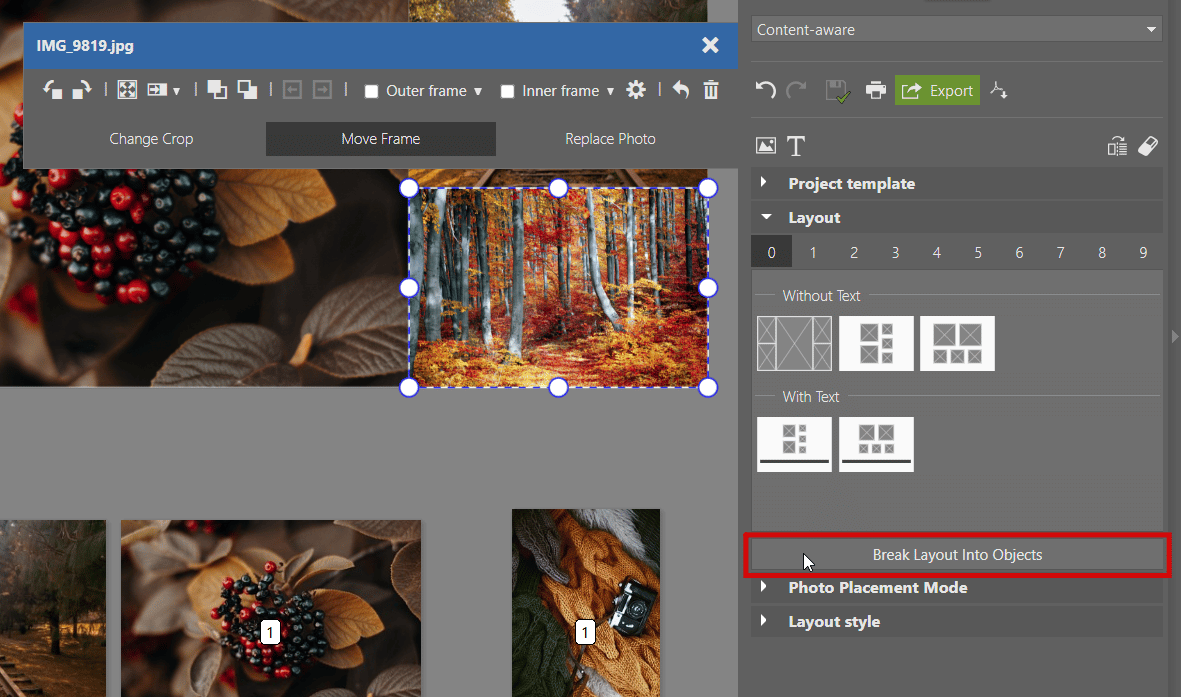
Use this function to move the photo anywhere you want and reveal the background in the color you chose behind it.
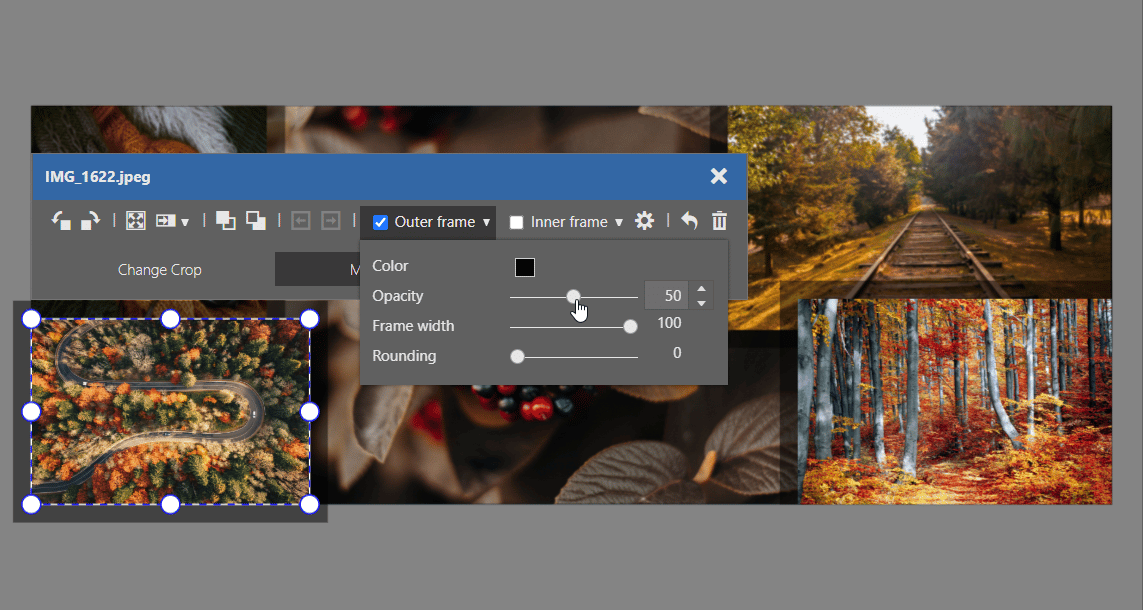
You may have noticed that along with Move Frame, Outer and Inner frame have also been added to the top row of icons. You can set the frames for each photo separately.
Discover Styles
Choose from 16 different frames for your collage in the Layout style section. Then, you can customize its width, color, opacity, and grid width from the outer and inner frame.
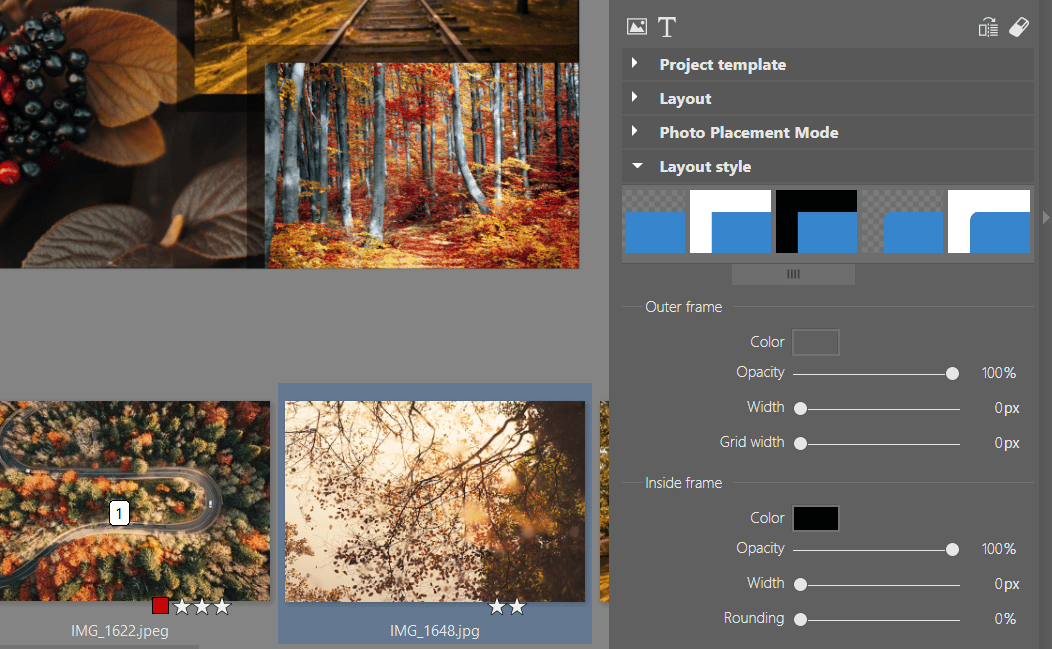
Add additional photos or text
In the right panel, you’ll also find tools for adding additional photos and text. Select the photo in the filmstrip below and click the Add Freestanding Picture icon. Then you need to decide if you are cropping, moving the entire picture box, or just the image in the picture box.
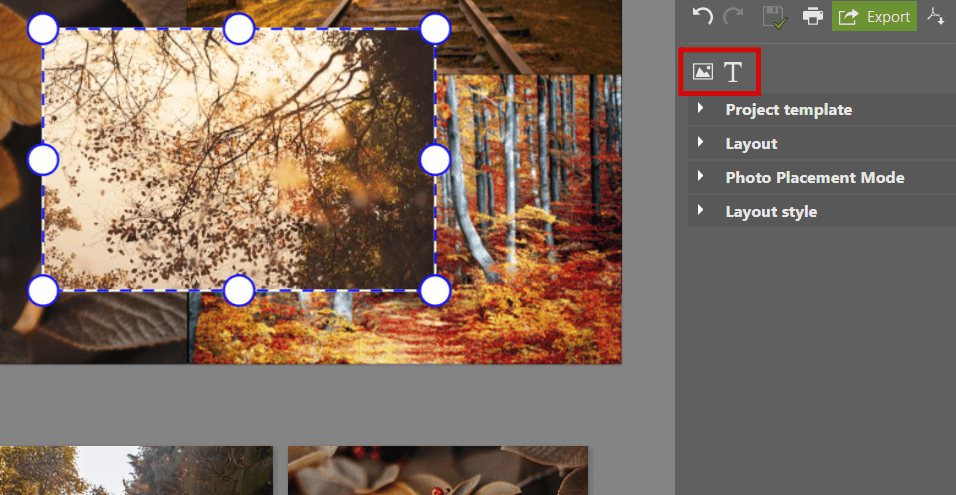
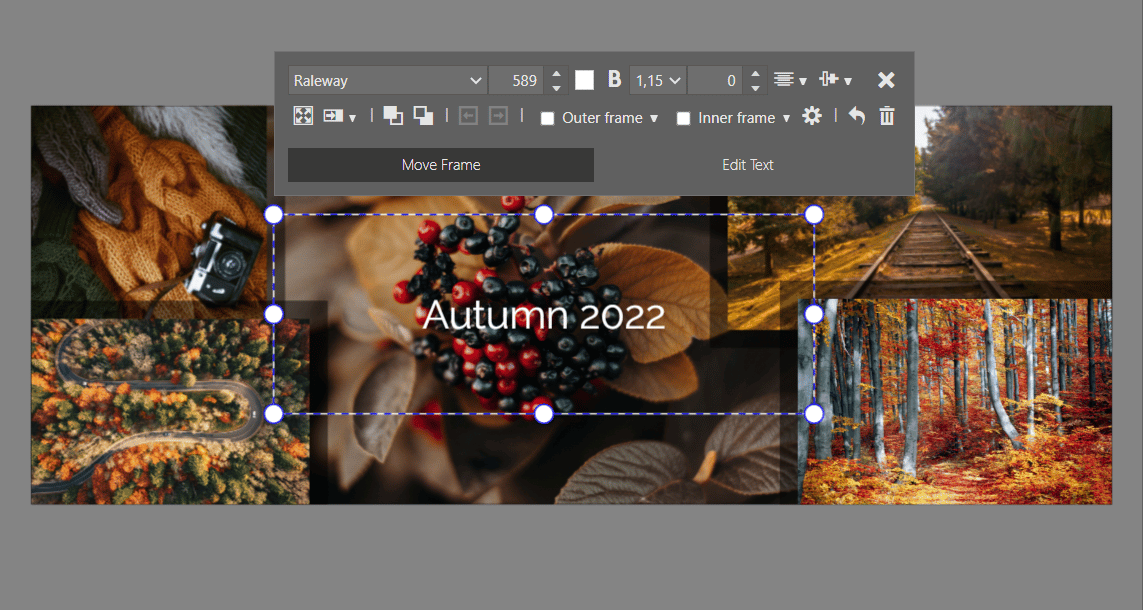
Add text using the Add Freestanding Text icon. A toolbar appears for editing the text box and you can choose the text placement, size, and font.
Download Zoner Studio free for 7 days and make your own unique collage.
