Useful Tips For Choosing Your Tripod
A tripod should be one of the basic parts of a photographer’s gear, no matter what genre they shoot. This accessory is often overlooked, and while it’s true that in many situations you can make do without it, the lack of a tripod often makes it a major problem to take a quality picture, or even makes it impossible. That’s why in today’s article I’ll be mapping out the situations where a tripod really is an integral part of a photographer’s gear.
There are various types of tripods in various price ranges. From cheap ones costing just a few dollars, up to tripods that cost hundreds of dollars. That’s why you should take your individual needs into account when making your choice.
Heavy = good?
The largest differences among tripods are in the main material used. A tripod should be firm enough to hold your equipment while staying stable and not bending. A tripod should be both firm and heavy so that it stays unshaken by light touches, the wind, and other possible tremors in its surroundings. A common rule of thumb is that the equipment on a tripod should weigh no more than half the of the tripod’s official maximum load rating. You may object that a heavy, massive tripod is annoying to carry around, so let’s take a look at the options.
Materials
Modern materials have partially resolved the problem of tripod weight and firmness. The best, but also most expensive tripods are made of basalt, a volcanic-based material that is very firm, yet light. So the tripod’s stability is guaranteed, but what about that lightweight, which could have a negative impact on its stability?
There’s a simple answer: just hang ballast from a hook on the tripod. The tripod will have no problems with the load, and when weighed down like this, it has great stability. So now you have a tripod that’s lightweight for transport, firm thanks to its construction, and stable thanks to the ballast. When it comes to basalt tripods, the best-known is the Basalt line by Gitzo. The downside of these tripods is the price, which is a good piece above 500 dollars.
There’s an alternative to basalt in the form of carbon fiber tripods, which have similar properties. They are significantly cheaper than basalt tripods, but still relatively expensive, roughly in the 300-dollar range.

If you don’t intend to spend big money on basalt or carbon-fiber tripods, then you have to make a compromise and made do with the usual aluminum alloy or magnesium tripods. You’ll also often see combinations of aluminum alloy and carbon fibers. From my own experience, I can recommend aluminum tripods from Benro, a Chinese company.
The Importance of a Good Head
A tripod’s overall load rating also depends on its head, which can have a lower load rating than the rest of the tripod. Many tripods are sold in sets along with the head, but there’s often the opportunity to buy the head separately and pick one that precisely meets your needs.
There are two main kinds of tripod heads—ball heads and pan heads. You can manipulate a ball head in all directions after release. Pan heads usually allow for the rotation of the camera in the horizontal and vertical directions separately. Your choice of the head should depend on your needs.
Don’t confuse pan heads with panoramic heads, which are designed to help you take sets of pictures that you plan to stitch together into panoramas.


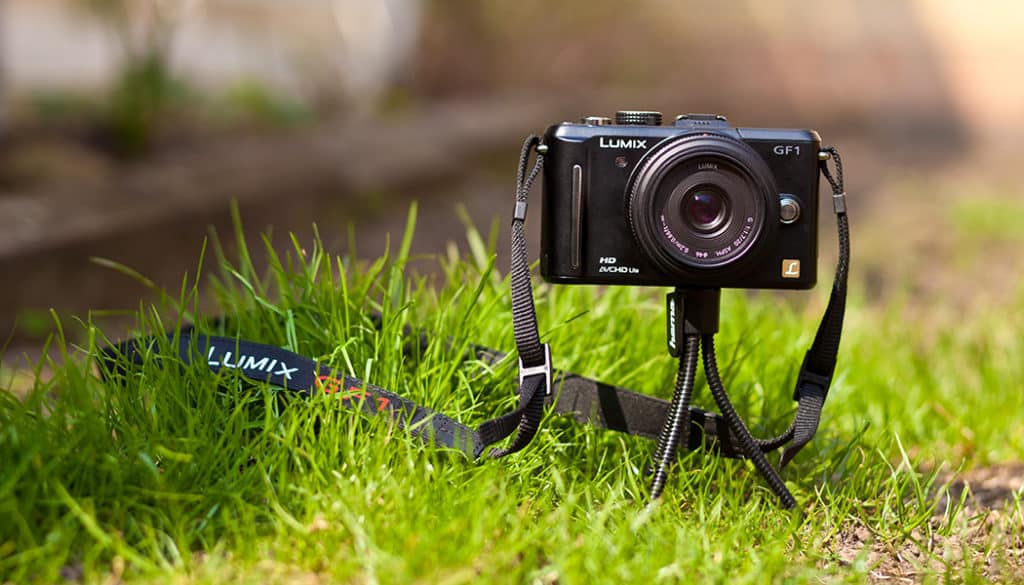
Mini-tripods
In situations where you can’t take a classical tripod with you on the road, use a mini-tripod. These are small tripods, a maximum of a few centimeters high. For these, too, there are lots of options, and lots of materials and load ratings to choose from.
One popular choice is the GorillaPod, which you can wrap around something like a branch or a streetlight.
For simple macro shots, you can use a mini-tripod like the Slik Mini. The advantage of these tripods, sometimes called table tripods, is that they are small and light, making them easy to carry, while still stable and firm, with a good load rating.


Where Do Tripods Come in Handy?
Generally, you turn to a tripod when a photo taken “by hand” would be blurred due to a long exposure (or a relatively short exposure in combination with a long focal length). You can’t get by without a tripod for night photography, where shutter times can even reach up to several seconds.
Use a tripod in the daytime whenever your exposure time is longer than you can hold the camera steady by hand. This can be the case with a tight aperture (used to attain a large depth of field) or when using a polarizing filter. Without a tripod, the resulting pictures won’t be sharp even with help from the auto-stabilizers in cameras today.
With a tripod, you can photograph running water with ND filters to deliberately blur it. Likewise, when shooting for HDR it’s very smart to use a tripod, as that makes it much easier to assemble the HDR image. A tripod also makes it easy for you to use gradient filters. With a tripod, you can position the gradient in exactly the place where you want it. When shooting by hand, you can never position it precisely. Last but not least, when your camera’s on a tripod, you pay more attention to composition, because manipulating the camera is simpler than when you’re holding it in your hands.
Carrying Your Tripod
For nature photography, I have my tripod tied to my backpack. City photography can bring some problems. Personally, I usually wear a bag on one shoulder, so I’m not enthusiastic about having a tripod bag on the other shoulder. So unless I’m heading out to do night photography, I usually go without a tripod, although I’ve had to pay dearly for that a few times. Situations like these are precisely the ones where a mini-tripod can help. You can attach it to your bag from underneath, and also you can often position it in a high spot like on a bench or a wall, as there are many such spots in the city. Or you can create an emergency beanbag tripod! In any case, we’re sure that you’ll find a way to get your tripod to every long-exposure shoot, and that when you do, you’ll be glad you did.