Water Portraits Without the High-Tech Equipment
Water photography is an intriguing genre. It is a challenge, but also lots of fun. You can shoot in water using basic camera equipment without needing to worry about your camera going under. All you need is a nearby pond or river and a concept to center the shoot around. Then, you can get started. Don’t underestimate the importance of being prepared and don’t let bad weather keep you away.
Photography by the water, in the water, or even underwater is possible using just basic photography equipment. All you need is a camera and a lens that isn’t overly long. An assistant will come in handy, but is not a necessity. We also recommend bringing insect repellant, otherwise you risk being eaten alive by the insects near the water.
Preparing for water photography
Have a conversation with your model and come up with a concept for your photoshoot. You can do portraits based on fairy tale characters, mermaids, or Ophelia. You can also do water photography with Bohemian-style portraits or maternity photos. You can try dramatic or mysterious photos. Let your imagination and creativity be your guide.
Be sure to bring:
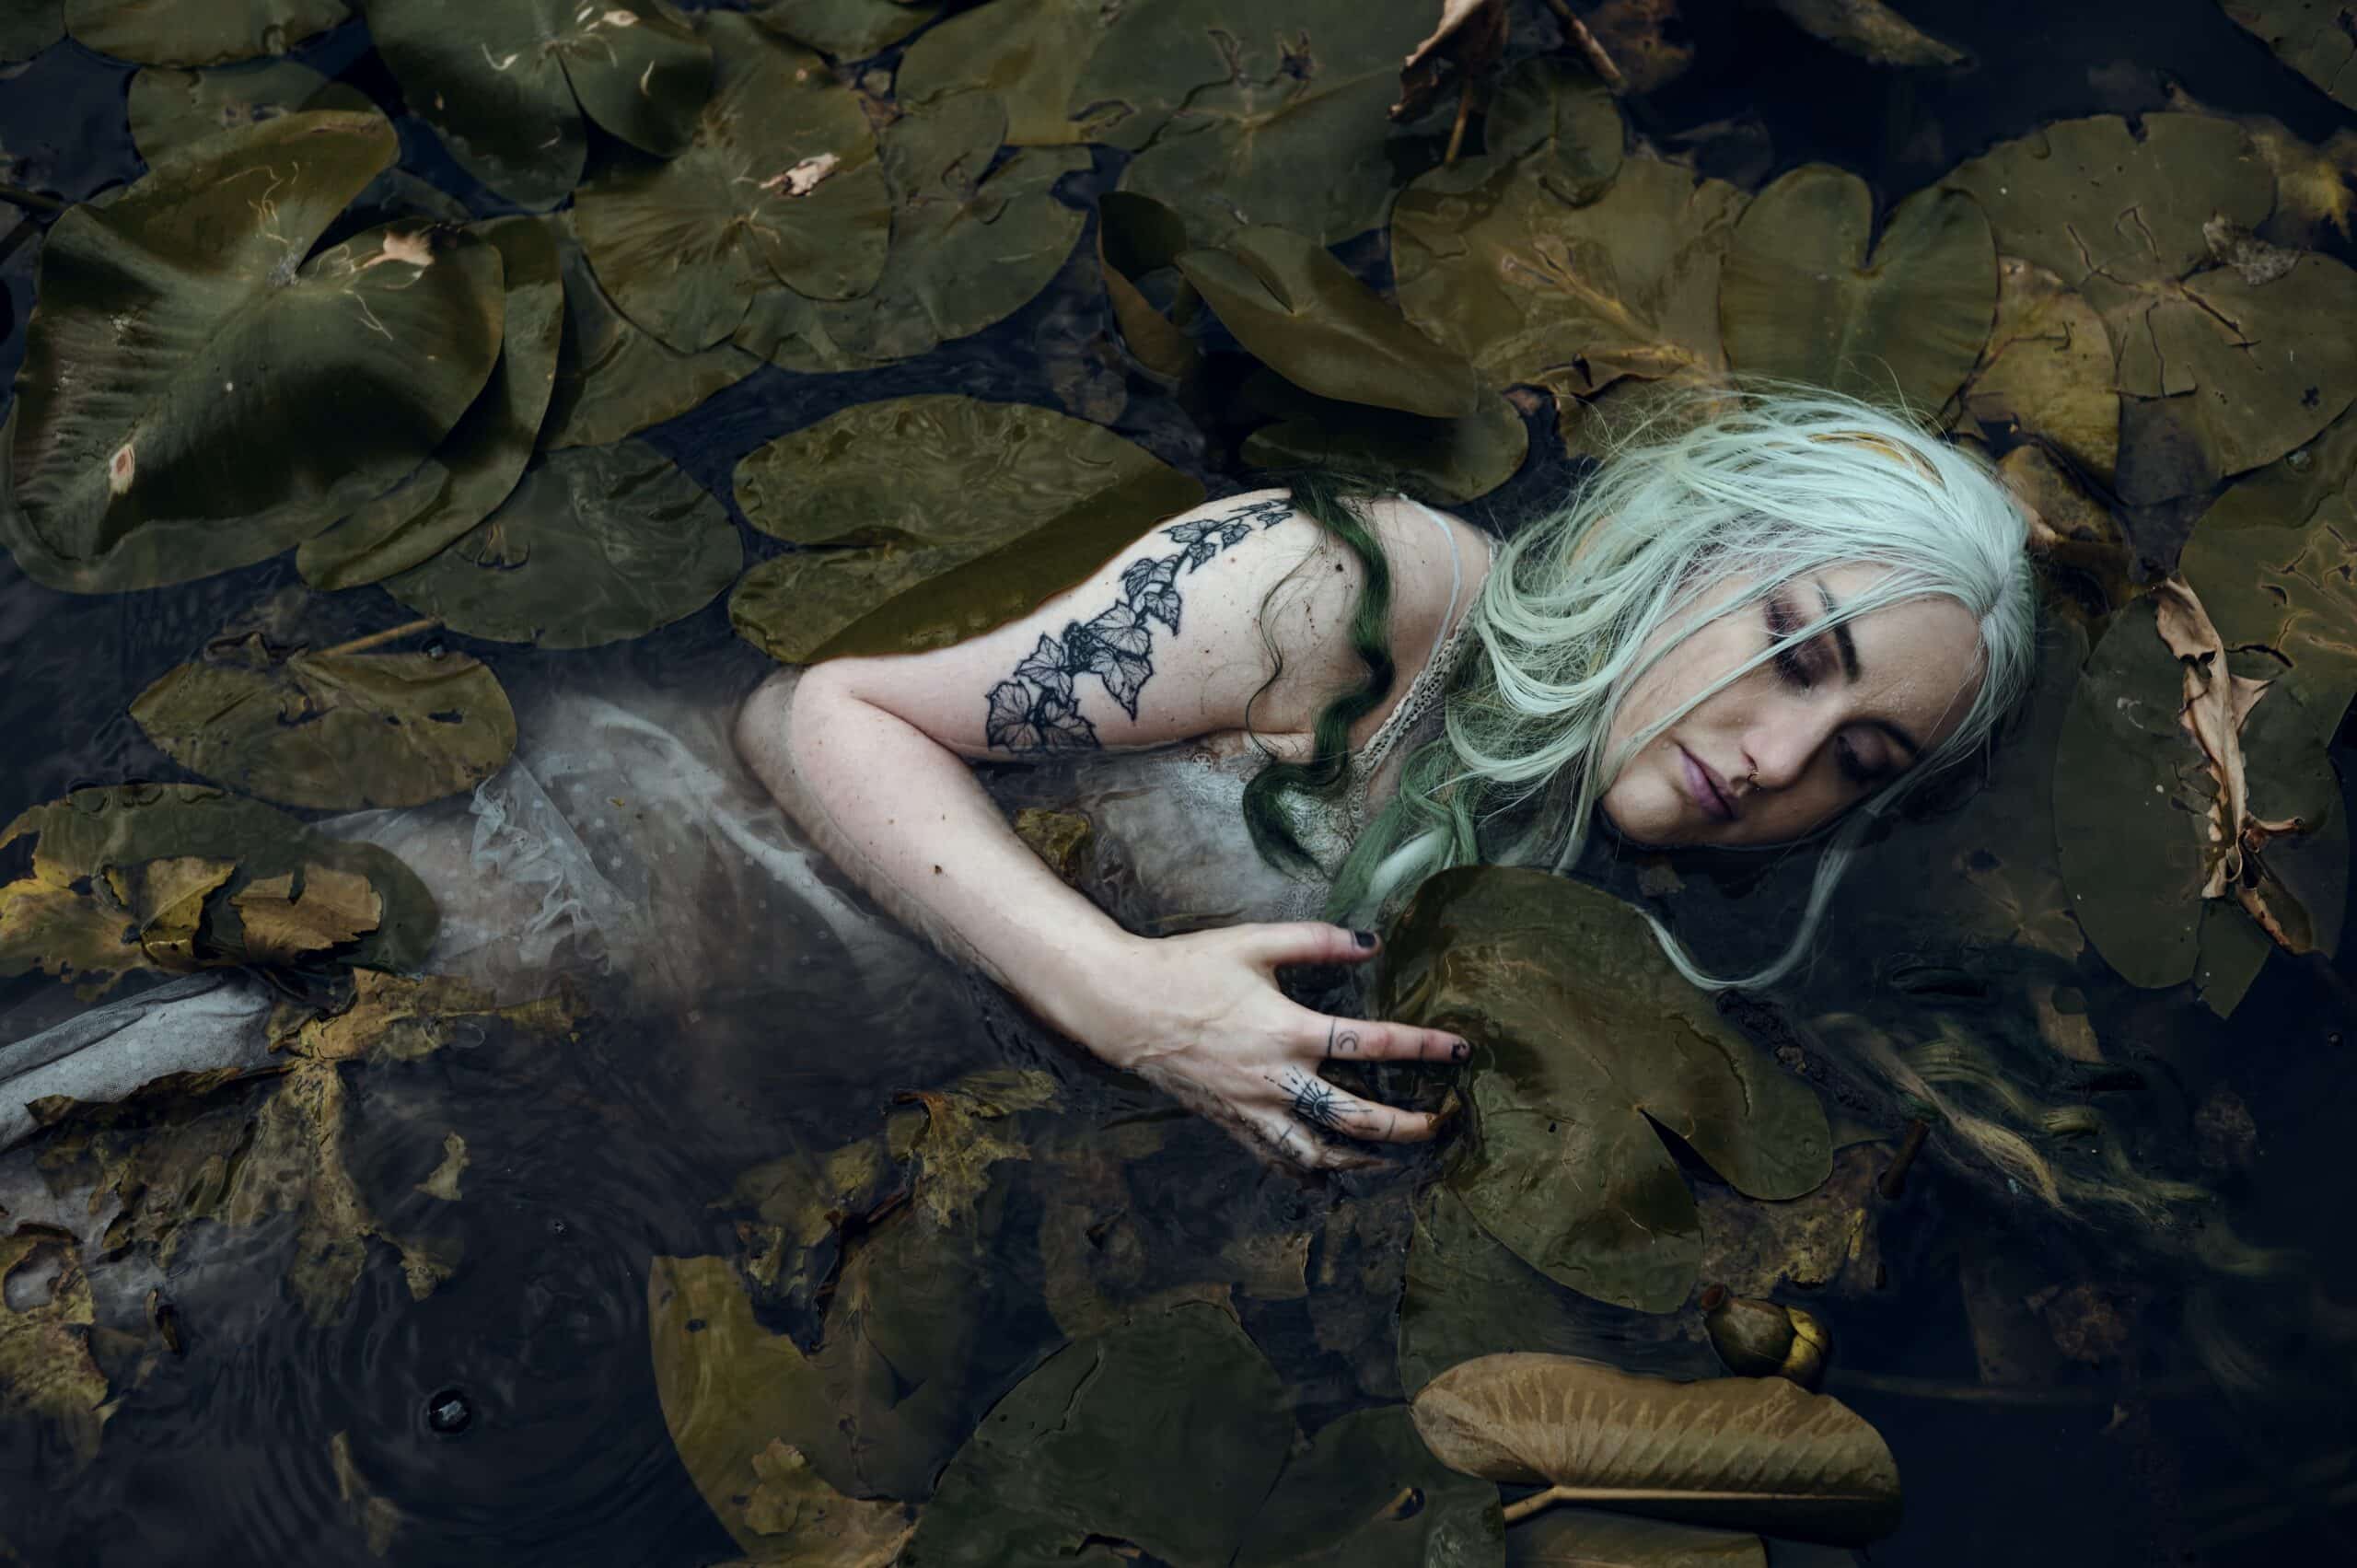
- Light-colored clothing. Otherwise, your model may blend in with the water. Ponds and rivers here in the Czech Republic tend to be darker and murkier. However, it’s a different case if you’re somewhere like the Caribbean.
- Towels and extra clothing for yourself and your model. You may need to get in the water yourself to get a good camera angle.
- Insect repellant was already mentioned and is sure to come in handy. There are always a lot of insects by the water which can be extremely uncomfortable for you and your model.
- A reflector and an assistant for holding one may come in handy. It’s a nice bonus, but not necessary by any means.
Arrange a time with your model, ideally during the golden hour. Water photography is usually done in the summer unless you have extra hardy models who don’t mind cold water. Evening hours are good not only because of the lighting, but because there are fewer people near swimming areas that are usually crowded during the day.
What equipment should you bring?
You can grab some longer lenses. They can come in handy for certain angles. But if you are shooting from above, which is common by the water, don’t overlook focal lengths like 35mm or 24mm. Unless you have stilts with you or climb a tree, you may be disappointed with 50mm and longer lenses.
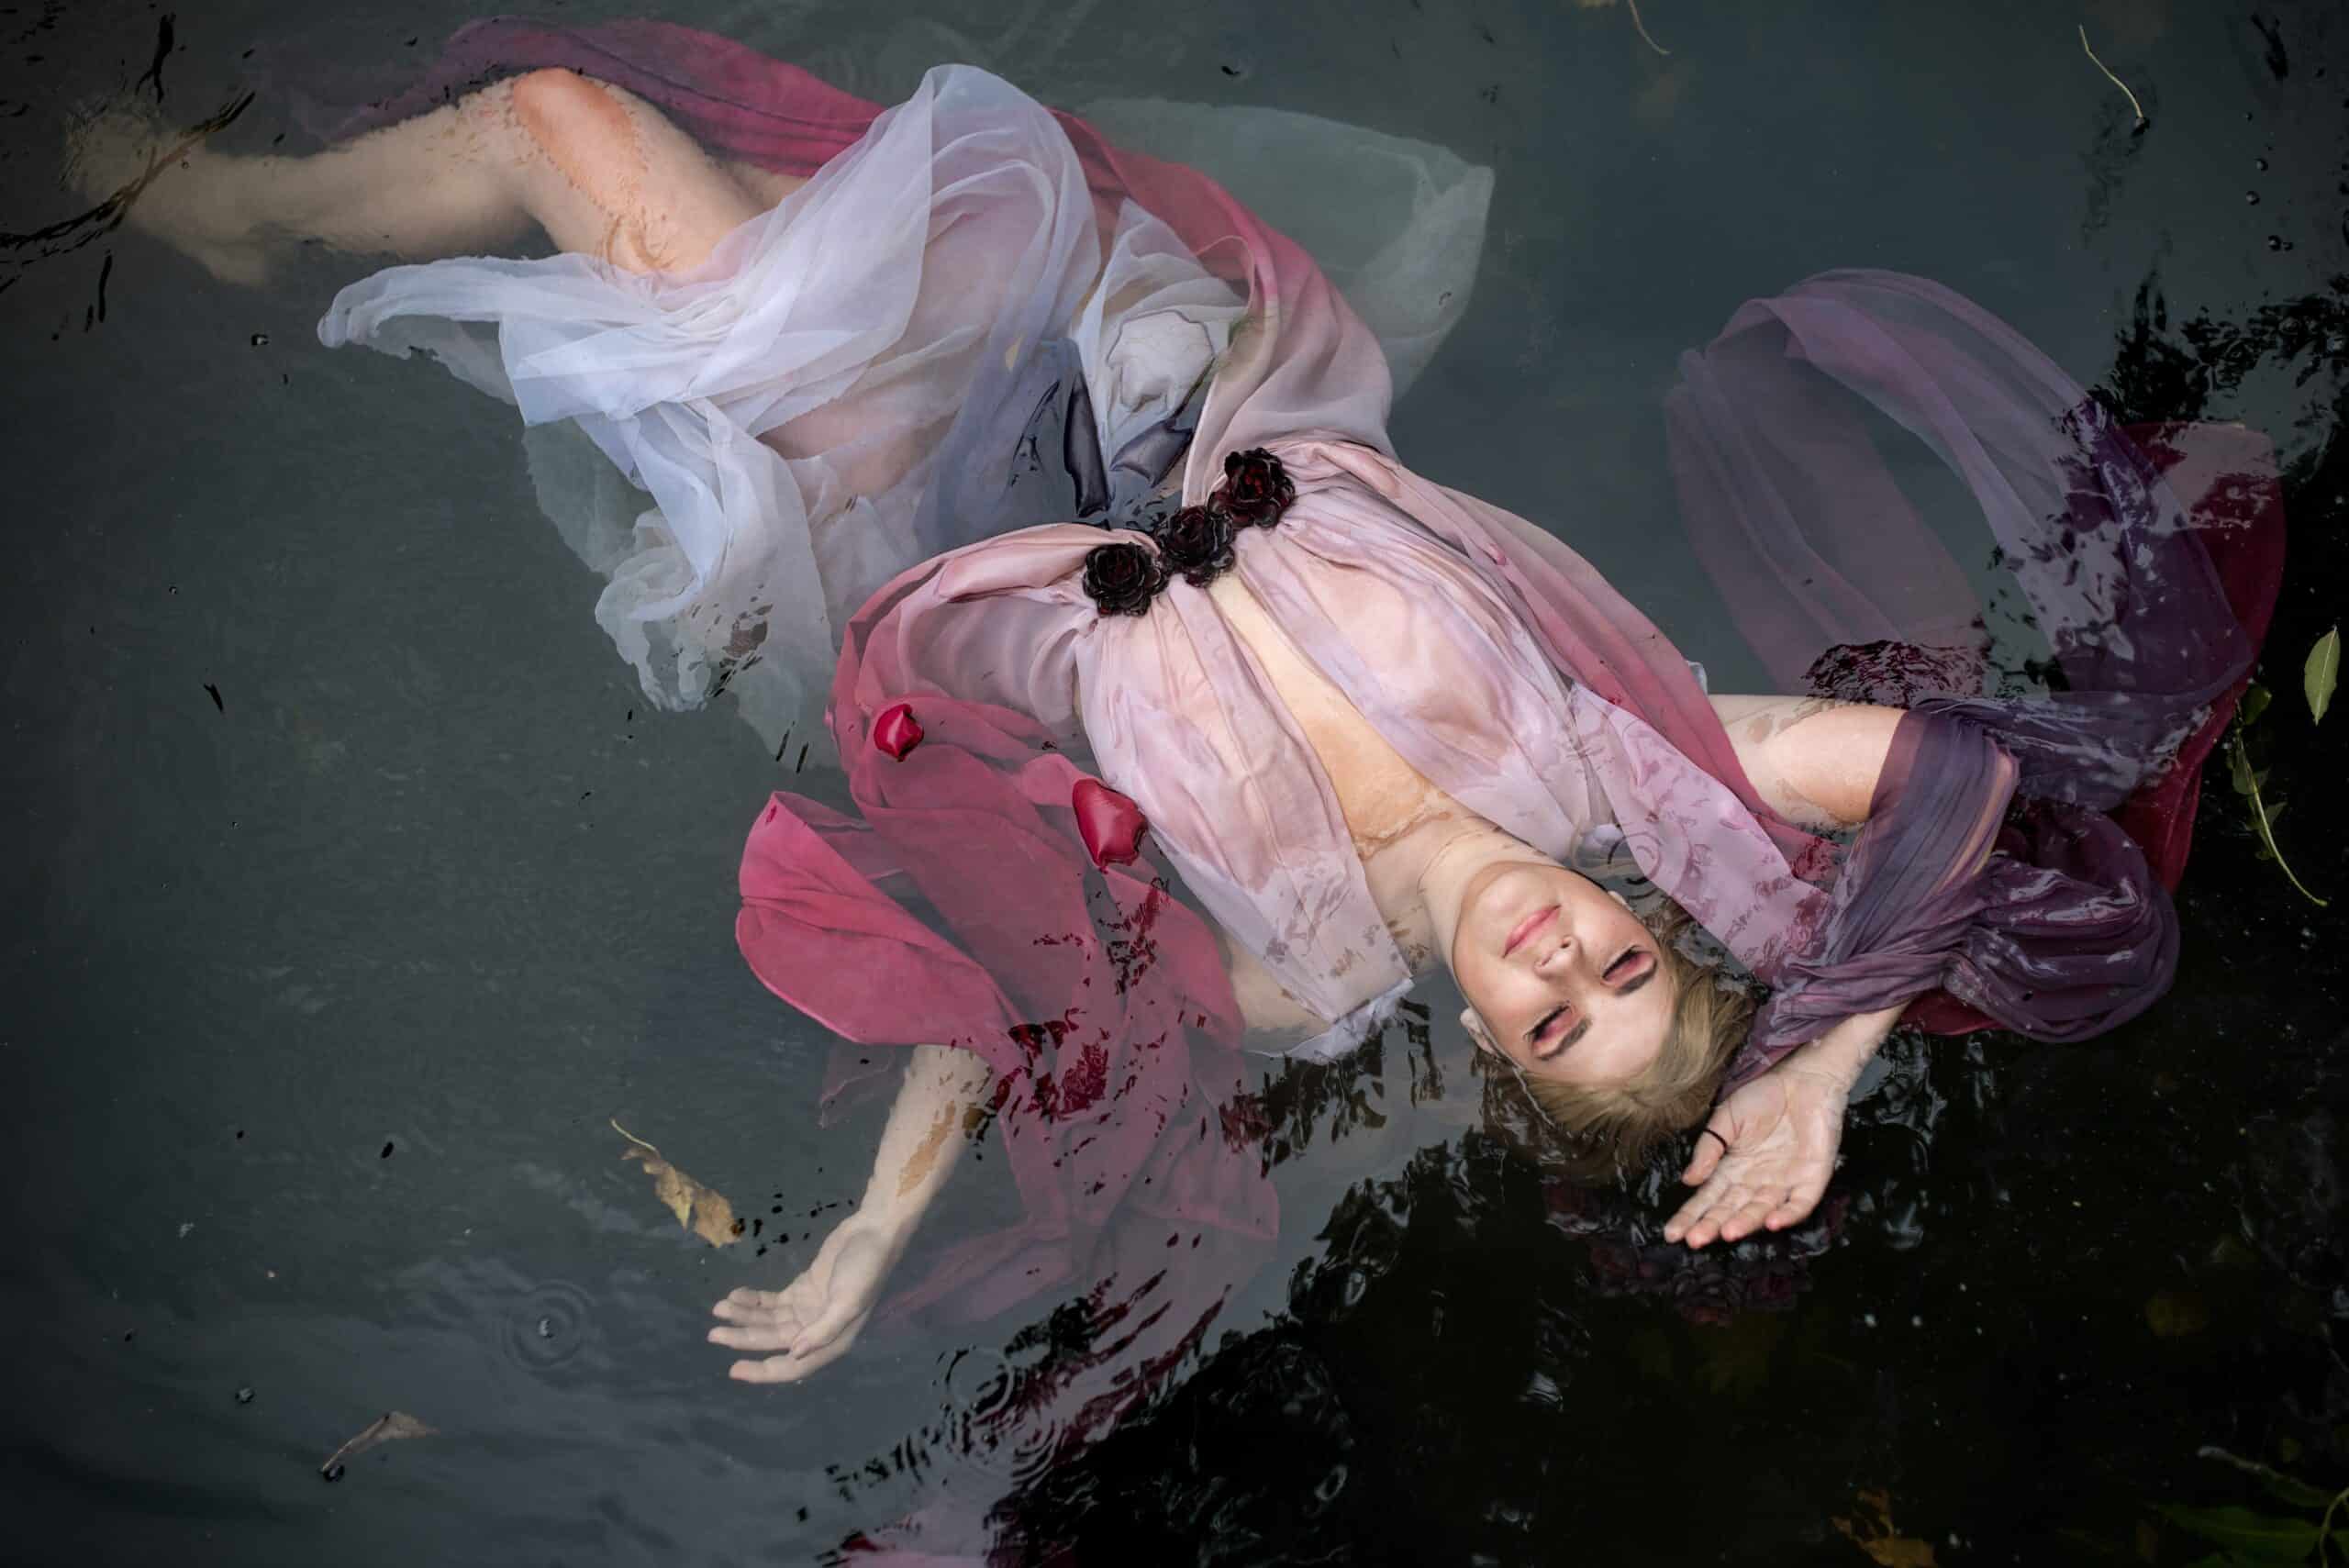
You can bring a flash if you have one you like working with. You can also bring just a reflector and use natural light. For instance, if you’re shooting the model from above floating in the water facing the sky, natural light is ideal.
How to do a photoshoot like this?
First, learn about your model’s relationship with the water. You may find your model is not a total water lover. If not, give them time to acclimate to the water and get accustomed to the untraditional setting. Don’t force anyone to do anything they’re not comfortable with.
Our tips for water photography:
- On the water’s surface: Bring the camera as close to the water’s surface and let the water “spill over” the entire photo. Keep your model at the center of the photo and let the water’s edge split the photo in half. Be careful not to let a wave or splash of water get your camera wet. Get as close to the water as you can while keeping a safe distance.
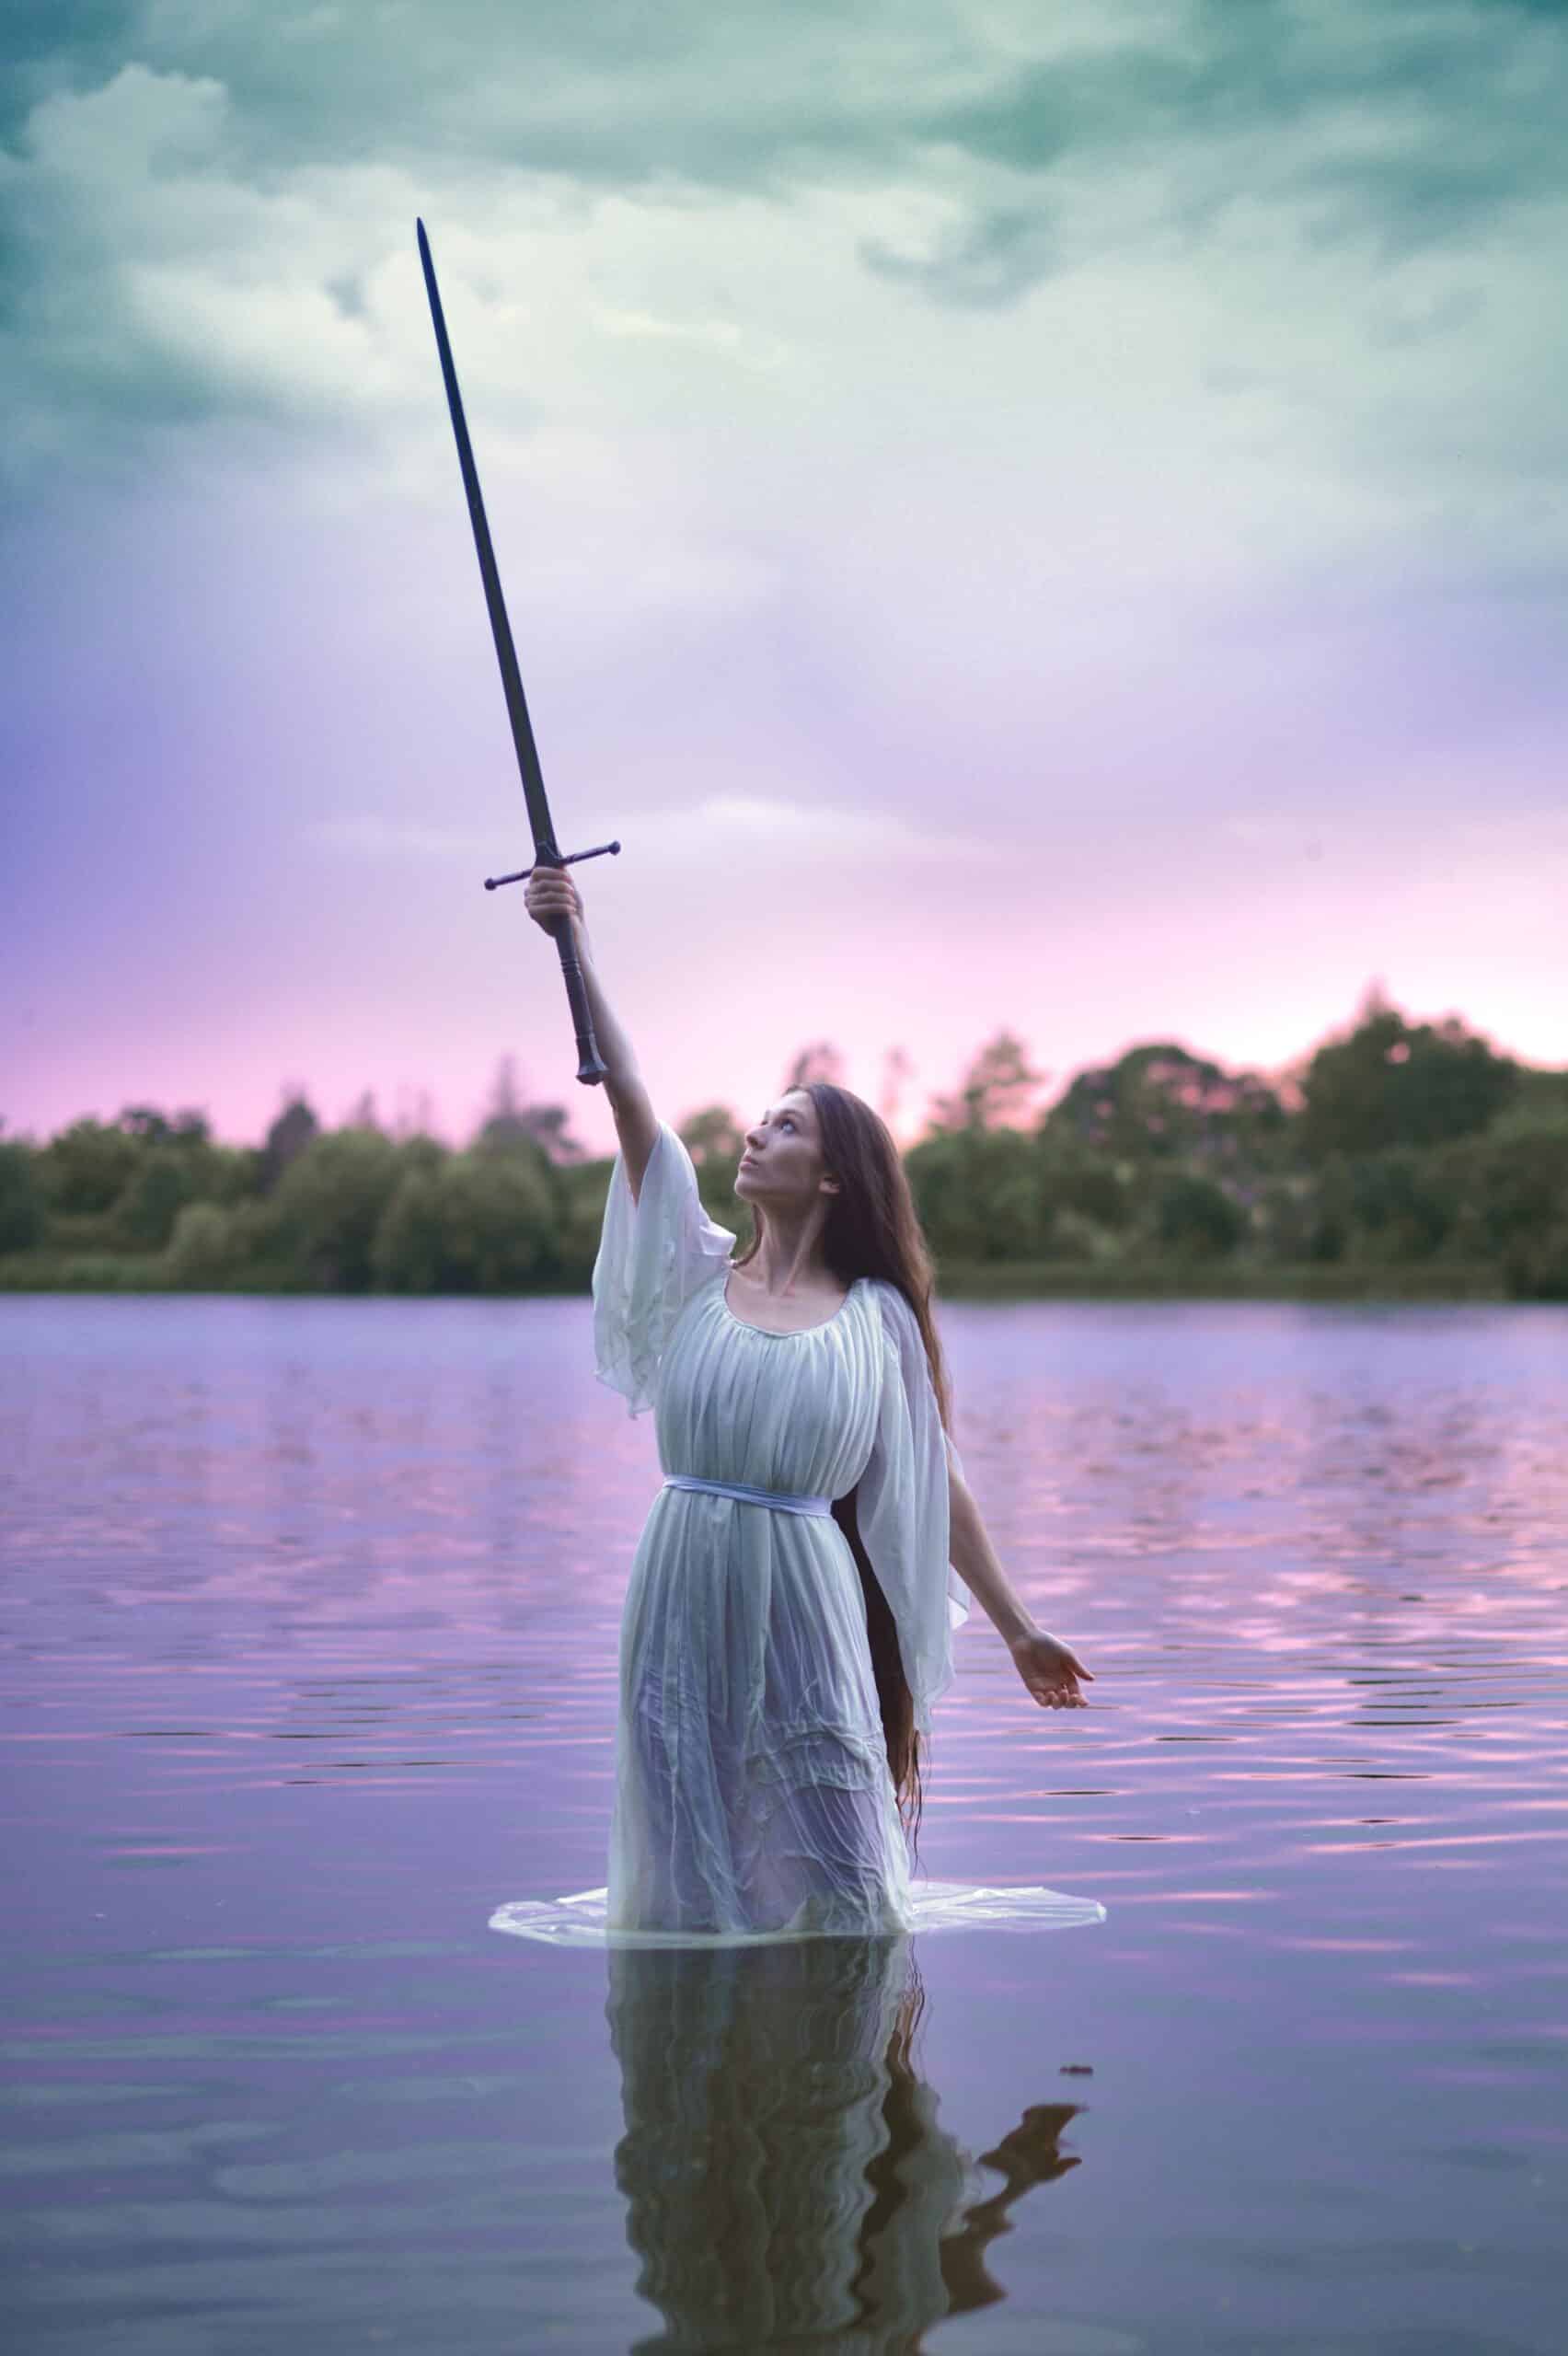
- Toward the sunset: If it’s the golden hour, photograph your model in backlight. The light will beautifully reflect in the water and the pictures will turn out beautifully backlit.
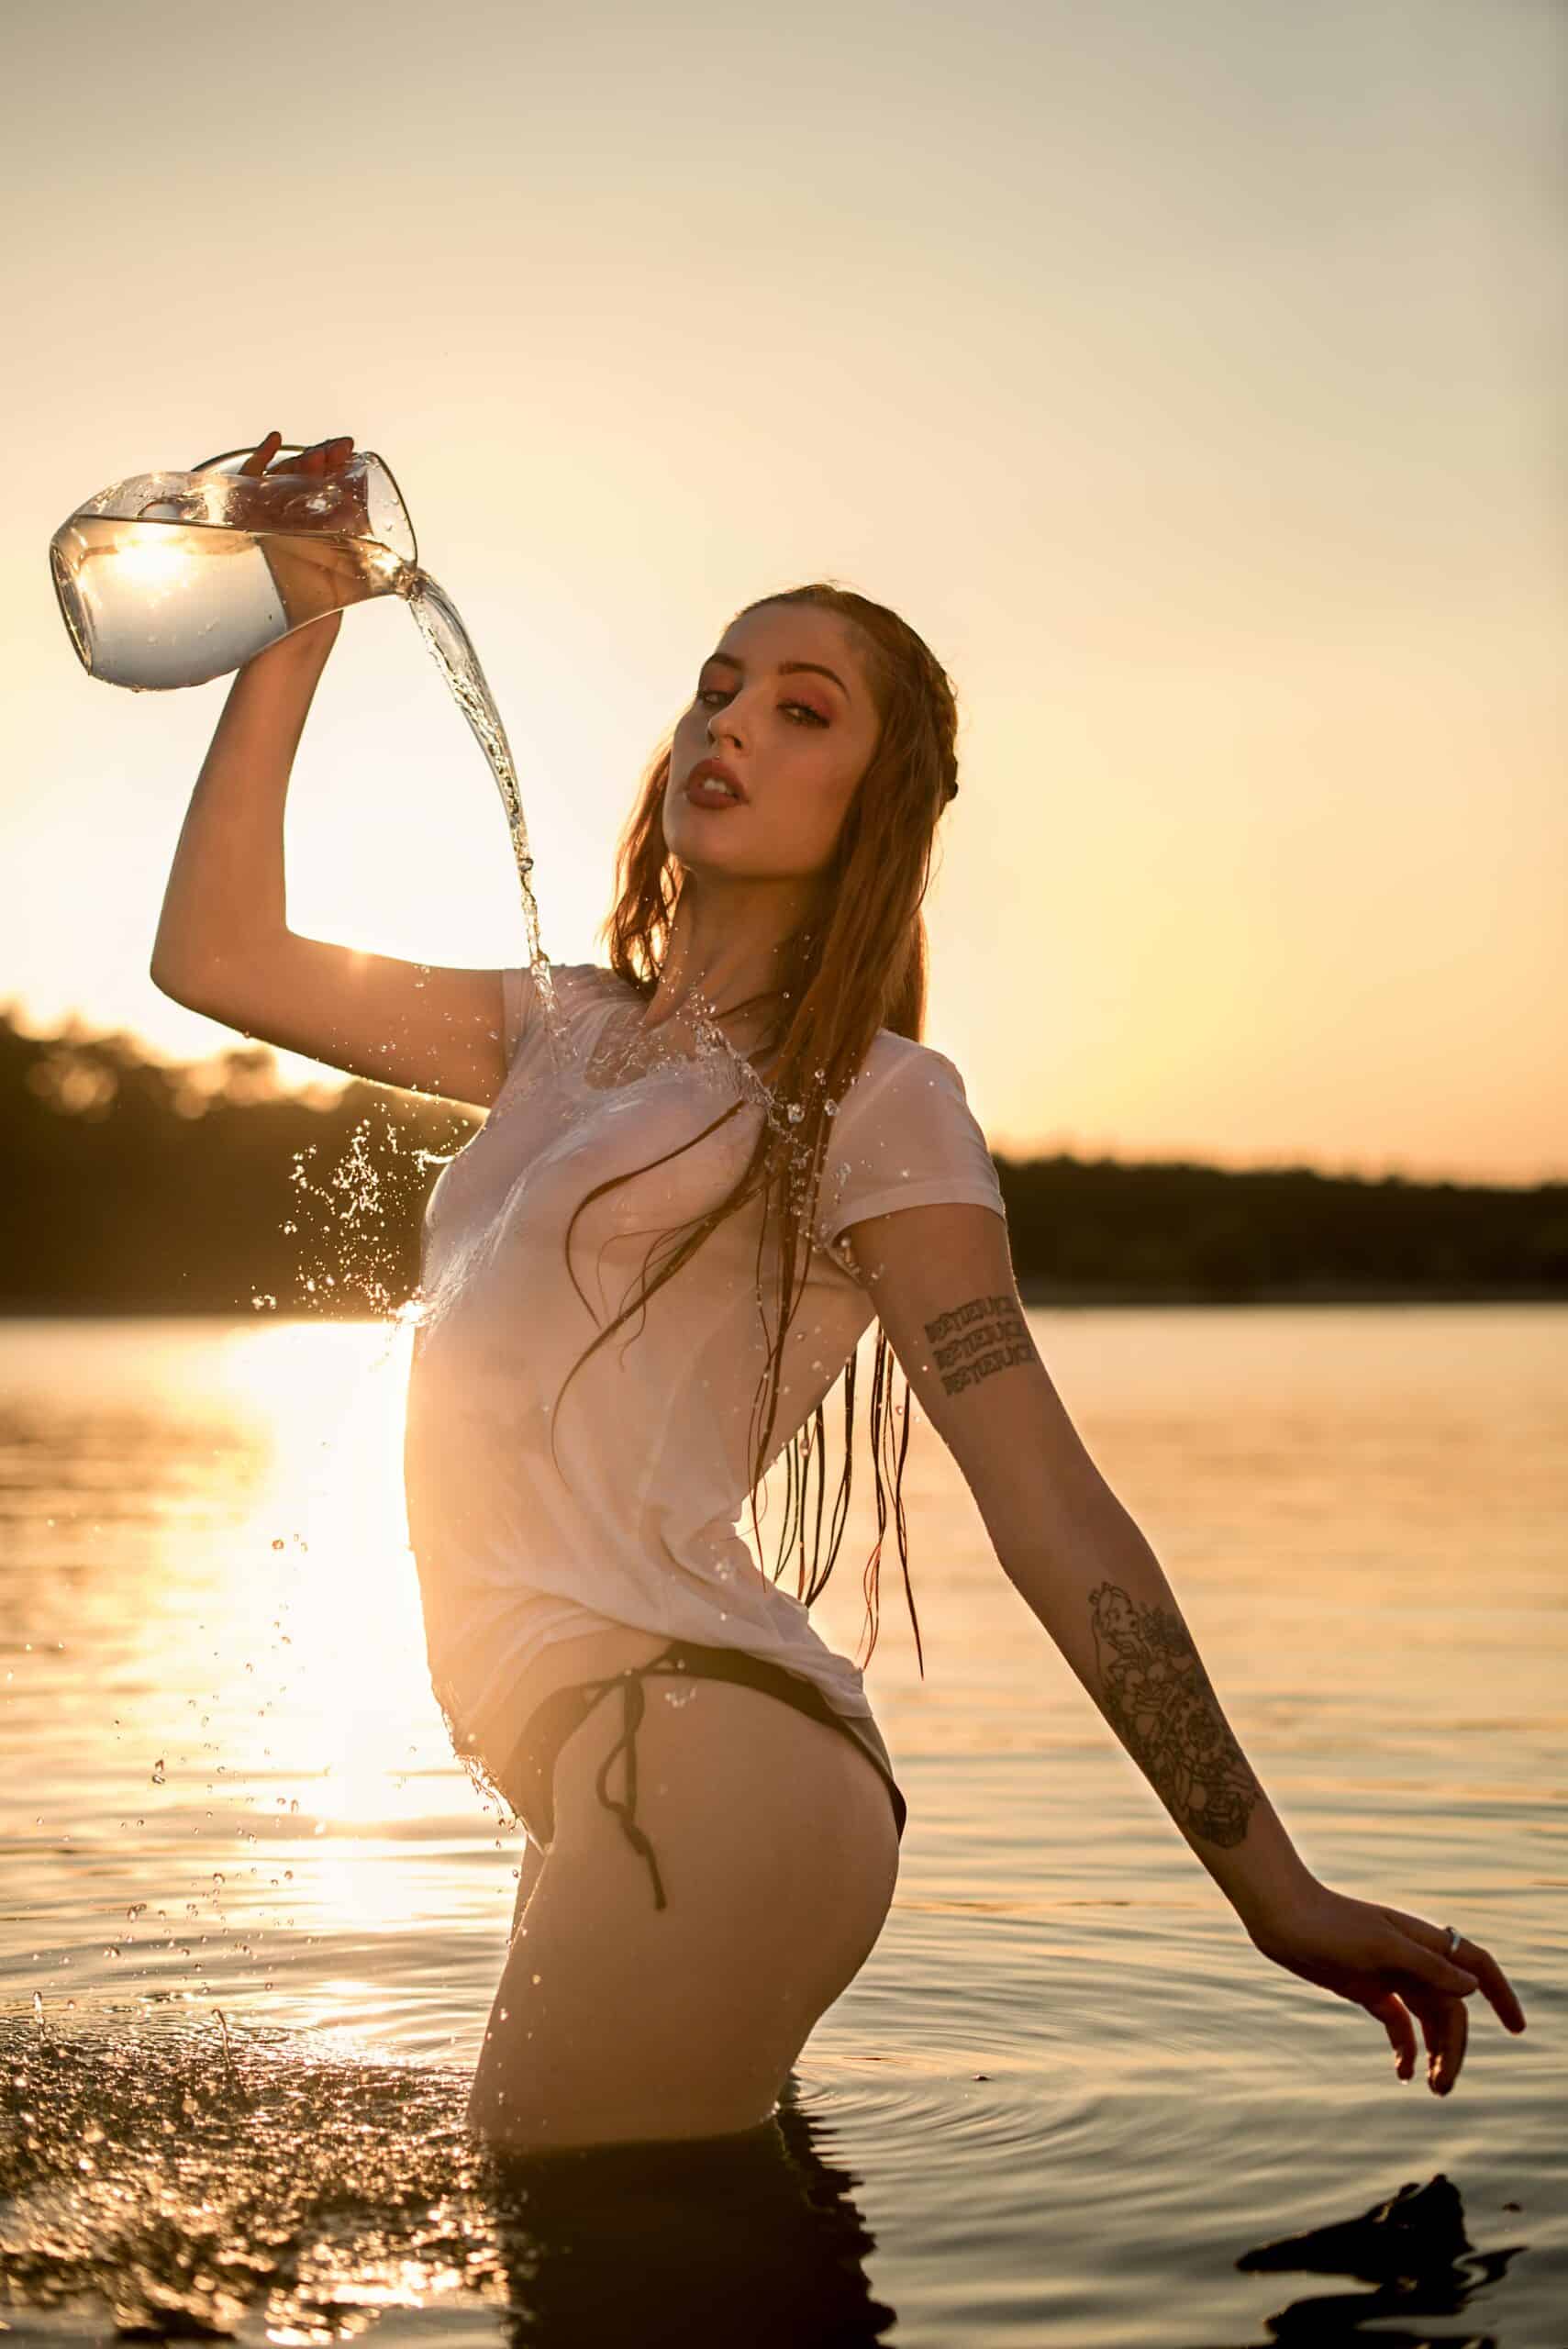
Backlight can be magical. Nikon D90, Nikkor 50mm f1.4, 1/4000s, F2.2, ISO 200, 50mm - Do a hair toss! Your model can try wetting the ends of their hair and then toss their head so that the flying hair and water create an arc around the model. You’ve probably never seen a photo like this before. Be sure to set a very short shutter speed for this type of shot.
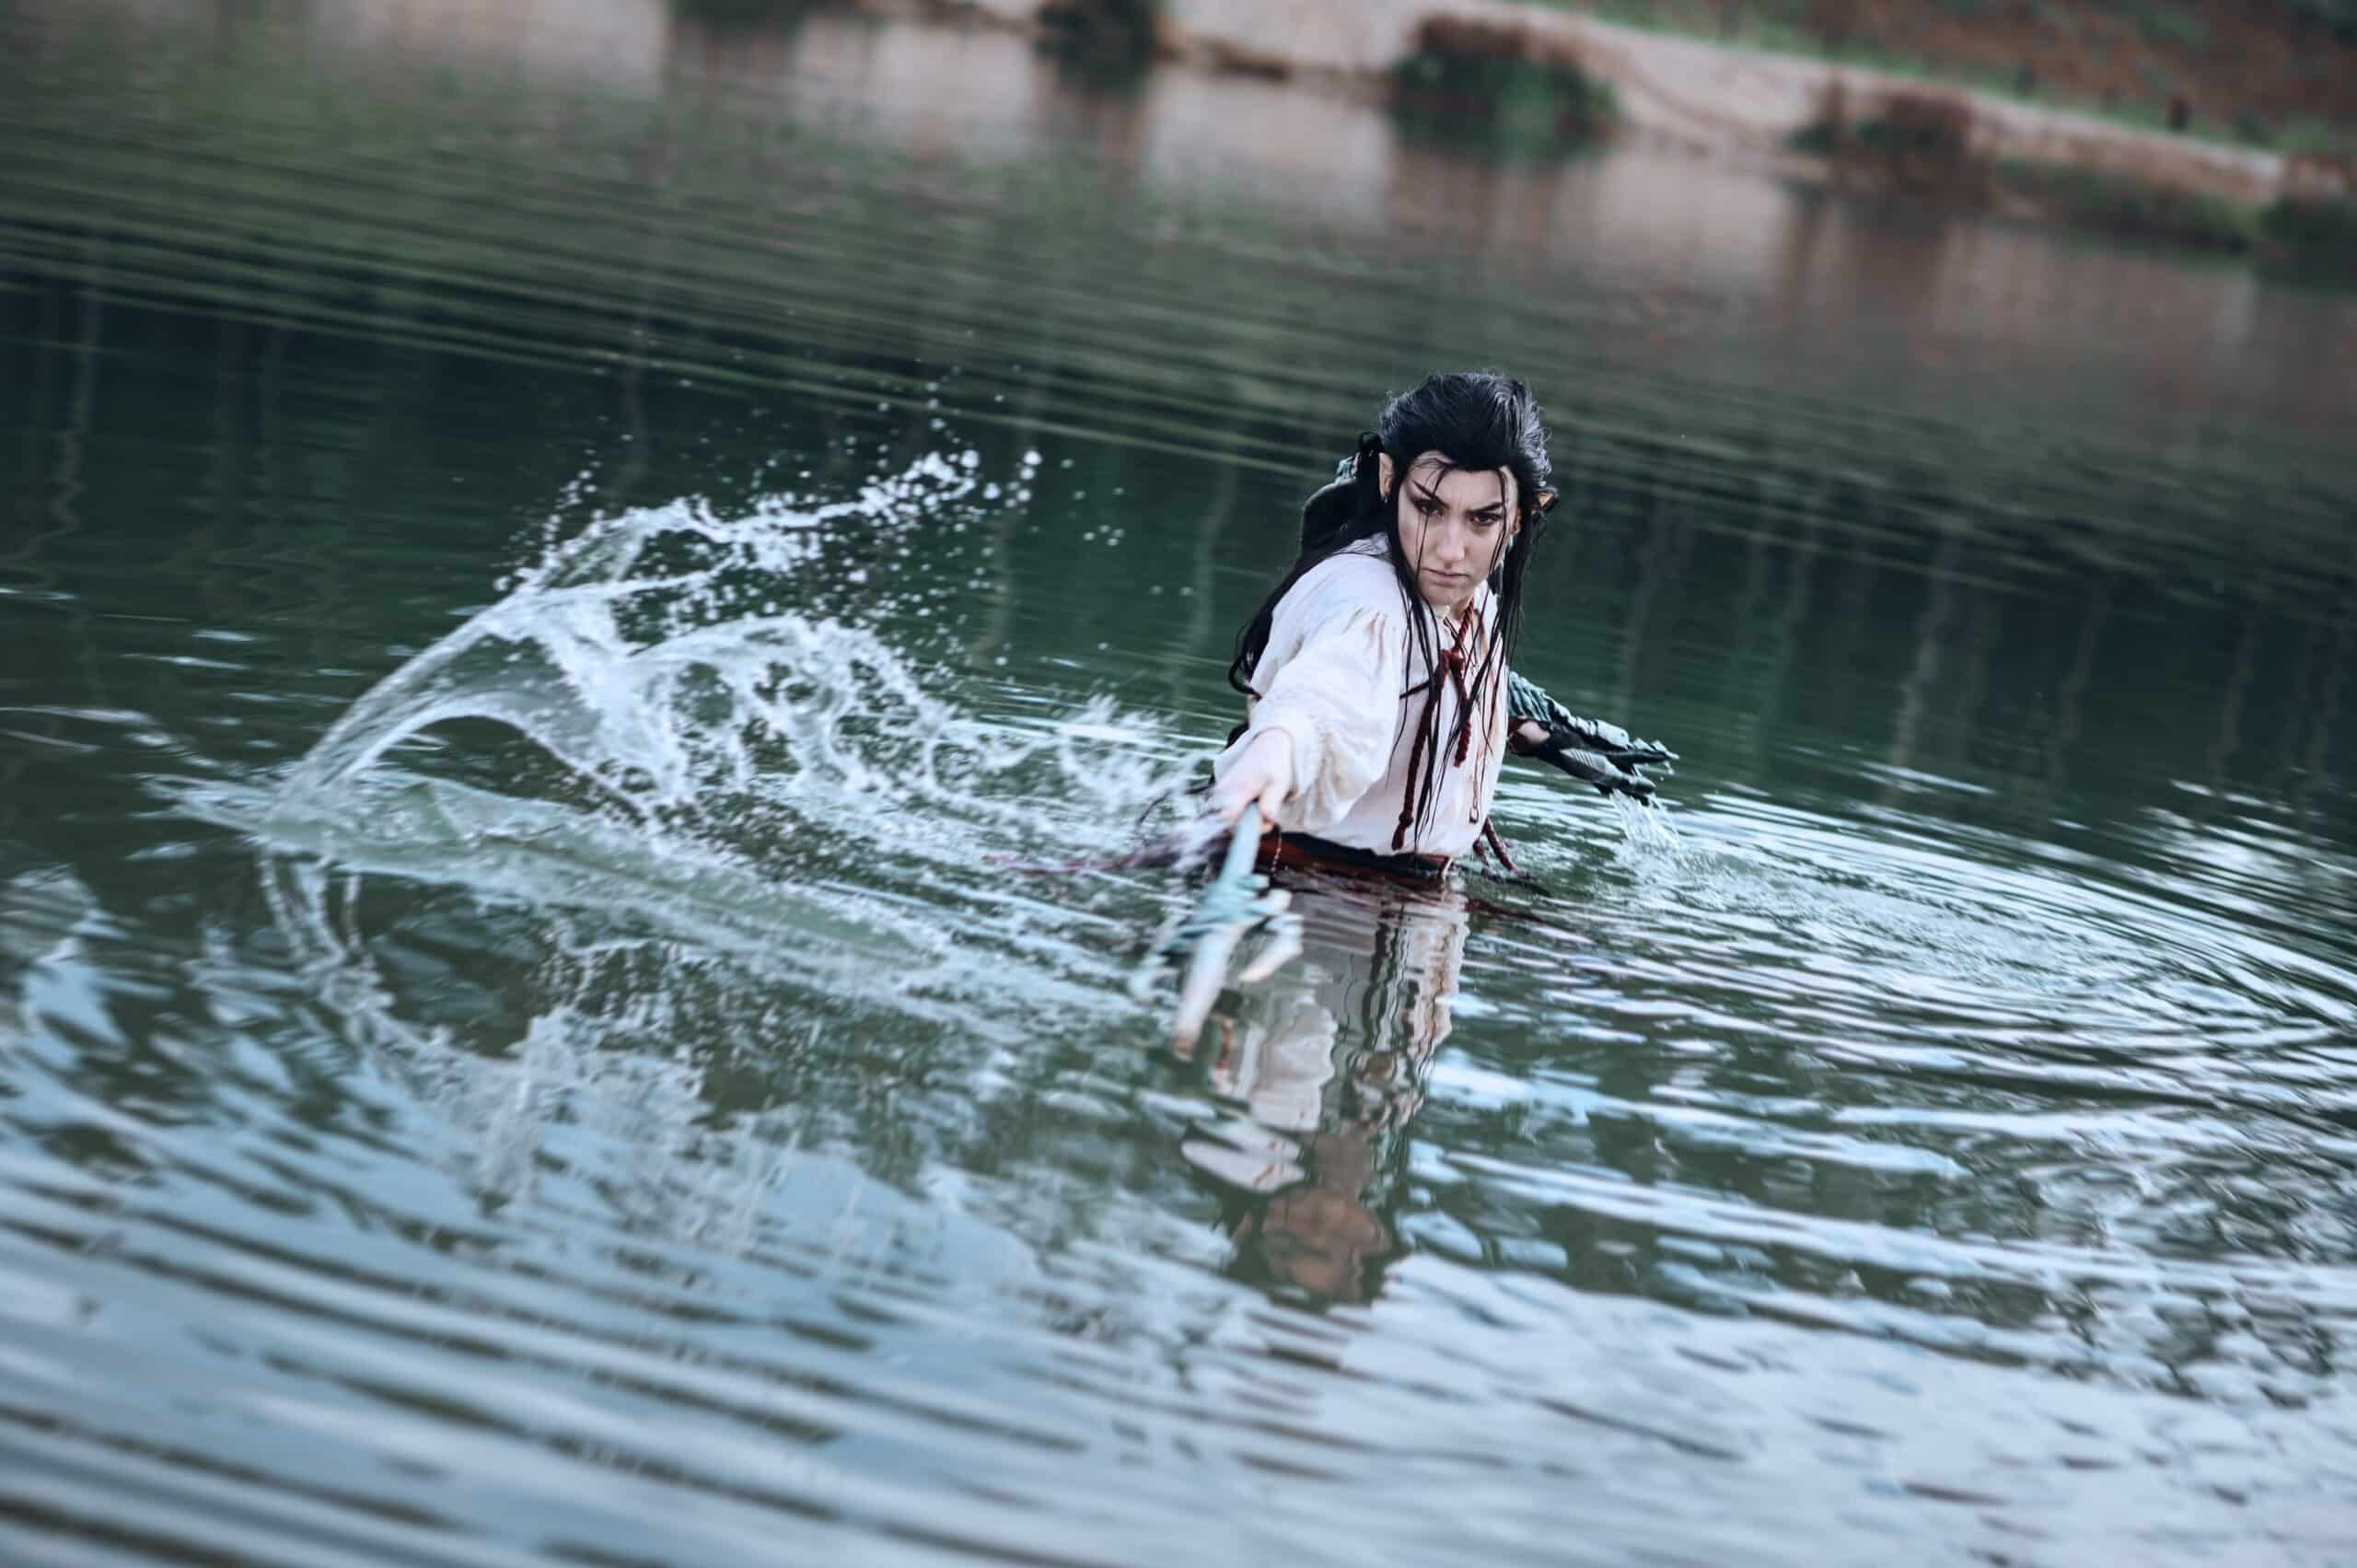
You can toss much more than your hair, the options are endless. Nikon Z6II, Nikkor 85mm f1.8, 1/500s, F2.8, ISO 100, 85mm - Floating model: Try placing your model in the water and shooting first on the surface and then from above. If the water is calm, shooting on the water will give you beautiful, mirror-like reflections.
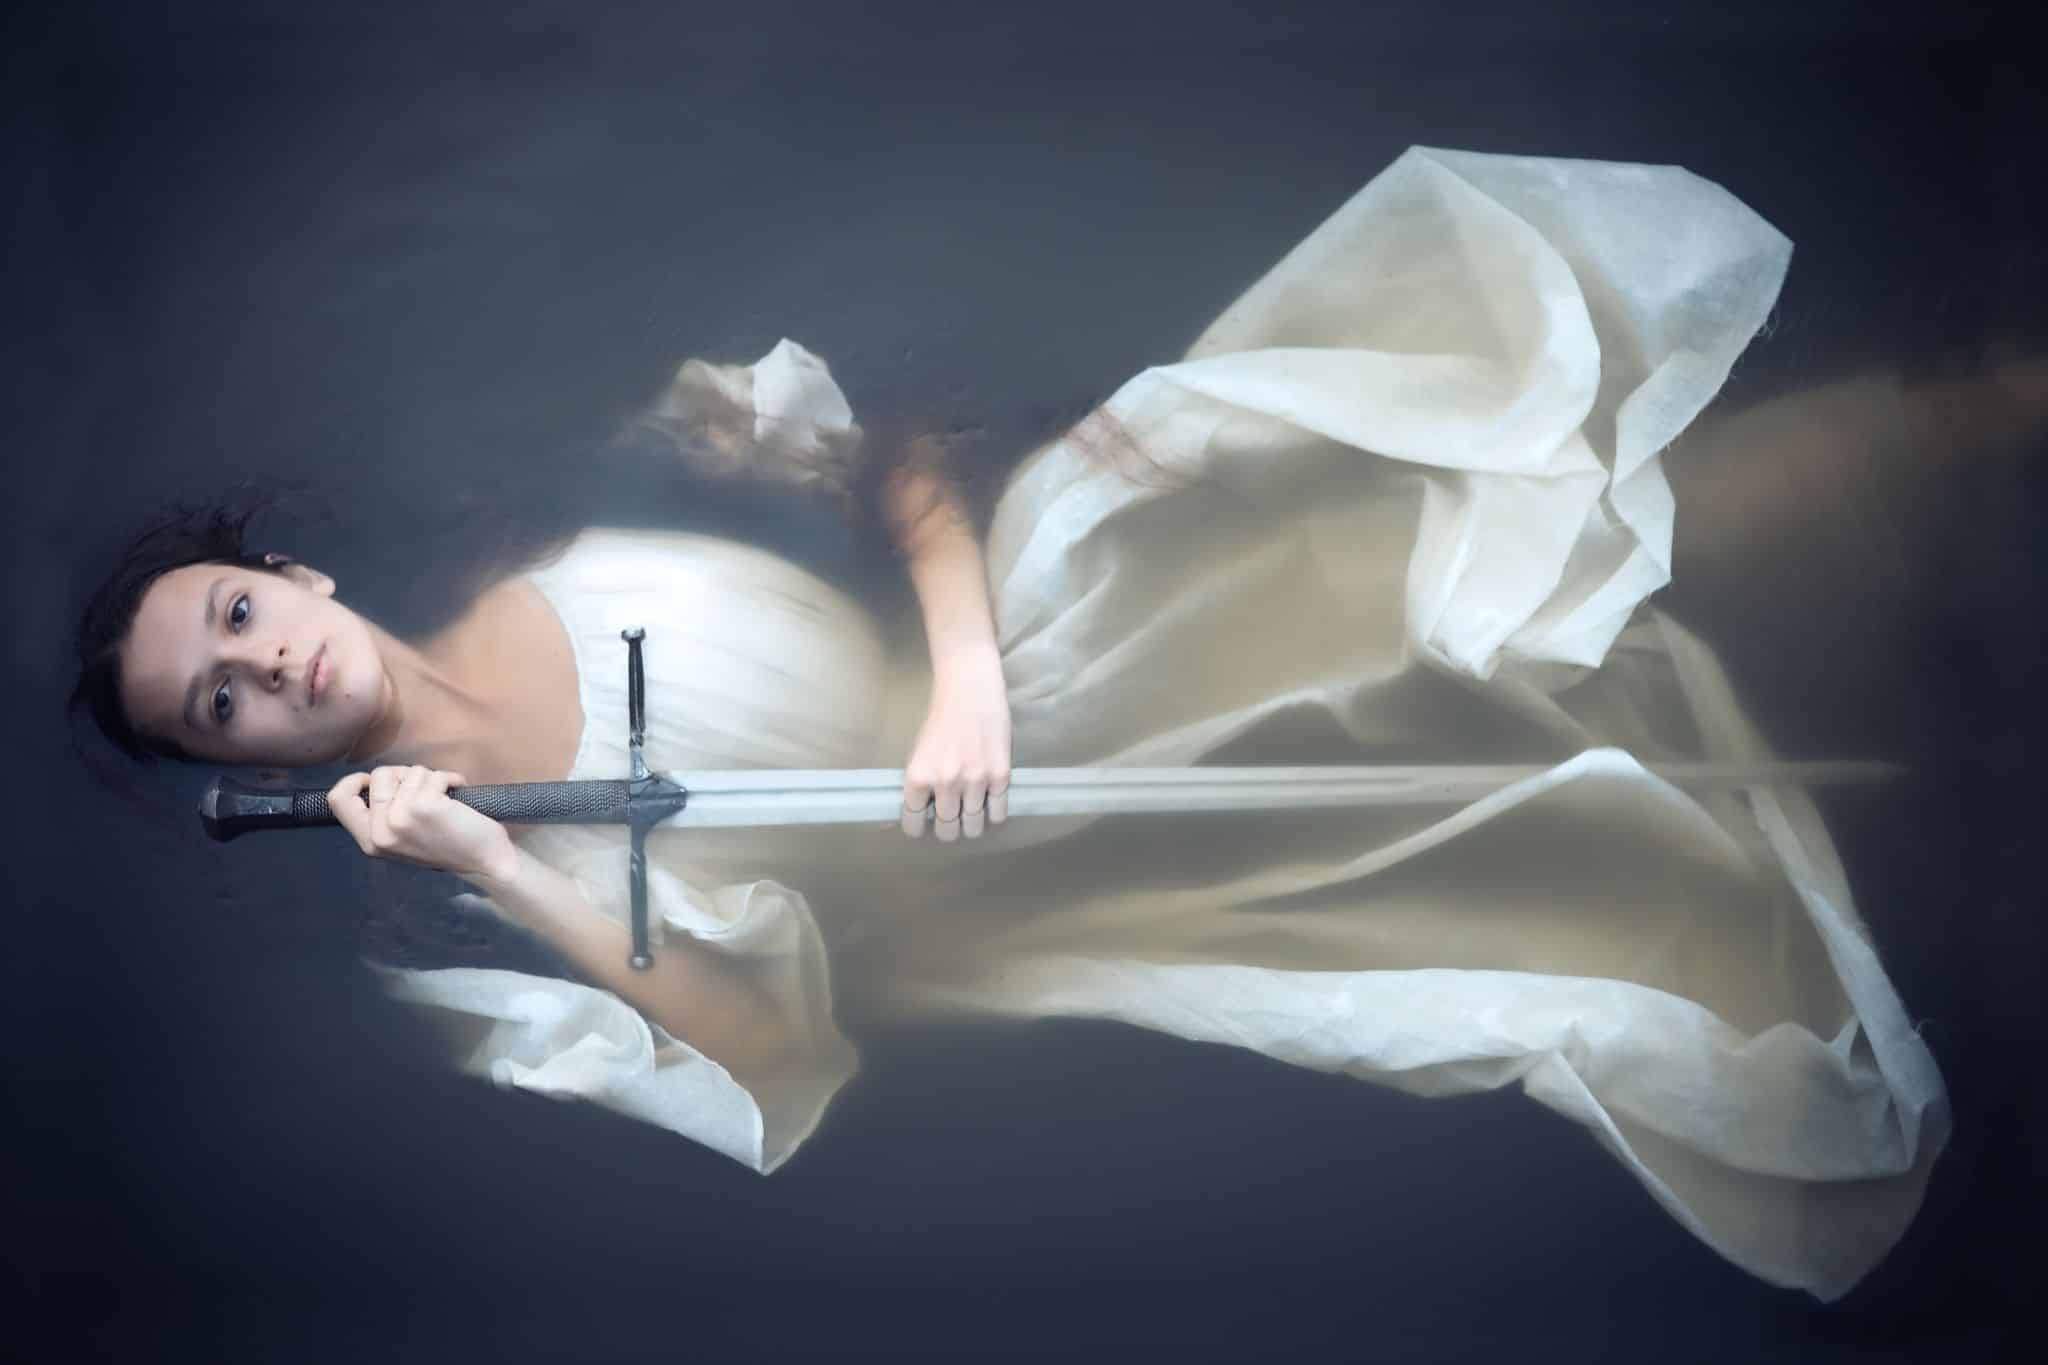
- Reflections: Generally, watch for reflections and mirroring in the water. This has great potential for very unique photographs, whether it’s reflections of your model’s face or the entire figure.
- Completely submerge your model: Try shooting your model as they puts their face just a few centimeters under the surface. You obviously stay above the surface with your camera, but the model completely submerged looks stunning. Your model needs to be able to last a few moments underwater for the water to stop rippling.
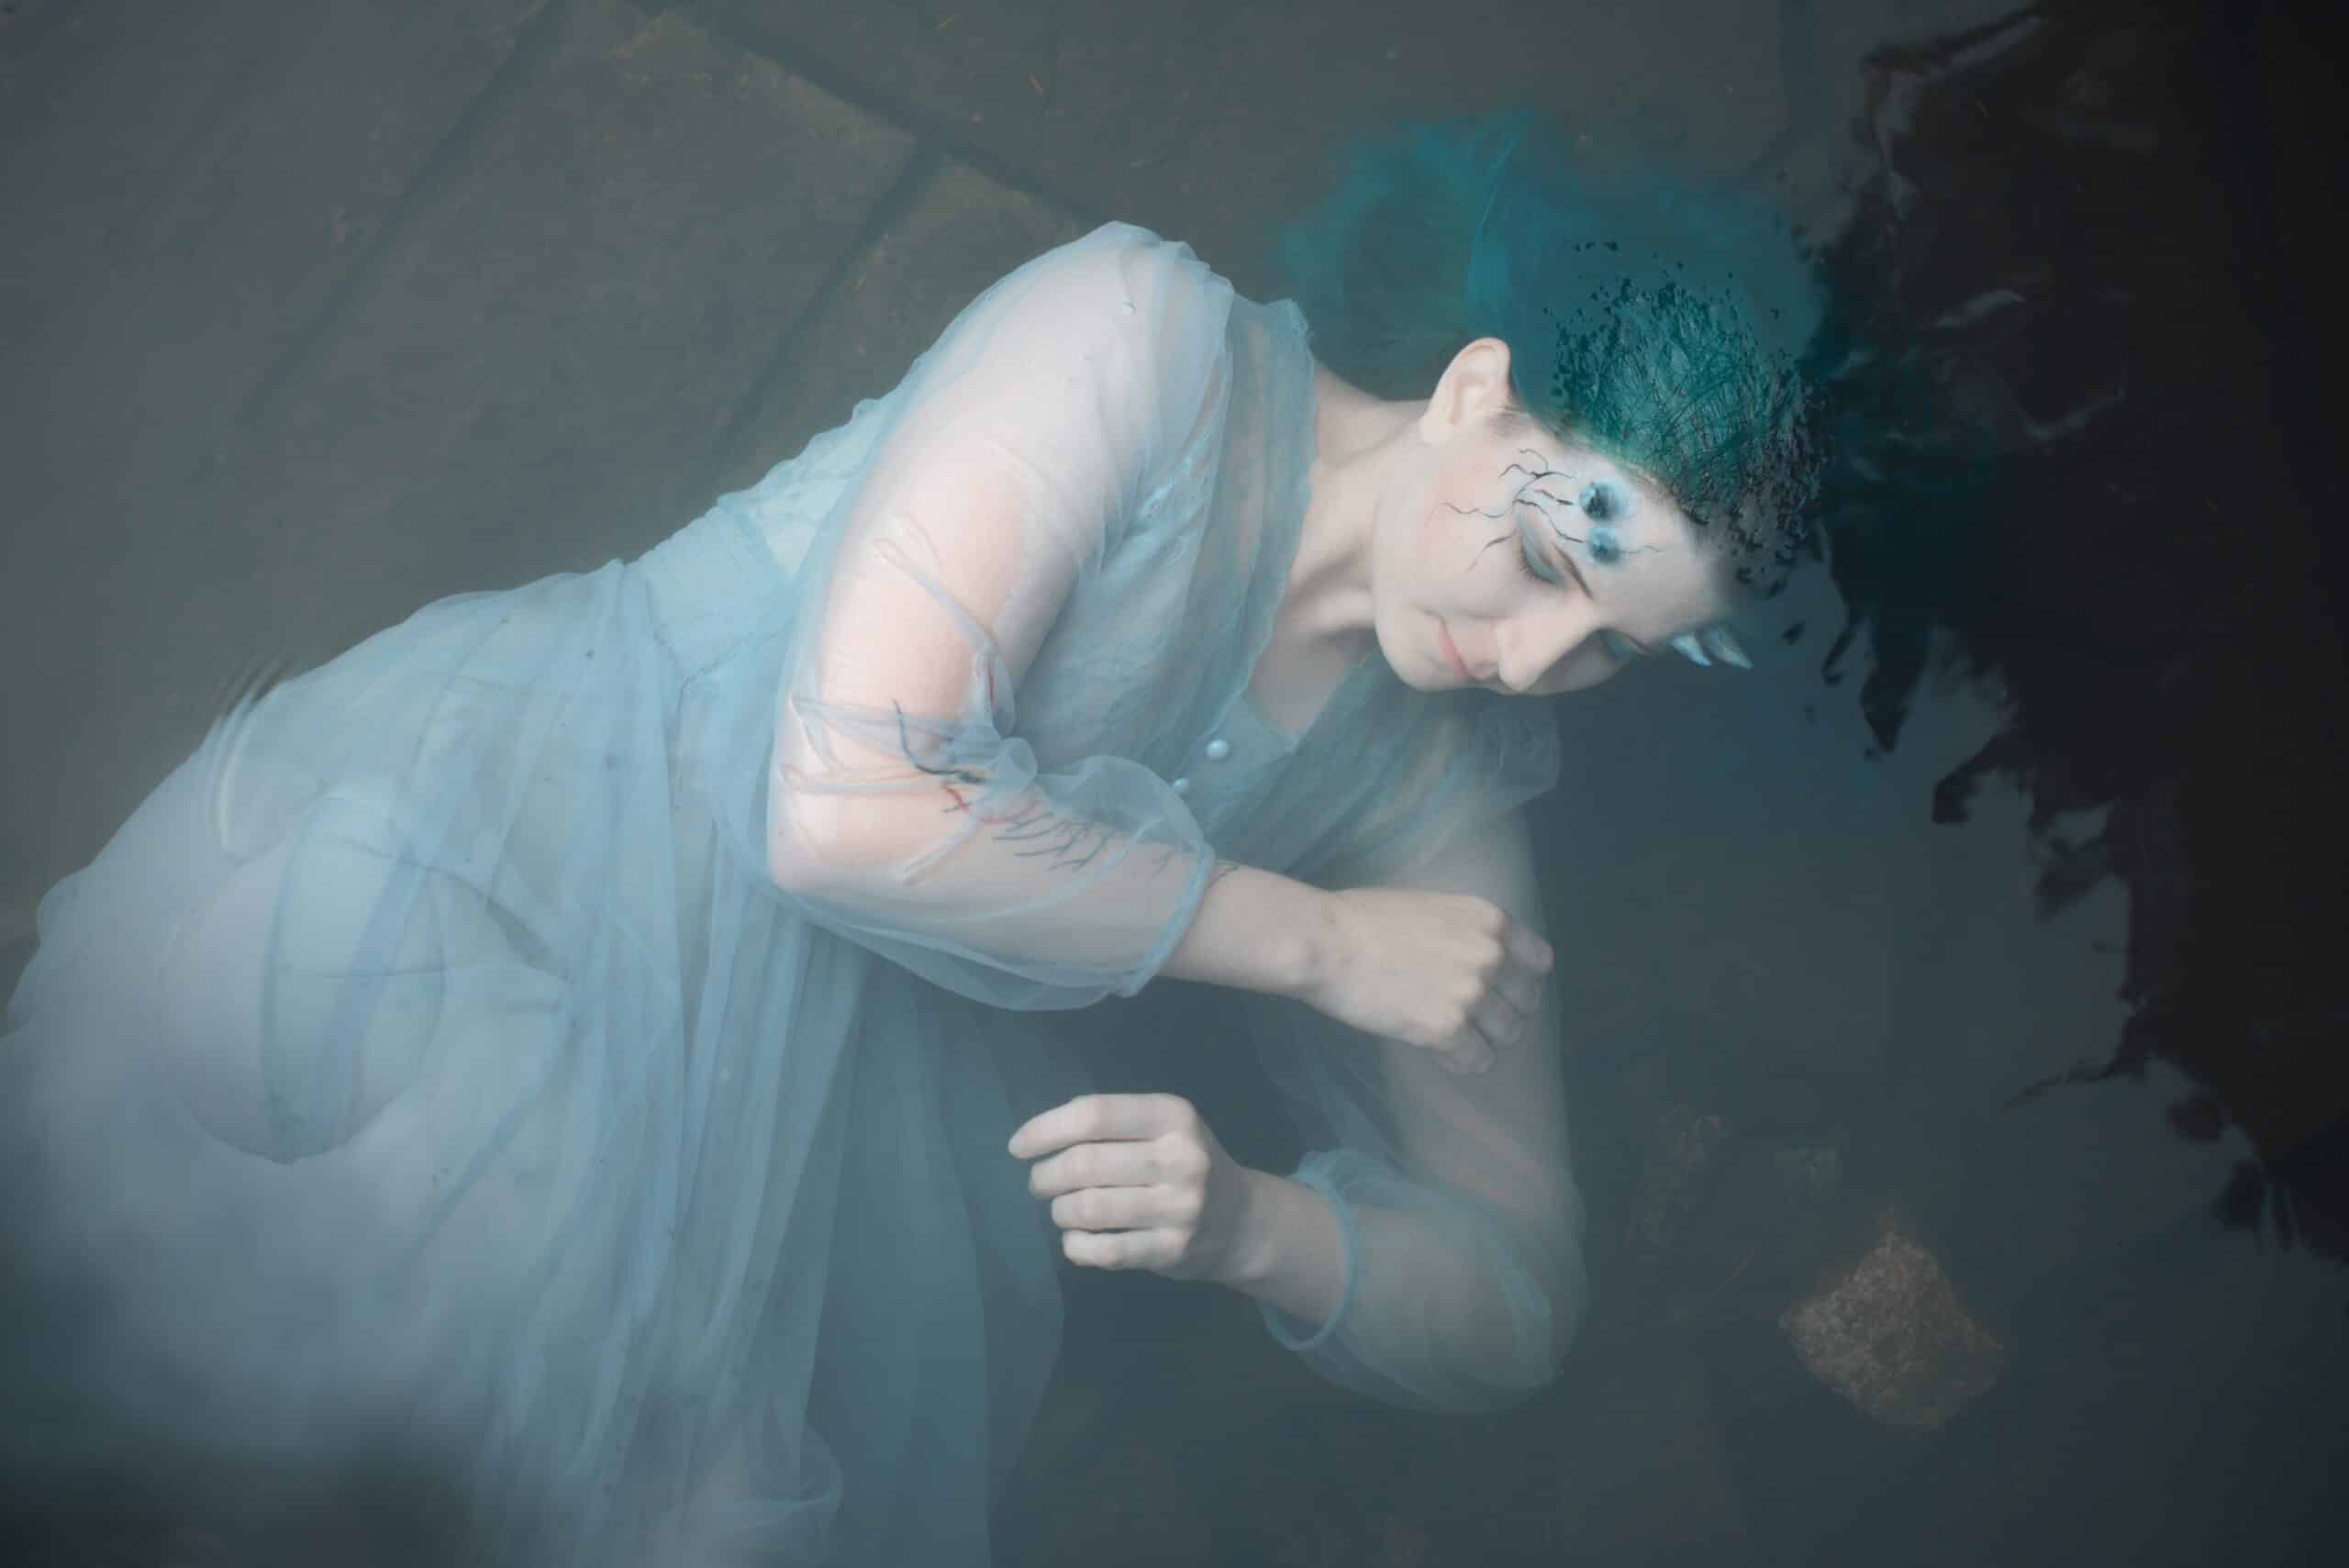
There are plenty more options when it comes to water photography. These are the basics for getting started. Don’t be afraid to manipulate the water, splash it around, pour water on your model, or stir it up. Keep your camera at a safe distance and look forward to some fantastic shots!
