What Resolution Should You Use for Printing?
The times when camera makers were waging megapixel wars are gone. And even the smallest resolution that you’ll regularly encounter in new cameras is enough to let you print your photos at fairly large sizes. So how is it with MPx counts, and what do they mean for your printing?
Camera resolution essentially means the size of the pictures that a particular camera can produce. So if your camera has a sensor with a resolution of 24 MPx, its pictures will be made up of at most 24 million pixels. If we take the sizes in pixels of a photo’s sides and multiply them, we get the number of pixels that are contained in its image rectangle.
A camera sensor’s resolution in MPx is one of the basic parameters you can use to evaluate the quality of the pictures it produces. Theoretically it may seem that the more MPx a camera’s sensor has, the more detail the camera can record. However, in practice, it depends on the size of the sensor’s individual photosensitive cells.
The large cells in digital cameras and other cameras with large sensors can take in more different light levels and thus generally have better detail than the small sensors in compacts and cell phones. In their case, there tends to be a lack of “distance” between detail and digital noise, reducing image quality.
How Do You Work With DPI?
In connection with resolution, you often also encounter the acronym DPI (Dots Per Inch). Resolution given in DPI is used when printing photos, or more generally when printing anything at all.
Through DPI, a printer tells us at what density it is printing. For scanners, meanwhile, the DPI tells you how much information the scanner can capture. The rule is, meanwhile, that the higher the resolution, the finer the details that the device can distinguish and record.
MPx vs. DPI: Do You Know the Difference?
It is very important to distinguish between physical resolution, i.e. the resolution of a sensor, and resolution in DPI. These are two different pieces of information that tell us two different things.
The first tells us how many pixels a camera has recorded. The second, meanwhile, tells us with what density of dots an image reproduction device is working. Put simply: how many pixels the printer “consumes” when printing one inch of the photo.
This is also the reason why some might say that you can get a picture the size of a sheet of paper from a 3MPx camera, and others might disagree. Both opinions are true, from the standpoint of two different printing resolutions.
How large of a photo can you print?
When you know a photo’s resolution in pixels and also the resolution in DPI set for the printer, you can calculate how large of a picture you can print. In general, for printing (not only of photos but also e.g. of newspapers or magazines), the ideal resolution is 300 DPI. But often you can also make do with a lower resolution.
Most photo labs that use digital technology for printing (that is, not analog offset printing) can make do with a lower resolution. Typically 150 DPI and up. Classical inkjet printers that you print on at home generally have the above-mentioned maximum of 300 DPI. But Epson printers work with a resolution of 360 DPI.
There is a simple formula for the relationship between DPI, pixel count, and printing size, which you can use to calculate how large a photo you can print:
length [inches] = number of pixels [px] / DPI
For measurements in centimeters, multiply number of pixels above by 2.54.
| Camera resolution | Image size (in pixels)
A 3:2 aspect ratio. |
Image dimensions at 300 DPI (in inches) | Image dimensions at 150 DPI (in inches) |
| 4 MPx | 2,449 x 1,633 | 8.2 x 5.4 | 16.3 x 10.9 |
| 8 MPx | 3,464 x 2,309 | 11.5 x 7.7 | 23.1 x 15.4 |
| 12 MPx | 4,242 x 2,828 | 13.8 x 9.5 | 28.3 x 18.9 |
| 16 MPx | 4,898 x 3,265 | 16.3 x 10.9 | 32.6 x 21.8 |
| 24 MPx | 6,000 x 4,000 | 20 x 13.3 | 40 x 26.7 |
| 36 MPx | 7,348 x 4,899 | 24.5 x 16.3 | 48.9 x 32.3 |
| 50 MPx | 8,660 x 5,773 | 28.9 x 19.3 | 57.7 x 38.5 |
Can I Print Bigger Photos Too?
The size table assumes that the photos will be viewed from close up (from 4 inches to a foot). However, if you want to print, for example, a poster, which people will view from farther away, then feel free to use a much lower DPI. Since your audience will be farther away, the relative sizes of the printing dots will be smaller for them.
As an illustration, I’ve created a simple graphic that has a print size of 1.97 x 1.31 inches at a resolution of 360 DPI. Its size in pixels is 0.33 MPx.

I printed it out at this size and then photographed it from over a foot away—just close enough to let it still fill up the photo.
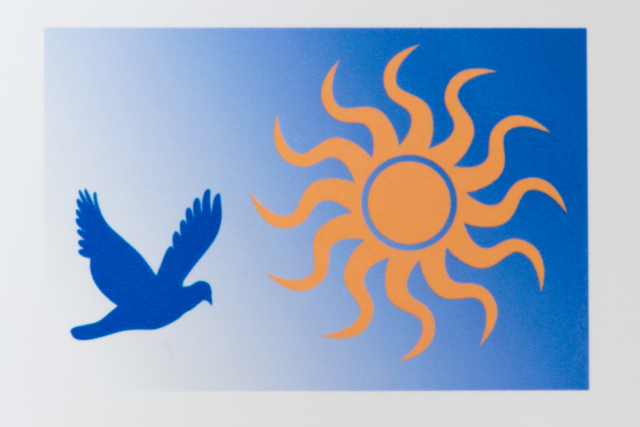
I printed the same graphic at a resolution of 72 DPI and photographed it from the same distance as before. The print is several times larger, and some damage to the image’s contours is visible. The printing grid is noticeable, and so the photo is not appropriate for viewing from close up.
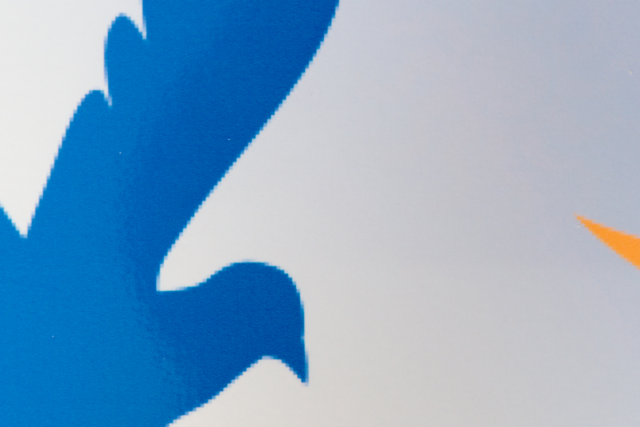
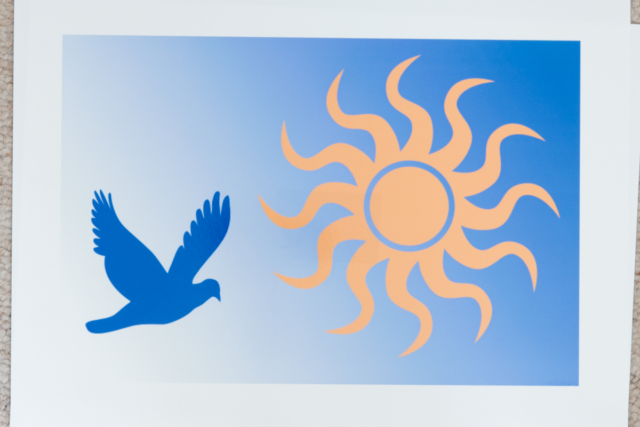
I then photographed the large 72 DPI printout from a much larger distance, a bit under 5 feet, so that it would be the same size in the final picture as the original smaller printout was. The picture quality is practically identical to that for the small printout with a high resolution observed from close up.
How to Set up Printing in Zoner Studio
To correctly set up photo printing size and resolution in Zoner Studio, you don’t need to calculate anything. Go to the Edit menu and use Resize (or press Ctrl+E). It will calculate everything for you. Set the “Method” to “Change DPI Only.”
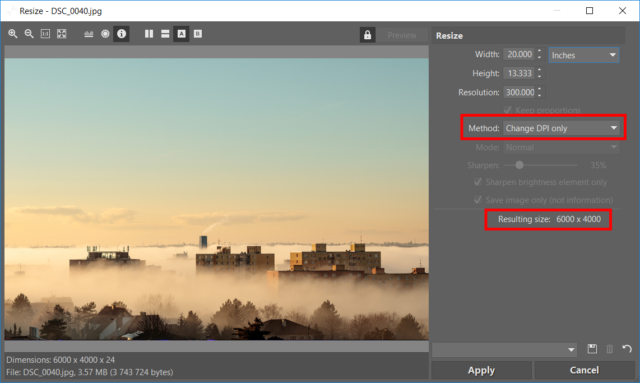
When you change the resolution, Zoner Studio automatically calculates the size that the photo can be printed at with this resolution.
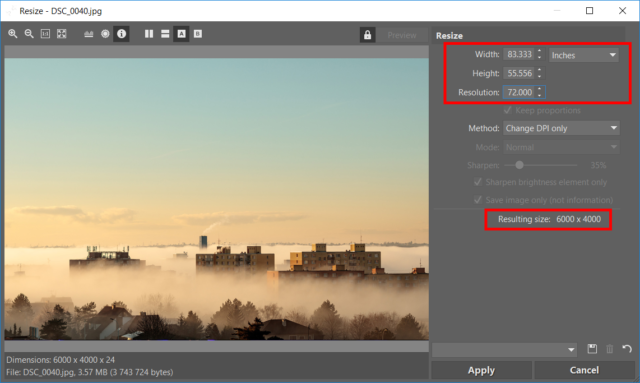
Don’t forget to always save any print-optimized photos as copies. Leave the originals, with their original resolution, untouched.
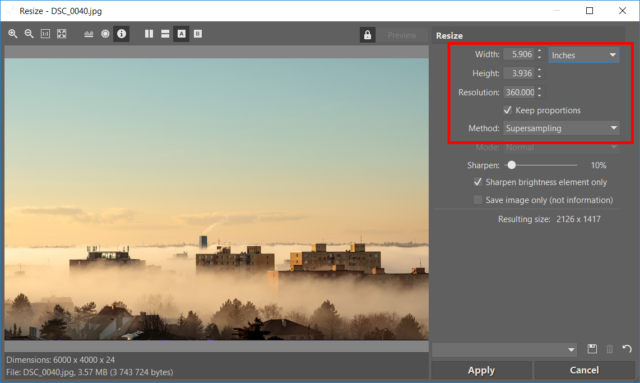
You Have More Pixels Than You Need
It’s safe to say that a camera with an 8 MPx resolution is more than enough for good photo printing. And meanwhile today’s cameras will rarely have a value this “low.” The standard resolution is around 20 MPx. Thanks to this, you can take the liberty of cropping photos fairly heavily while still leaving enough data for high-quality prints.
Incidentally, an 8 MPx photo resolution corresponds to a 4K video recording, which is becoming a standard today. So you can even print at high quality using stills from standard video recordings.