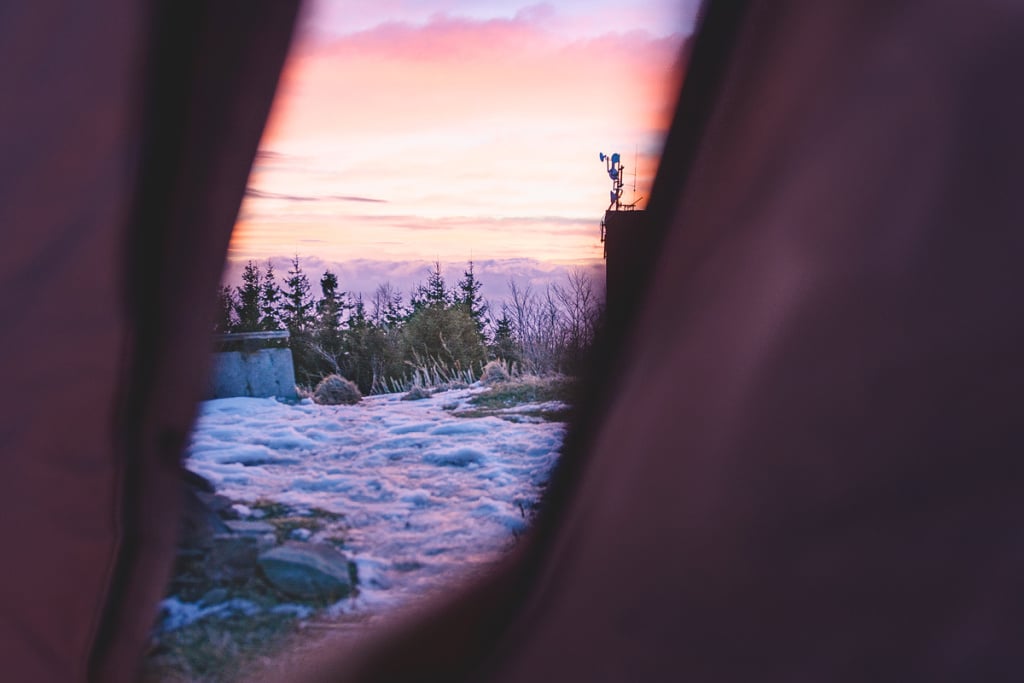
Winter Outdoor Photography: How to Get Beautiful Photos of Winter Landscapes
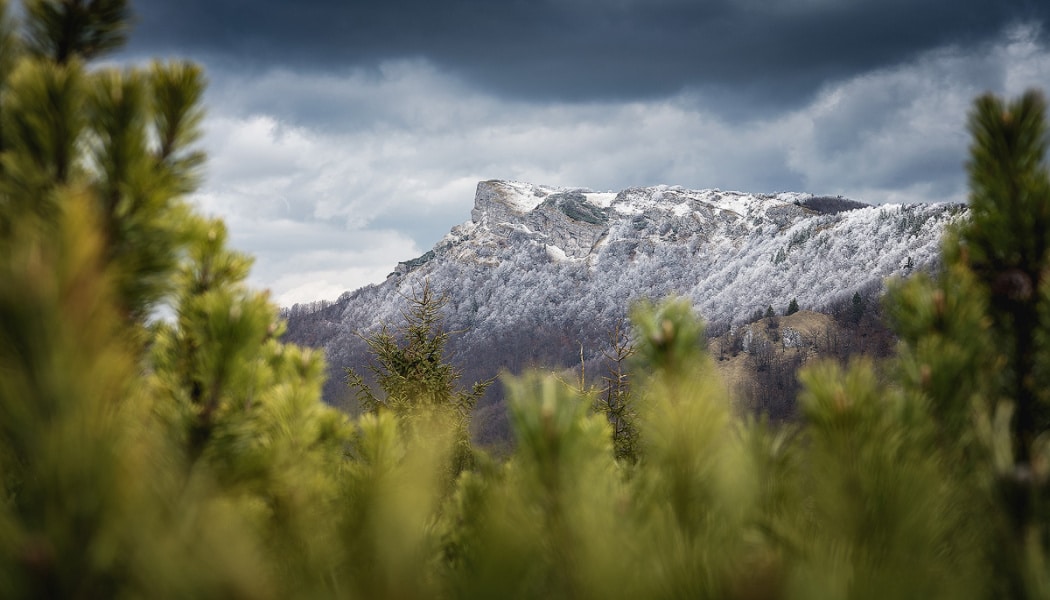
Wintertime offers a new view of every landscape, and you’ve got to take advantage of that. But it’s important to also think about your equipment—and above all your health. After all, photographing snowy landscapes can often be a little dangerous. Yet if you prepare well, you’ll be rewarded with magical pictures. We’ll show you how to photograph winter landscapes, and how to prepare for it.
When you’re photographing winter landscapes, you work in nearly the same way as you would when taking pictures during other times of the year, except for a few differences, which we’ll explain. While shooting, you also need to take into account conditions that can be extreme, even quite extreme, and can damage your gear and injure you.
Use a Positive Exposure Value
In snowy landscapes, white is the dominant color, and it likes to confuse your exposure meter. Because of this, you get gray pictures instead of white ones when you’re using your camera’s automatic or semi-automatic mode. So use a positive exposure value to get rid of this gray tint and make the snow white.
If you’re shooting in fully manual mode, meanwhile, you’ll see the shifted exposure on your exposure meter, but it won’t actually change your speed or aperture values. If you have automatic ISO turned on in manual mode, the exposure correction will shift the ISO. If you’re setting the ISO manually, increase the exposure manually by raising the exposure time or lowering the f-stop.
A Blue Tint
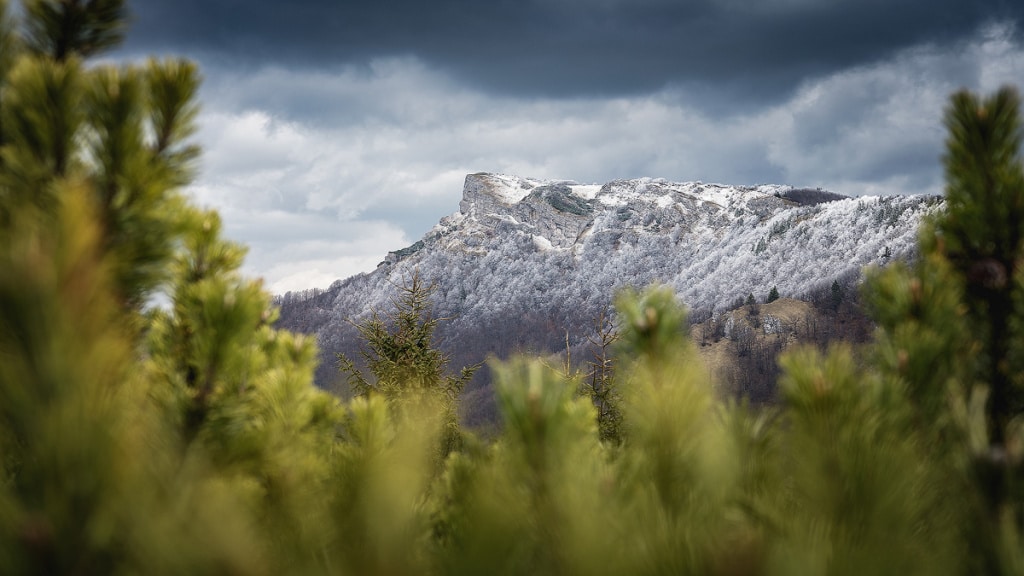
The dominance of cold light in the landscape is another problem. It gives your pictures a bluish tint. But this isn’t a huge problem if you’re shooting to RAW. In Zoner Studio you can eliminate the blue snow tint using the White Balance controls.
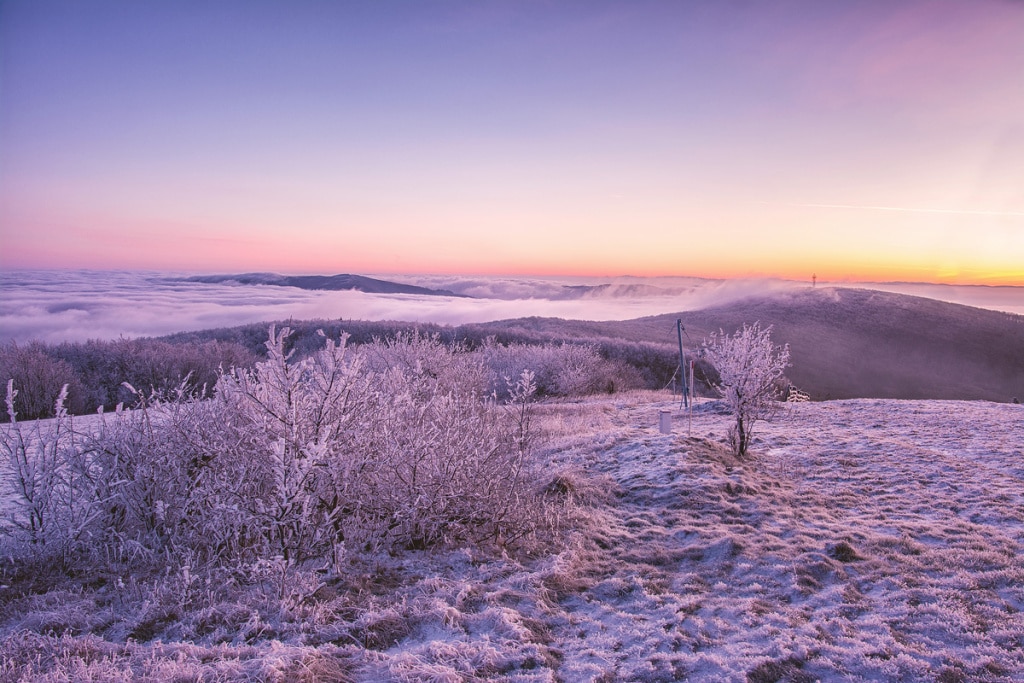
You can also make things easier on yourself by getting the white balance correct during the shot. On some cameras, you can set a warmer Kelvin temperature. If your camera doesn’t have an option like this, that’s OK. The white-balance setting can play the same role if you switch to the Cloudy or Shade mode.
This gives the photo a warmer tone and eliminates the blue tint. But if on the other hand you want to get the chilliest effect possible, do the opposite and add some blue; you’ll make the picture feel cooler.
Chromatic Aberration
There’s one more problem that bothers quite a few photographers in winter. Flying snow crystals lead to an unpleasant increase in the optical defect called chromatic aberration. Unfortunately you can’t prevent this effect during the shot itself, only in post-production, unless you use certain very high-quality lenses.
During post-production in software like Zoner Studio, you’ll want to zoom in close to see any aberration. When you find it, remove it by visiting the Develop module, visiting Camera and Lens (the camera icon), and using the Manual Correction controls, where you can remove aberration using the Red-green and Blue-yellow sliders.
Some Closing Advice
In the winter, atmospheric inversions are more frequent, due to the temperature differences between high and low altitudes. Take advantage of this: once you see the fog roll in when you’re in the city, head out to the mountains to photograph sunrises and sunsets featuring fog in the valleys and snow-topped mountains.
If you’ve got a situation where the inversion is on the peaks instead of in the city, don’t despair; go check out the forest, which will surely be beautifully frozen thanks to the ubiquitous fog. Frozen tree trunks and bushes look magical.
Above all, be careful for your health wile you’re taking your pictures. Be sure to wear warm clothing and especially good gloves. Ideally you’ll want to wear thin finger gloves and then mittens on top of those. That way you’ll always have warm hands—both while you’re handling your camera and in-between shots.
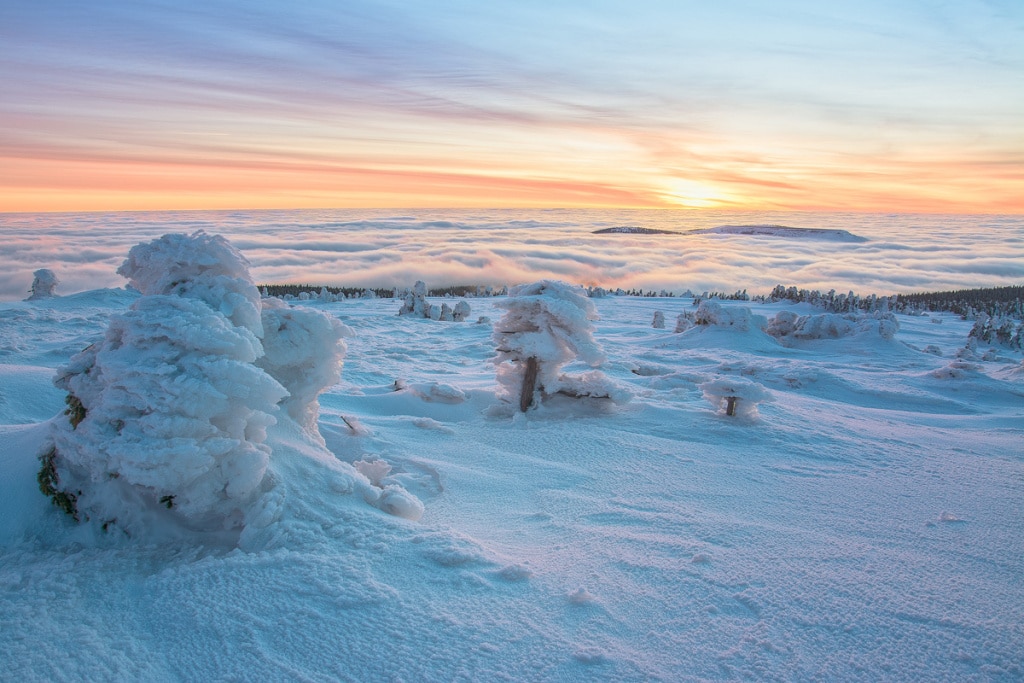
The light is truly at its most beautiful just before and during the sunrise, so take a thermos of coffee or tea with you to your shoot. You’ll also appreciate having a fully charged headlamp to light your way. Seek out your spots for morning photography already on the afternoon before the shoot, to save precious morning minutes.
Be careful with your gear! Definitely don’t turn your camera on right after you get back home. The quick transition from the cold into warmth could damage it. Take both the battery and the memory card out of your camera after the shoot and store them away. Back at home, put your camera in a backpack, leave it at room temperature, and avoid taking it out of the backpack until the next day. The temperatures in your camera will then even out gradually, keeping it from dewing up. And you can still easily go straight ahead and edit your photos, since you took your memory card out of the camera right after the shoot.
