Winter Photography Exercise Create a Winter Photo Series
Why should you make a winter photo series? First of all, because it’s an excellent skill-building exercise. Winter provides the right conditions for creatively working with various motifs, composition, and above all, color. Plus, you don’t have to search hard to find elements in a solid white landscape to draw the series together. These photo-worthy elements pop up on their own in a bleak winter landscape. Last but not least, you can bring a friend or furry companion along and have lots of fun at the same time.
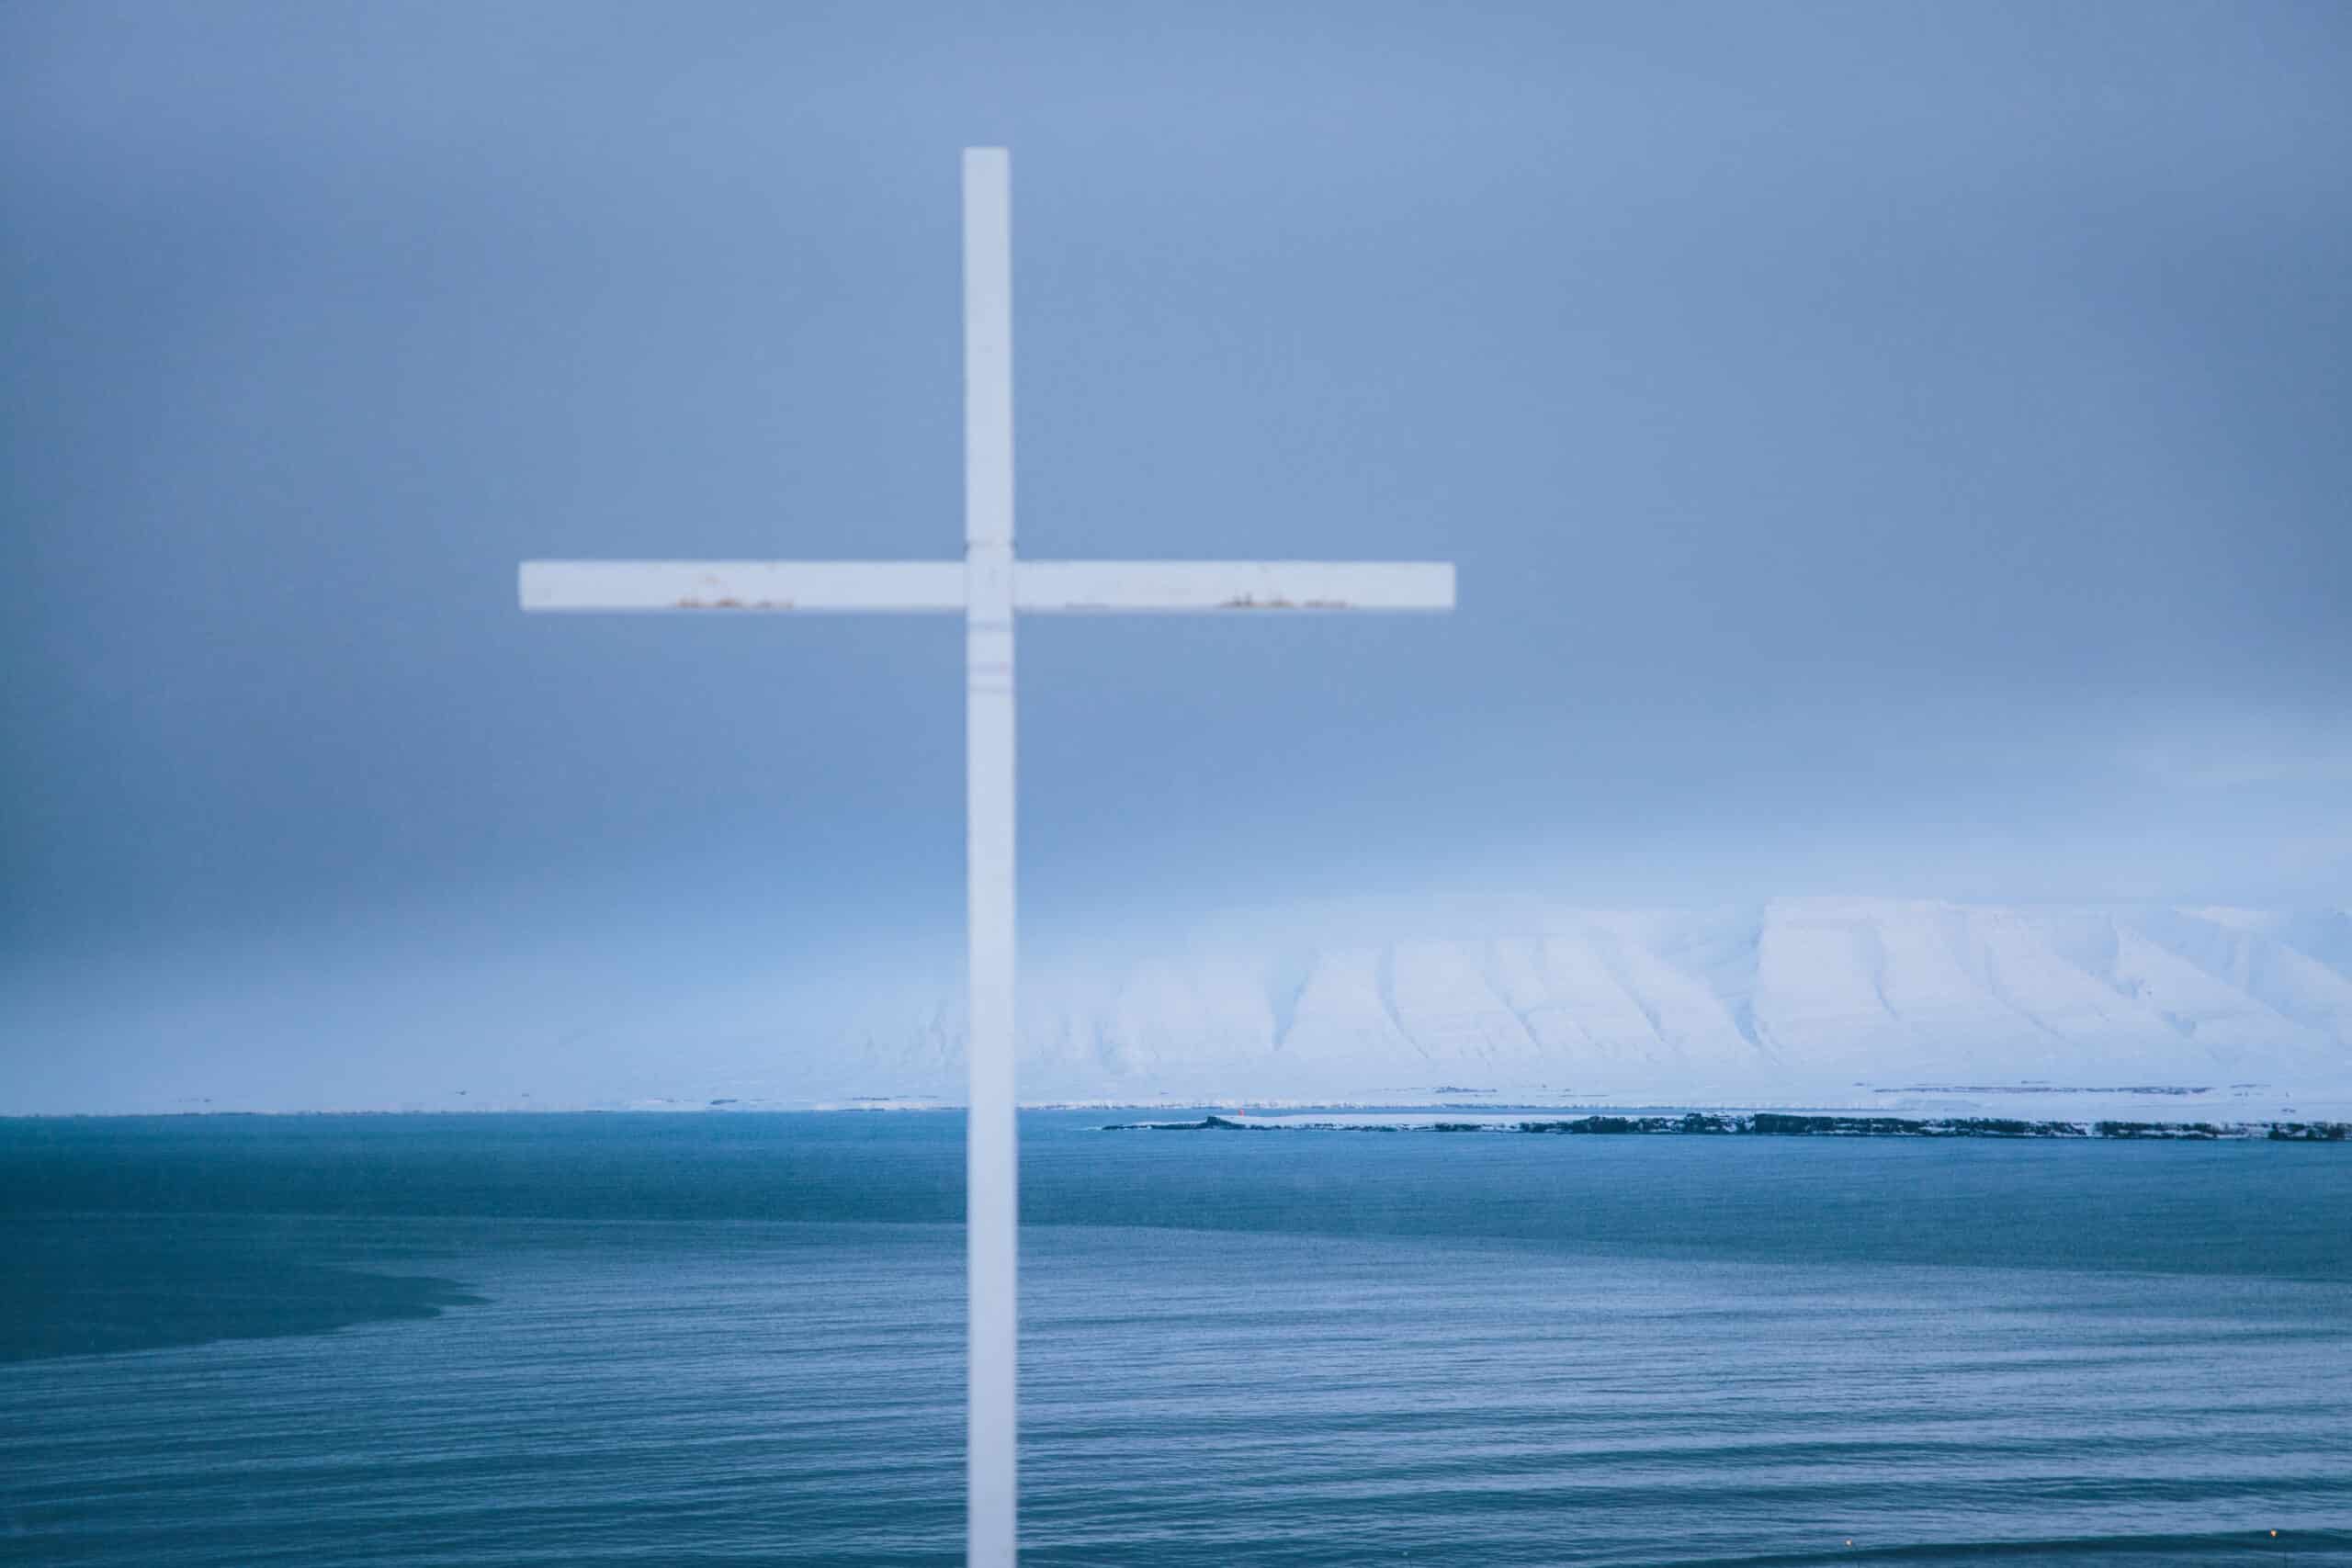
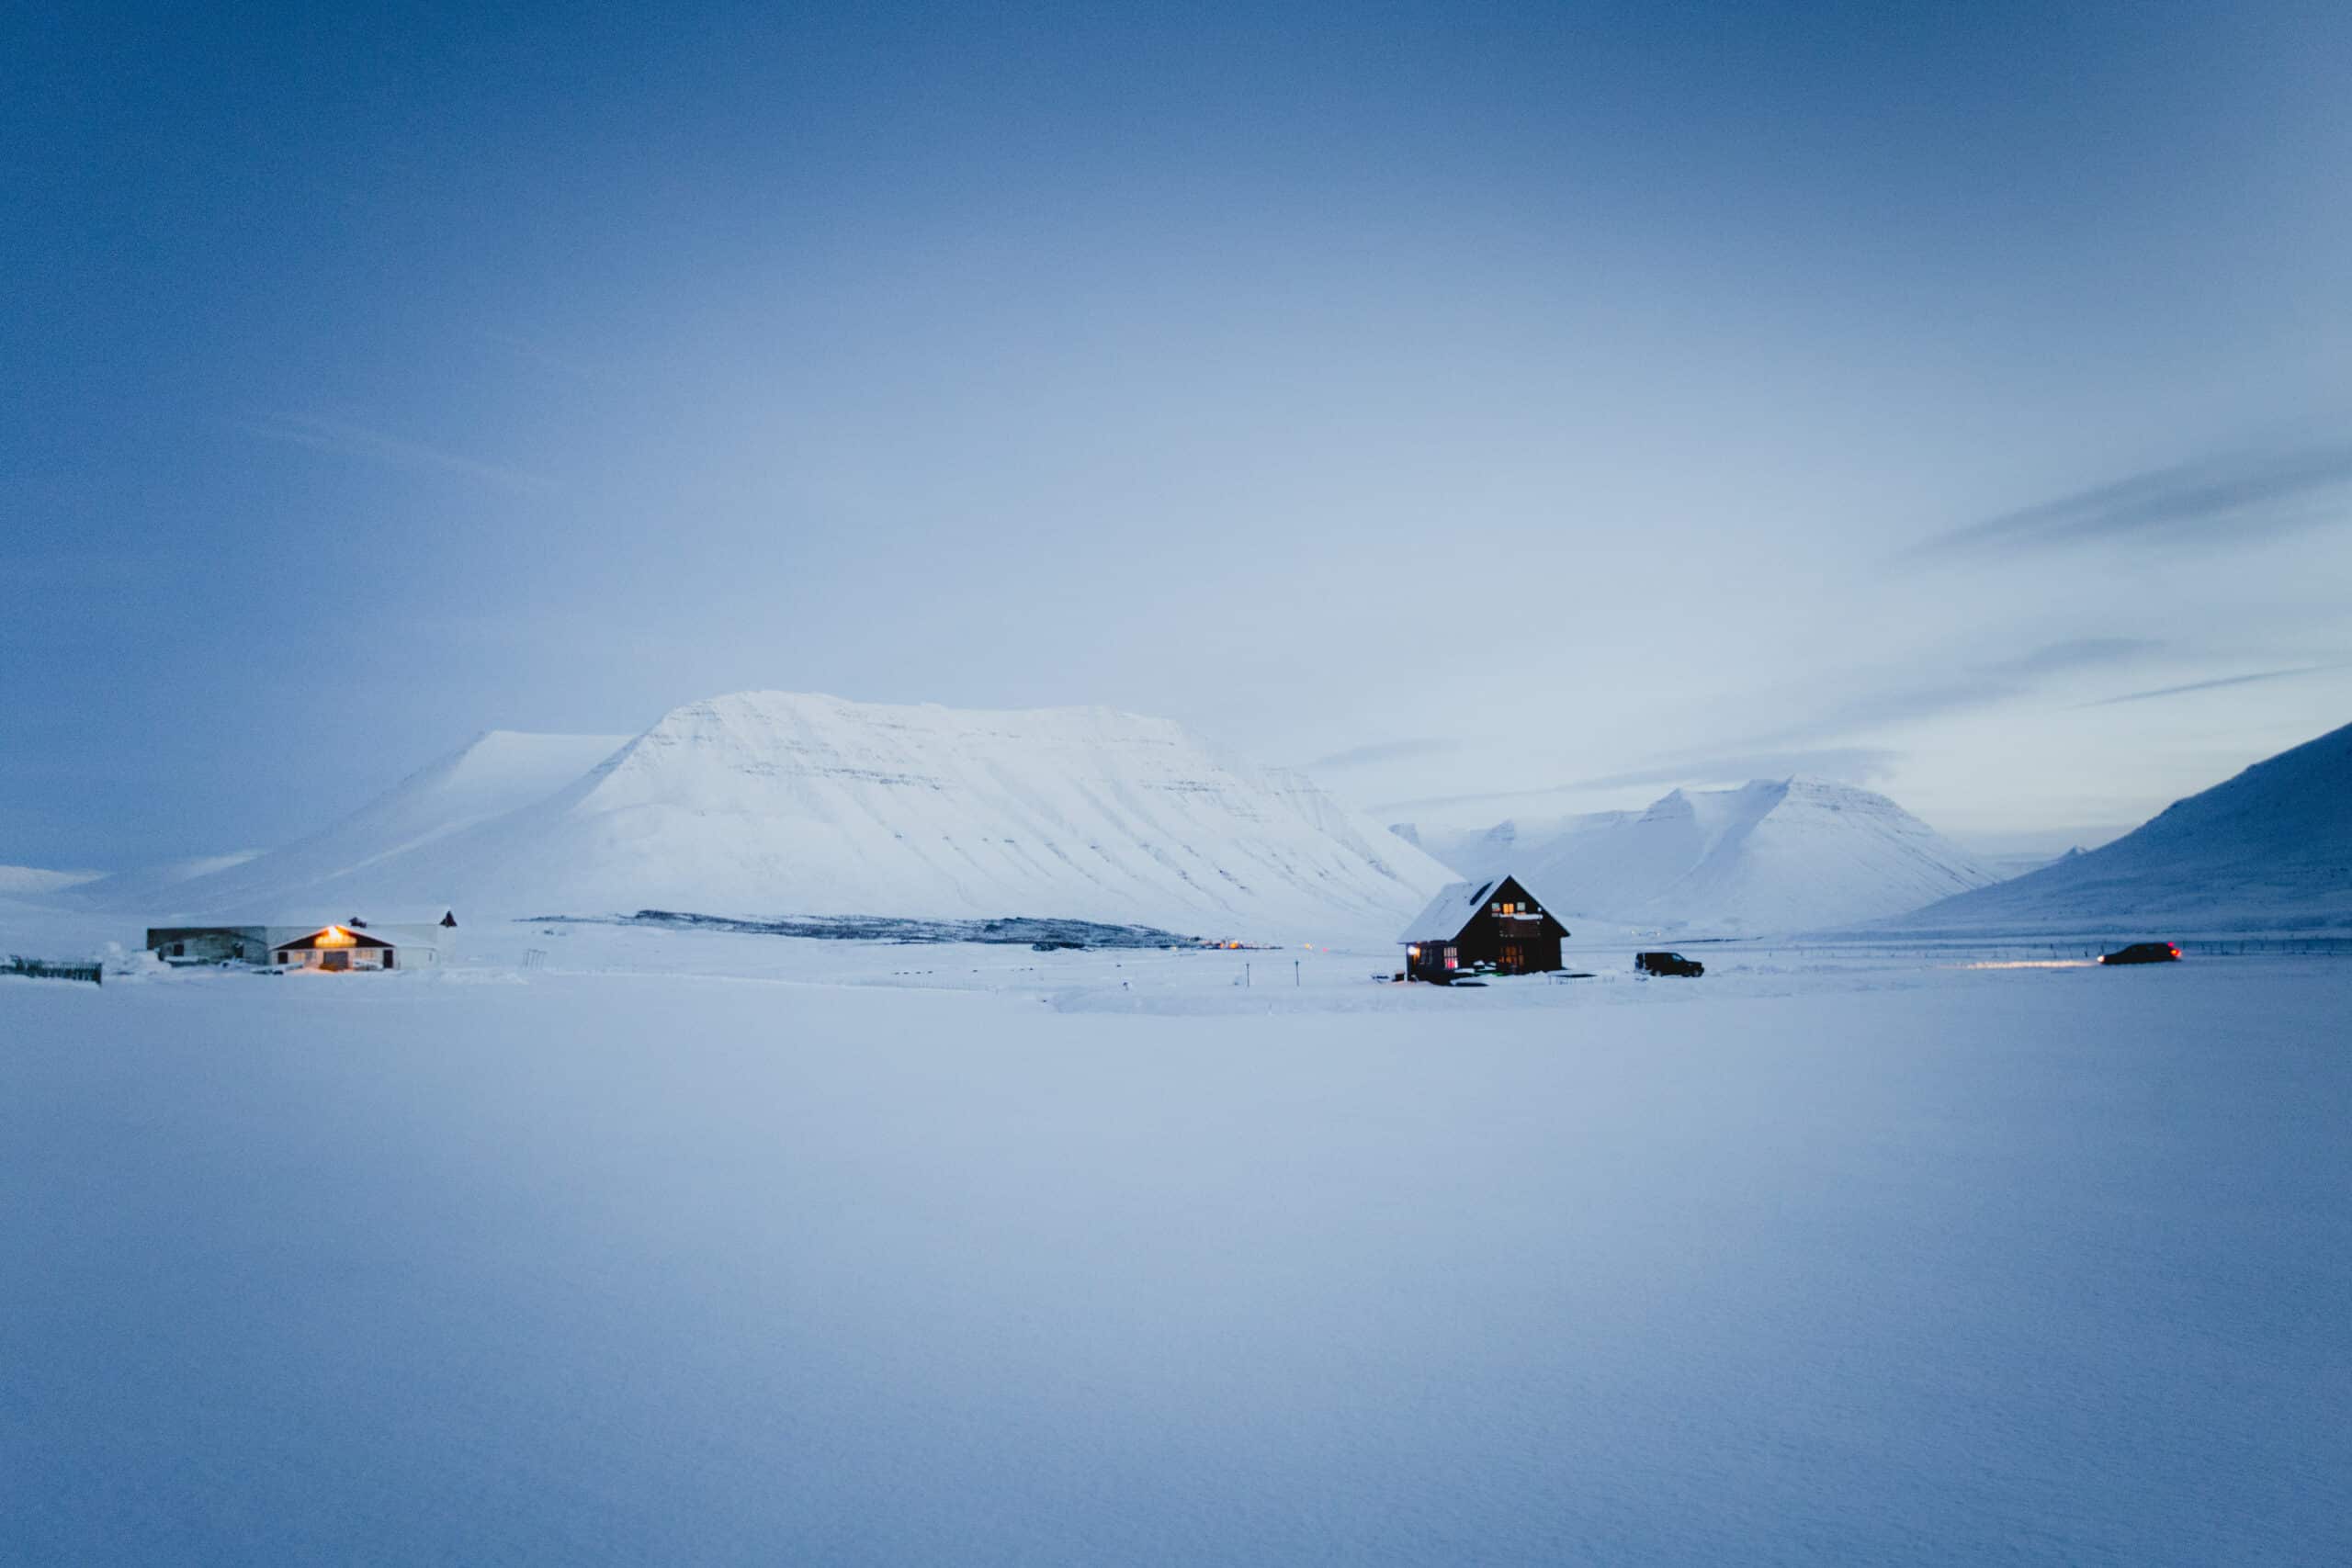
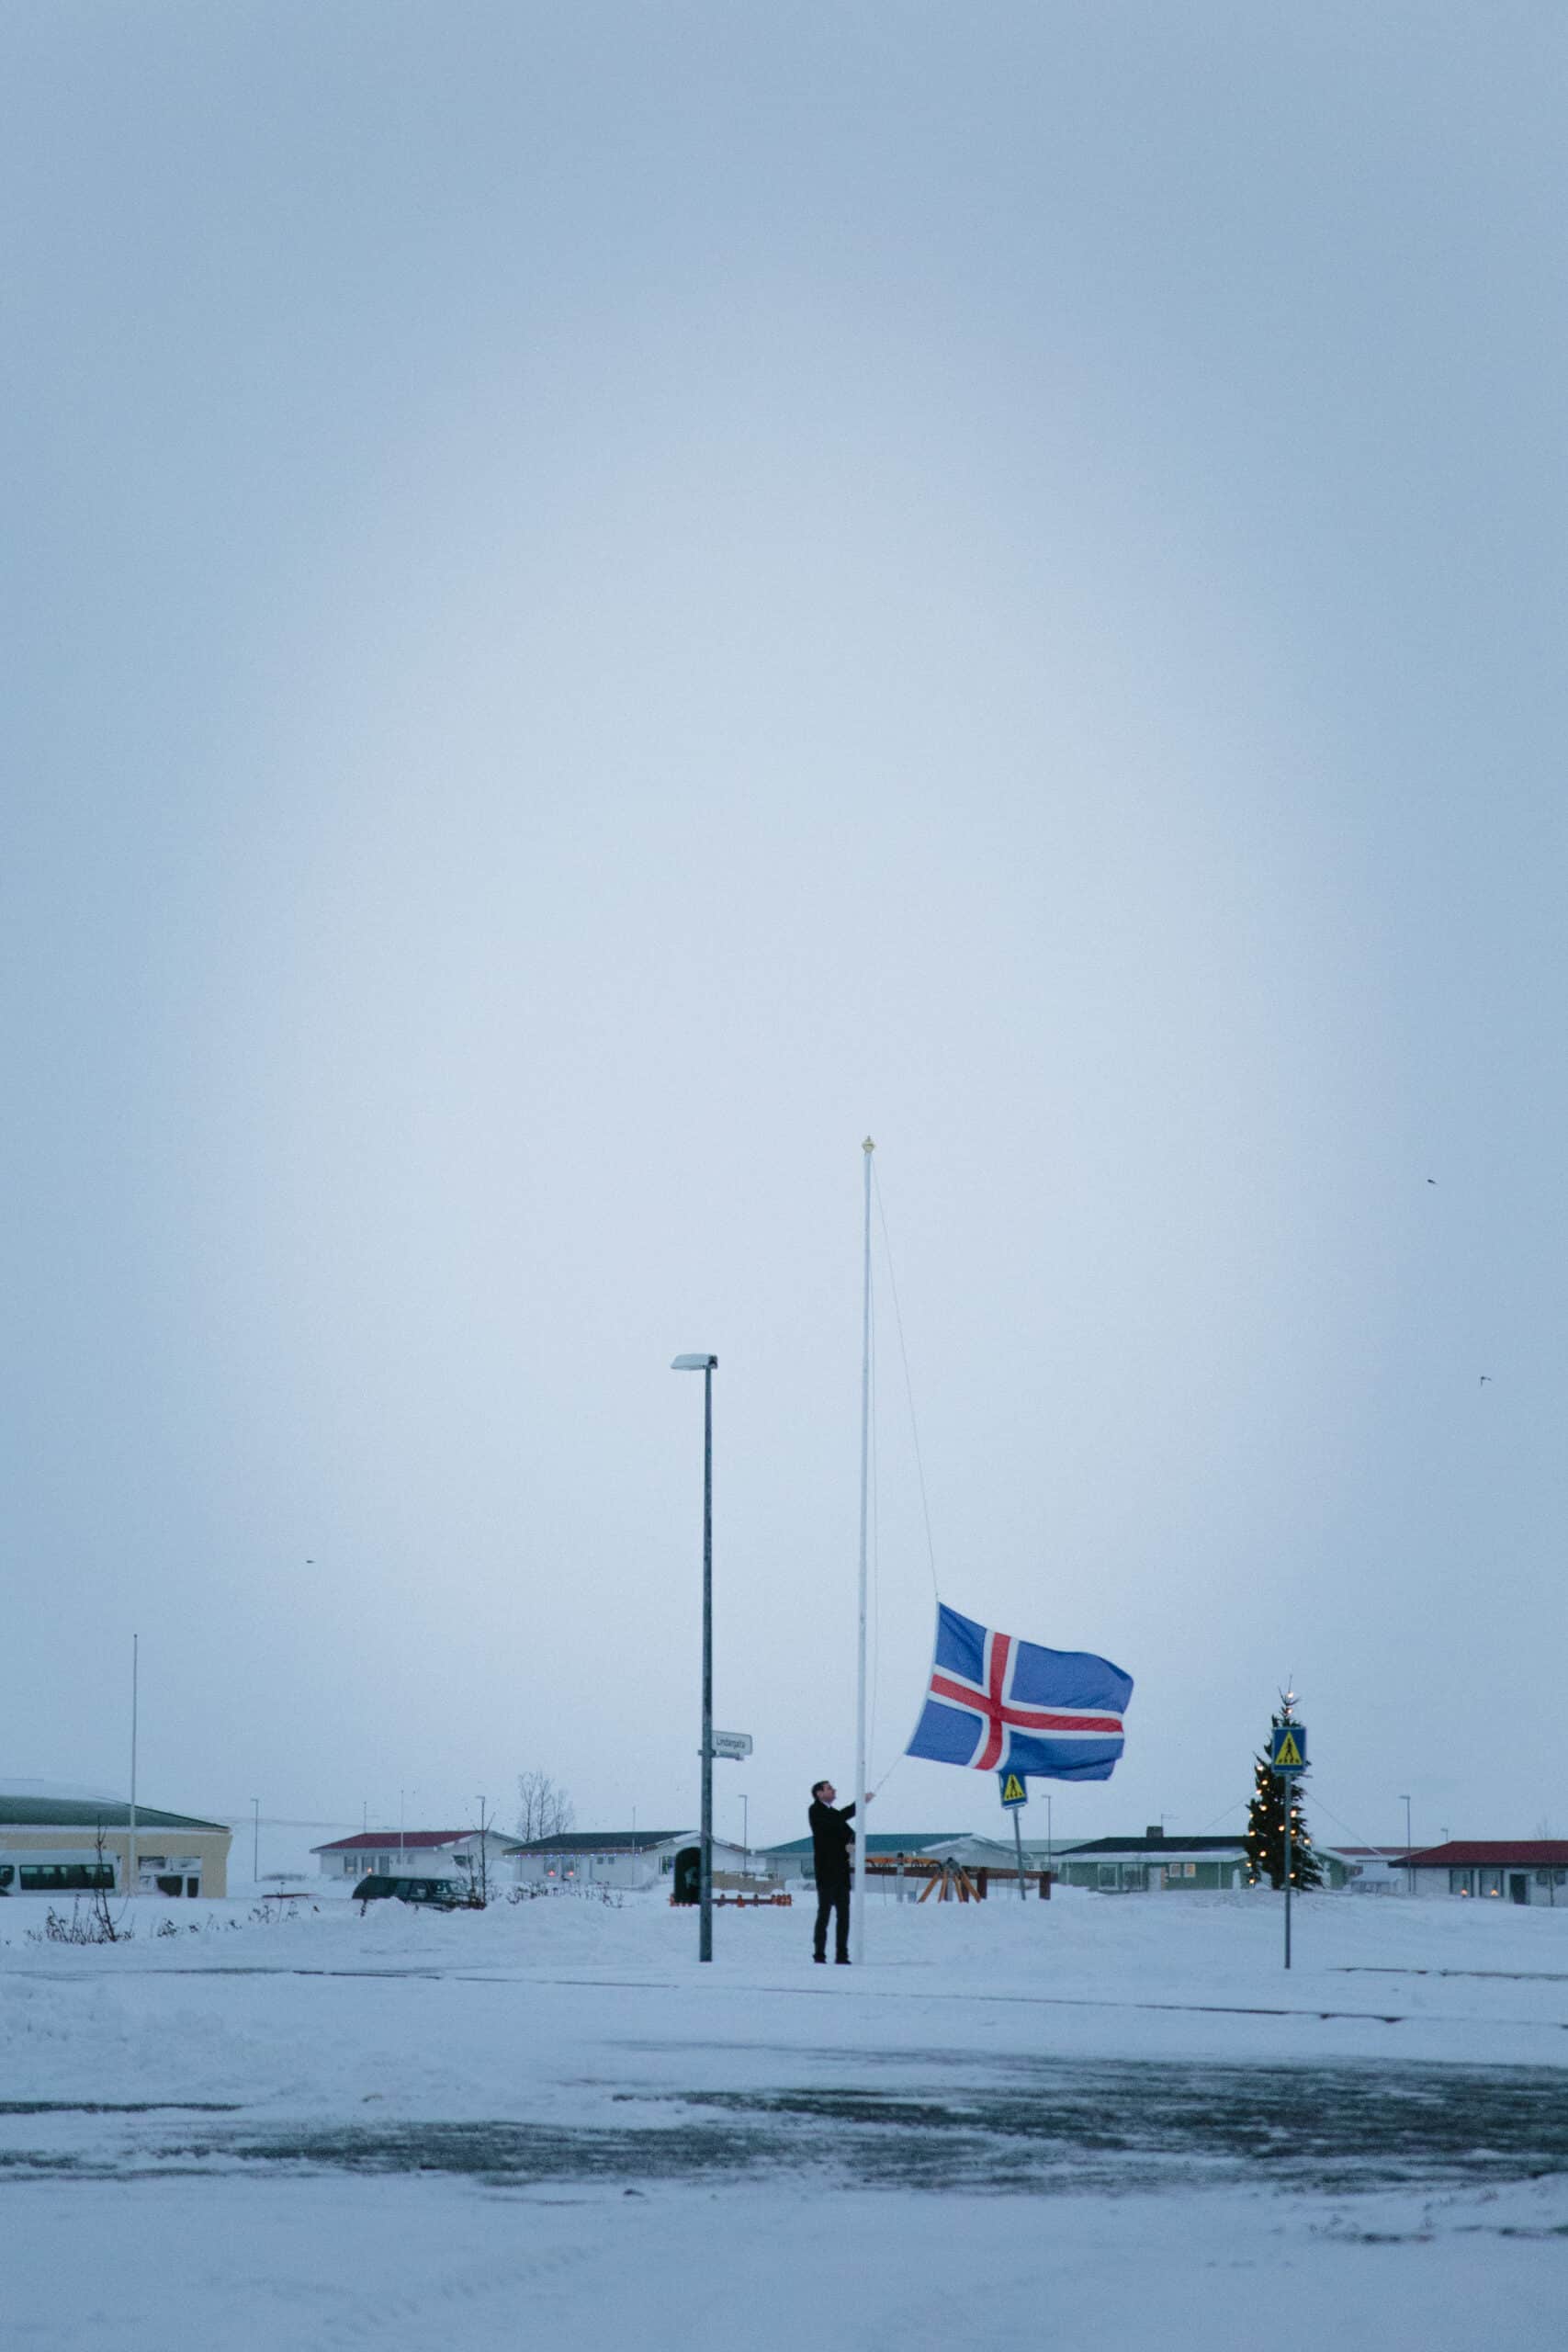
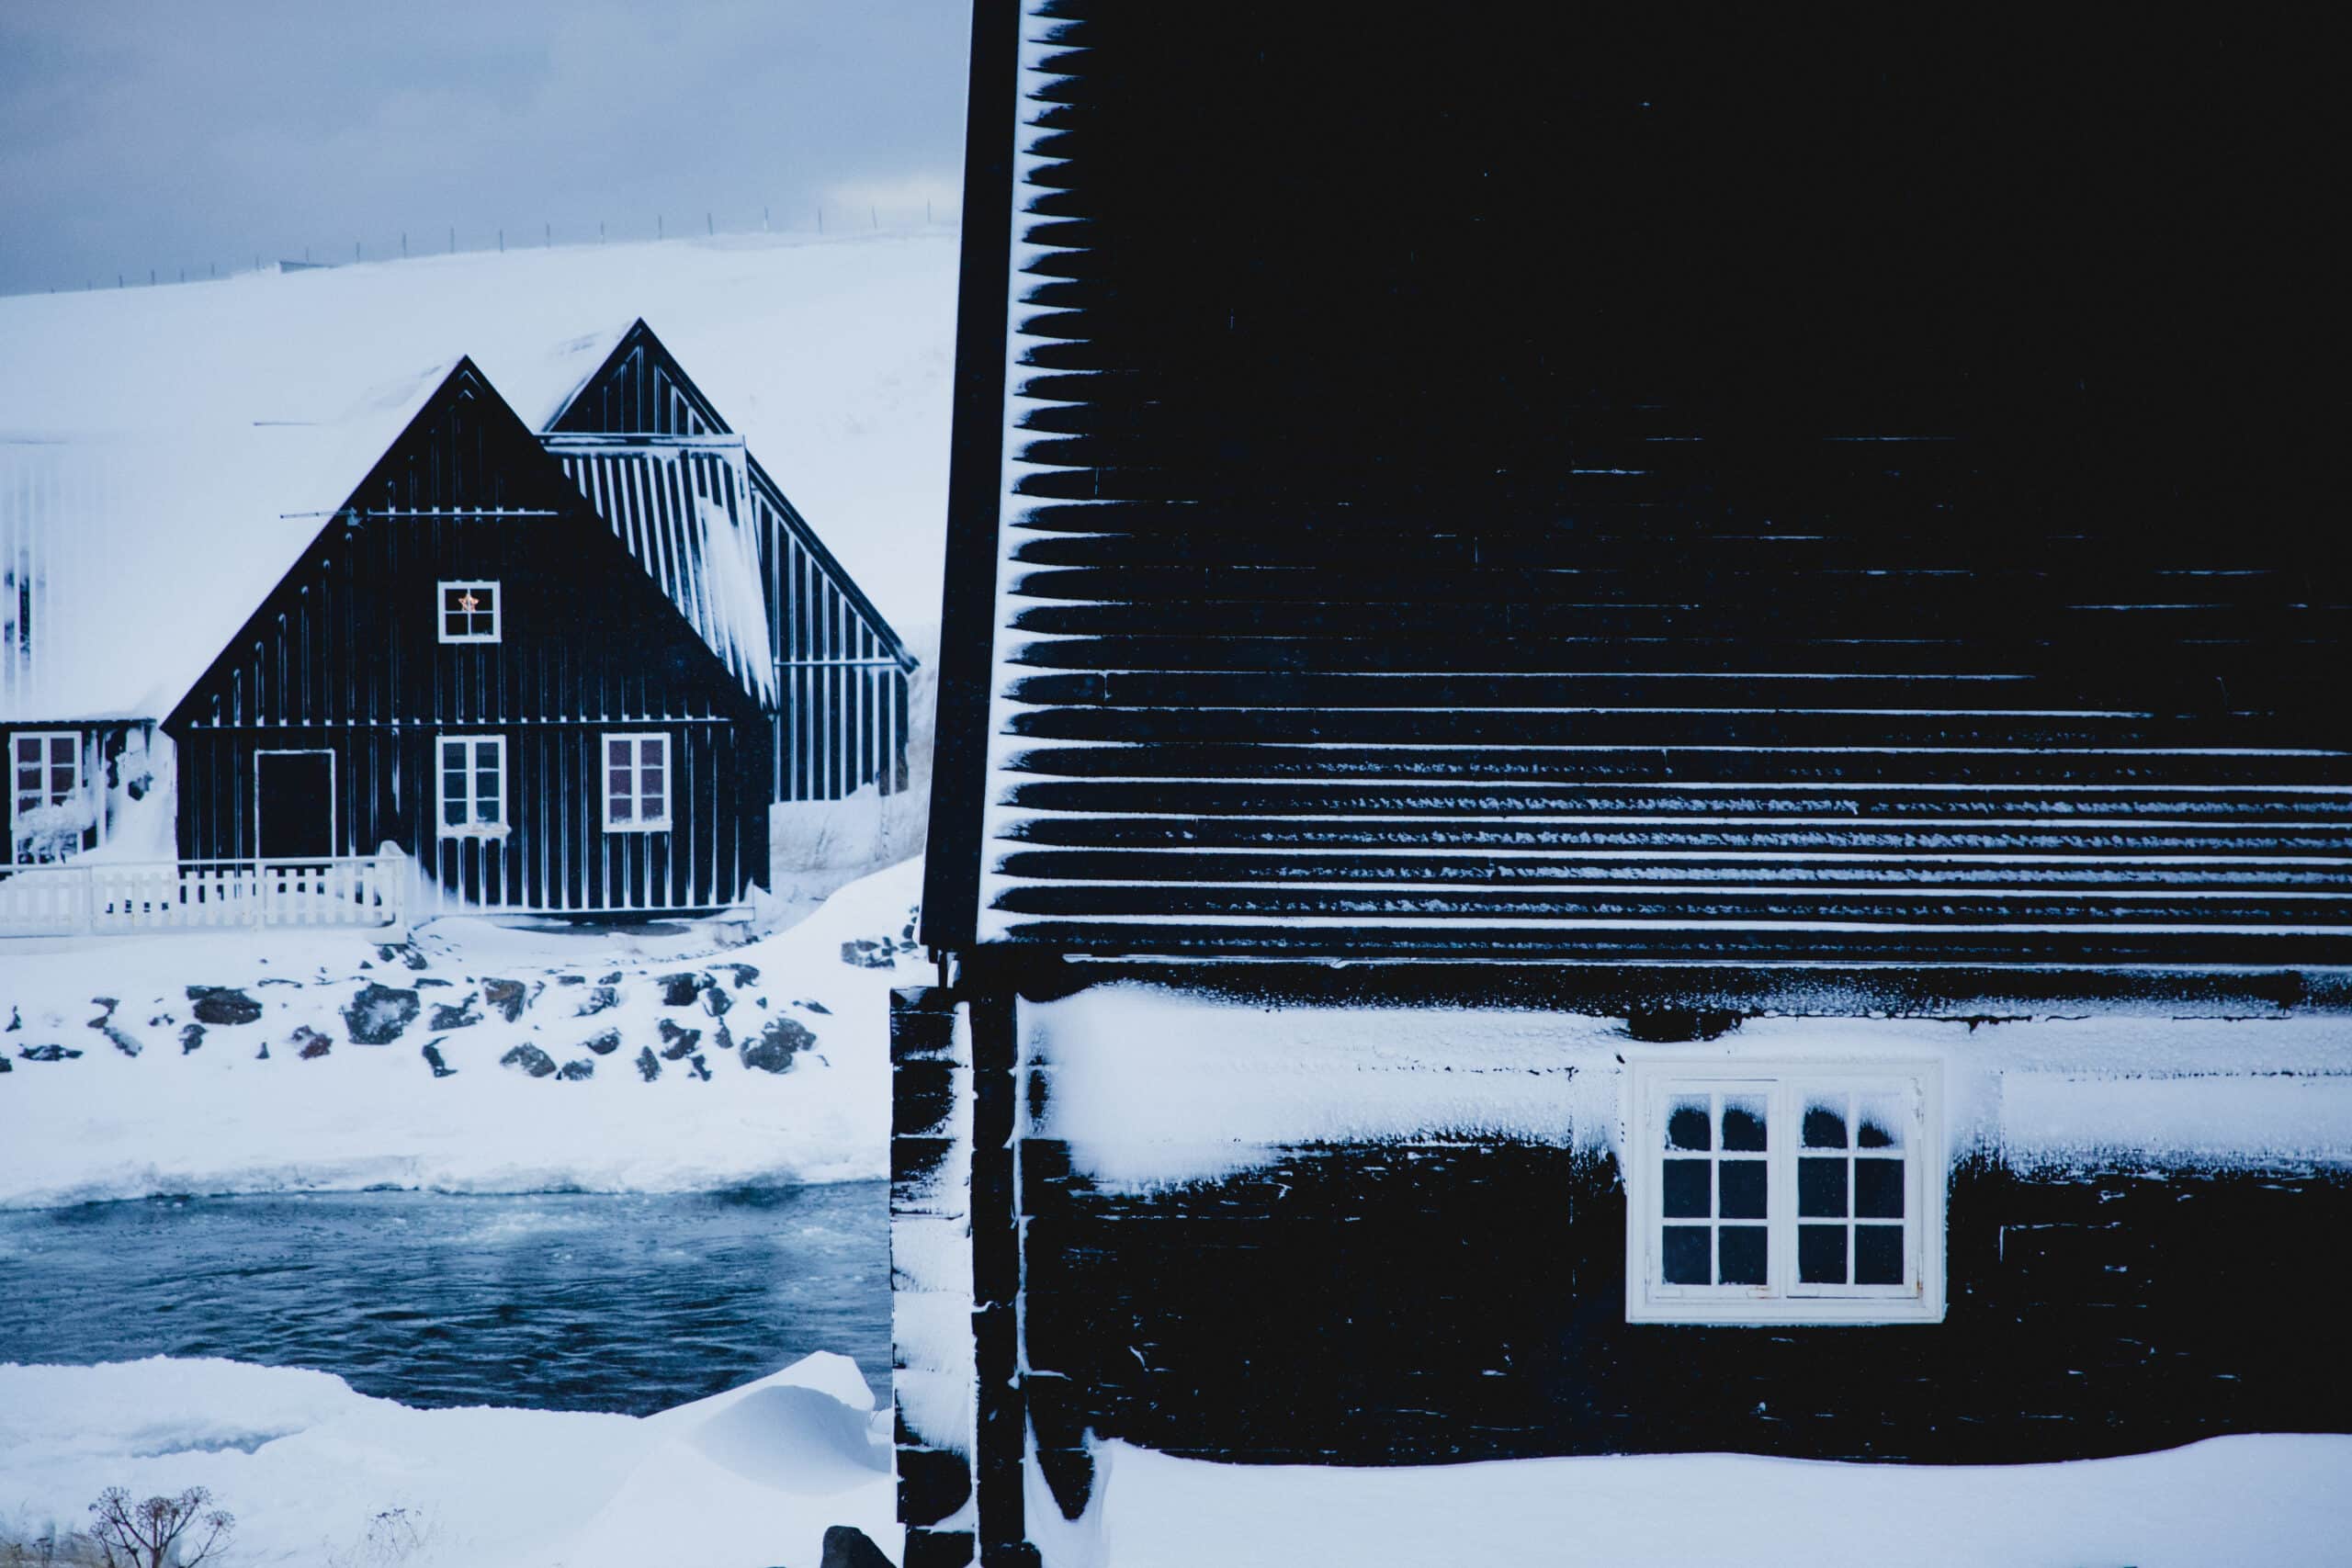
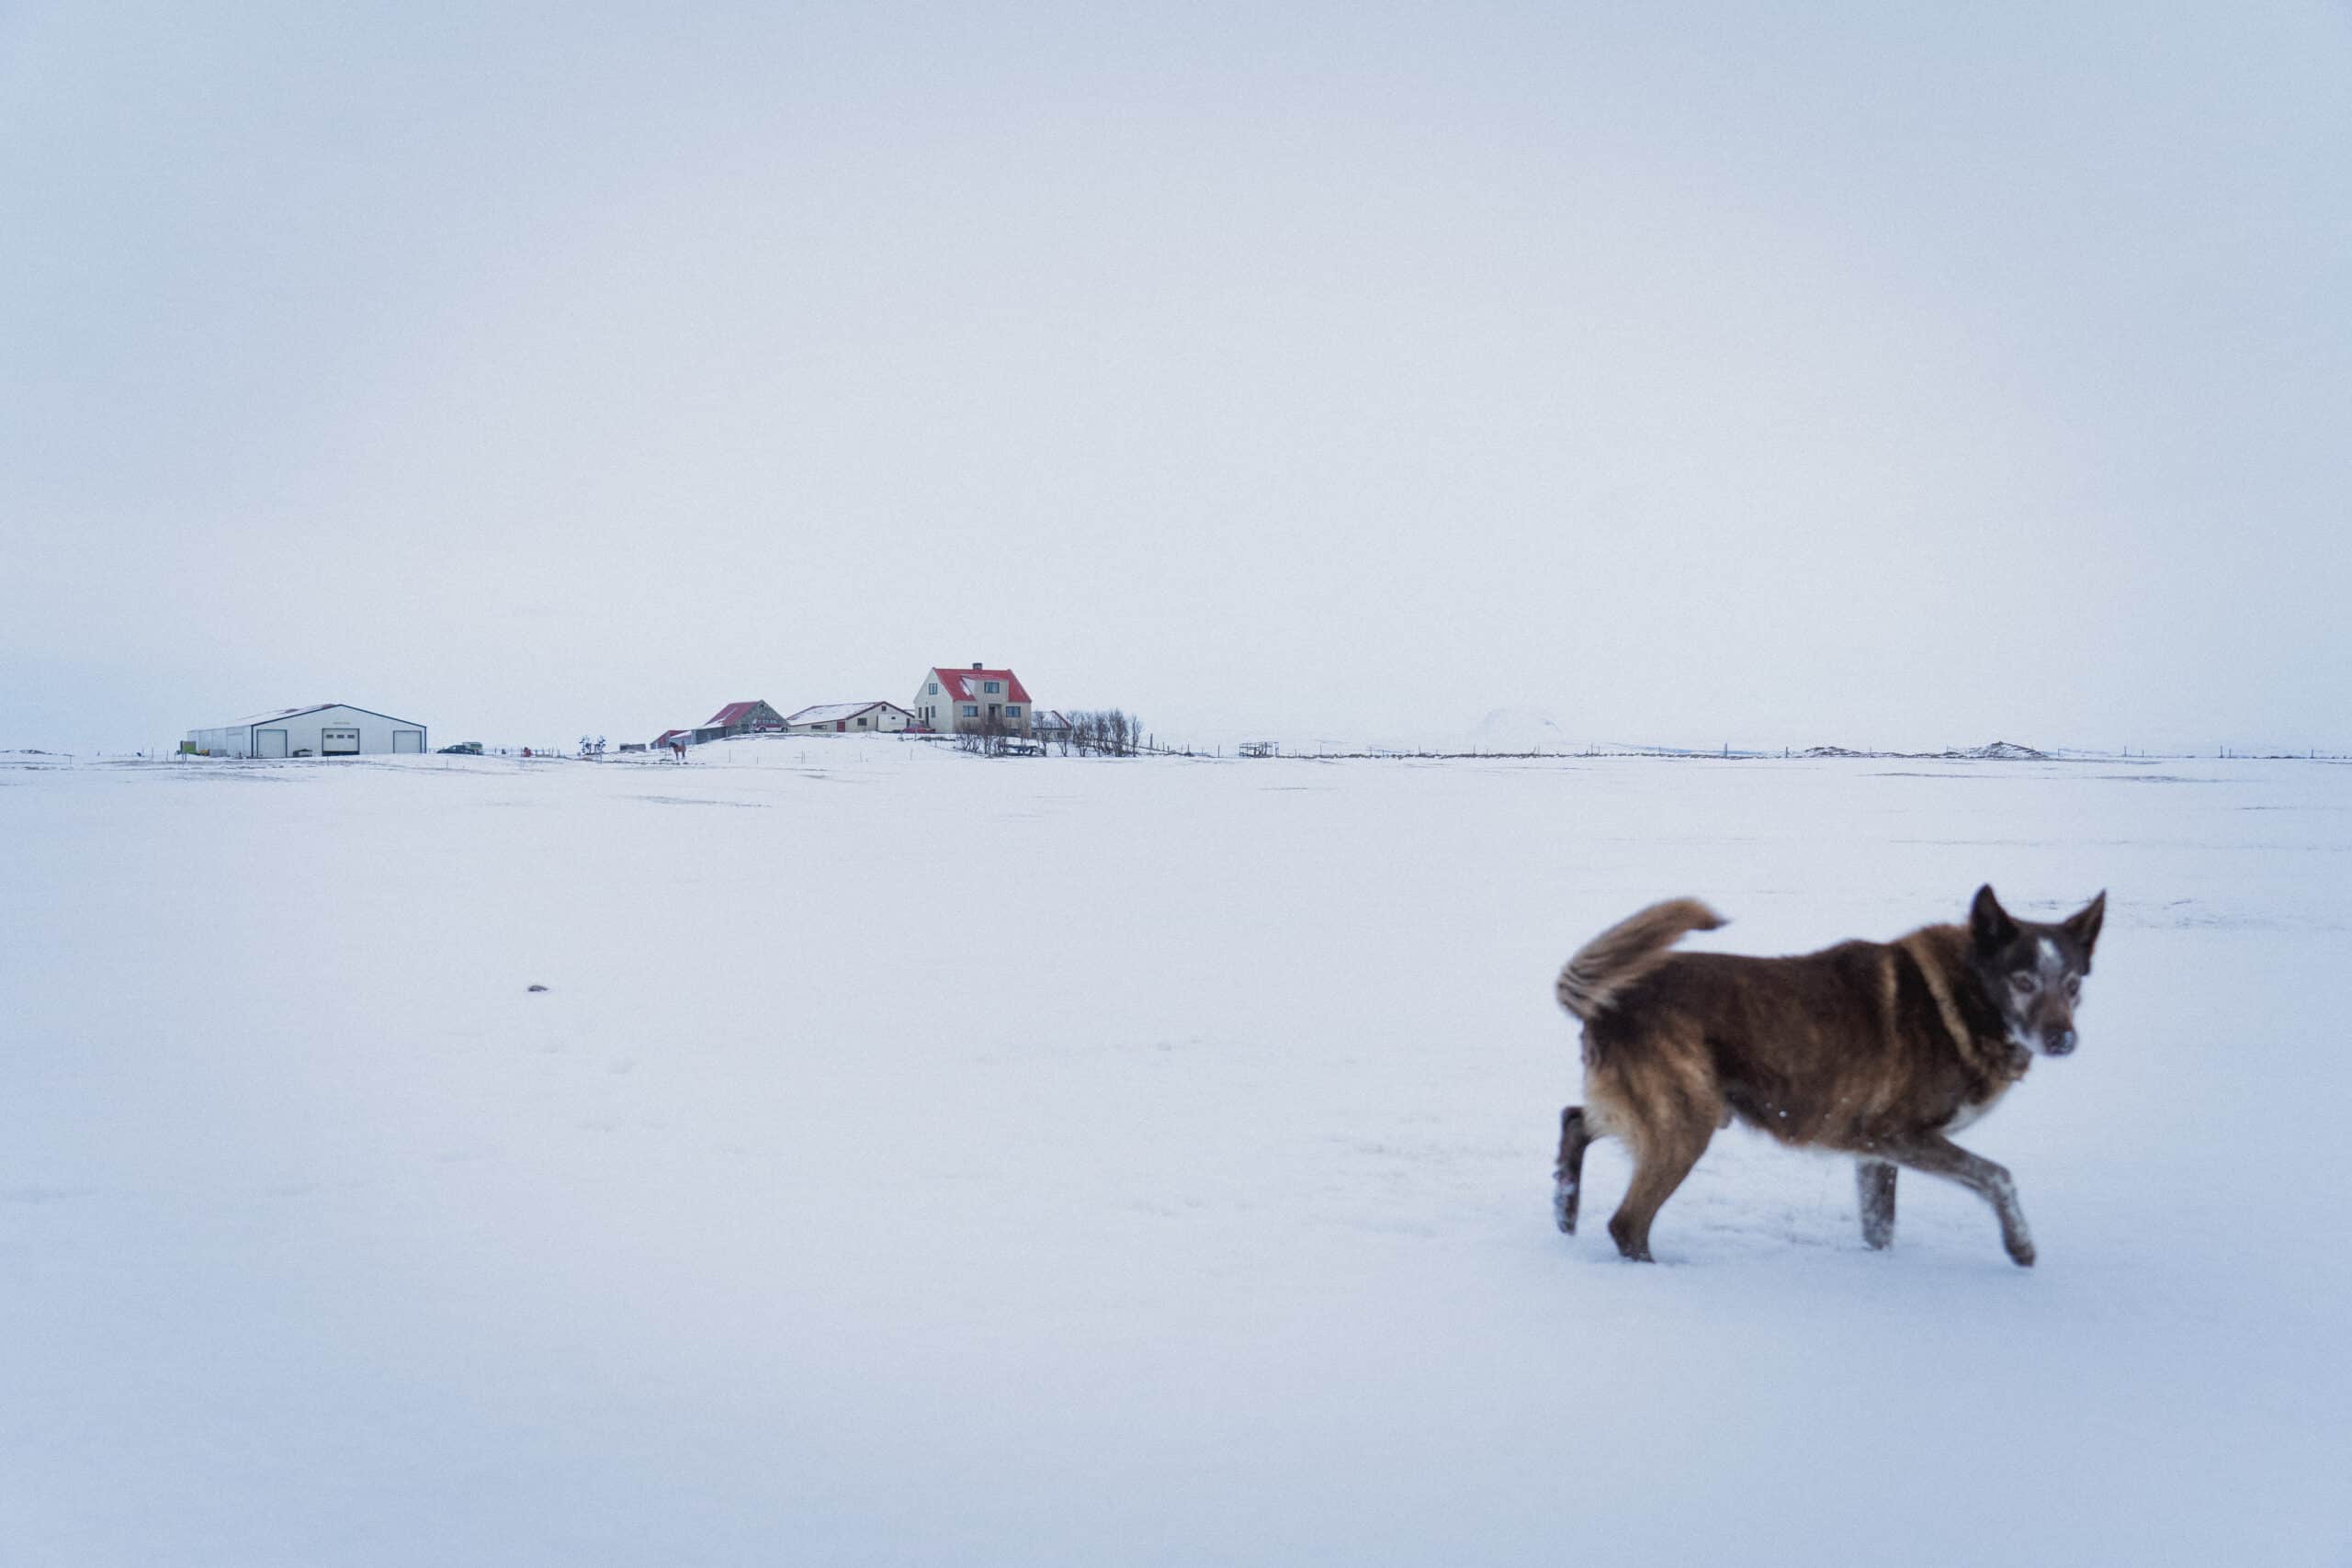
This article is based on a series of photos I took in Iceland. They were all taken during the same time period and in the same region. In order to create a similar photo series, any winter location will work. It can be a snowy cityscape, the mountains, or a frozen lake. Even an ordinary family outing is a great opportunity which you can look back on with a beautiful photo series.
Finding the right place and motifs
Try to brainstorm various beautiful locations that are important to you. This could be the woods near your home. You don’t need to venture far. Try going to the location at a specific time, ideally after sunrise or just before sunset when the light is at its softest. Keep an eye out for interesting motifs that go together and try working with the light. The bright sun with white snow makes for beautiful scenery. It’s a good idea to think about the timing of the shoot itself. The landscape is likely to be more captivating after fresh snowfall rather than when the snow is melting. Or, if you’re brave enough, venture out in the middle of a snowstorm.
Add other colors to the scene
Minimalistic scenes of pure white can be interesting. However, if there is a whole series of them, it can get a bit dull. Look around for interesting colors to spice up your photos.
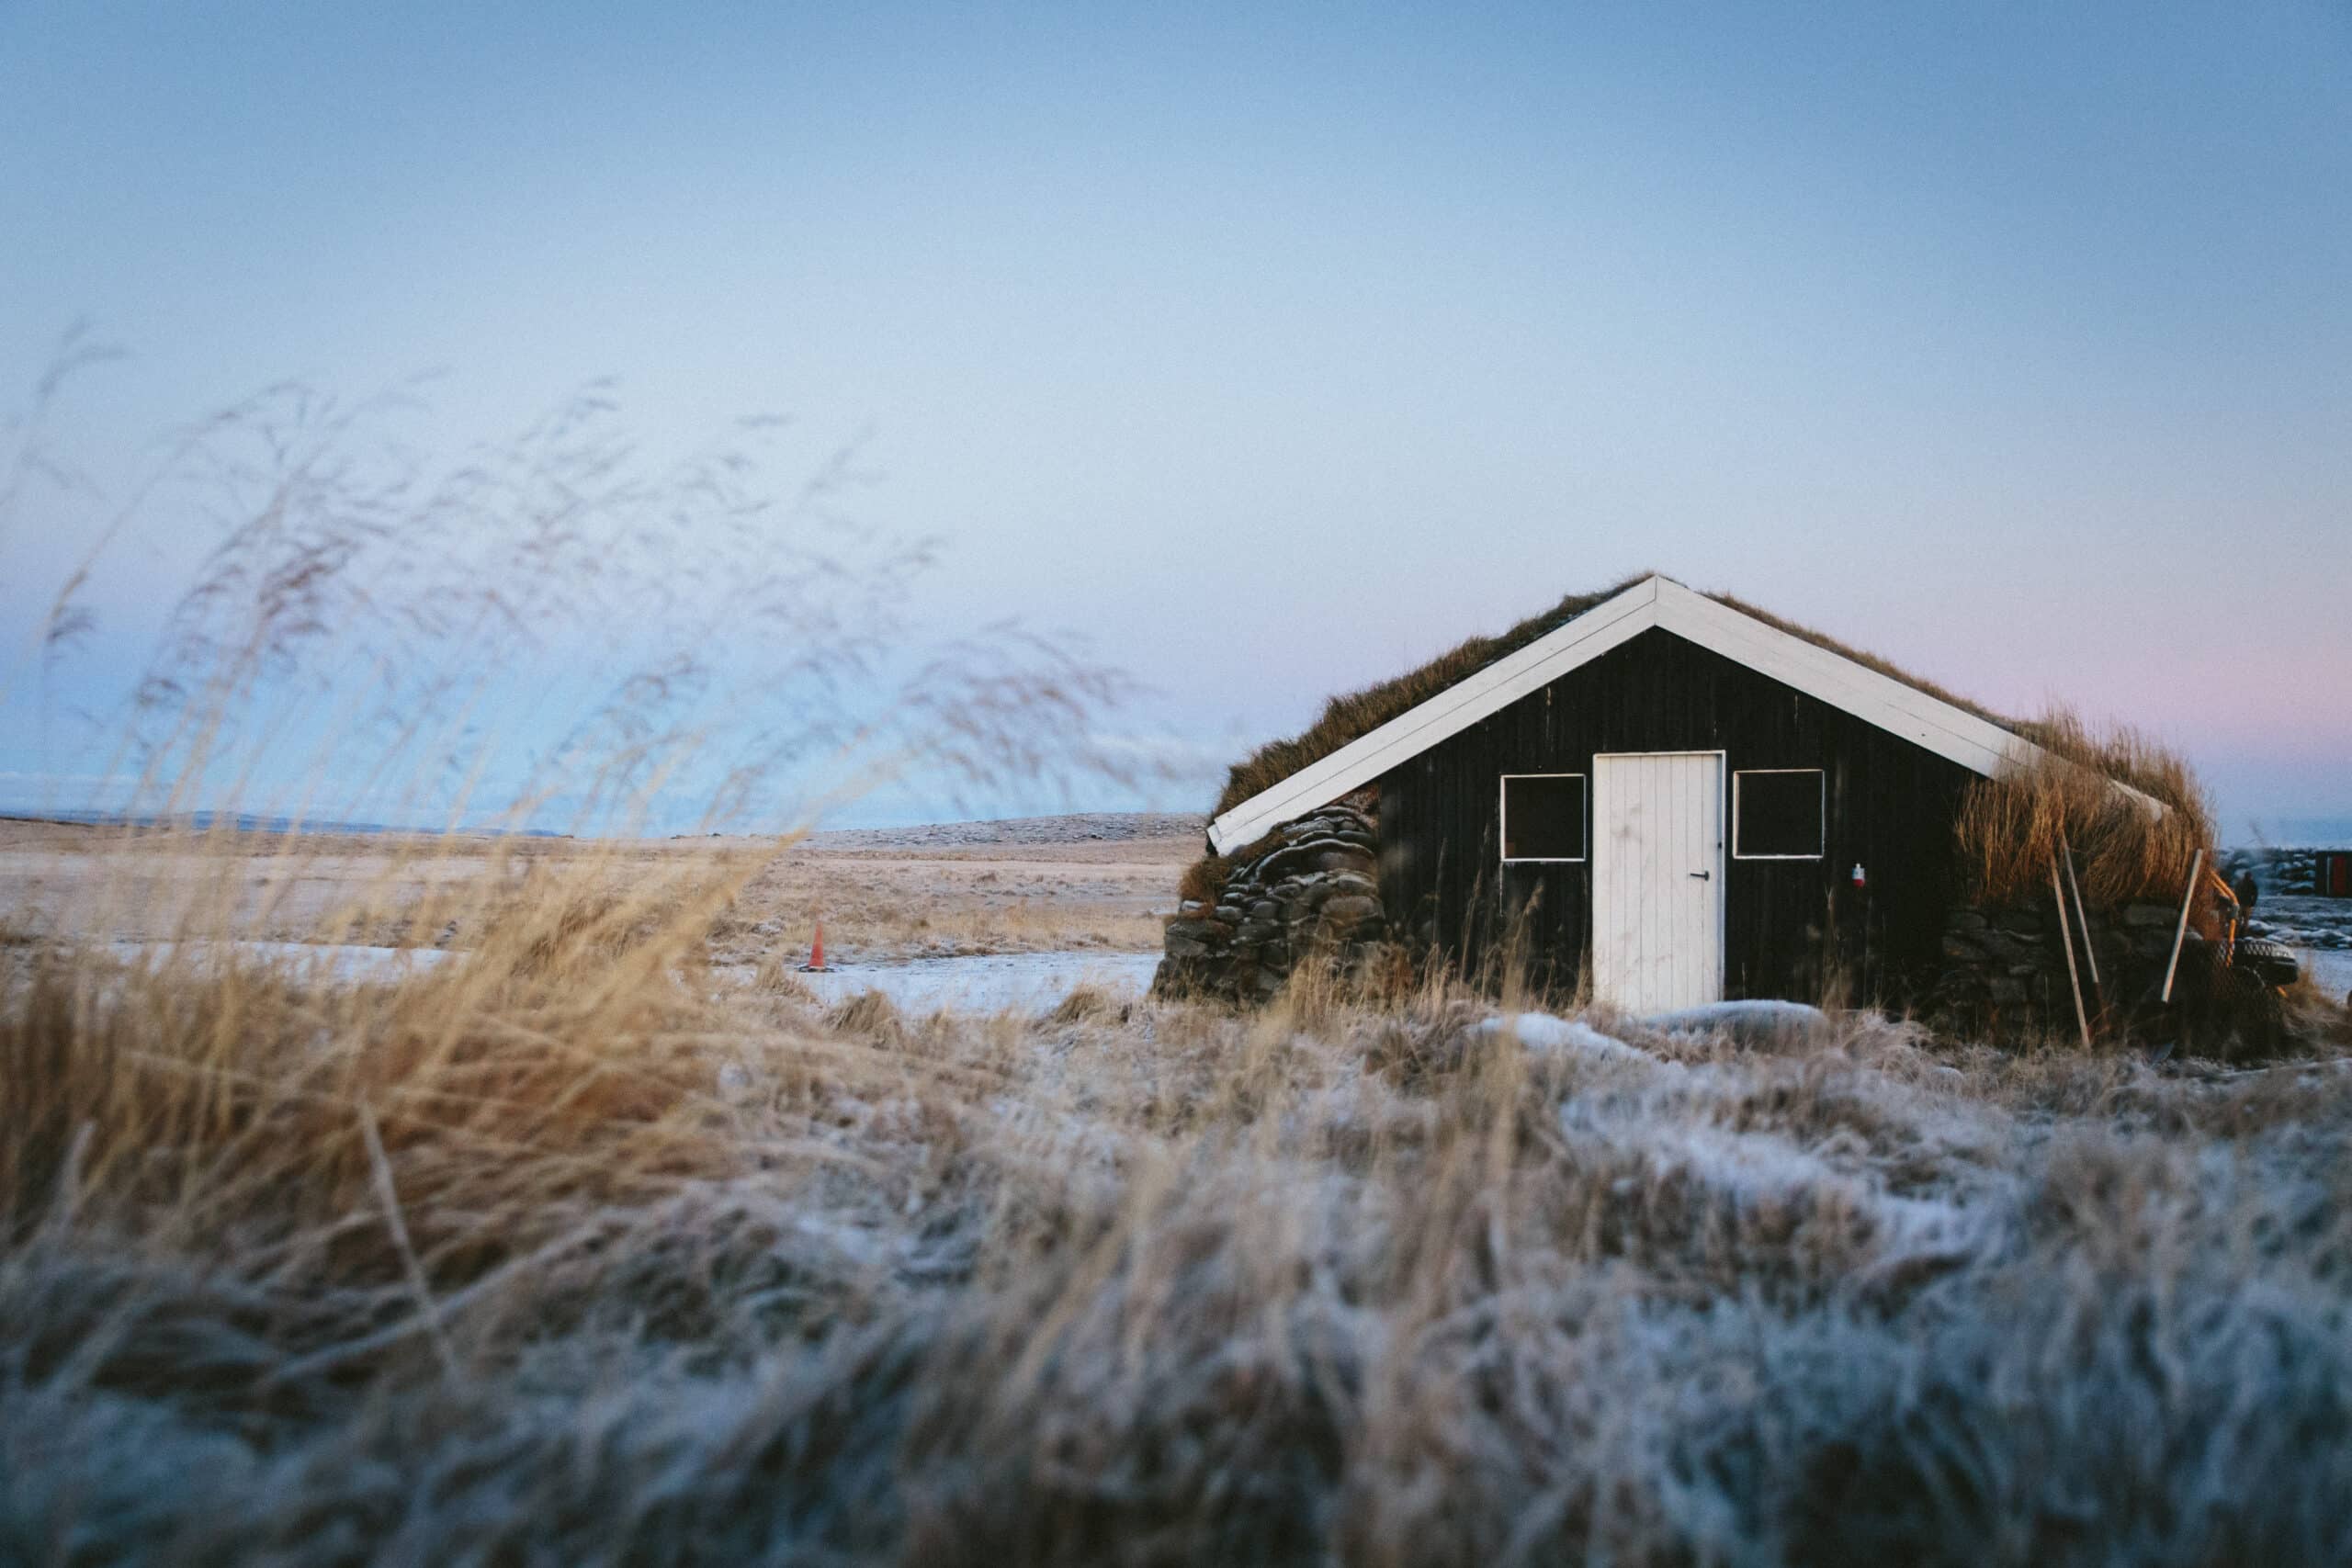
For example, some natural elements include soft sunlight, dry grass, or evergreens. In the city, you have a wider range of color options to choose from. I took advantage of the beautiful golden sun which only shines for a few precious hours a day during Iceland’s winters. Yellow and blue is a tried and true color combination in photography that creates a warm and cold color contrast.
Tweak Saturation and White Balance
It’s important to pay special attention when editing your photos in Zoner Studio. Start with White Balance. When you shift a photo to yellow (warm) tones, the snow gets a natural look that is closer to reality. If reality doesn’t matter as much and you want to emphasize the winter atmosphere, adjust the White Balance slider to bluer (cooler) tones. Then, adjust the photo’s Saturation. Try to keep the colors uniform throughout the entire series.
Camera technique
It’s important to know how to work your camera properly. Let’s briefly summarize what’s most important to keep in mind when shooting in the winter. A common problem with winter shots is that they are often underexposed. The light meter in your camera tries to balance the scene to a medium gray and tends to underexpose the white scene. Unless you’re shooting in manual mode, use exposure compensation and deliberately overexpose the scene.
TIP: Read more about automatically measuring exposure in the article How Measuring Exposure Works.
Don’t forget about your camera’s physical properties. Have plenty of extra batteries with you since batteries drain faster in cold temperatures. And, if you feel like warming up after a shoot, don’t forget to put your camera away in its bag or wrap it in something. This way you’ll avoid any unwanted condensation or lens fogging.
Challenge yourself and move your photography to the next level
At the end of the entire process, you’ll have a beautiful winter photo series to share with family and friends. Don’t settle for this being the end and take your skills a step further. A photographic series based on a color scheme can be created anywhere – in the forest, city, mountains, or at home. All you need to do is choose a color (or colors) and start searching.
