Exposure Secrets: Correct Exposure vs. Creative Exposure
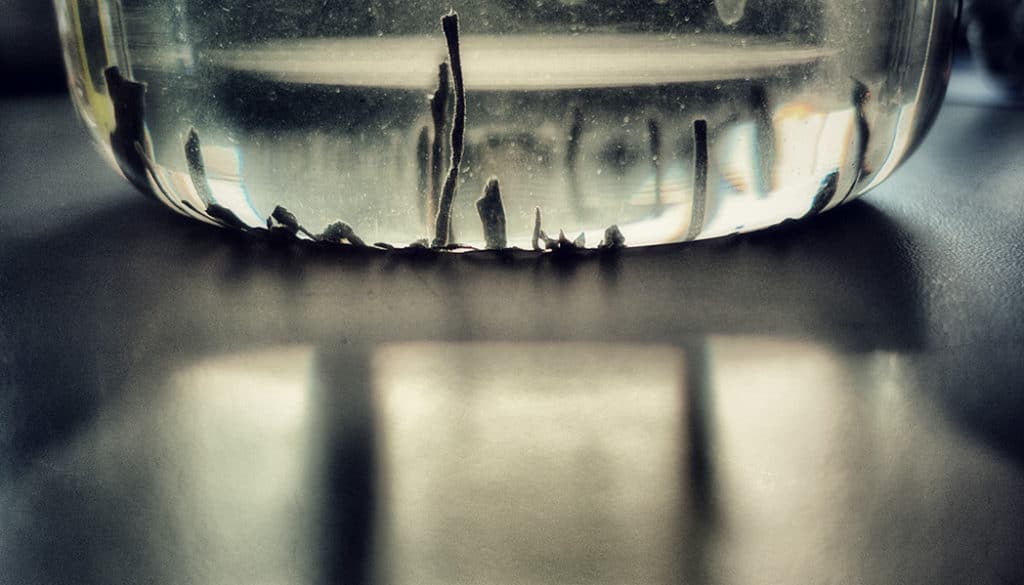
If you depend on your camera’s automatic settings or you rely on the inbuilt meter when you’re in manual mode, then don’t worry—you’re probably getting correct exposure every time. However, you’re often robbing yourself of unexpected, interesting photos that you could get with creative use of exposure. Don’t be afraid to leave the safe zone of average exposure and try getting creative with your pictures!
Exposure
Your choice of exposure determines how brightnesses will be distributed in the picture (its tonality). You set how light the picture’s brightest are (the lights) will be and how dark its darkest area (the shadows) will be.
You can take an entirely technical approach to this. In that case you’ll want to use a meter (external or built-in) to measure the light in the scene and then adjust your exposure settings based on its readings. This approach is useful in reportage and documentary work, where photographs mainly serve to report on events.
Meanwhile in creative photography, technically correct exposures are often unwanted, because they produce average pictures. Creative photography often works with deliberate underexposure and overexposure to make the subject stand out and to suppress the background.
Technically Correct Exposure
Recent articles in our magazine covered light meters and exposure modes. Technically correct exposures with no creative adjustments are especially useful in reportage. You’ll want to set a medium aperture like F8 or F11, where most standard lenses have the best detail and the depth of focus is relatively large, so you can get away with minor focus mistakes.

A classic reportage/documentary photo taken in semi-automatic mode.
Another classic case where you want to use technically correct exposure is product photography. Here again you’ll be working with a tight aperture to get perfect detail for the subject, and you’ll base exposure precisely on your meter readings to faithfully capture the product. You’ll work similarly for e.g. architecture and landscape photography.
Creative Exposure
I used product photography above as an example of when to use technically correct exposures. However, if you’re photographing a product for an ad instead of a catalog, you should go for a creative exposure instead.
For example, underexpose the product overall and use precision lighting to emphasize a specific part of it that’s important for your message. That’s what’s called a low-key photo—one containing mainly dark tones. The opposite of a deliberately underexposed photo is a high-key photo, one dominated by light tones. The classic example here is fashion photography, where the model’s face is reduced to contours, there’s no skin detail at all, and the dominant feature is a pair of full and rich lips. An ideal photo for a lipstick ad.
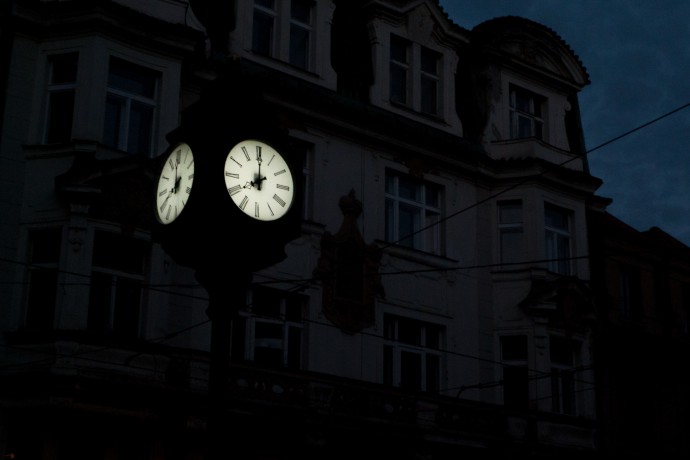
The deliberate heavy underexposure emphasizes the main motif—the backlit street clock. The surroundings are identifiable, yet they don’t steal attention from the clock.
There are so many high-quality photo editing tools available today, and meanwhile specialized cameras (mid-format digital backs) and specialized lenses with perspective correction abilities are expensive. Because of this, it’s become common to take thoroughly-sharp, correctly-exposed pictures and then make creative exposure and sharpness adjustments on a computer. This approach saves more than a little money.
Creatively Correct
Creative exposure and correct exposure don’t have to be at odds. That’s because in every set of light conditions, there are multiple combinations of settings that give the same exposure. And it’s a huge difference if you e.g. do a portrait using a low f-number that isolates the subject from the background (leaving the background blurred) or leave that decision up to the automatic settings, which choose a high f-number, which brings the background into focus, stealing attention from the subject.
Technically correct exposures still leave room for work with aperture size and shutter speed. Your choice of aperture determines the photo’s depth of field. You’re choosing how deep a region in front of and behind the focal plane is in focus. Objects outside of a photo’s depth of field will be blurry.
You can take advantage of this to make a subject stand out from its background. The background can remain identifiable without drawing attention away from the subject. You can isolate a whole person this way, or go even farther with the principle and isolate for example just their eyes while blurring the rest of their face.
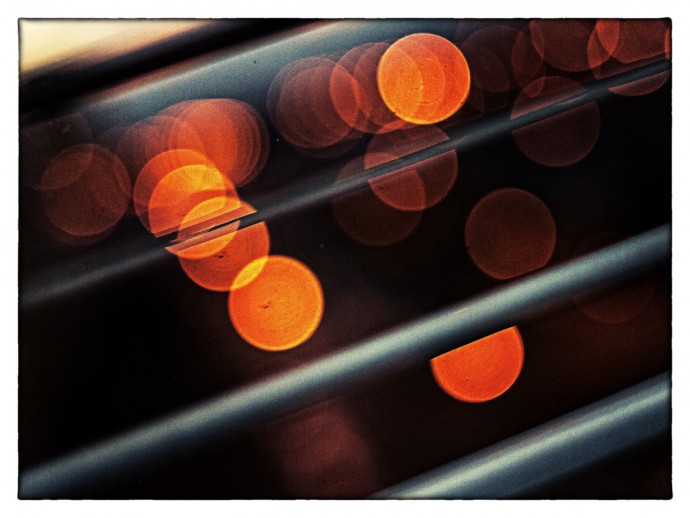
The wide-open aperture and the deliberately “wrong” focus have helped transform the lights of the night-time city outside into an abstract composition.
To express motion in a photo, work with the shutter speed. With a very short exposure (hundredths to thousandths of a second), you can freeze even very fast motion. With a long exposure, you can blur objects in motion, giving the picture a feeling of motion. With an extremely long exposure (dozens of seconds or minutes), you can blur moving objects—for example the tourists at a tourist spot—into nothingness.
Broadening Your Creative Exposure Options
Often in your efforts to expose creatively you’ll run into the limits of light, which can prevent you from achieving your goals. You might want to freeze the motion of an object that’s so fast that not even the shortest shutter speed can freeze it. Or perhaps a shorter time would cause underexposure due to low light conditions. In those situations you’ll want to use a studio flash or system flash, whose pulse of light lasts just thousandths or ten-thousandths of a second.
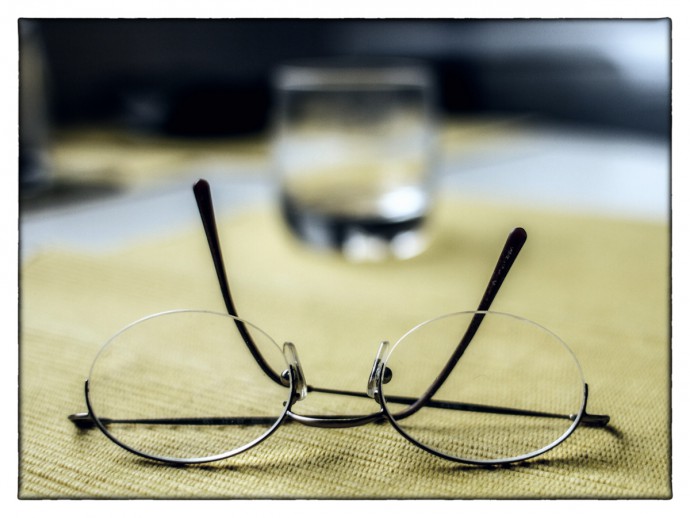
Work with depth of field (f-number is low; subject is relatively close to the sensor compared to the background) to separate the subject out from the background.
Often you’ll also run into situations where there’s too much light in the scene. If for example you want to blur the clouds in a nature photo or you want to fully express running water, you’ll need to use very long exposure times.
In these situations often even the smallest possible aperture won’t let you set a long enough exposure time. Not to mention the fact that setting very high f-numbers can degrade your images due to lens diffraction. In these situations the ideal solution is to use a neutral density (ND) filter to reduce the amount of light coming through the lens so that you can set longer exposure times.
ND filters also help you when you’re doing portrait photography outdoors. In situations where you can’t open up the aperture due to ambient light, an ND filter enables you to reduce the amount of light reaching the lens so that you can use a lower f-number to get a lower depth of field and blur the background behind your subject.
Don’t Be Afraid to Be Creative
During your photography work you can respect the light-meter measurements and take pictures with technically correct exposure. Or you can leave the realm of average exposure and use deliberate under- or overexposure to get unexpected results that enrich your pictures and bring them closer to art.
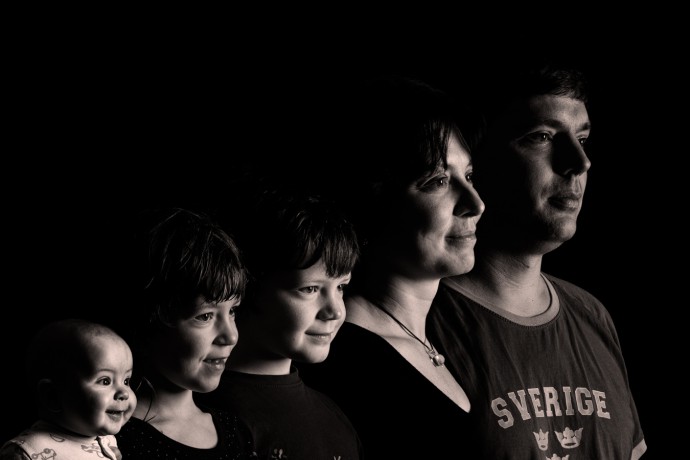
A low-key family portrait made up of five source pictures
When there’s too much or too little light to do creative exposure, there’s still a solution: various accessories that can change the amount of light reaching the lens. The most widely used of these are studio/system flashes and ND filters.
Want to Learn More About Exposure? Read our other articles on this topic:
Learn What Exposure Is and How It Shapes Your Photos
Discover the 3 Keys to Good Exposure: The Exposure Triangle
Discover the Three Keys to Good Exposure: ISO