How Measuring Exposure Works

The exposure meters built into digital cameras generally do their work well and make your job as a photographer a lot easier. But in certain complex situations they can get confused. That’s why for precise exposure metering, you can either use aids that help the camera’s built-in light meter, or use external light meters. These, the higher-quality option, measure the light actually contained in the scene.
Measuring Exposure
We touched upon light meters briefly in our article on exposure. These devices help to measure how much light is falling on a scene. Light meters measure either the light that falls on the subject (incident metering) or the light reflected off the subject (reflective metering).
Measuring Incident Light
For measuring incident light, external light meters are what’s used. These devices are equipped with diffusing hemispheres. You stand with them on the shoot site and let them take in light. External light meters are precise, because they measure the actual amount of light in a scene. These are relatively expensive. But most external meters sold today can measure both constant light and flash light. The most advanced ones can even measure the ratio of constant light to studio lights when these are used together.
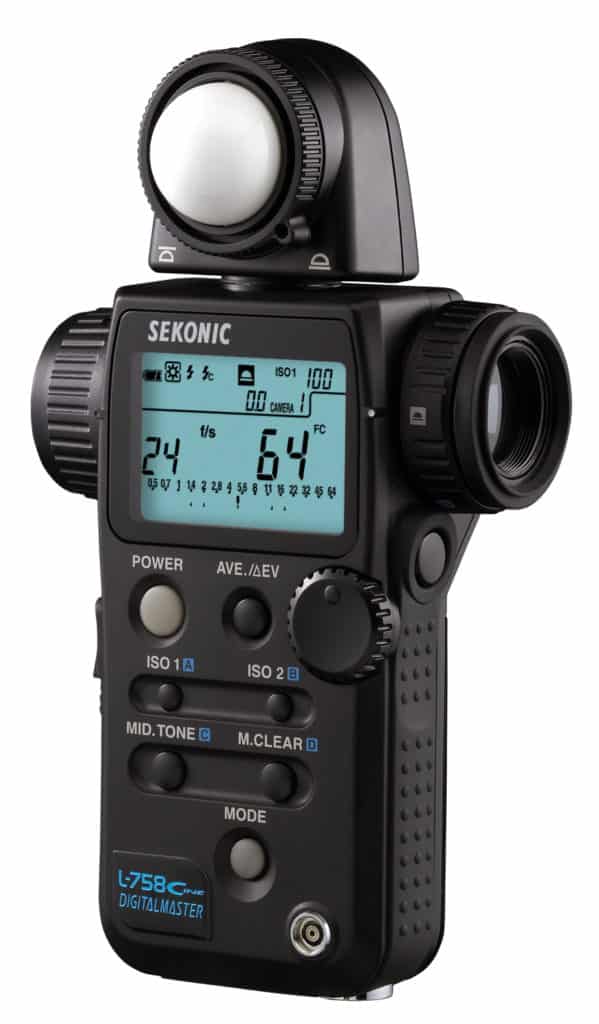
In today’s digital era, where exposing a shot costs practically nothing and you can check your exposure immediately on the camera histogram, light meters are practically useless for amateurs. But no photography pro will get by without a meter when doing studio photography with studio lights.
Measuring Reflected Light
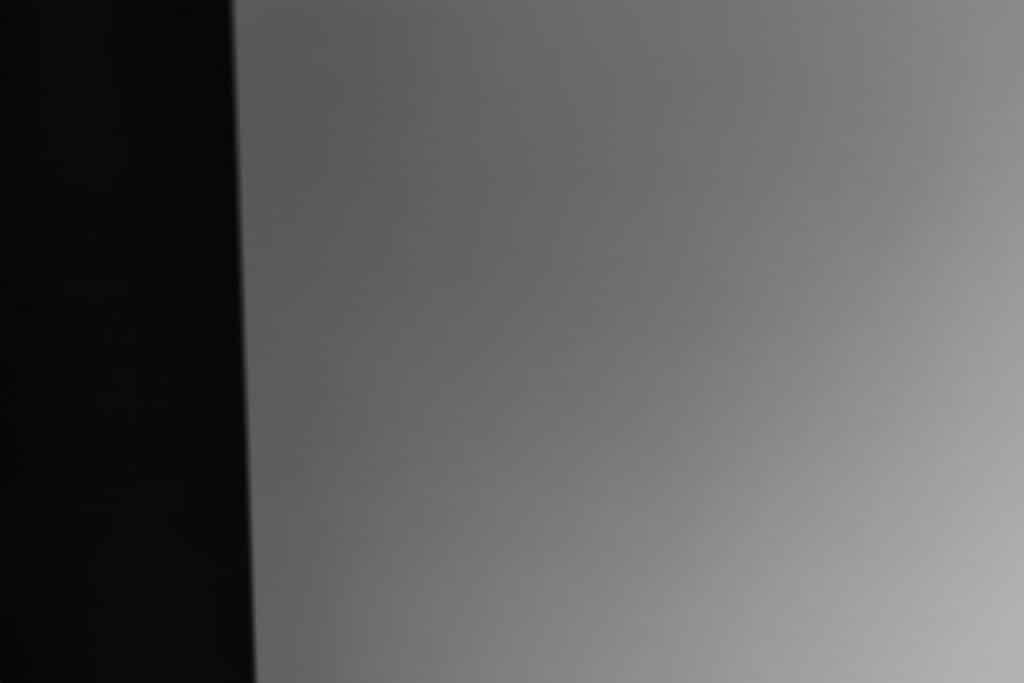
Nowadays it’s more common to use meters that measure the light reflected from a scene instead of light falling on it. These meters are integrated into digital cameras. This type of meter is not as precise, because it works from the assumption that a photographed scene reflects precisely 18 percent of the light that falls on it. That’s also why a neutral gray test card is typically used along with these light meters. These reflect precisely 18 percent of incident light.

Cameras’ Built-in Meters
Not all scenes behave like a gray card, and so cameras come with several kinds of light metering, and you can choose a measurement type based on the scene being photographed. In the following paragraphs we’ll introduce several types of exposure metering—matrix, center-weighted average, partial, and point metering.
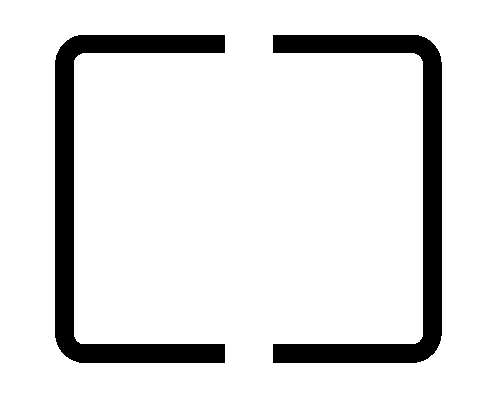
Evaluative (Matrix) Metering
Evaluative, or matrix metering is the most modern and advanced of the types. The photographed scene is divided into zones, and exposure is measured within them. This measurement is then compared with a large database of scenes stored in the camera, for optimal exposure adjustment.
This measurement method can handle even the toughest of scenes. The most modern devices even go beyond just tonality and also consider the colors in the scene. This kind of measurement is enough for practically every normal situation. It also generally prioritizes the area around the active focus point, since the camera anticipates that this is where the picture’s subject is.
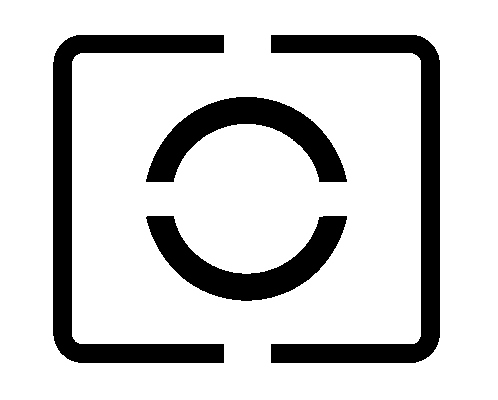
Center-weighted Average Metering
Center-weighted Average Metering takes the whole scene into account, but it places much more weight on the area surrounding the center focus point. This is mainly useful in shooting portraits against the light—where matrix metering tends to fail.

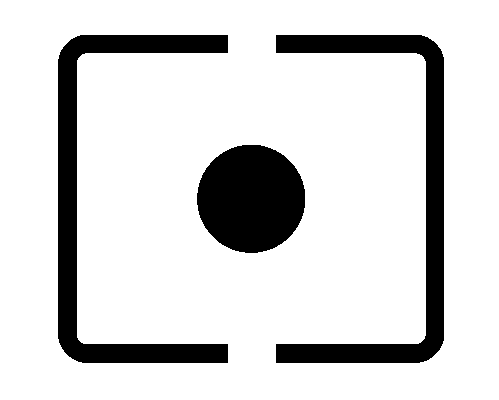
Partial Metering
Partial metering is used when shooting complicated scenes that the previous metering types can’t handle. In partial metering, a small area surrounding the center focus point (10 percent or less of the sensor area) is used in setting exposure. The measurement ignores the rest of the photographed scene. Use it e.g. in combination with a gray card to get precise exposure.
Spot Metering
This works similarly to partial metering, but the area used is significantly smaller (3 percent or less of the sensor area). This is another mode that goes well with a gray card and with high-contrast scenes with high dynamic range where you want to expose a specific spot correctly while sacrificing exposure everywhere else. You can also get good use out of point metering when seeking the lightest and darkest places in a scene. This is mainly useful when planning a set of bracketed shots with various exposure levels that you’ll join into one during post-processing.

Practice Makes Perfect
The built-in light meters in digital cameras measure light reflected onto a scene while assuming that the scene has average reflectance. These are not as precise as external light meters, which measure the actual amount of light falling onto a scene.
In this age of digital photography, you can see each picture you take on your display immediately, including its histogram. So it’s not too hard to correct measurement errors and just retake the picture.
But the more you shoot, the more practice you get, and soon with just a glance at a scene you can tell how well your camera’s light meter will be able to handle it. So you’ll be able to get your exposure right before taking even a single botched shot.
TerryB
The meters in modern digital cameras do do an excellent job in most scenarios, but it is the exception where they can go wrong. It still requires knowledge on the part of the photographer to use a meter accurately in such cases.
With spot metering for example, the spot area measured is still referenced back to an average, or 18 percent grey. So the photographer needs to appraise the subject carefully and seek out what the believes is an area equivalent to 18 percent, or his exposure will still be wrong. There’s no denying it, meter reading is a skill that needs to be learnt. There is no simple fix. So practice makes perfect, as they say.
Zoner
Yes, we totally agree!
Fortunatelly, it is so easy to take more photos with different settings and experiment.