Get Hollywood Contrast in Zoner Studio
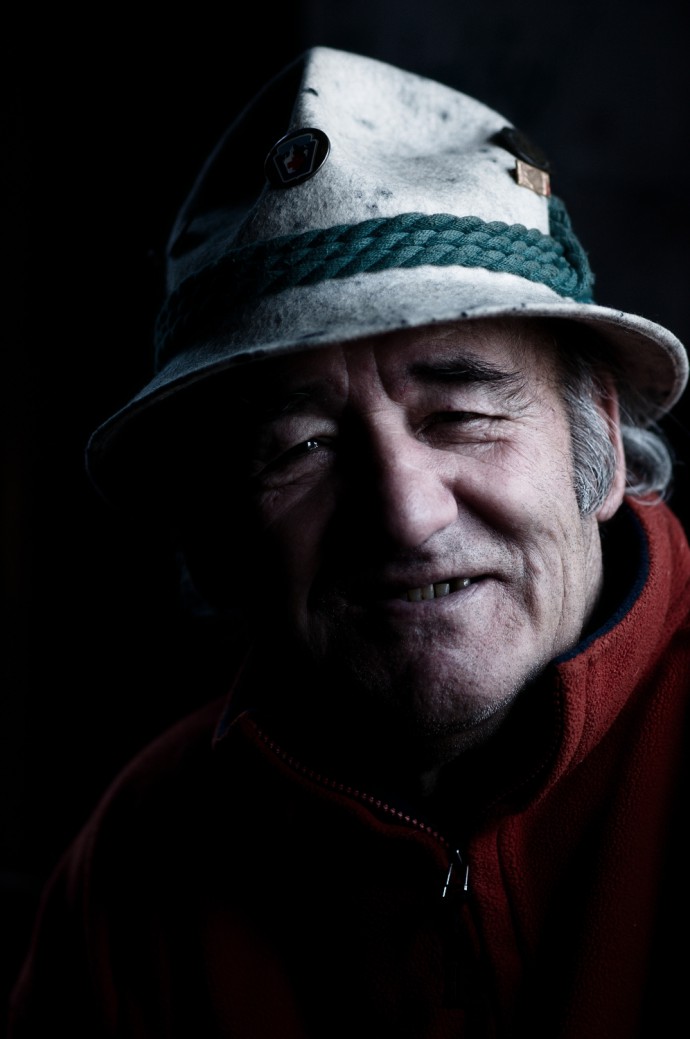
Hollywood has been using color edits to get some fascinating looks for certain films in recent years. The’re especially prominent in war movies like Saving Private Ryan and Fury. Outside film, you’ll find them in Band of Brothers. Contrast and desaturation electrify these works’ atmosphere. The same look does great things for photos too. Read on to learn all about it.
In a past article we showed you how to create different B&W takes on a picture using color channels. Today we’ll be showing you how to give photos an attractive contrast using a similar technique.
Start from a Good Shot with Good Light
If you want to start from good material (and you do!), don’t forget the usual rules of light. Seriously. It’s extremely important, because this technique makes everything in a photo stand out, including the mistakes. We also recommend that you start from the best data quality that you can—for example a 16-bit tiff.
Tried and True
This technique is tried and true, but it’s not a straitjacket. So for example try using different blending Modes in Zoner Studio than the one suggested below. Find “your” edit.
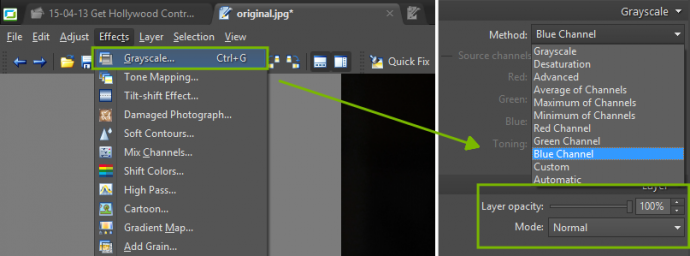
Open your photo in Editor and use the Grayscale Effect (Ctrl+G):
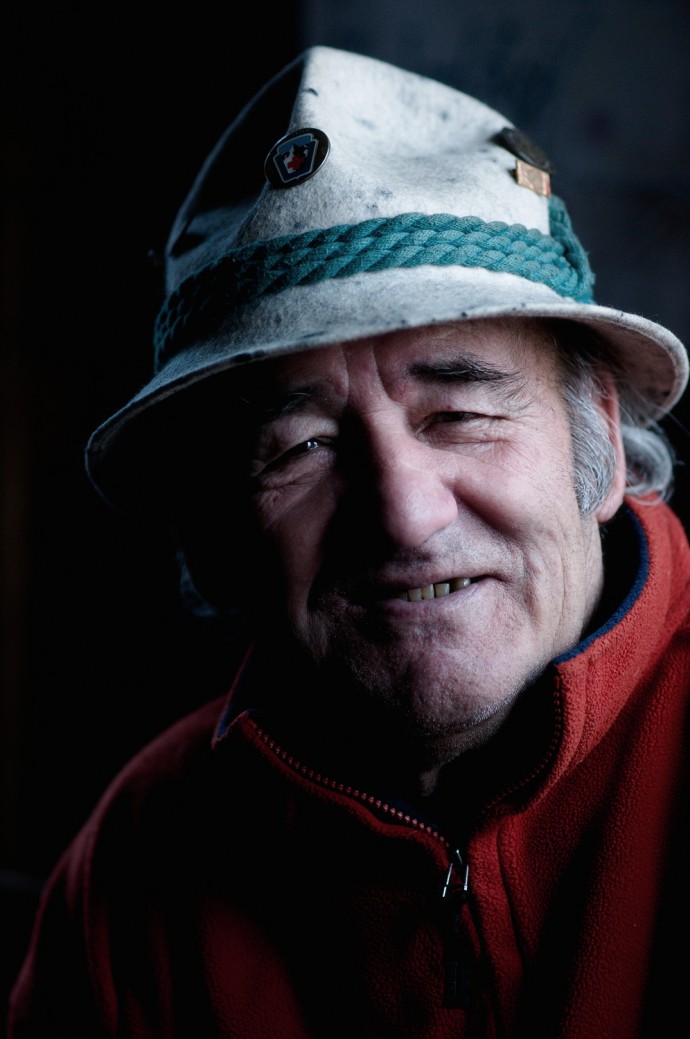
Use the most interesting channel first—and that means the blue channel. Blend the channel via the lightness mode. That makes the photo’s shadows stand out. This is a fairly strong-acting mode, so use a strength (Layer opacity) of at most 10 percent.
Restoring Lost Contrast
The next step is to mix the blue channel via the Soft light mode. This mode restore’s the photograph’s lost contrast. Use this mode with care, with an effect strength of about 20-30 percent.

In the next step we will work with the blue channel one last time. We mix the channels using multiply mode. This makes the photo much darker and gives it a brownish tint. Multiply is a very strong effect, and so we use a strength of about 20 percent.

Lightening Skin
We now begin our work with the red channel. This channel strongly affects skin color, so the face will be light. We’ll be running it through the Soft light mode.
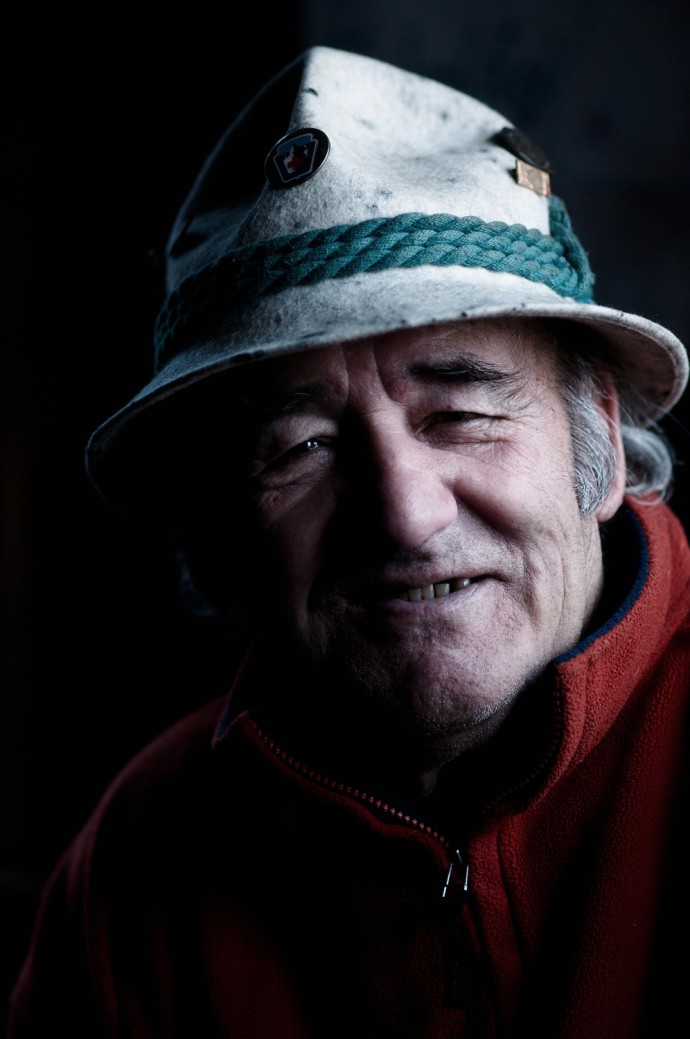
We now use the red channel a second time. This time via the multiply mode. This has left the face and the jacket almost untouched while darkening everything else.

The last step is to fine-tune contrast via the green channel. It comes last because it’s the least visible. So we’ll handle it using Soft light mode and fine-tune the contrast. 20 or 30 percent strength will suffice.
Out with a Sparkle
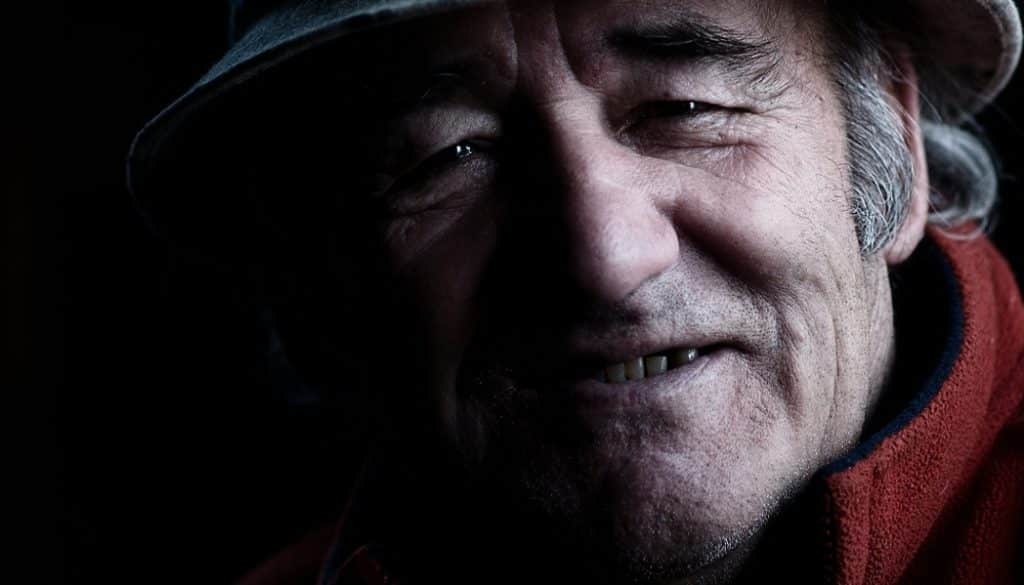
The subject’s eye would be too dark as-is, so we wrap things up by adding a sparkle to his eye. This makes the photo a bit more attractive.
Try out techniques like the above for yourself, and again, find your own tried and true photo enhancement workflow. But remember that less is more, and that’s especially true for edits. And save this type of edit for the shots that it fits—generally “rough-looking” ones. Don’t use it on, for example, photos of children or pregnant women.
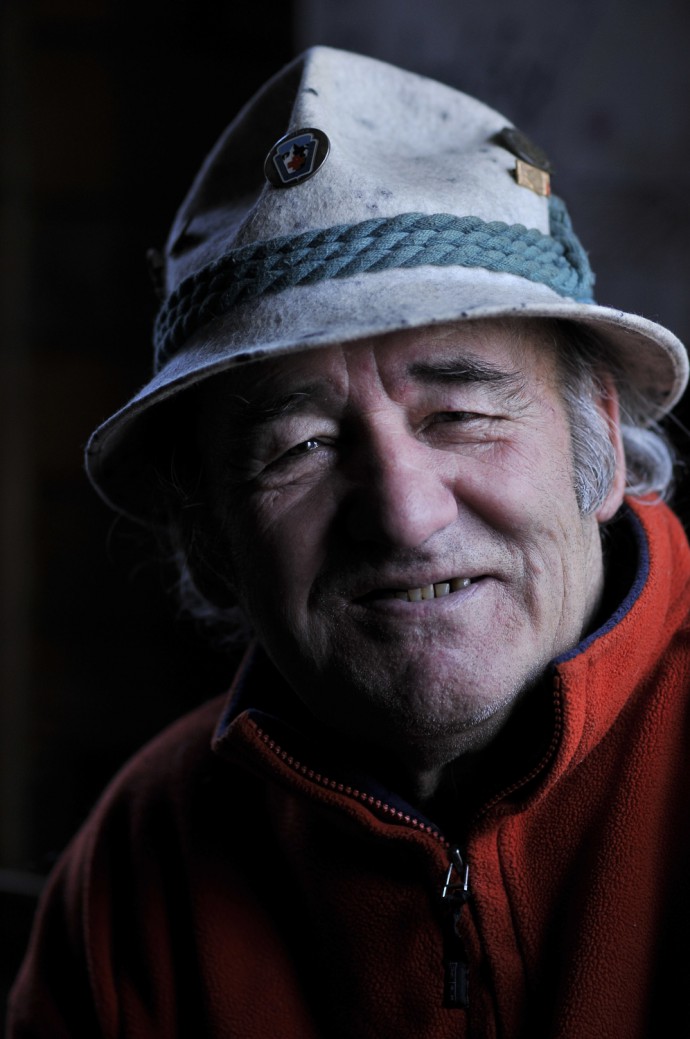
Use slider on the image to see the difference between original and edited picture:
