Organize Your Photos: Get Rid of Duplicate Files Using Zoner Studio
Duplicate files on your computer are a common problem for many photographers. Duplicate content can cost you not only precious time, but money too. This is a problem worth solving. But how did this problem occur? If you frequently make copies of various files, even unknowingly, be careful.
Photos and other image files are among the largest types of files. Cameras as well as mobile phones produce images with a large number of megapixels that usually contain at least 1.5MB of data.
And these files don’t only include the photos you take. Scanned documents, stock photo images, or print materials from graphic designers — it all adds up. The result? Your hard drive gets dangerously full, causing your computer can crash.
Misused space and disorganization
A typical scenario: You choose a photo on your computer, put work into it, and do all the required editing. You hit save. Some time later, you find this photo again and are upset to discover that all your edits are gone and you have to do all the editing once again.
The second time, you only found a second copy of the original photo. One photo was saved to two different folders without your knowledge. The result: lots of needless extra work.
How to use Zoner Studio to find duplicate files
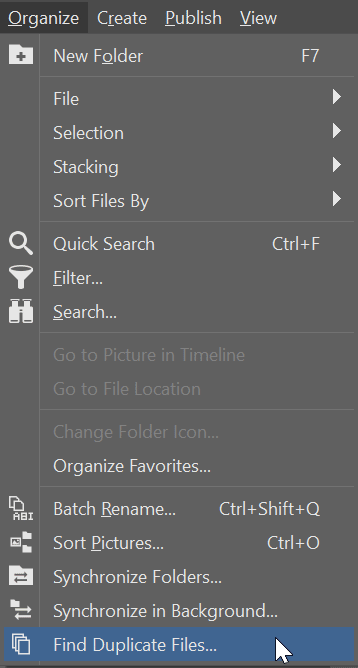
Zoner Studio X has a function for finding duplicate files. It is found in the Manager module.
- Click Organize > Find Duplicate Files in the main menu.
- In the top left of the window that opens, you can choose Search in. Then, choose which drive you want to search. For example, Windows (C:) includes your entire hard drive.
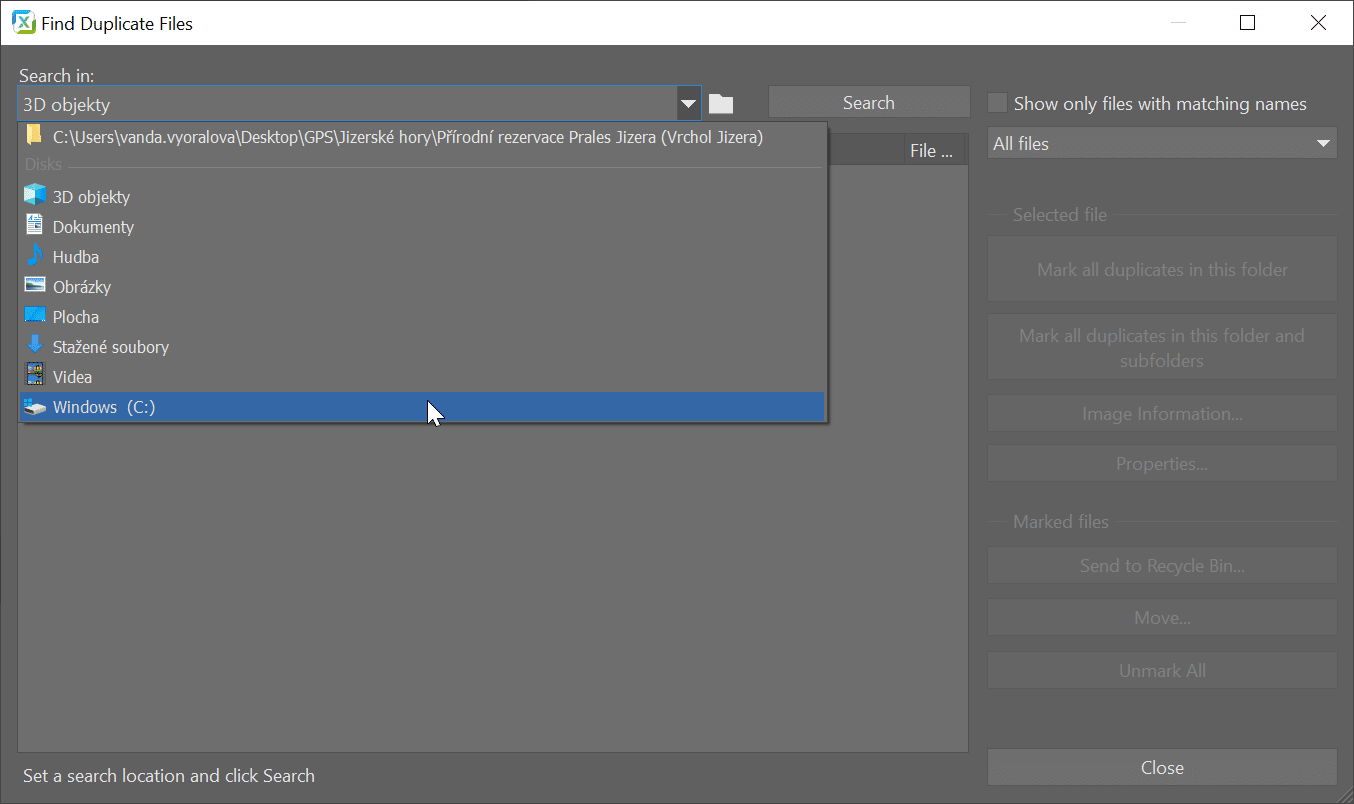
- Click the Search button to start the search.
- Your computer will “buzz” as it’s working. How long depends on the speed of your computer and the amount of data on the drives being searched. In some cases, the procedure can take up to a half hour, so we recommend running it when you don’t urgently need Zoner Studio.
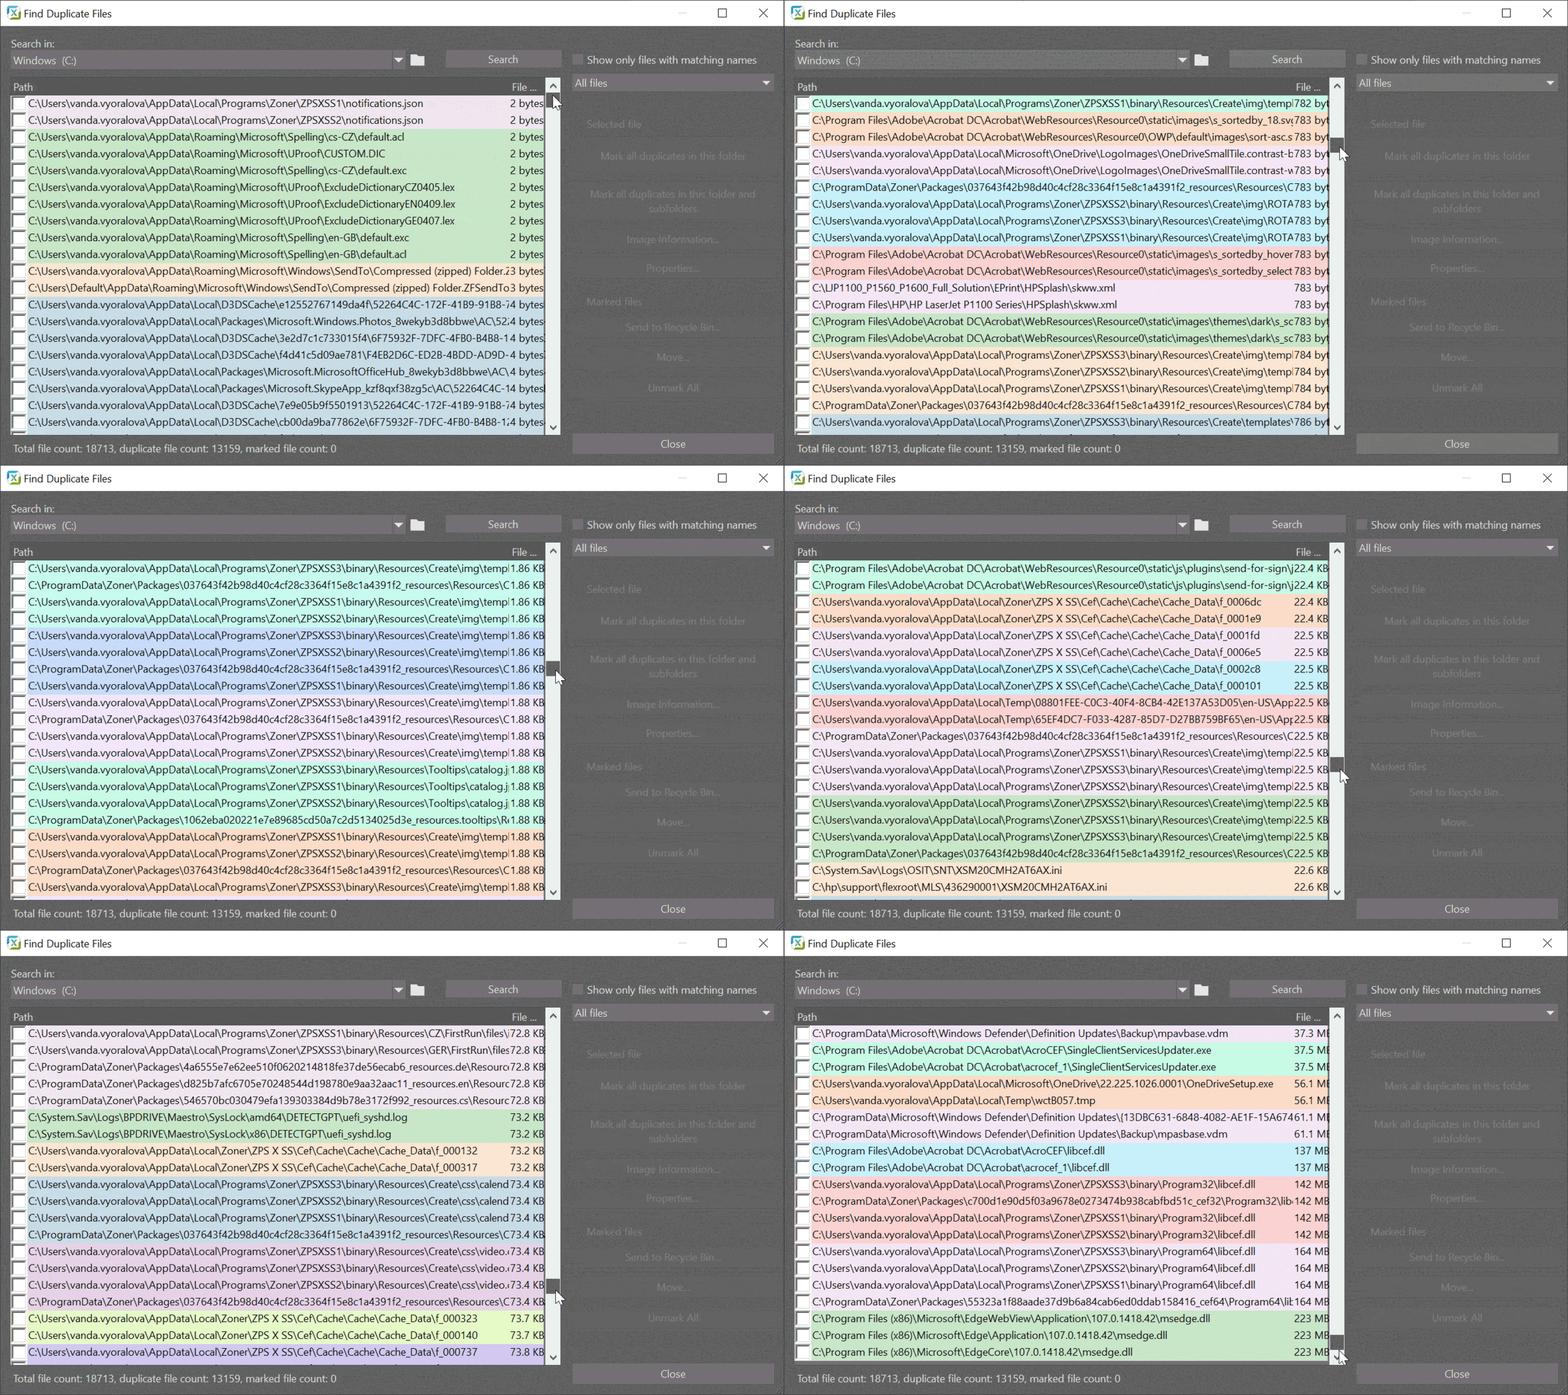
- Once you see a list of files in the window highlighted in many different colors, the search was successful. You can tell which files are duplicates by the fact that they are right below each other in the list and are the same color.
Remove unwanted copies
- Search results are sorted by file size. If your main goal is to free up disk space, start with the largest files at the end.
- You have the option to mark files separately or use the Mark all duplicates buttons
- Once you have marked the right candidates for deletion, (you can see where they are saved in the Path column), use the Send to Recycle Bin button.
The function also searches for non-image files. It can also ignore the file name so you can track down copies that have been renamed as well.
Prevent creating duplicate copies of files
With a few simple steps, you can prevent duplicates from ever appearing on your computer again. For example, when sending pictures. Some email programs often save copies of all received and sent attachments.
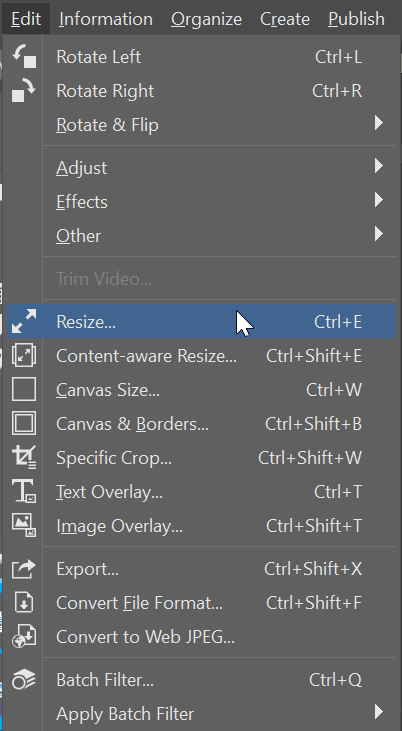
If the recipient doesn’t need a photo in full resolution, just send them a preview. You can reduce the file in Zoner Studio using the Resize function or Convert File Format. You can share photos in other ways such as via cloud storage, a web service, Zonerama, or other online photo galleries.
Needless duplicates are often created when downloading photos from your camera. However, Zoner Studio X “remembers” the names of files it has already imported to your computer. Select Import in the bottom left panel and when a new tab opens, select the Import non-duplicate pictures only option. Previously imported files will remain unselected.
A common issue is deliberately creating file copies. Specifically, copying large amounts of photos stored on your computer to another folder, usually belonging to a specific project or task. You can avoid this by either adding a link to the existing location of the photos (shortcut), assigning GPS coordinates, organizing your photos using ratings and colored labels, or using keywords.
