Night Photography: How To Shoot Light Trails, Silhouettes, and Light Painting
Night photography opens up a whole new world of possibilities—from car light trails to light painting and dramatic silhouettes. In this article, you can find practical tips for camera settings, the best time to head out, and tricks that will keep your night shots sharp and creative, even without a tripod.
In this article, you’ll learn:
- How to take night photos using long exposures
- How to get light trails from cars and other vehicles
- How to use light painting and other creative effects
- How to shoot silhouettes and film-noir style black and white
- How to shoot without a tripod
- Where to look for interesting night photography locations
Forget about cranking up ISO and hoping for a miracle. Long exposures open the door to a completely different way of shooting.
If you’re unsure about shutter speed, aperture, and ISO, check out our article on the exposure triangle, where we break down the basics.
The city at night and light trails
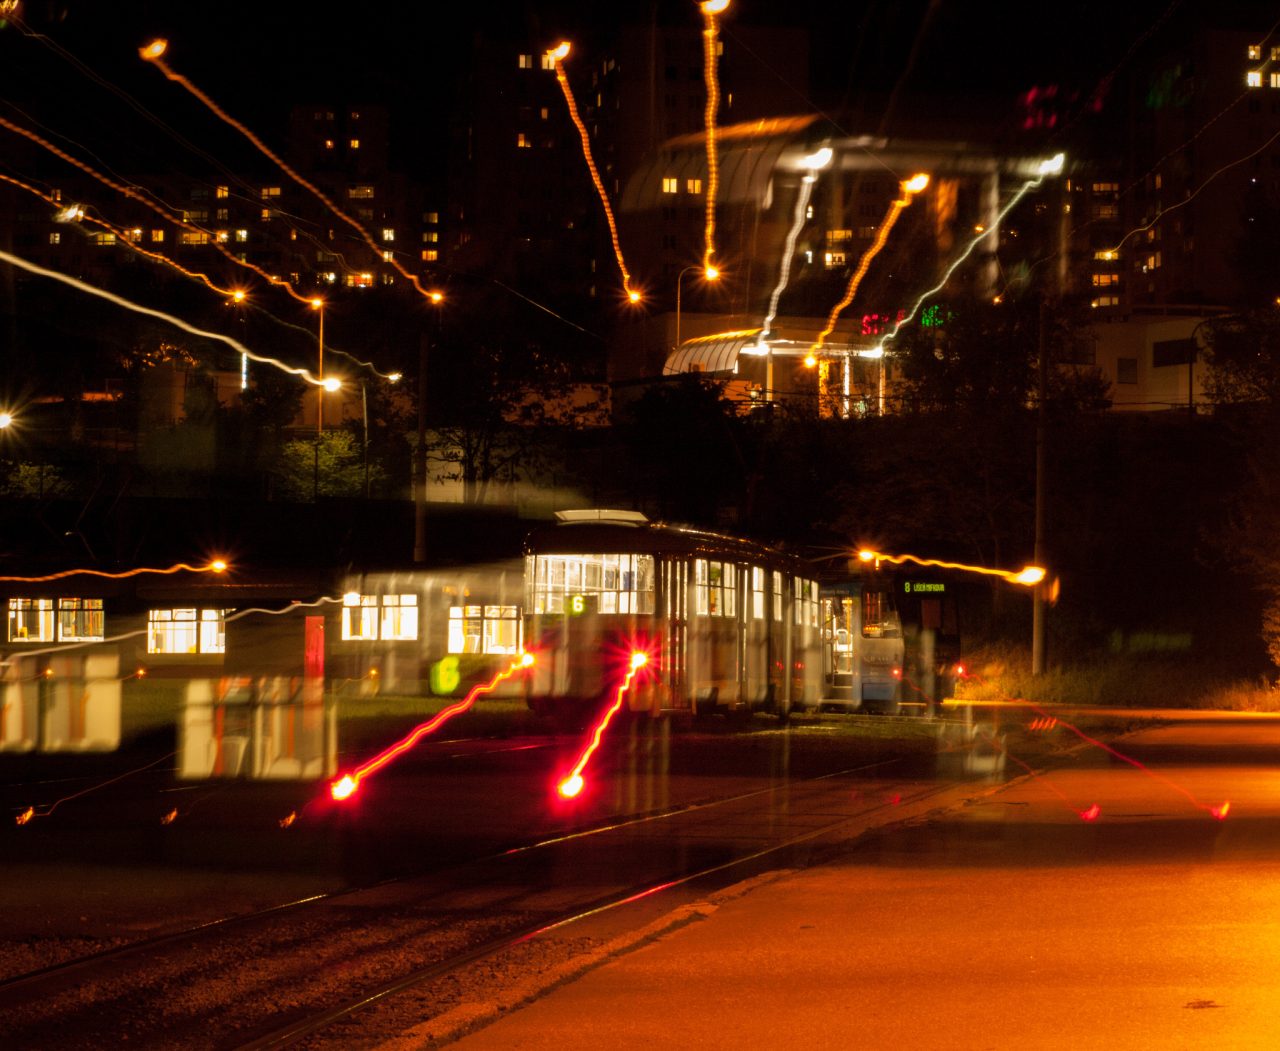
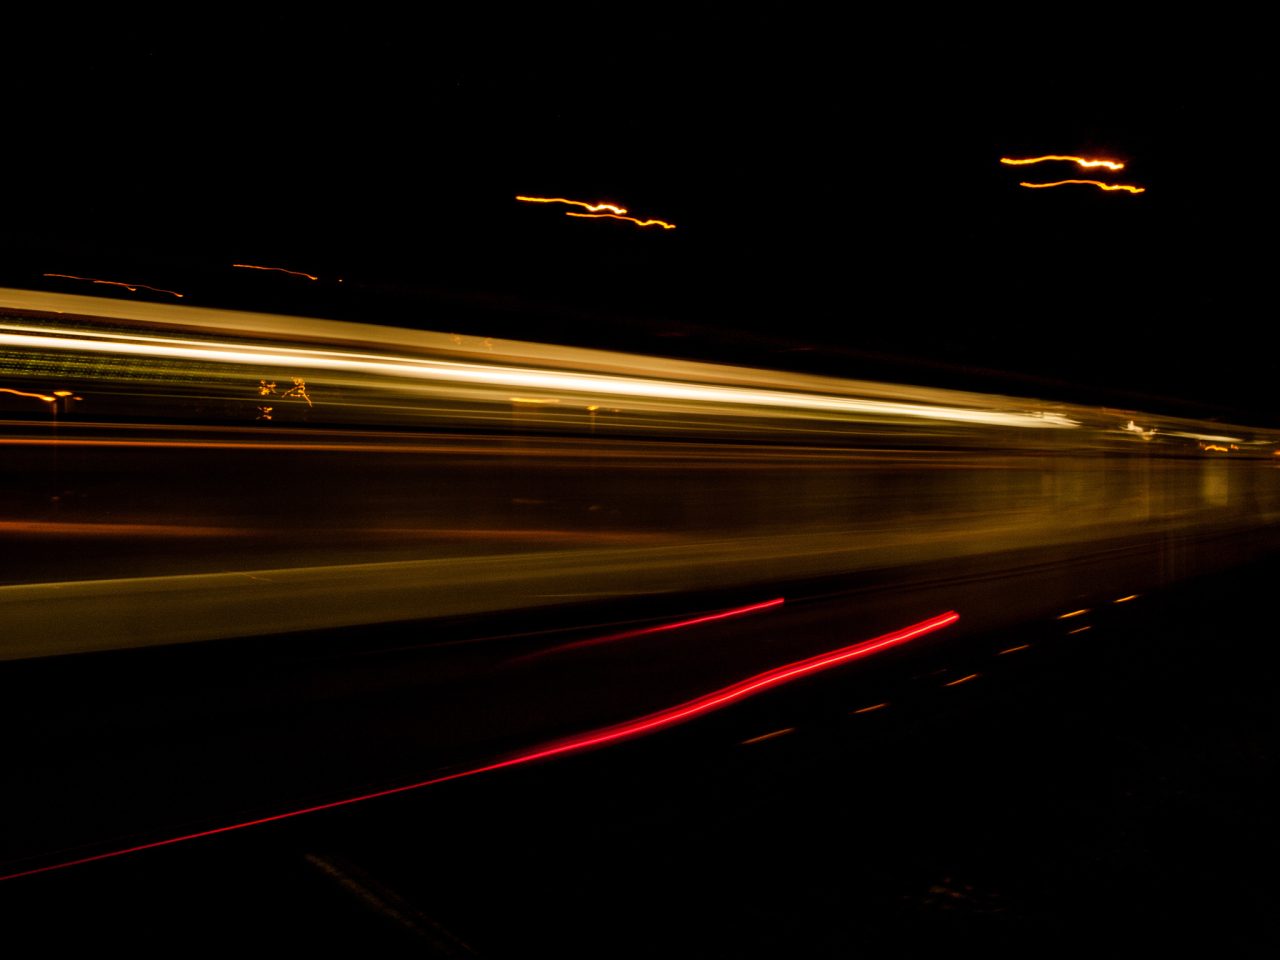
After dark, the city becomes a living organism. Car headlights, buses, traffic lights, and billboards combine into colorful light trails you never see during the day. Just set a long shutter speed—for example, 5 to 20 seconds—and mount your camera on a tripod. A static subject like a bridge, bench, or building, stays sharp, while moving lights turn into glowing streaks.
Tips for shooting at night:
- When to go? During the blue hour (about 30-60 minutes after sunset), when the sky is dark blue instead of black.
- Don’t even think about going without a tripod or stable surface. Trust me.
- Find out where your camera’s self-timer or remote shutter release is. No shaky fingers!
- Look for contrasts—Warm streetlights vs. cool car lights, red and white headlights going in opposite directions.
- Combine movement and stillness—The more layers in the shot, the more interesting it will be.
Shooting long exposures handheld
No tripod? No problem. You can still take long exposure photos if you minimize movement. Proper posture and hand placement make a surprising difference.
Keep your elbows tucked against your body. Support the camera from below with your left hand (like holding a plate), while your right hand controls the buttons. Stand with your feet shoulder-width apart, bracing like you’re on a moving bus without holding on. You can also lean on a wall, bench, or railing to help camera shake.
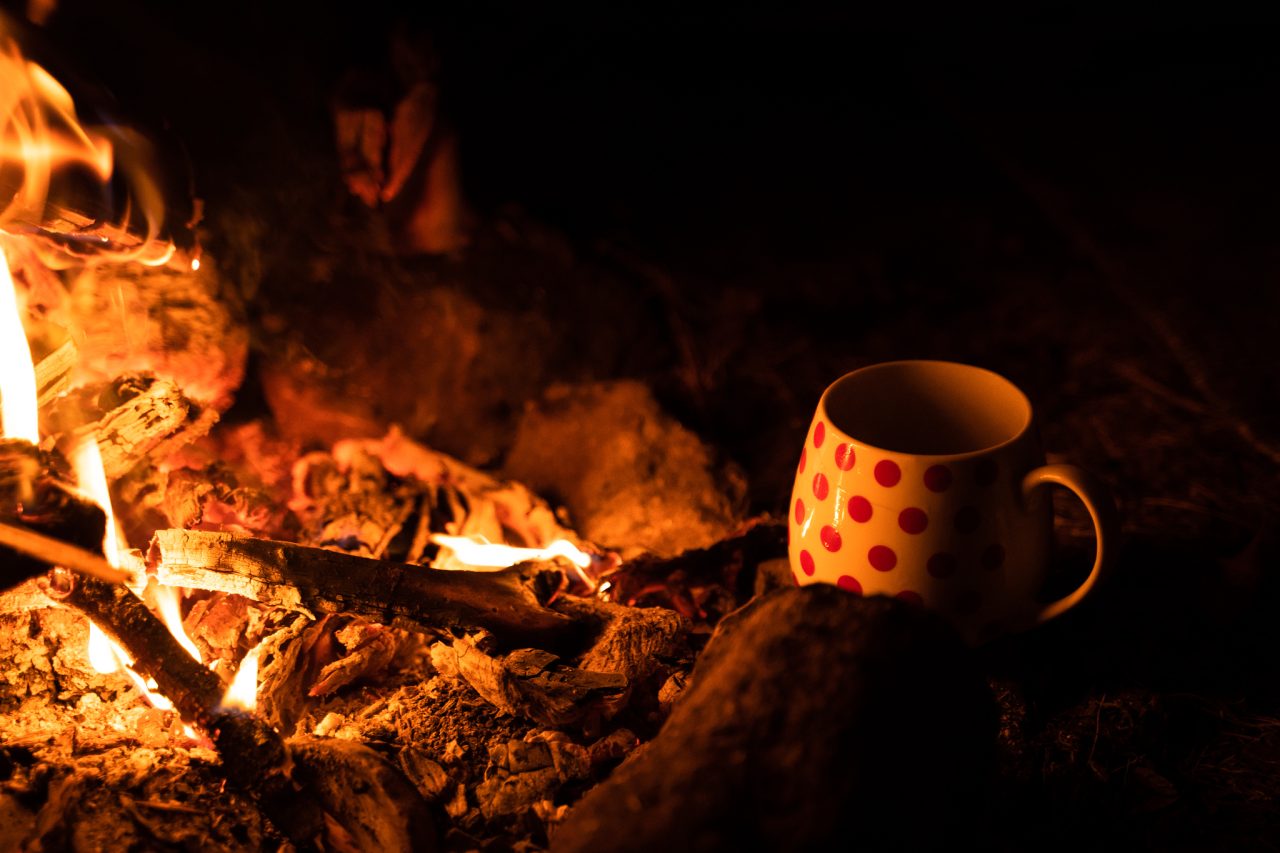
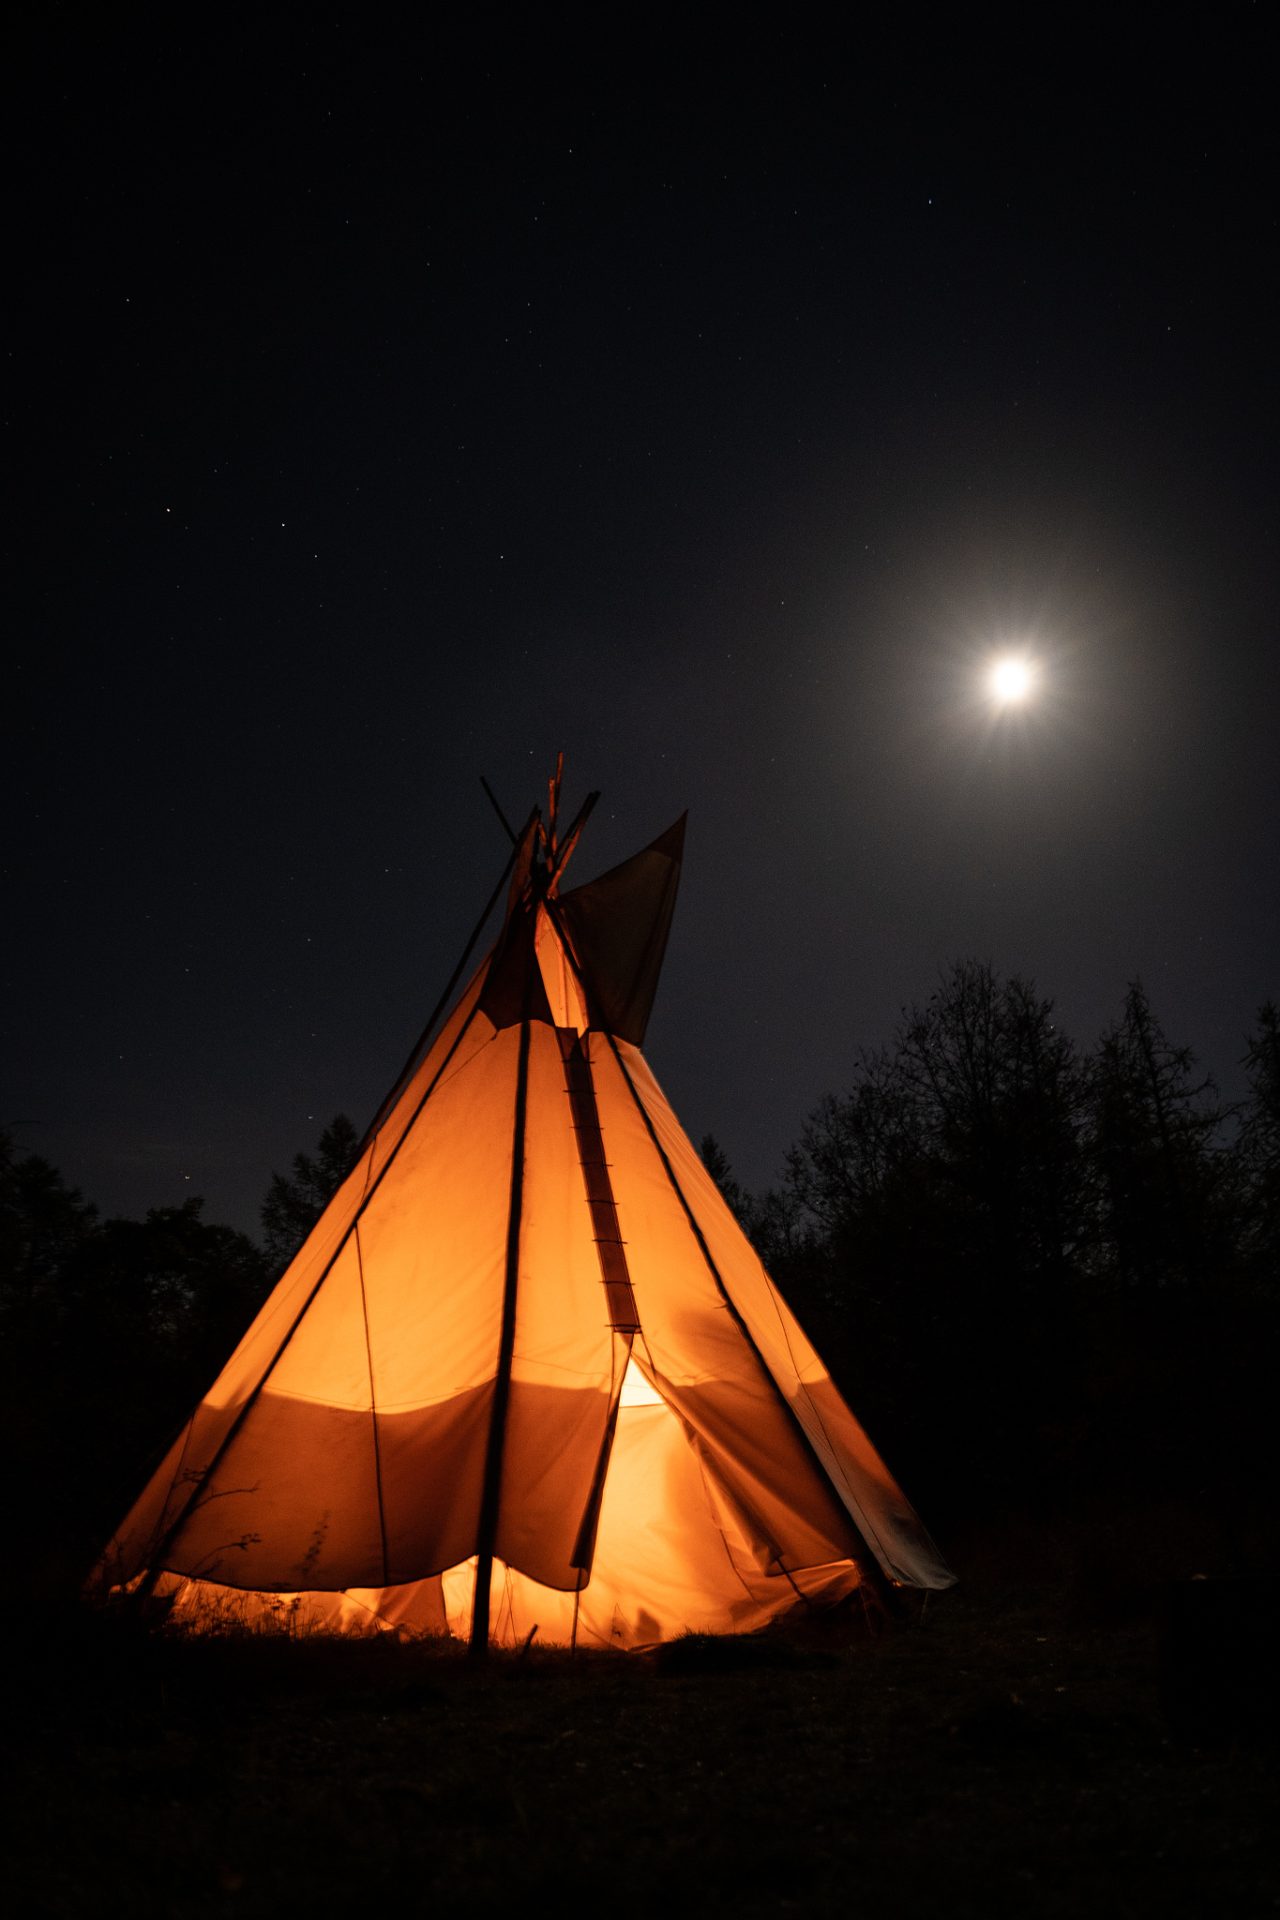
Fire creates a warm atmosphere, but you have to stay steady or use a tripod to capture it. Both of these photos were shot handheld. Teepee: f/3.2, 0.6s, ISO 2500, 28mm. Mug: f/2.8, 1/100s, ISO 1250, 63mm
Where to go for night photography
Darkness doesn’t only come after sunset. You can find it in caves, tunnels, or other places where light enters from just one side, creating dramatic contrast. These are perfect for silhouettes, moody portraits, or still lifes.
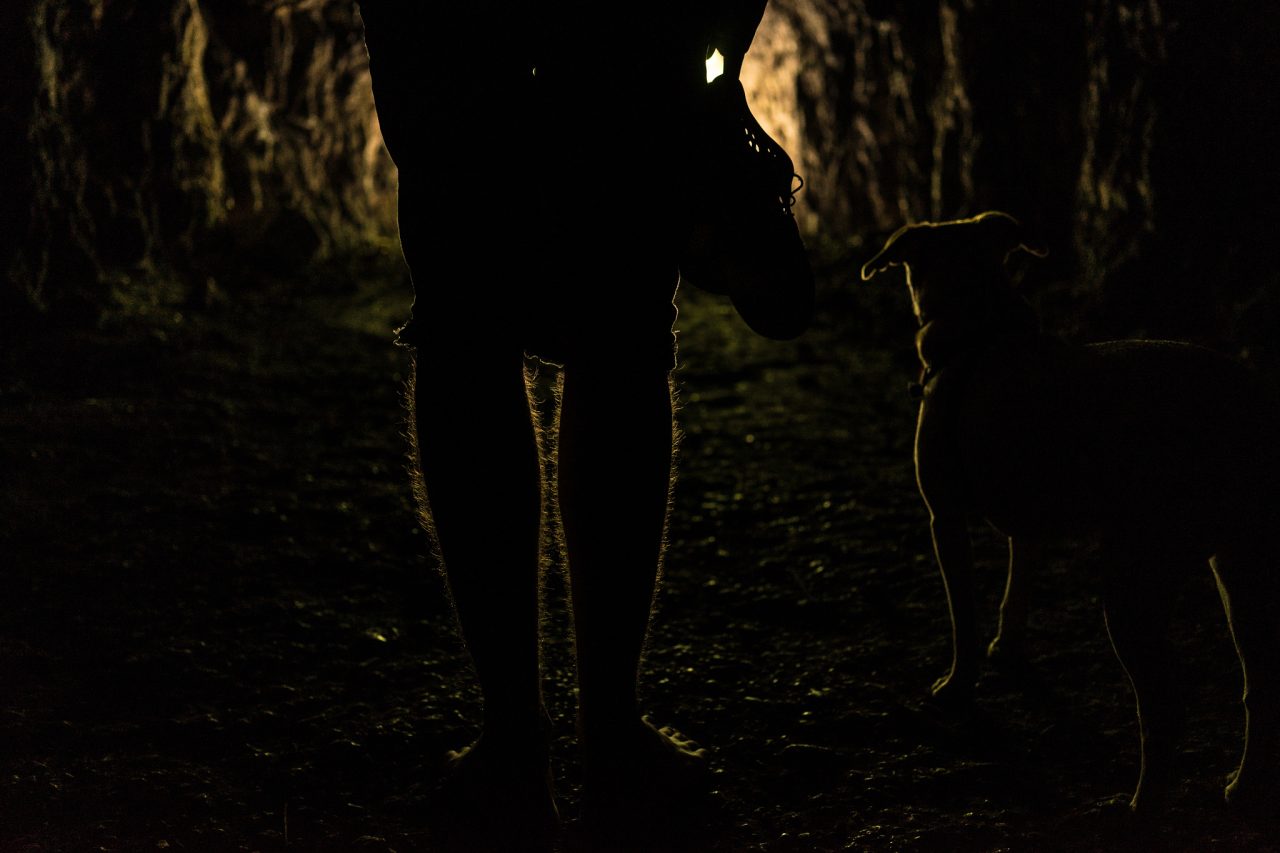
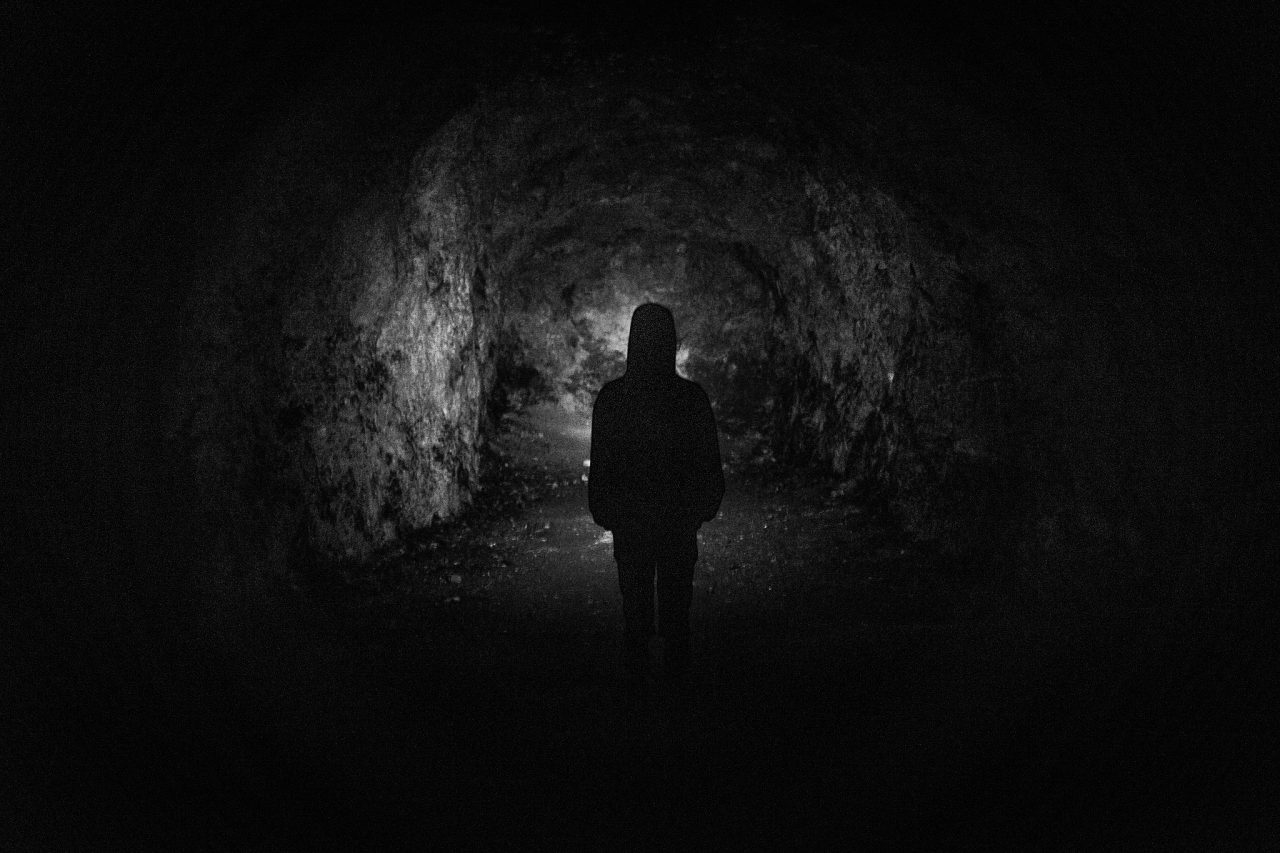
Caves are a favorite of mine for their mysterious atmosphere. In one shot, I placed a light in front of my model so it illuminated his legs (f/2.8 1/2 s, ISO 640, 35mm). In another, he wore a headlamp (f/2.8, 1/3s, ISO 3200, 35mm).
After dark, explore empty streets lit by streetlamps or parks and playgrounds with spotlights. For safety, I recommend reflective strips on your backpack and camera bag, especially in the city. When you’re focused on your photography, it’s better if passing vehicles can see you.
Film noir and silhouettes
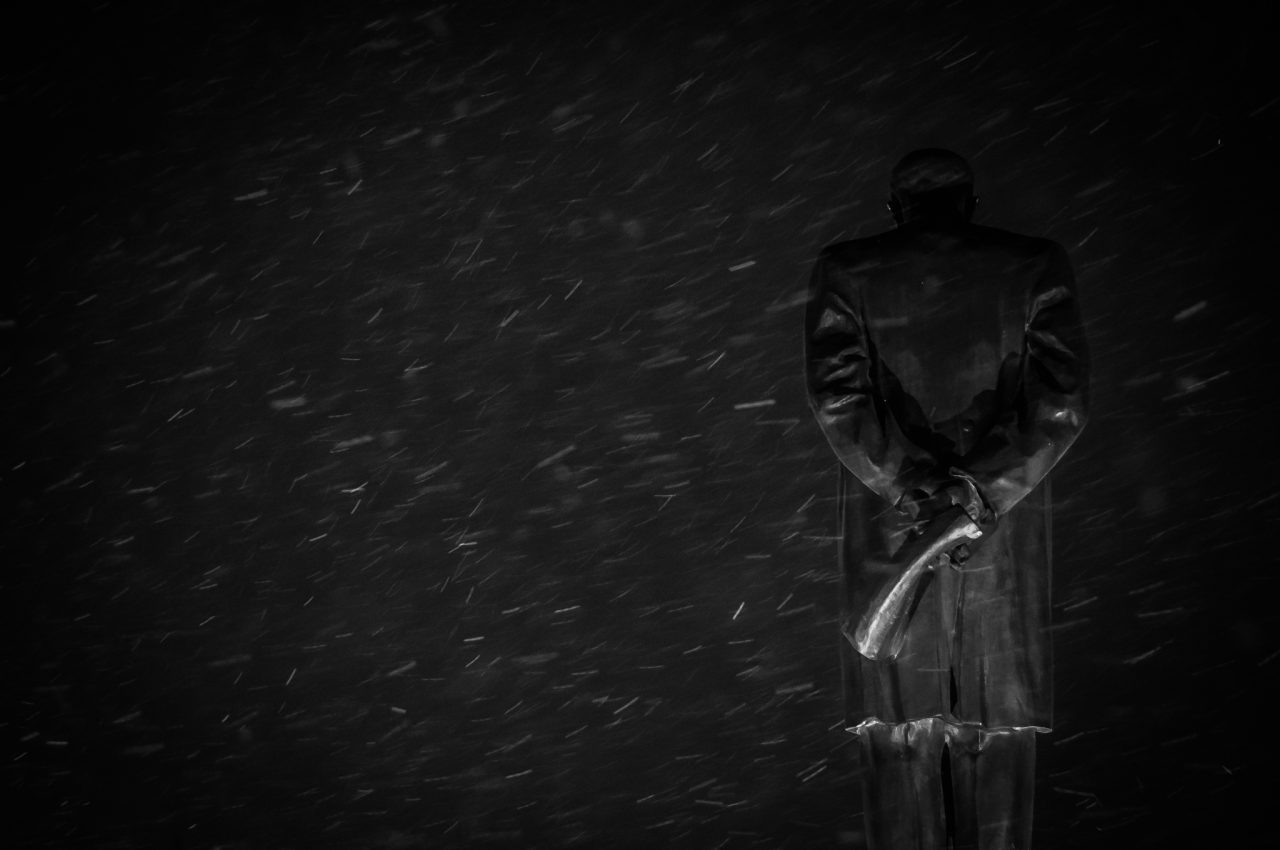
Channel the atmosphere of an old black and white film. Let shadows, outlines, and dramatic tension take center stage. See our article about the film noir technique for inspiration.
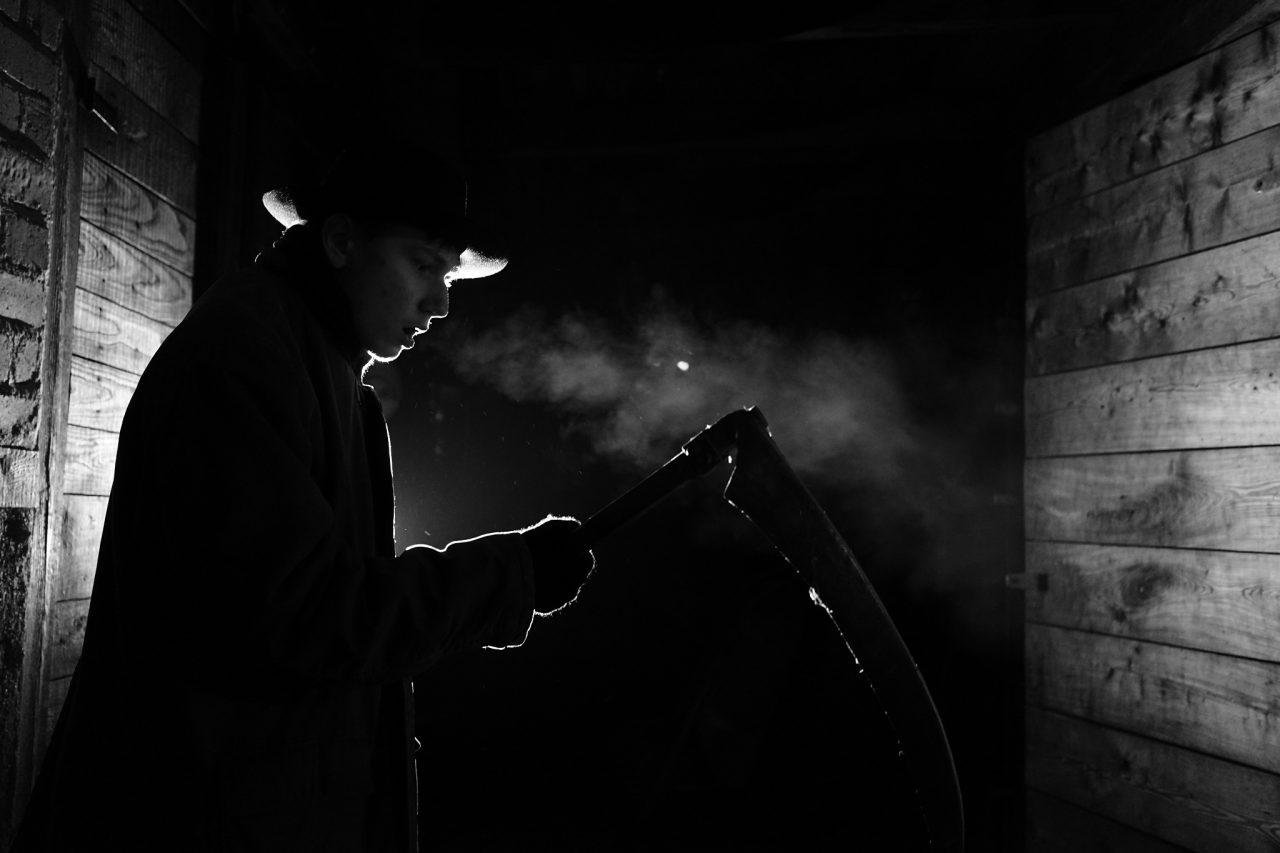
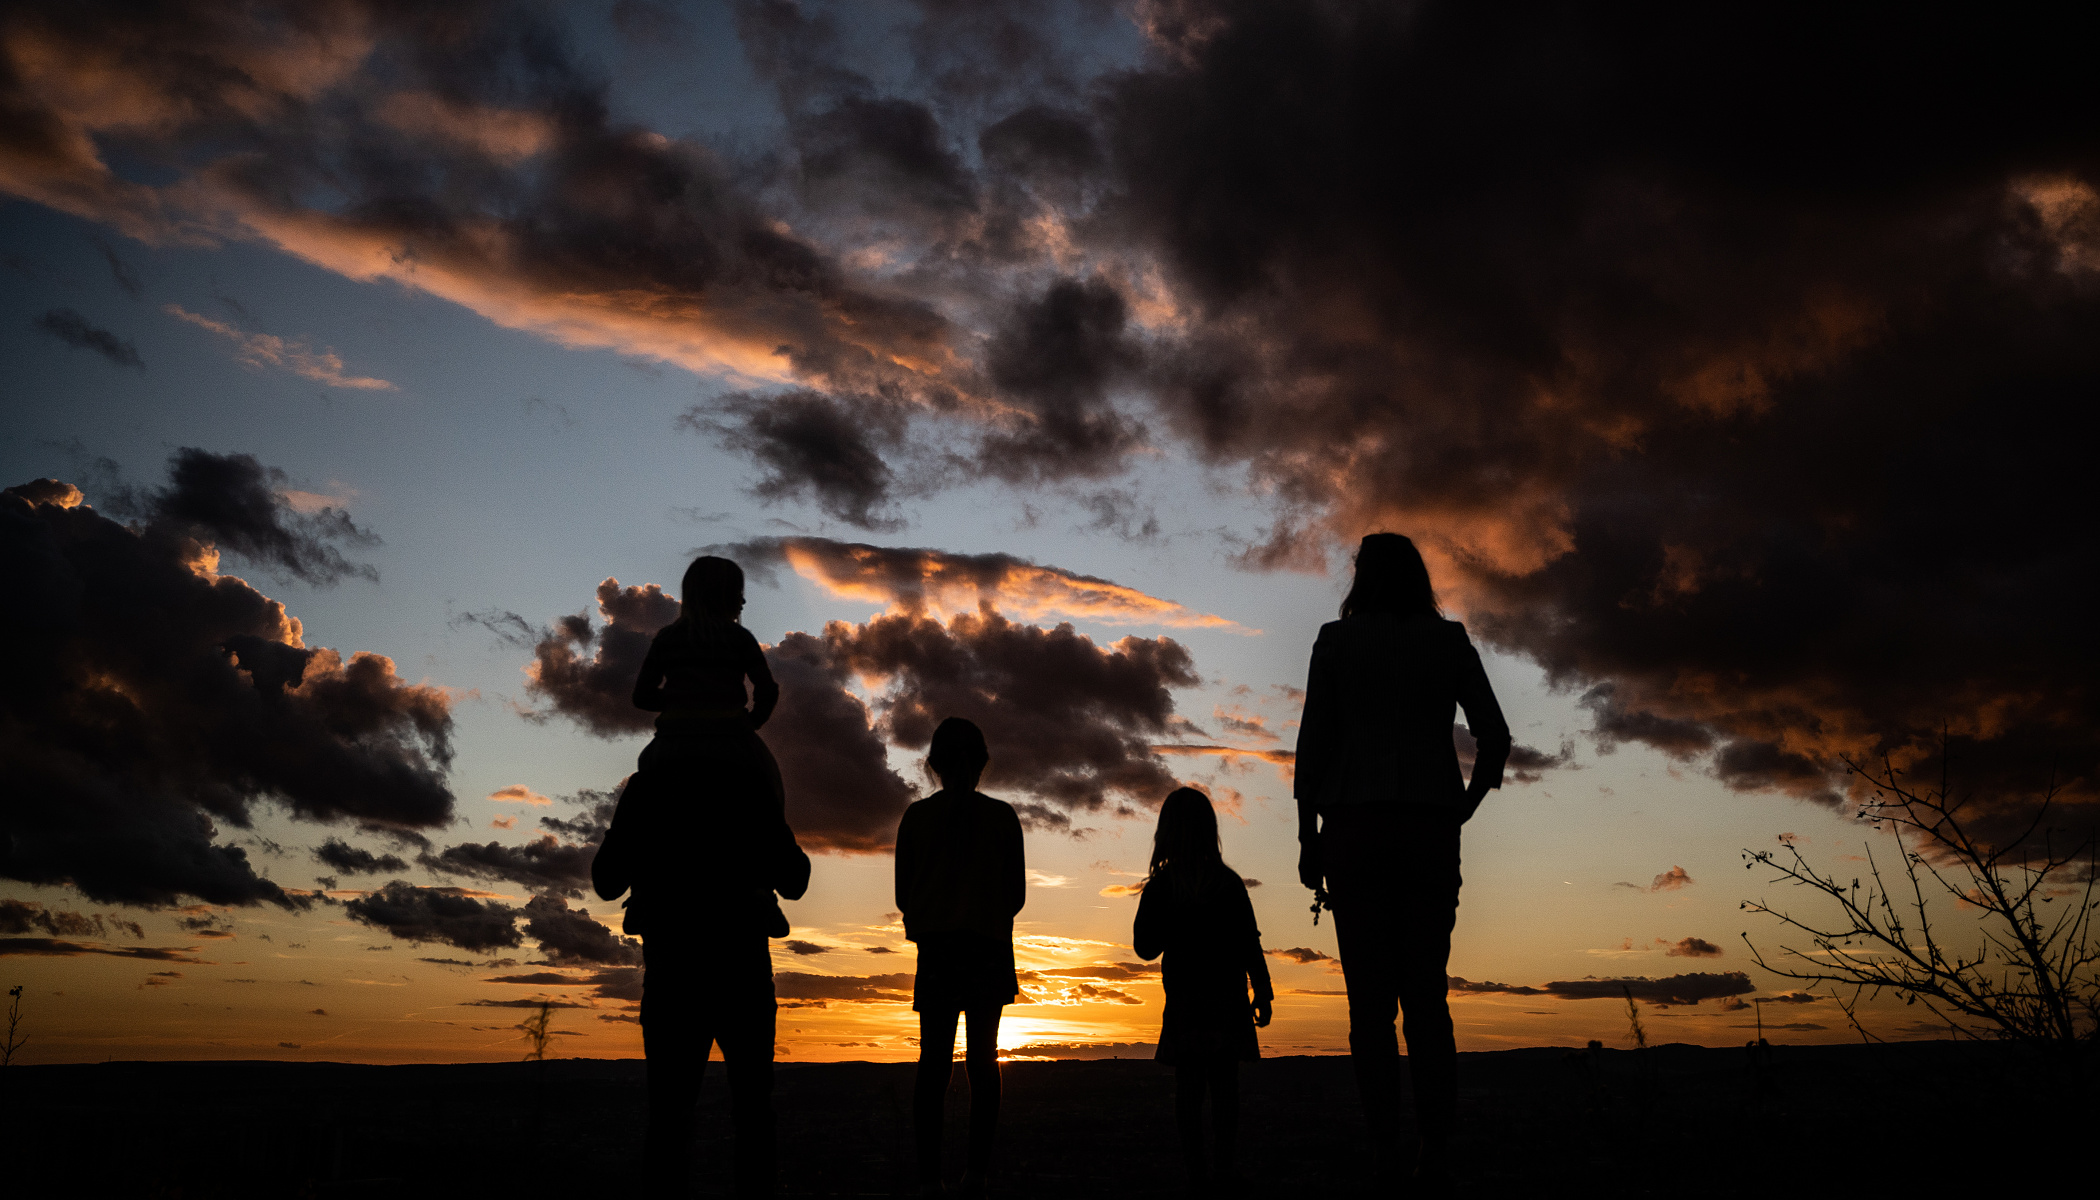
You can also try shooting silhouettes. Shoot against the light, play around with angles, layered shadows, or reflections in water and wet pavement.
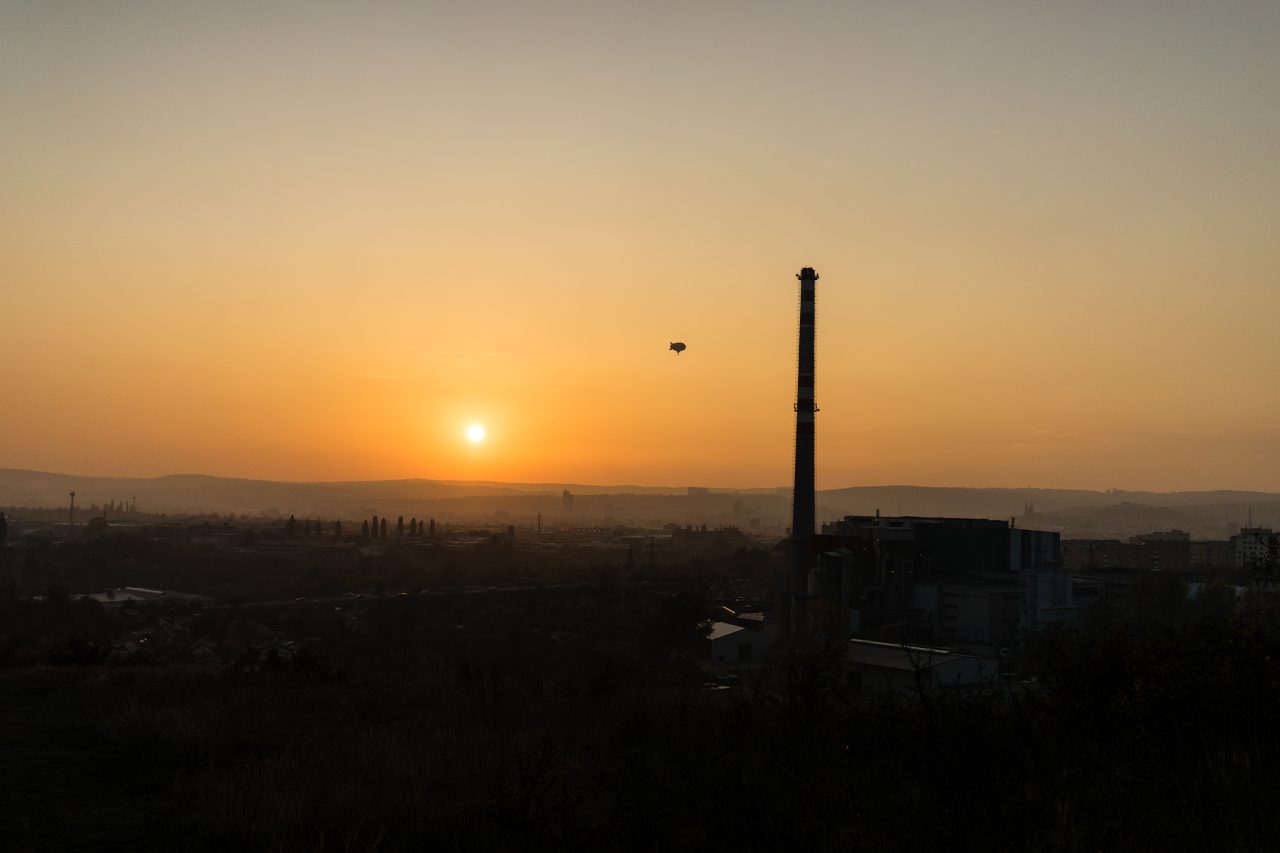
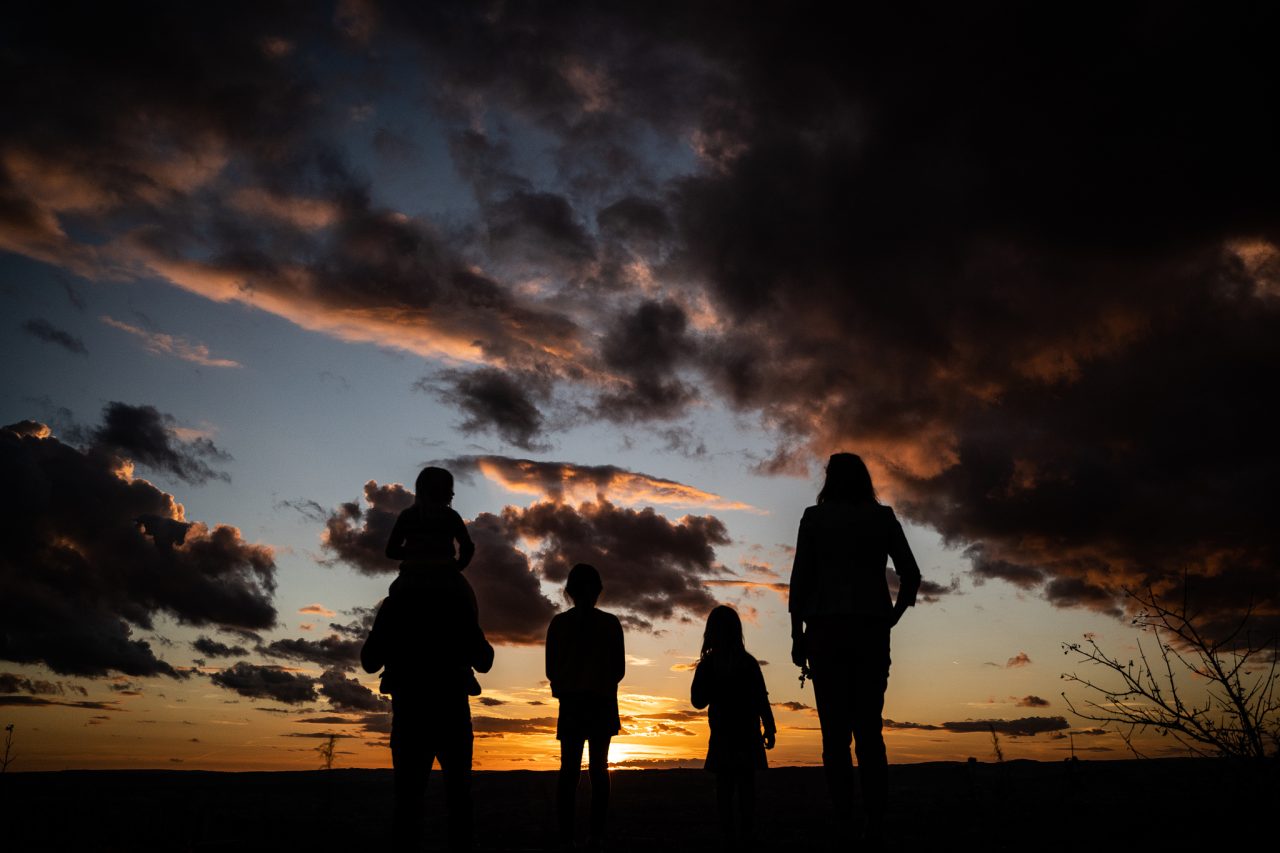
These silhouettes were taken against the sunset. I exposed manually for the light in the sky, but focused on the figures in the foreground. f/2.8, 1/8000s, ISO 500, 28mm
Light painting
When darkness meets long exposures, the result is a canvas for drawing with light. All you need is a headlamp, sparklers, or even your phone. Set your camera’s shutter speed to a few seconds, place the camera on a tripod or solid surface, trigger the self-timer, and “paint” in the air with light.
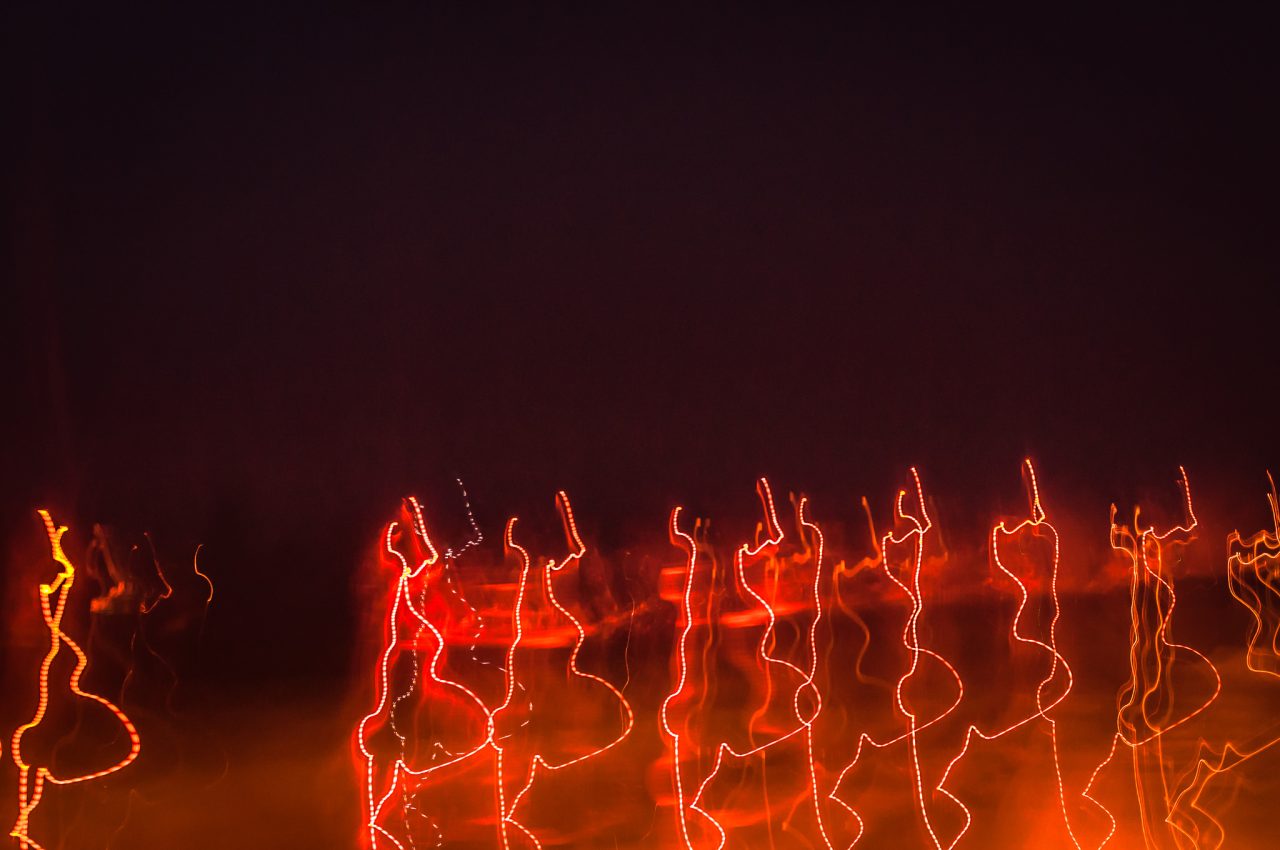
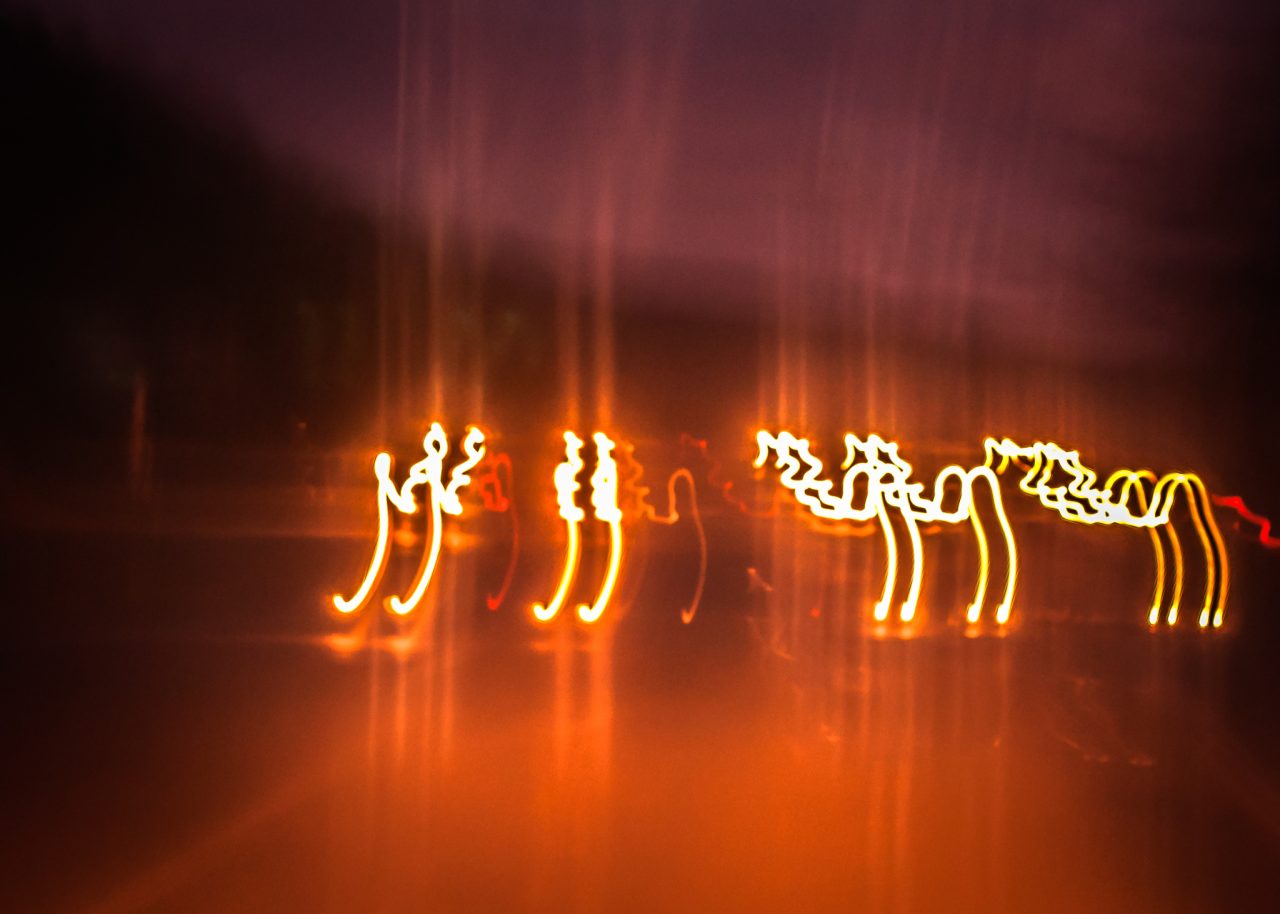
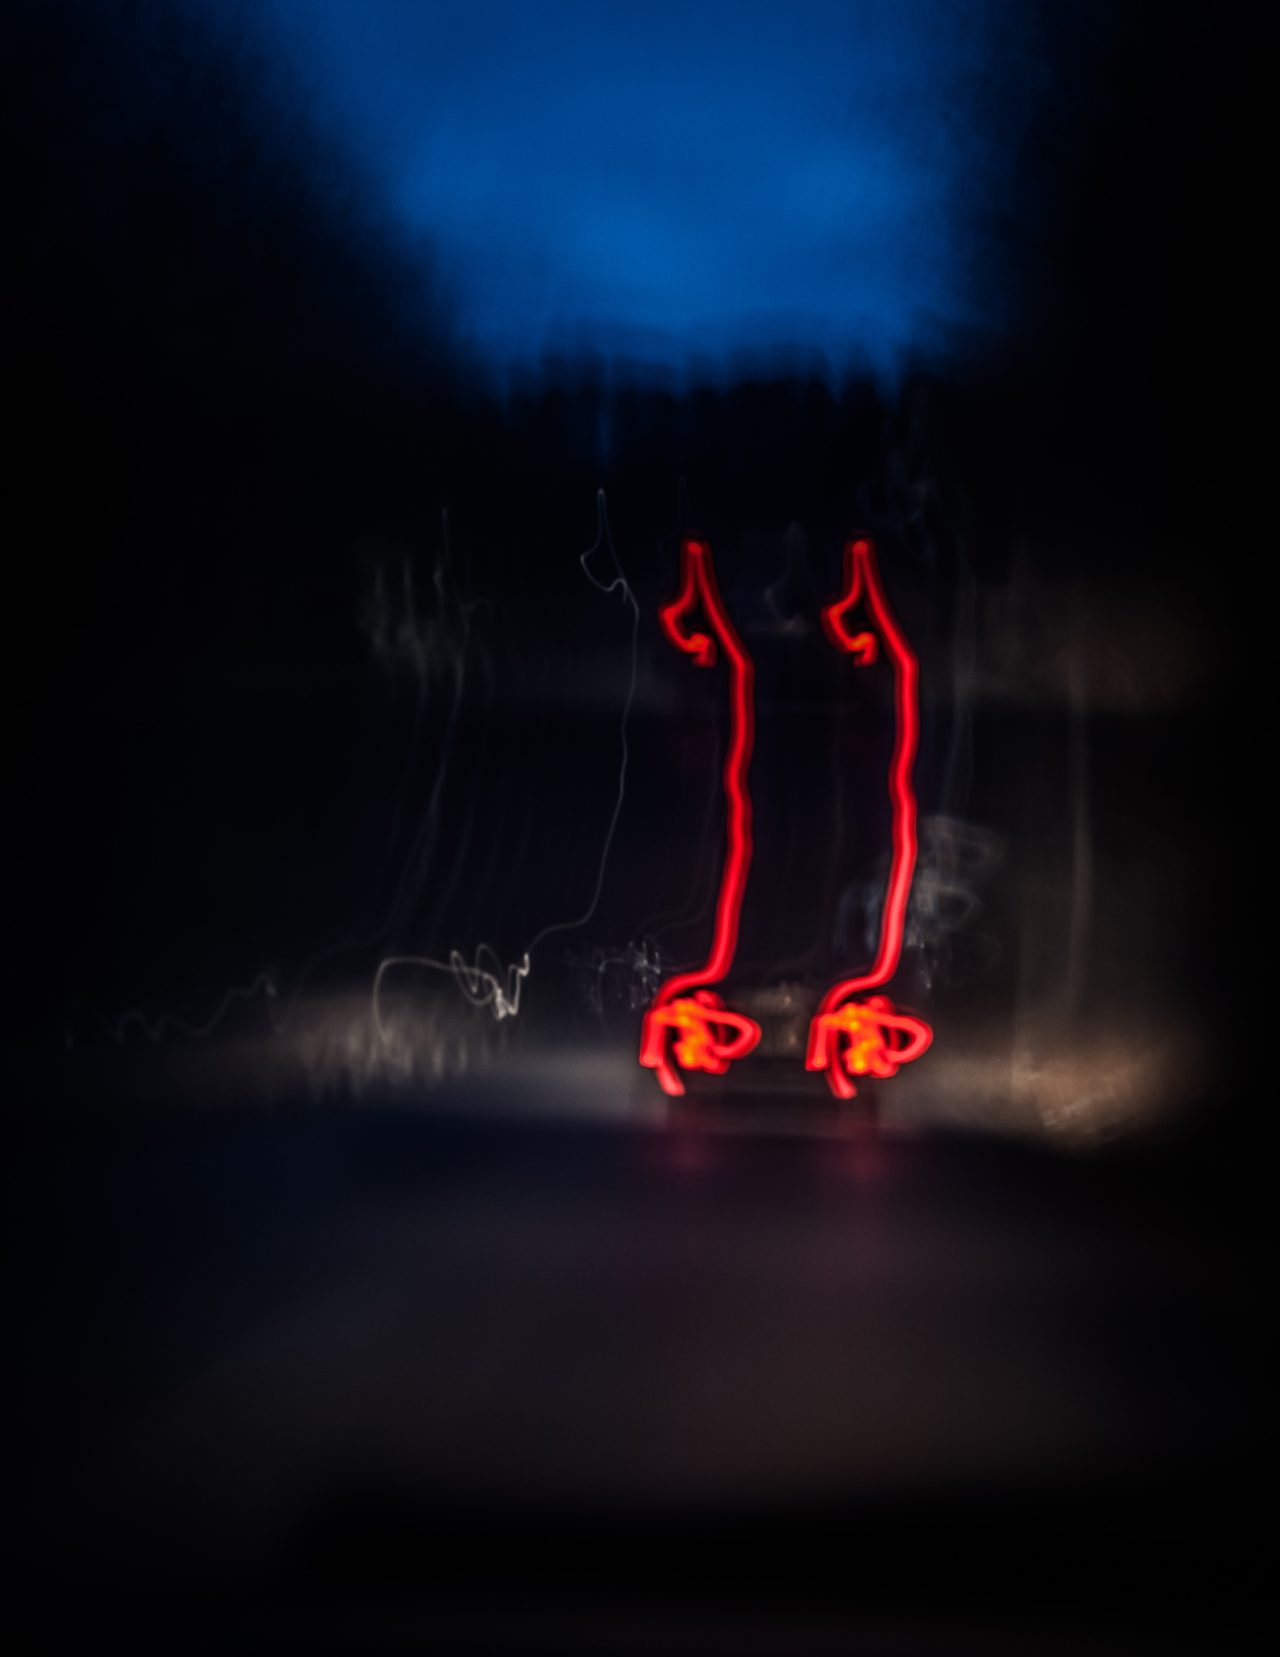
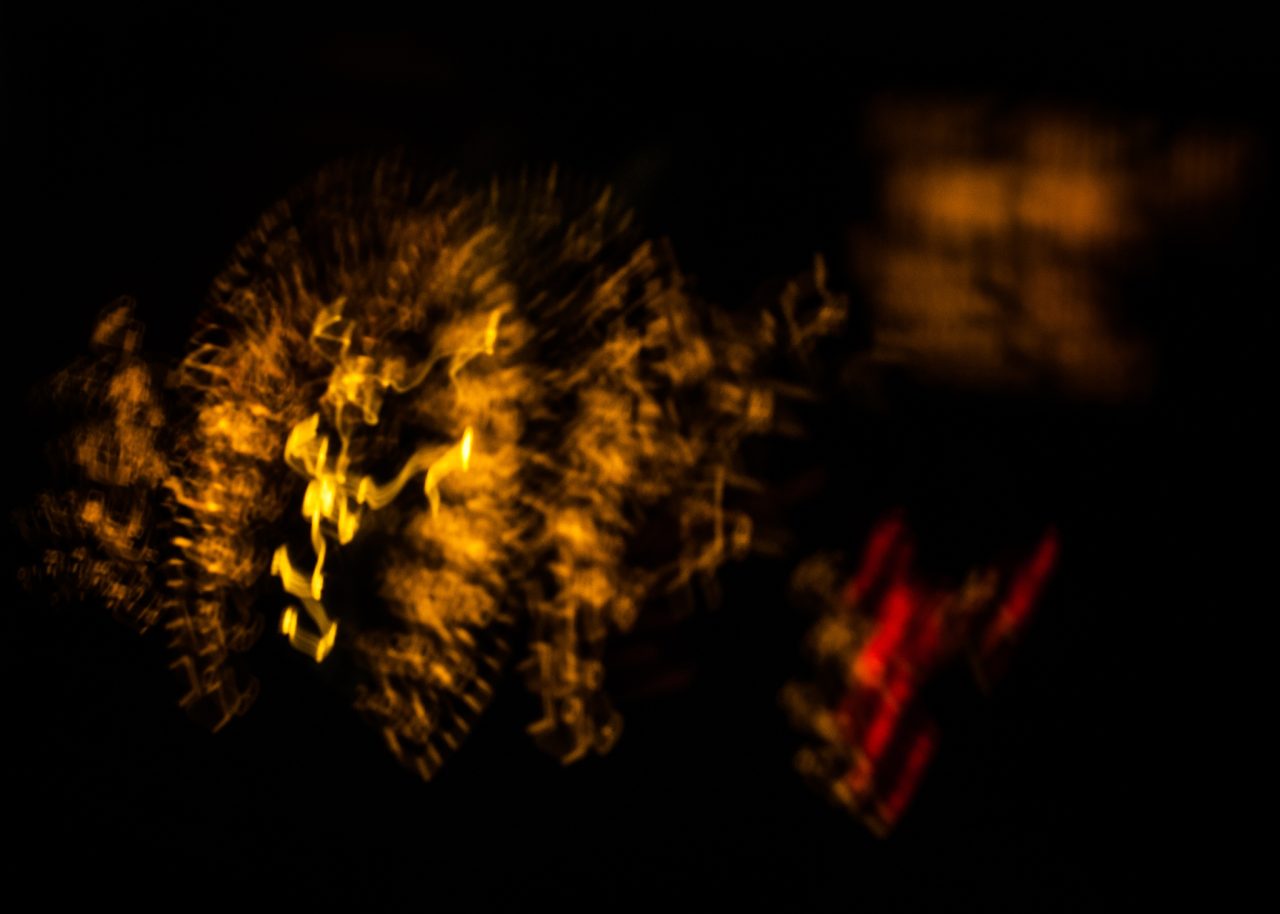
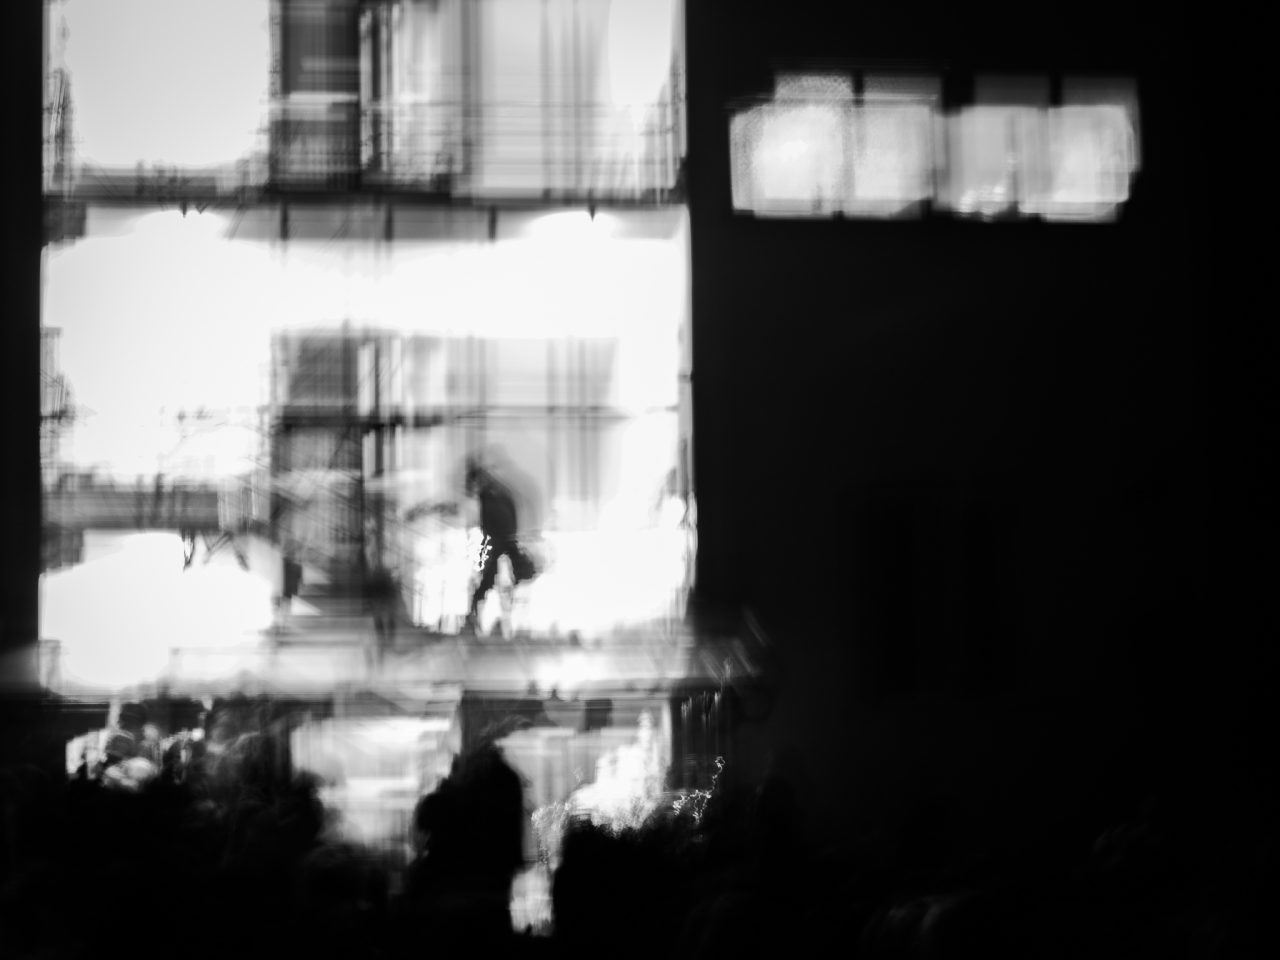
I love taking pictures from the car. You never know what kind of picture you’ll get.
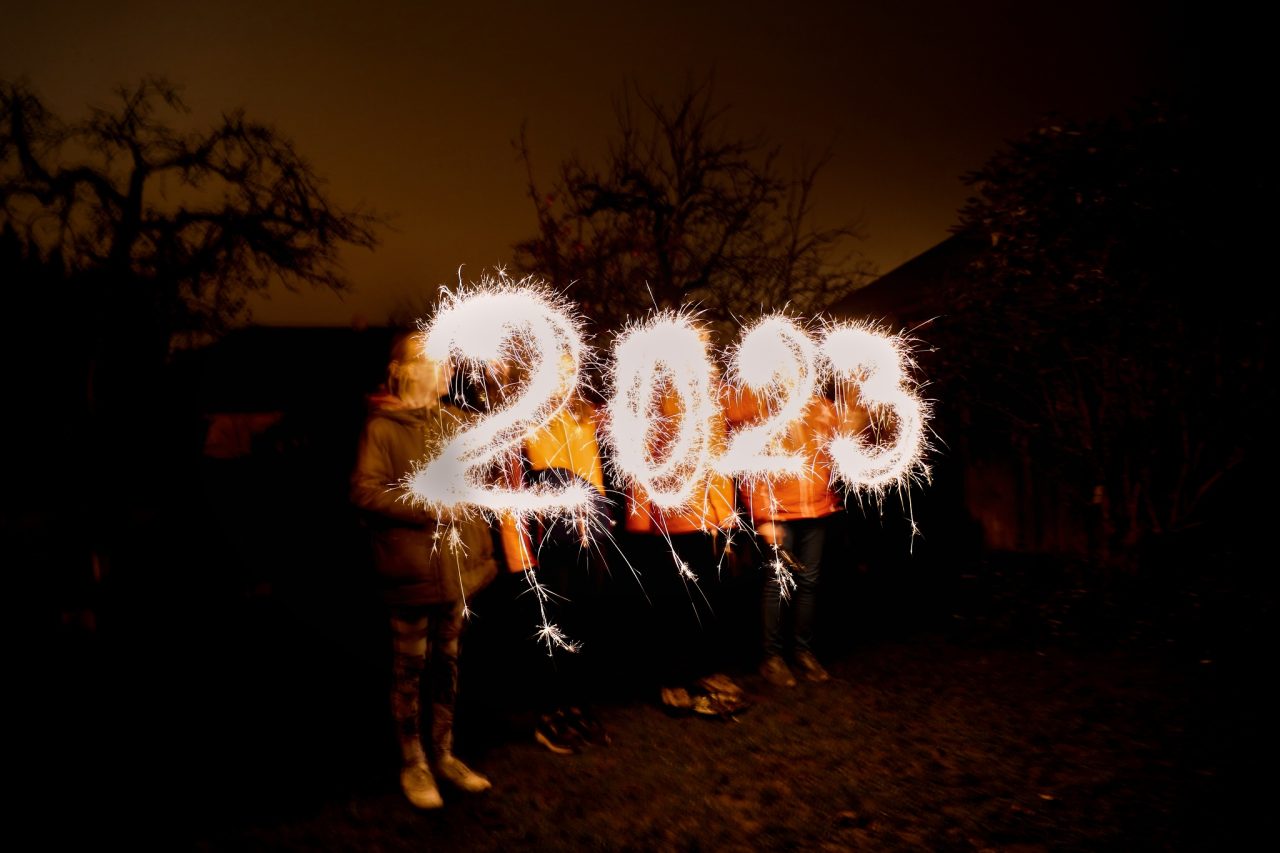
You can write words or the year during a New Year’s Eve celebration, trace glowing outlines around a friend or tree that looks like an aura or silhouette from a sci-fi movie. You can create spirals around a tree or bench by moving your hand up and down. Or try tying a light to a string and spin it. You get spirals that look like optical illusions.
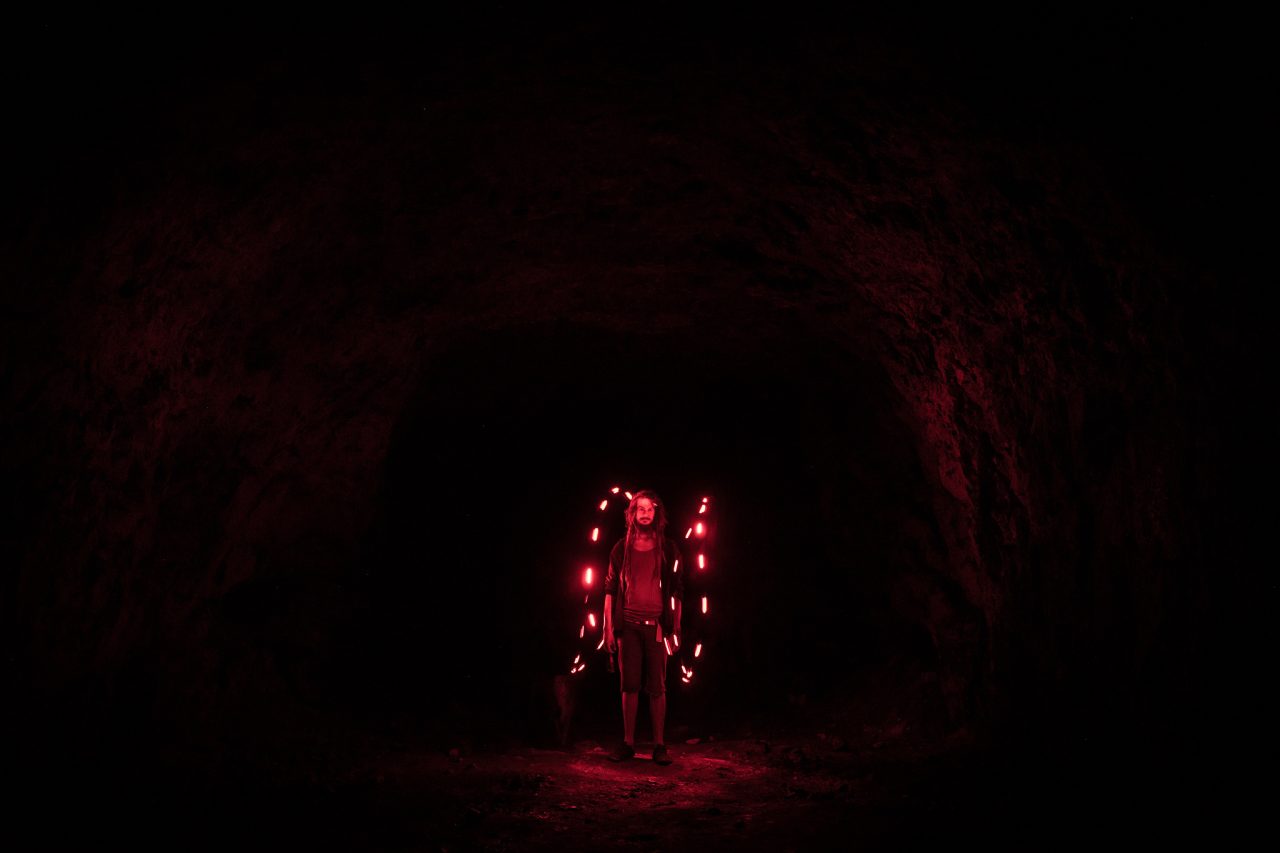
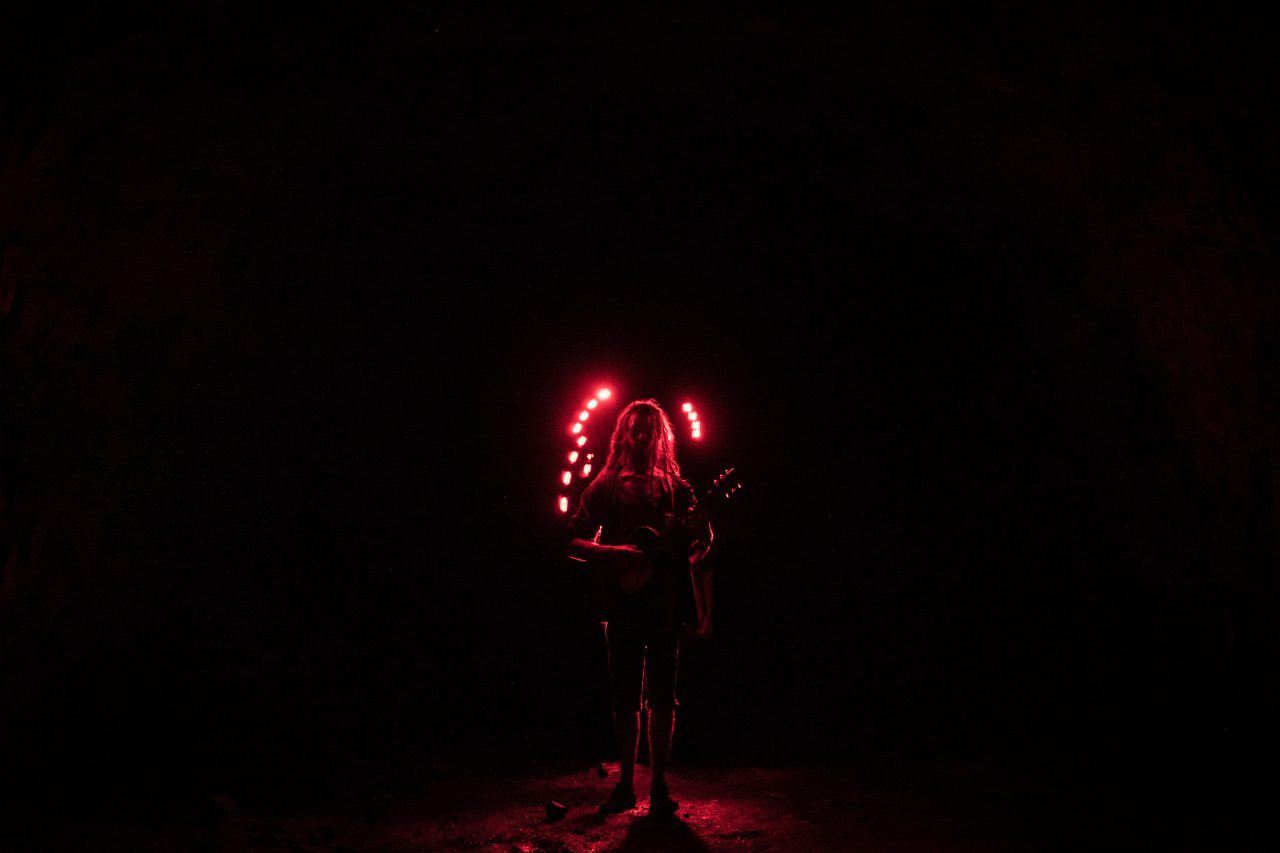
For this portrait, I put the camera on a tripod with a 6-second self-timer and used a headlamp to “trace” my friend. He stood still while I moved quickly behind him so the camera wouldn’t capture me. f/2.8, 6s, ISO 1000, 35mm
The darker the background, the clearer the light painting. Streetlights or nearby houses can overpower the effect, so look for places like the edge of a forest or on a deserted road. And if it doesn’t work the first time? Try again. Every failed attempt teaches you what to change, whether it’s the shutter speed, speed of movement, or light intensity.
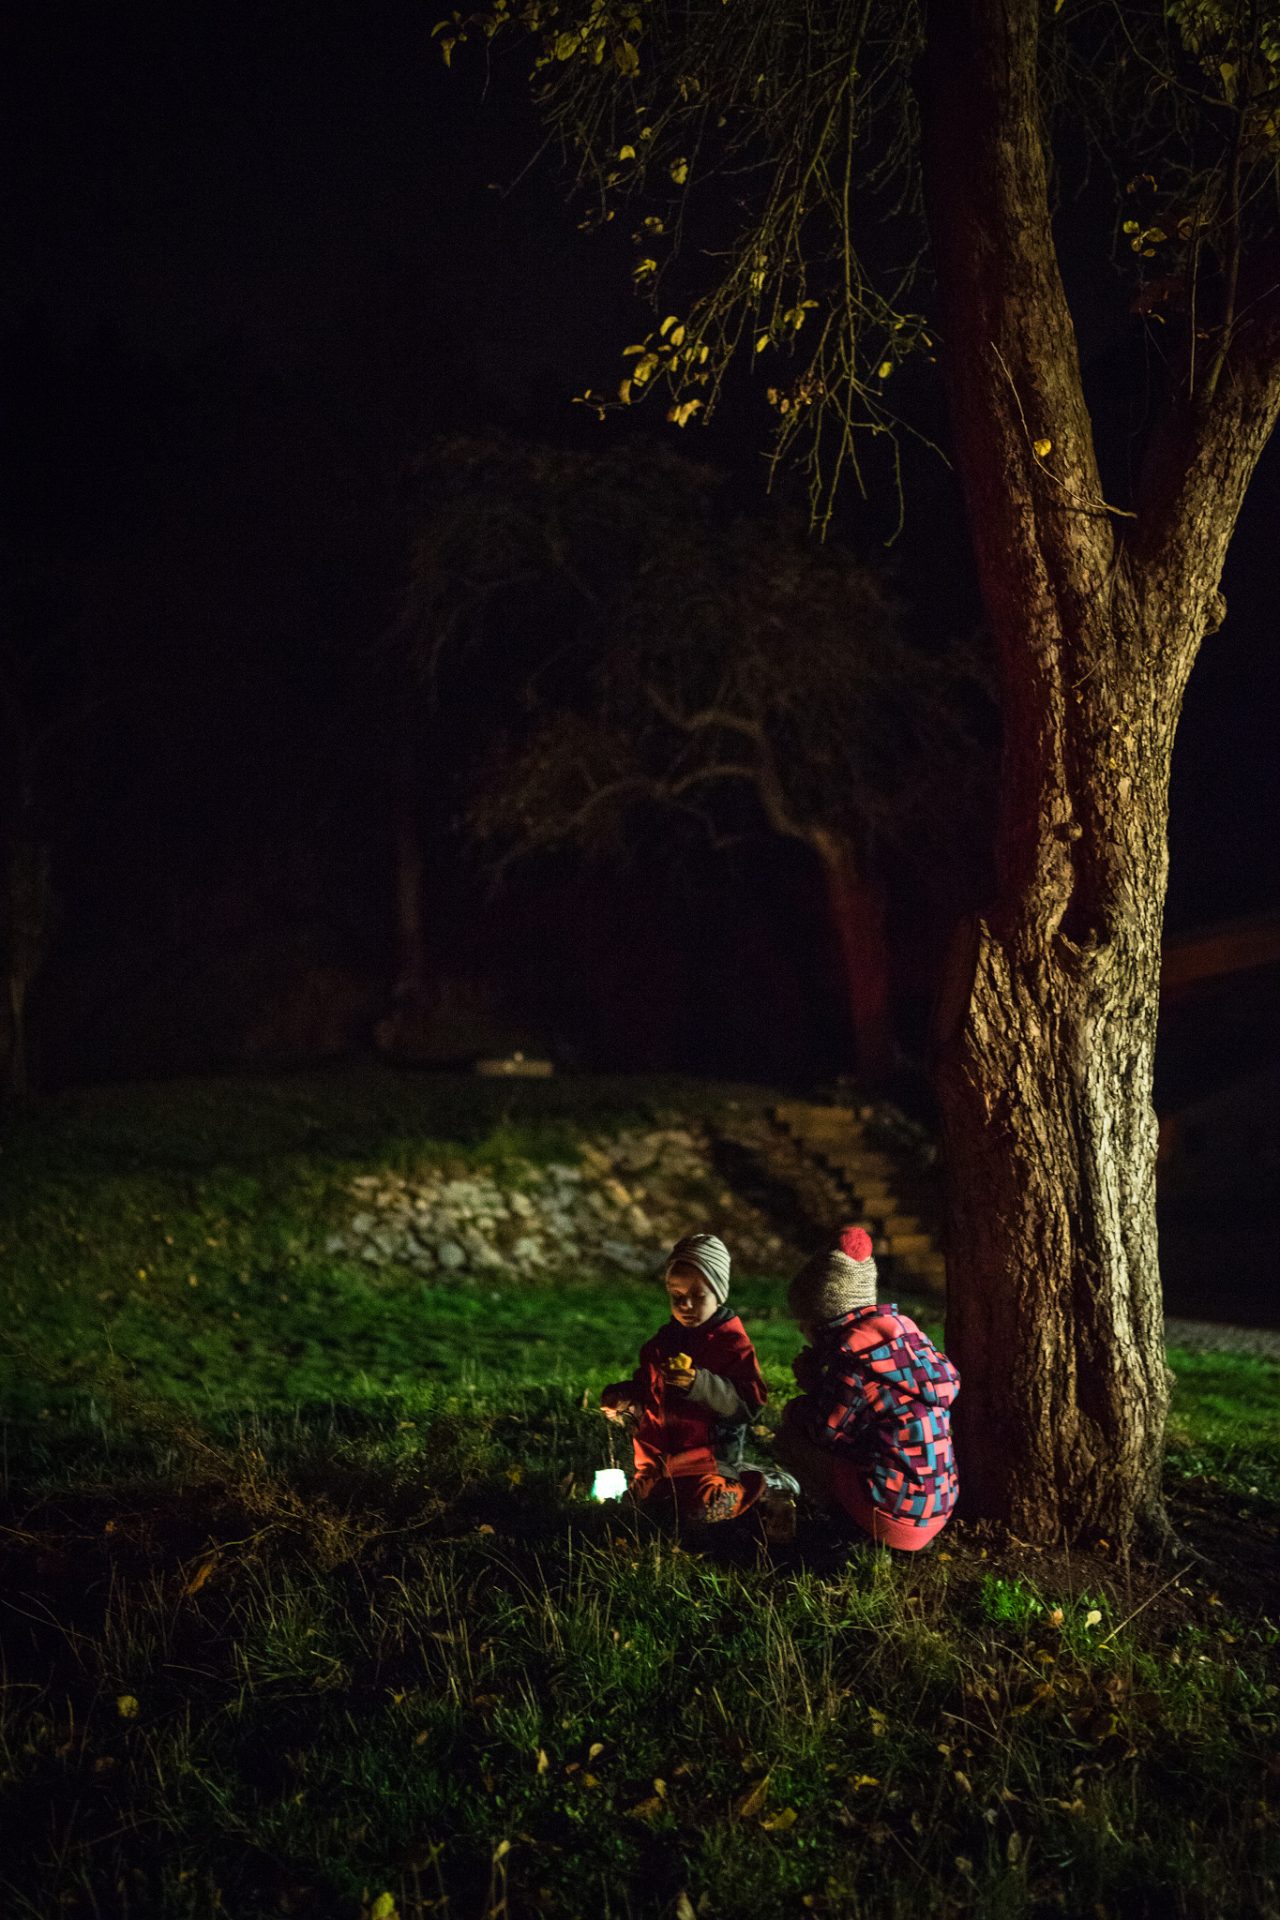
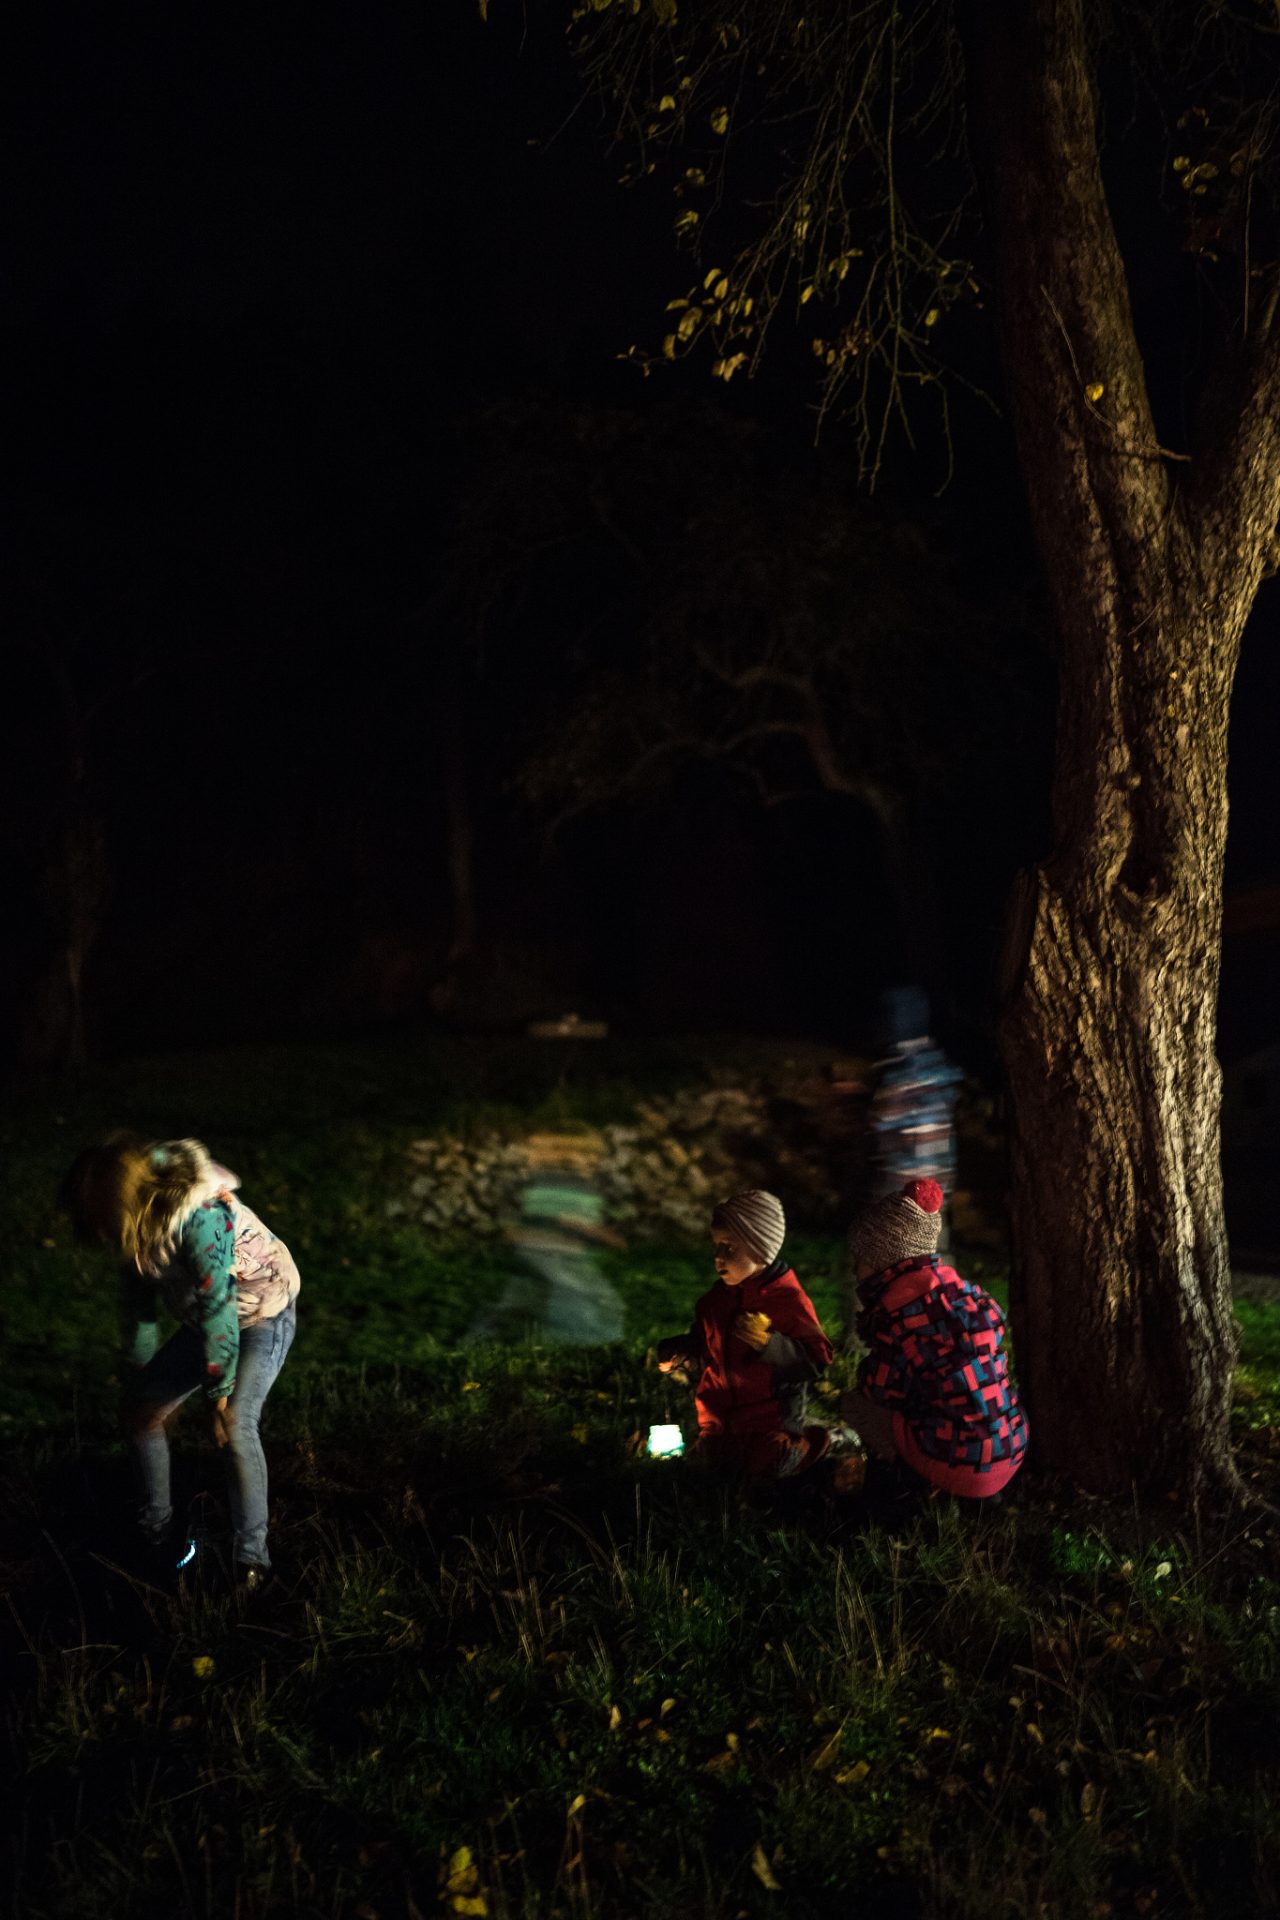
At low light events like this St. Martin’s Day celebration, I look for children who stay relatively still. Otherwise, they blur into “ghosts.” Even here, the shutter speed was very short, and I was lucky to capture them seated. f/1.4, 1/8s, ISO 2000, 35mm
In closing
Darkness is not an obstacle; it’s a challenge. It’s also a space where you, the photographer, can fade into the background and let light and time do the storytelling. It’s an open invitation to experiment and play. So grab your headlamp, pack your tripod, and give it a try!
FAQs
How can I capture vehicle light trails at night? Set a long shutter speed (5–20 seconds), use a tripod, and let passing cars draw colorful lines of light.
How can I take long-exposure photos without a tripod? Maintain good posture, keep your elbows at your sides, stand firmly, and steady yourself against a solid surface like a wall, bench, or railing.
What is light painting? A technique where you move a light source, like a headlamp, sparkler, or phone, in front of the camera during a long exposure. The result is drawings made of light.
When is the best time for night photography? During the blue hour, 30 to 60 minutes after sunset, when the sky is dark blue instead of black.
How do I shoot silhouettes at night? Position your subject against a light source, like the setting sun or a streetlamp, and expose for the light in the background.