Zoner Studio Step by Step. Part 1: How to Import Photos
Are you just getting started with Zoner Studio? In the first part of this series, we’ll teach you how to activate Zoner Studio, access your photos, and effectively import, browse, and select your photos. Get your pictures ready for editing and discover how to use this powerful tool for editing and managing your photos. Also, learn how you can simplify your workflow thanks to smart AI features in Zoner Studio.
In the first part of our series on the Zoner Studio workflow, we’ll start with activating Zoner Studio, locating your photos, and browsing and selecting them.
Activating Zoner Studio
Did you download Zoner Studio and don’t know how to activate it? You don’t need your license number or login details because you already entered your email address when you downloaded Zoner Studio or purchased your license. Because of this, you are automatically logged in the first time you run Zoner Studio after installation.

Uploading photos
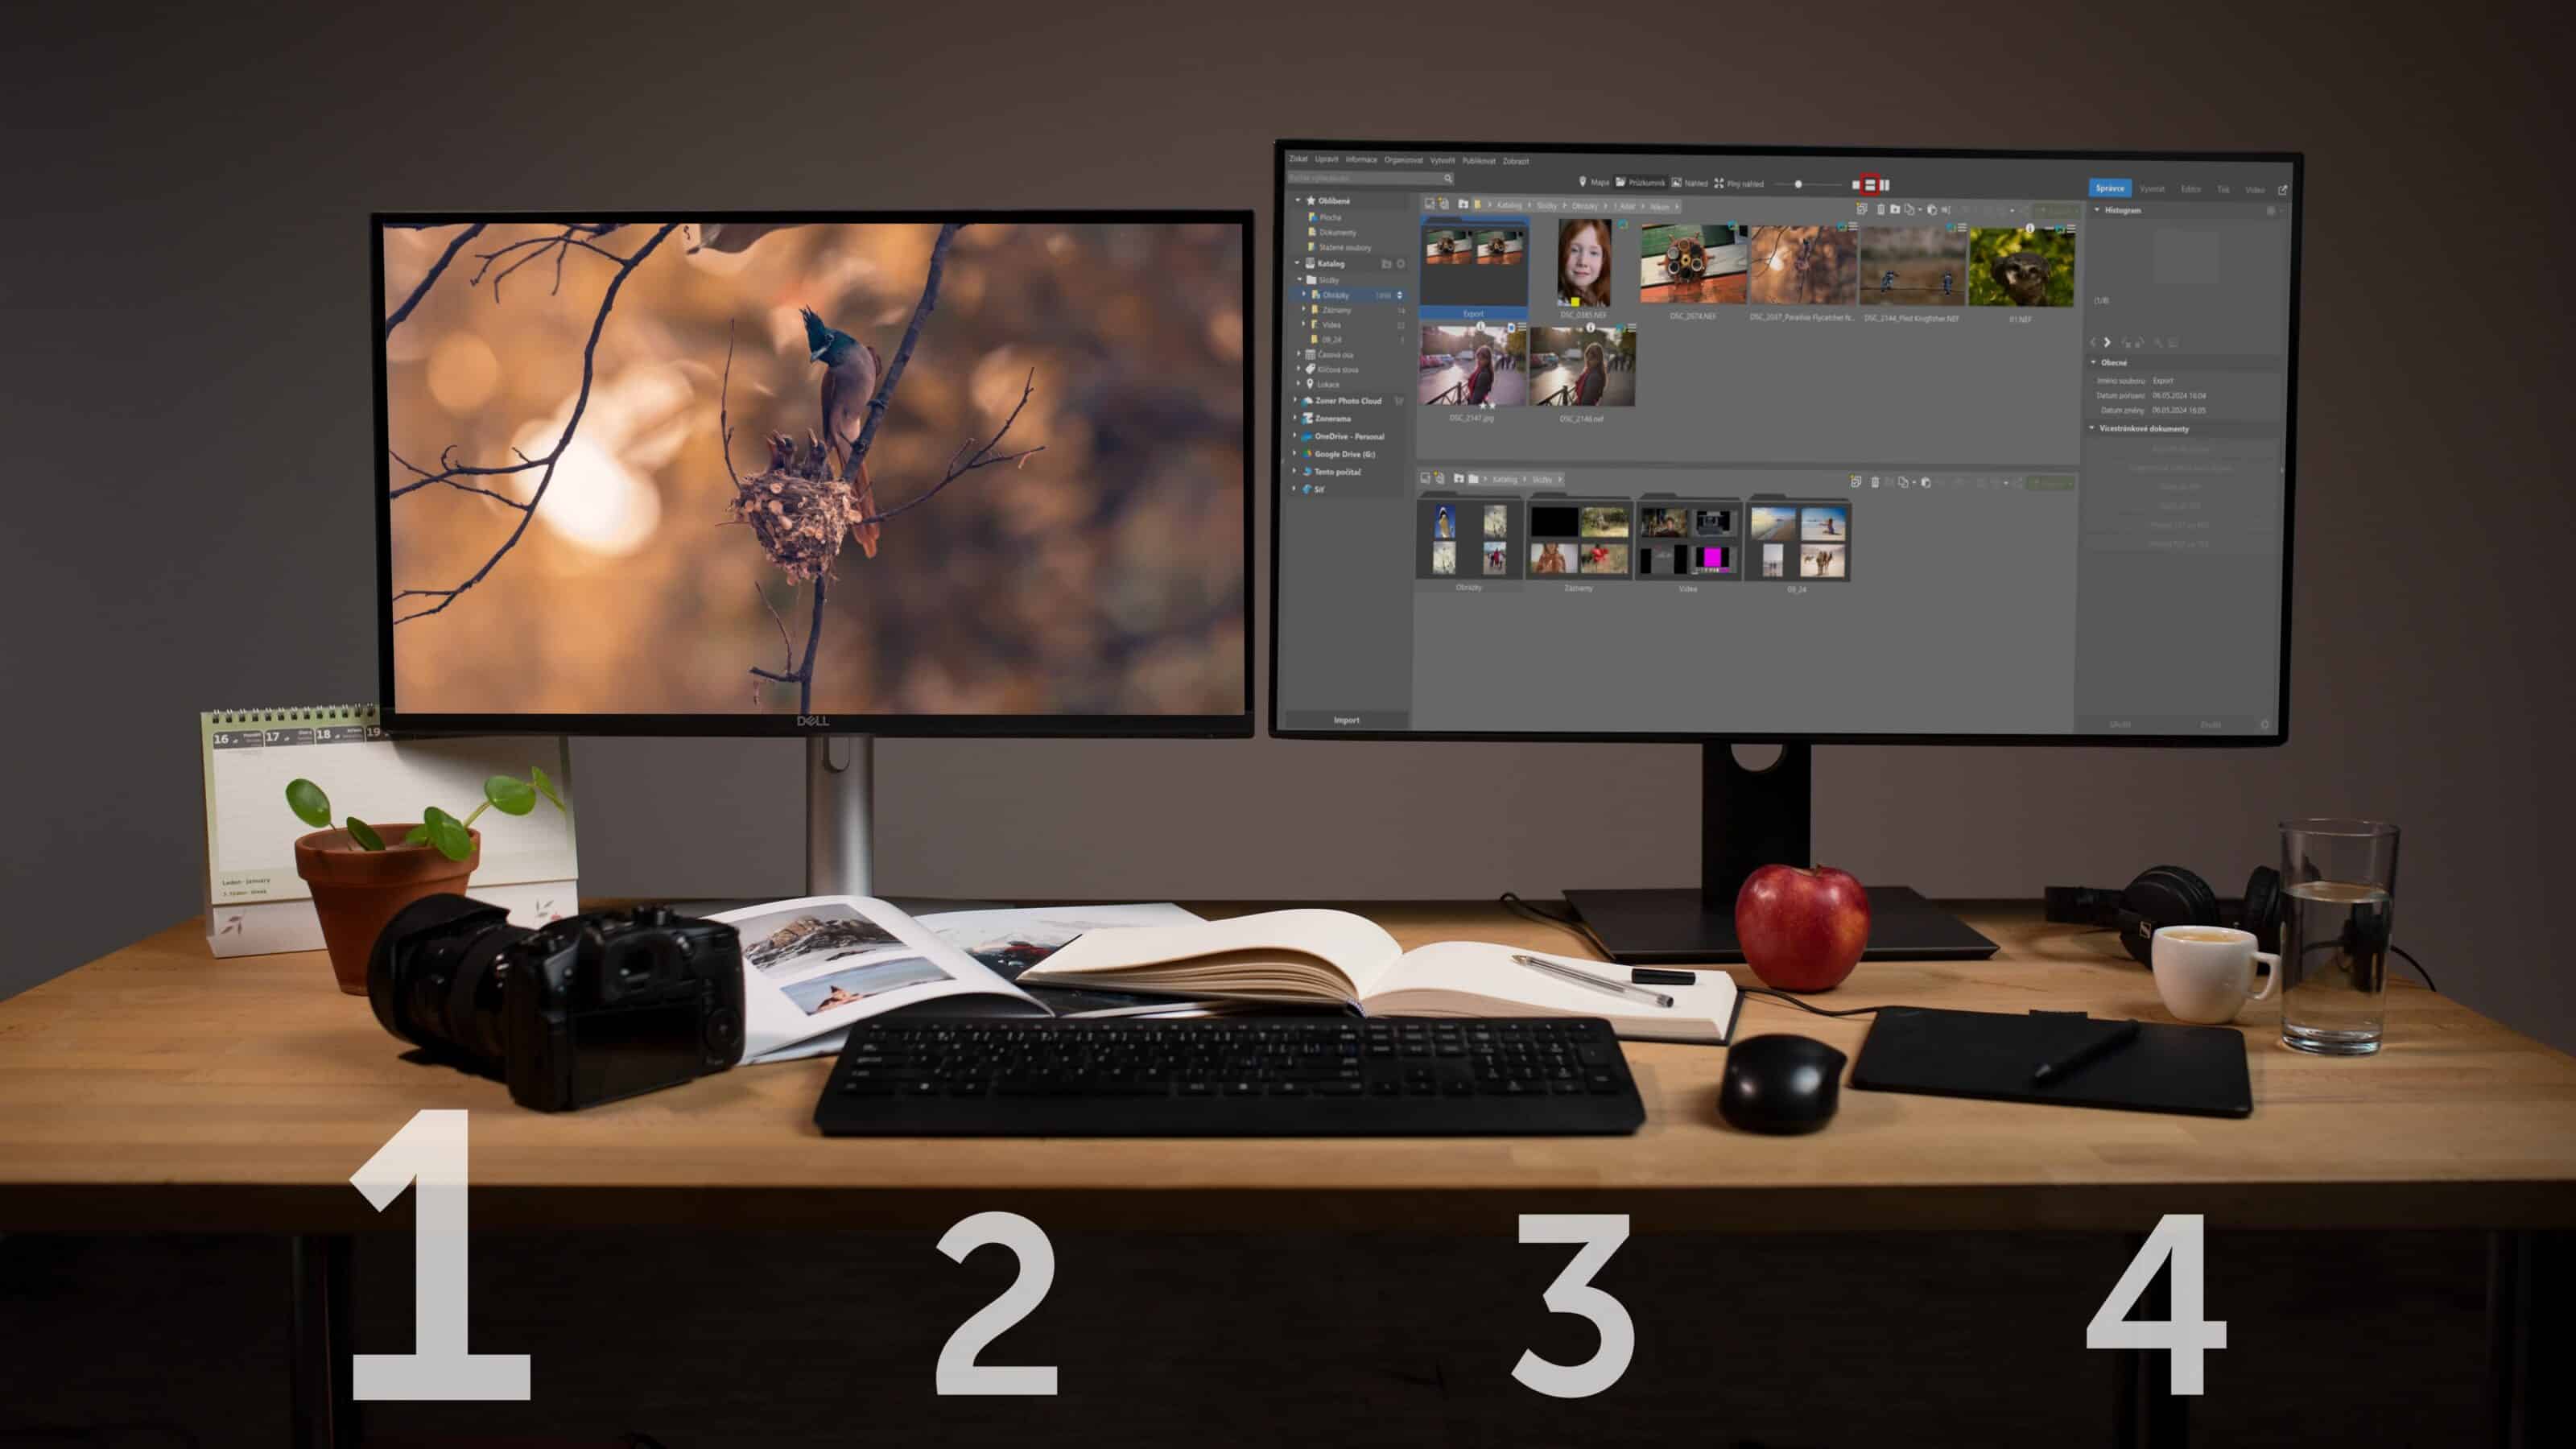
How do you access your photos in Zoner Studio? If you already have your photos on your computer, all you have to do is find the folder in the left panel of the Manager module.

If you don’t have all your photos copied onto your computer yet, you have two options:
- Copy the files from your card to your computer.
- Use the Import button in Zoner Studio at the bottom of the left panel of the Navigator to copy and rename your photos.

Select the Source folder using the folder icon in the top right. We recommend checking the Include subfolders option because cameras usually store photos in multiple folders on memory cards. For example, cameras make new folders when the counter is reset or when there are more than 999 images in a folder. With Include subfolders, you can be sure that all images are loaded.
Next, select the Target folder where you want to save the photos. If necessary, add copyright information under the Automatically Add Information tab.
Finally, you can batch rename your photos. The name is up to you, but we recommend using a naming pattern that makes sense. For example, {Y}{M}{D}-{C}. This means that each photo has a name based on the date it was taken and a counter to avoid duplicate file names. You can also add a description of your subject.

The main advantage of renaming during import is that your photos will always be in the right order, even if your camera’s counter is acting up.
Then, click Copy and wait for the photos to download. If you want the files to be deleted from the card during import, select Move. However, we don’t recommend this option. It’s always better to have your photos in two places.
Managing your photos
When you are in Browser mode, thumbnails appear in the middle. Switch to Preview mode at the top to see one photo at a time with a filmstrip of thumbnails below it. You can find more detailed information about the selected photo in the right panel.
At the top, you can see the Histogram and basic EXIF information. Below the Histogram, there are fields where you can add star ratings or more detailed information.

For moving or copying photos, it’s very useful to work with two folders at once. Use the icons above the main window of the Browser to choose whether you want two Browsers side by side, or stacked on top of each other. This makes it easier to move photos from one folder to another.

Browsing and checking photos
When selecting photos, you often want to compare them at full size. You can easily do this in Zoner Studio.
Click the photo in Preview mode to show it at 1:1 zoom. This is an easy way to check if the photo is sharp. This function comes in handy when trying to decide between several versions of the same photo. Select the photos, select Preview, and click one of them to zoom in. Use the mouse wheel to adjust the zoom. This is a reliable way to choose the better version.
Sometimes it’s useful to have the whole photo in front of you and zoom in on the main part of the picture. Don’t forget to use AI Close-ups, which give you a preview of the whole composition of the photo on the left and automatically find the most important details on the right, zoomed in to 100%, 150%, or 200%.

What’s next?
In the next part of our series, you can look forward to learning about practical features like the Zoner Studio Catalog, organizing, and labeling your photos.
Download Zoner Studio free for 7 days with full support for all these features. Give Zoner Studio a try today!