Get Great Photo Prints Easily and Conveniently
Even though everything has been going digital these last few years, printed photos still have their place. Zoner Studio reflects this—it has several features to make photo printing easier. It will help no matter whether you want to print photos yourself at home, or prepare data for professional printing.
Zoner Studio offers simple printing both on photo paper of a specific size and on classical Letter or A4 paper. You can also save your photos as easy-to-print PDFs, or order professional printing for them.
Choose, Prepare, Print
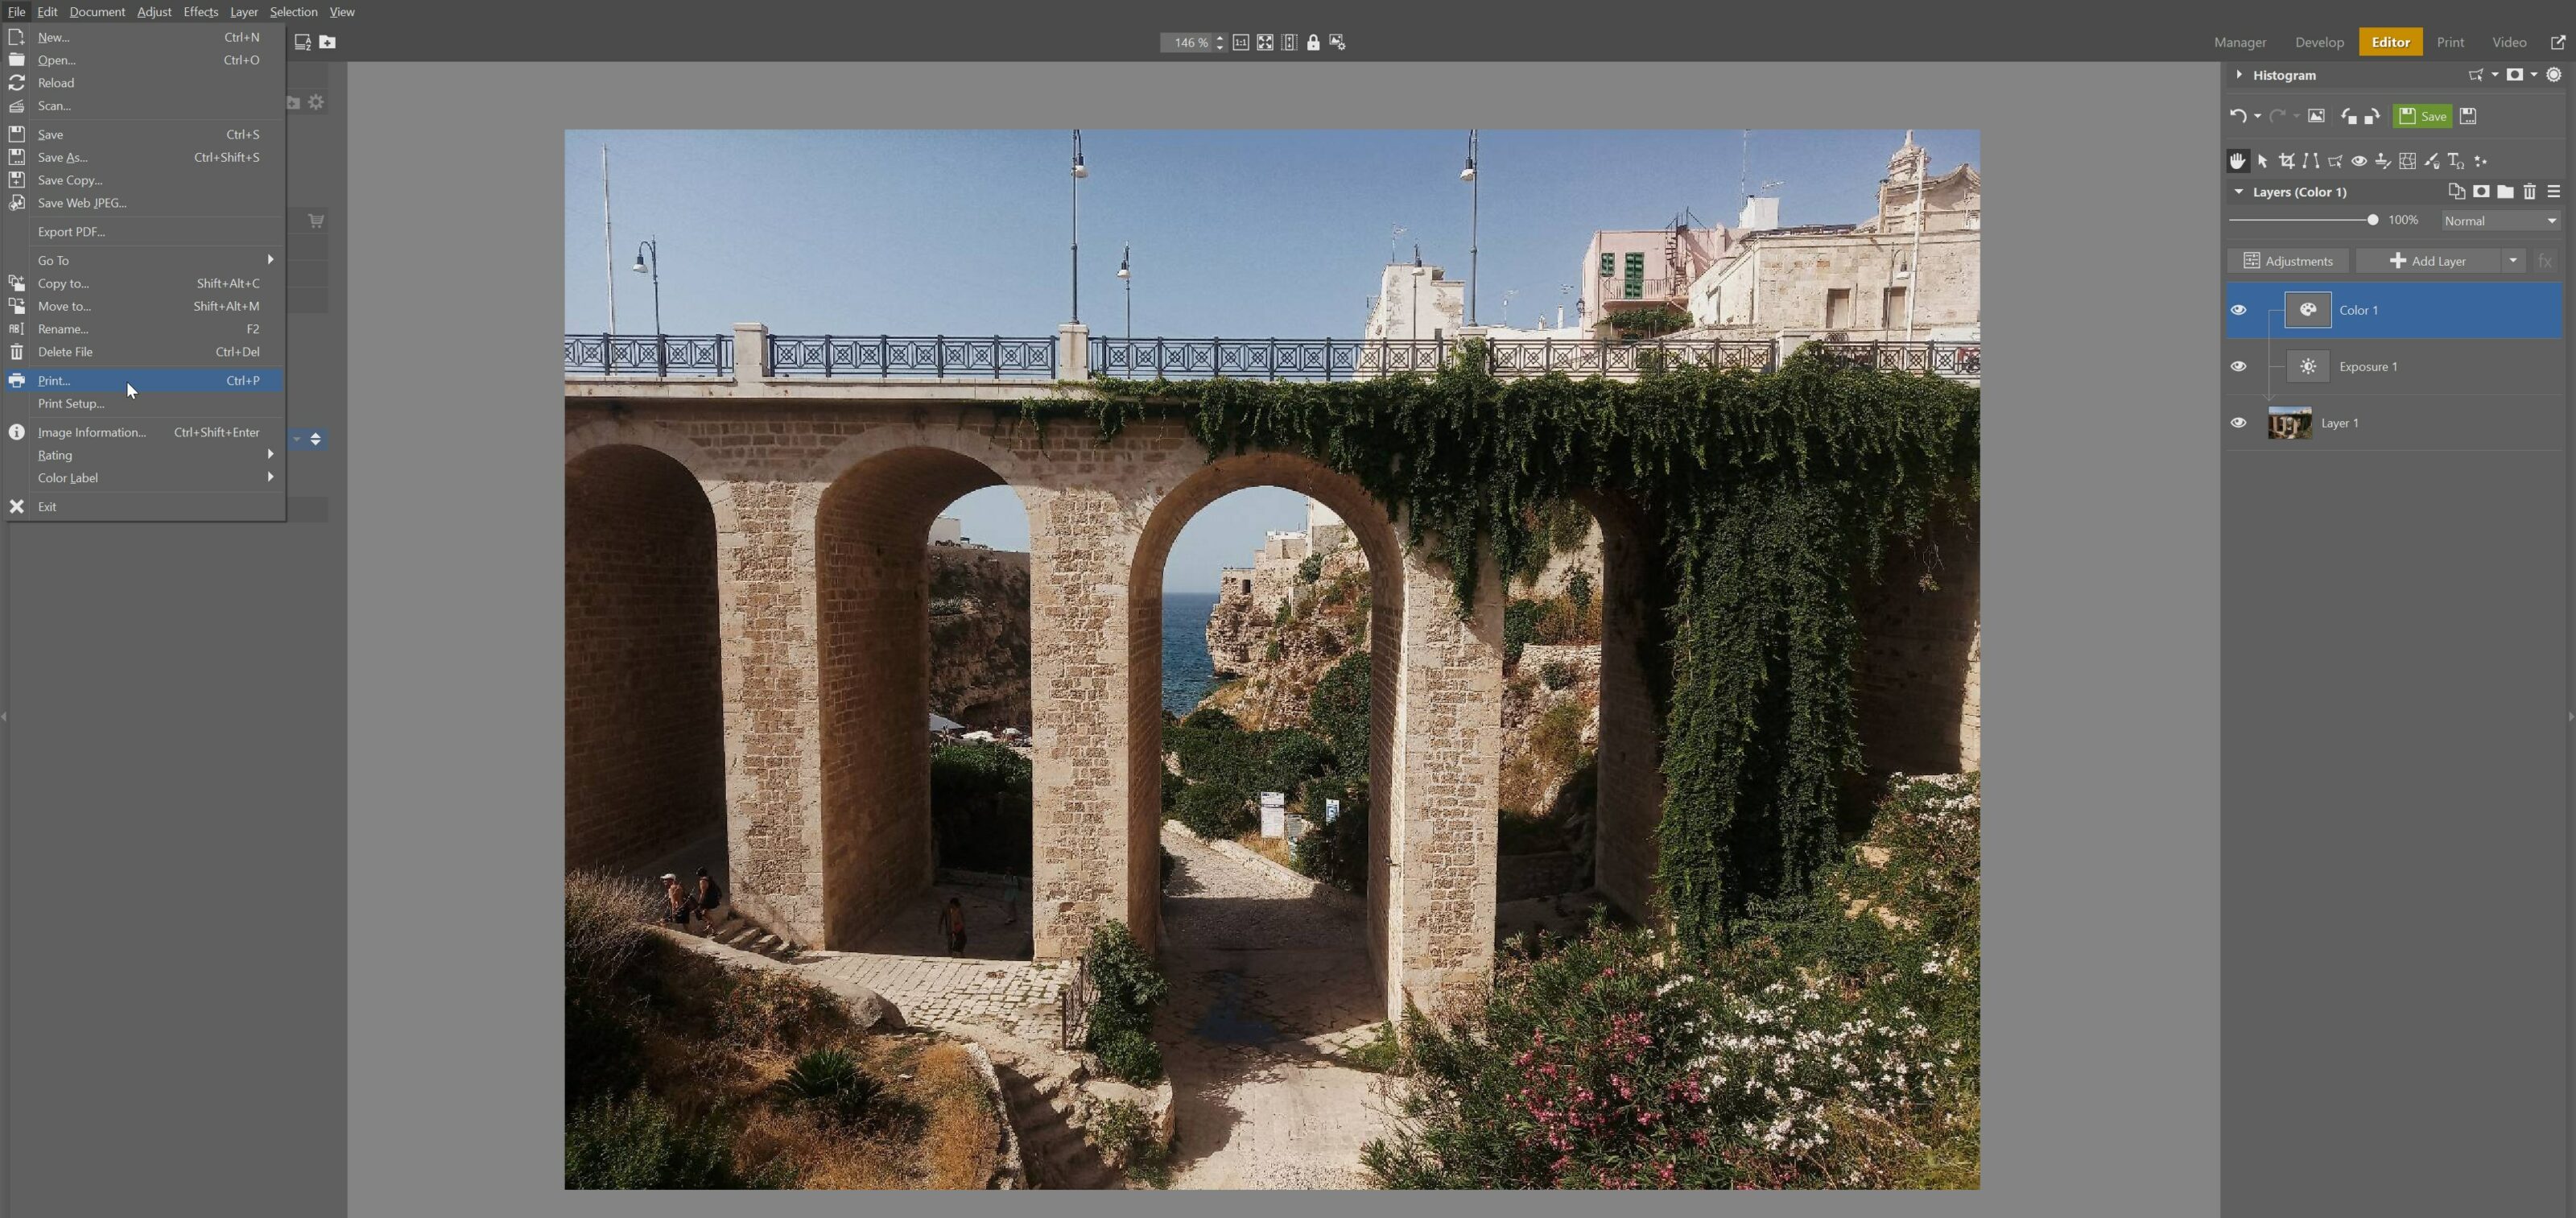
The first of these photo printing possibilities is offered in the Editor. As soon as you’re done editing the photo you want to print, just use Menu > File > Print (or Ctrl+P), and a printing window will appear. It has settings for things like the picture’s location on the page, its size, how many copies to print, and a photo caption.
Printing Individual Photos
Even though you can print individual photos right from the Editor, there’s a place that’s specifically made for jobs such as printing, and that place is the Create module. It offers significantly more possibilities—from individual pictures to collages to various photo-based products.
Before starting a new project, make sure your photos have an sRGB color profile. Zoner Studio automatically creates one for you. When exporting photos, check to see that you have Do not change or sRGB in Color space. If photos with a different color profile are received, we cannot guarantee color fidelity.
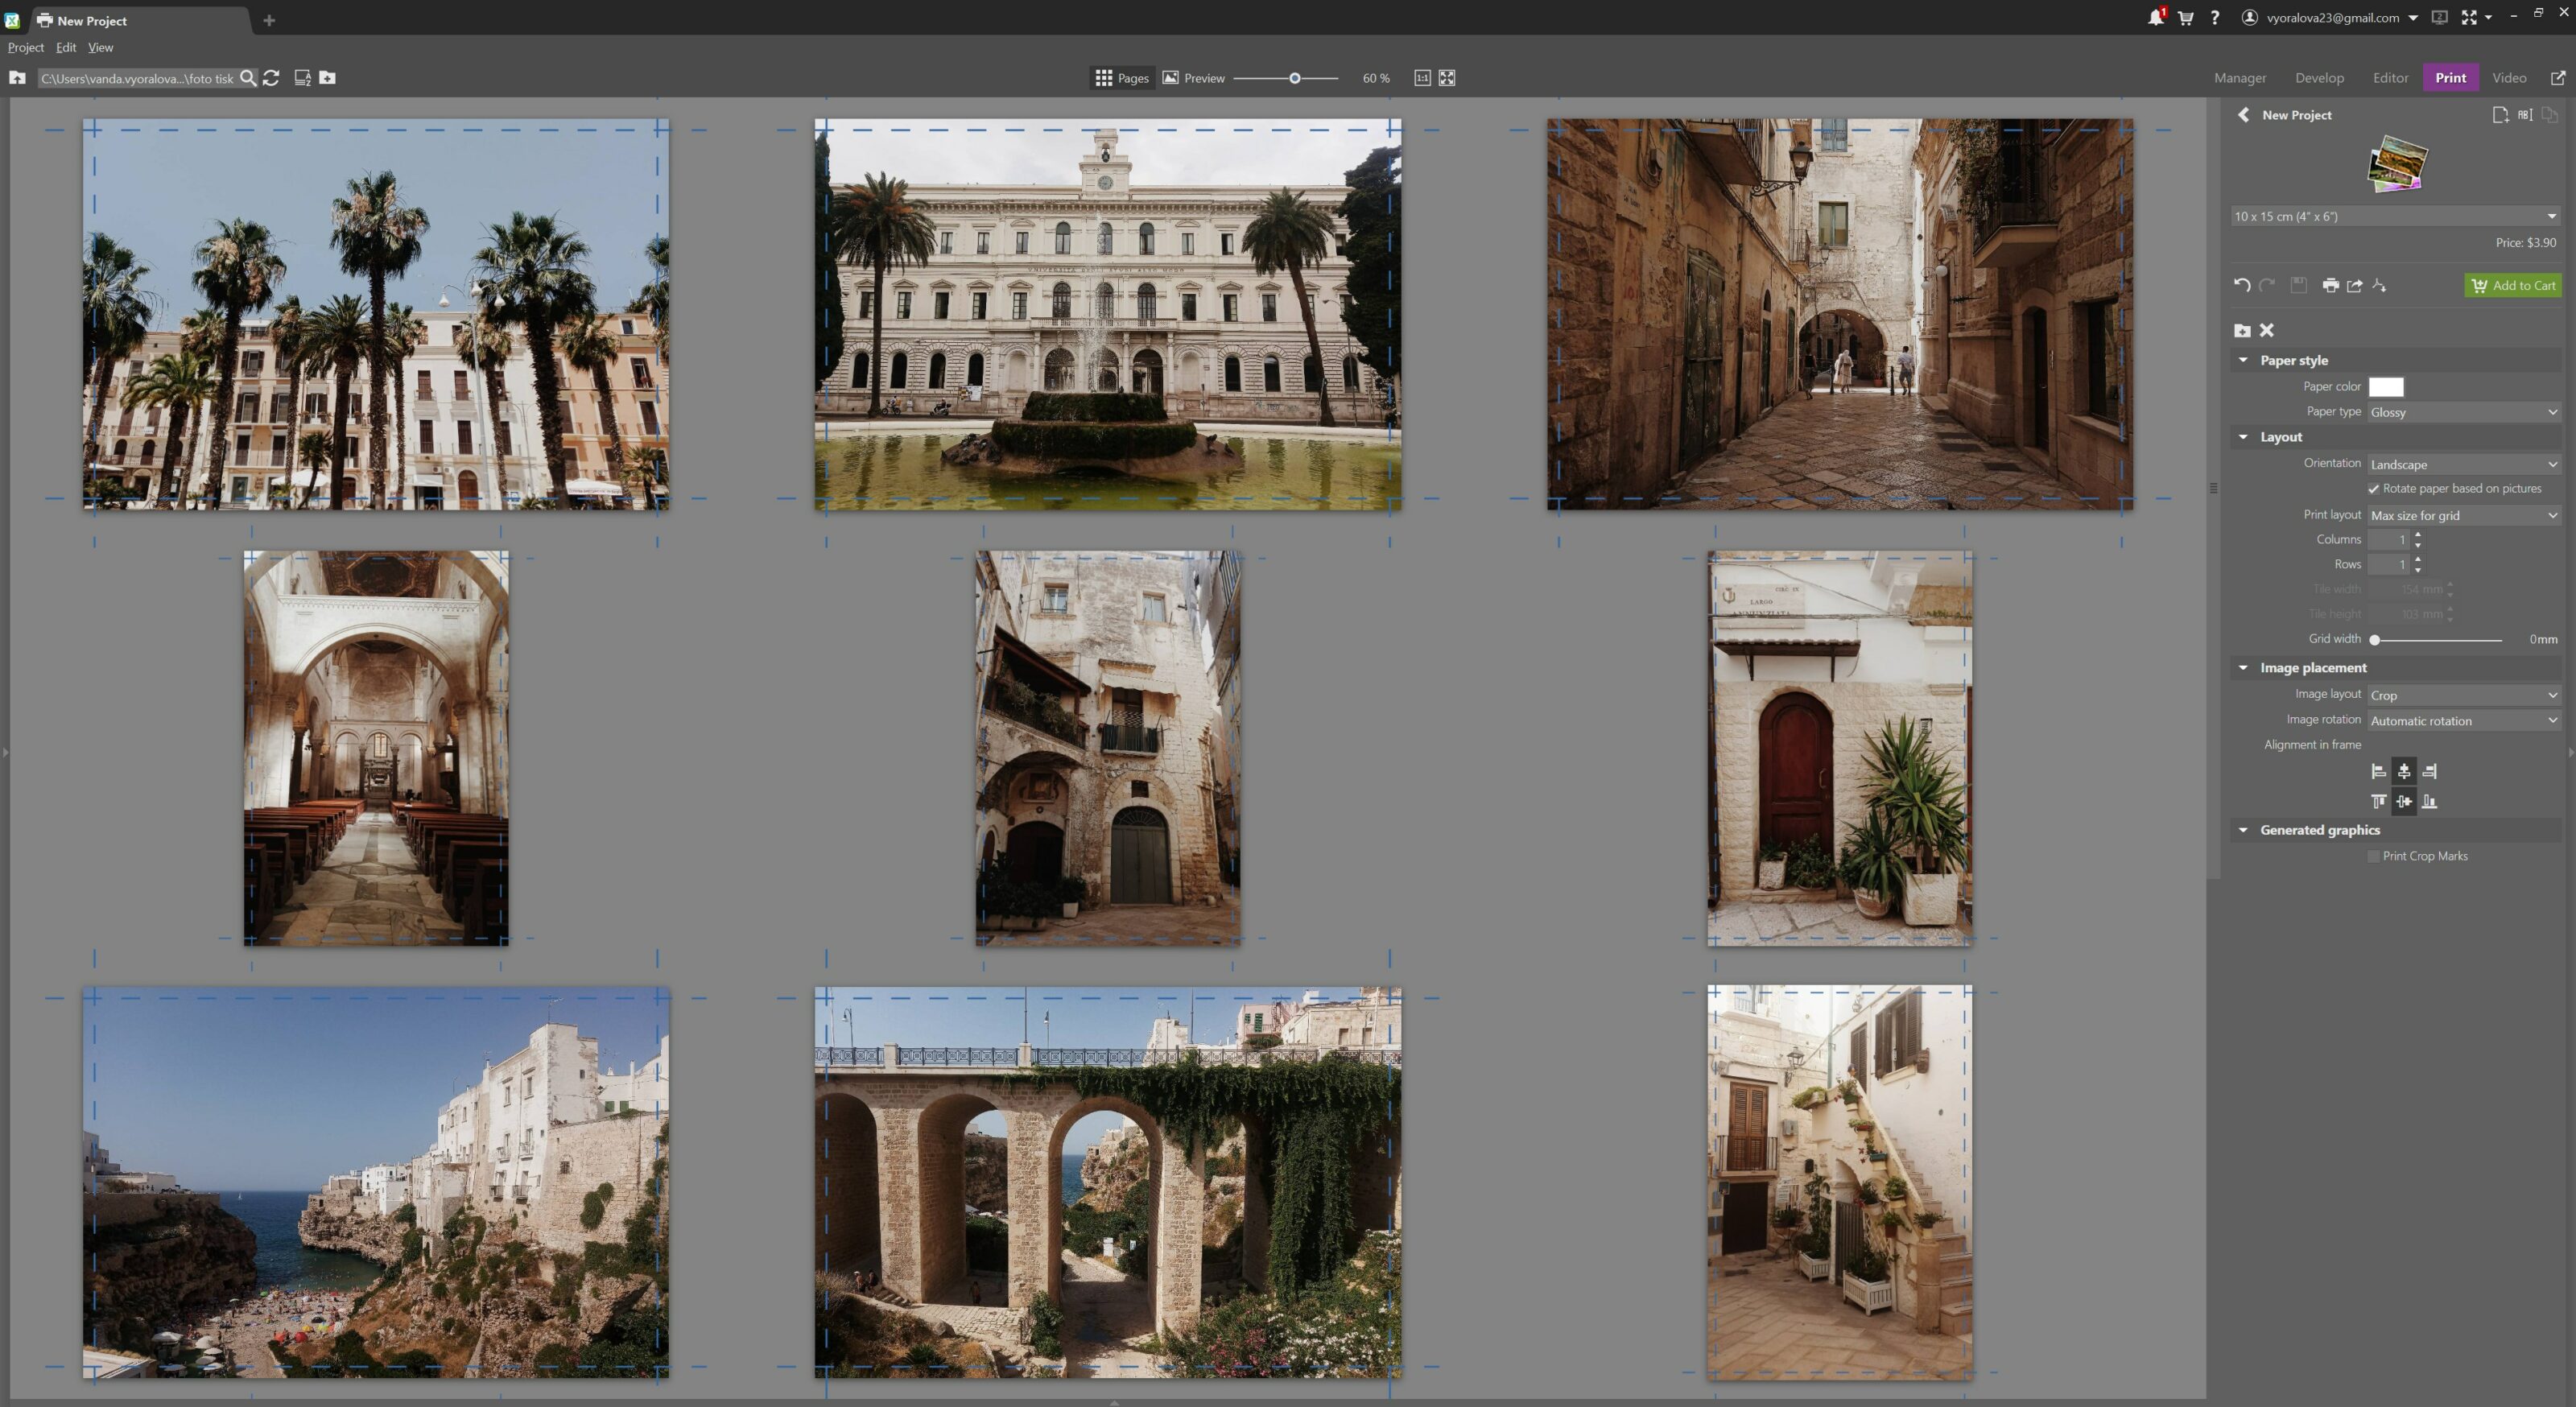
When you want to print your photos one by one, go to the Create module, visit the folder with those photos, and use Print Photos. If you have photo paper with a specific size (e.g. 10×15 cm), then just leave Max Size for Grid and 1 column and 1 row in the Templates section. Then drag the photos into the middle box, and then print them, save them to PDF, or order professional prints.
Save Space—Print Multiple Photos on a Page
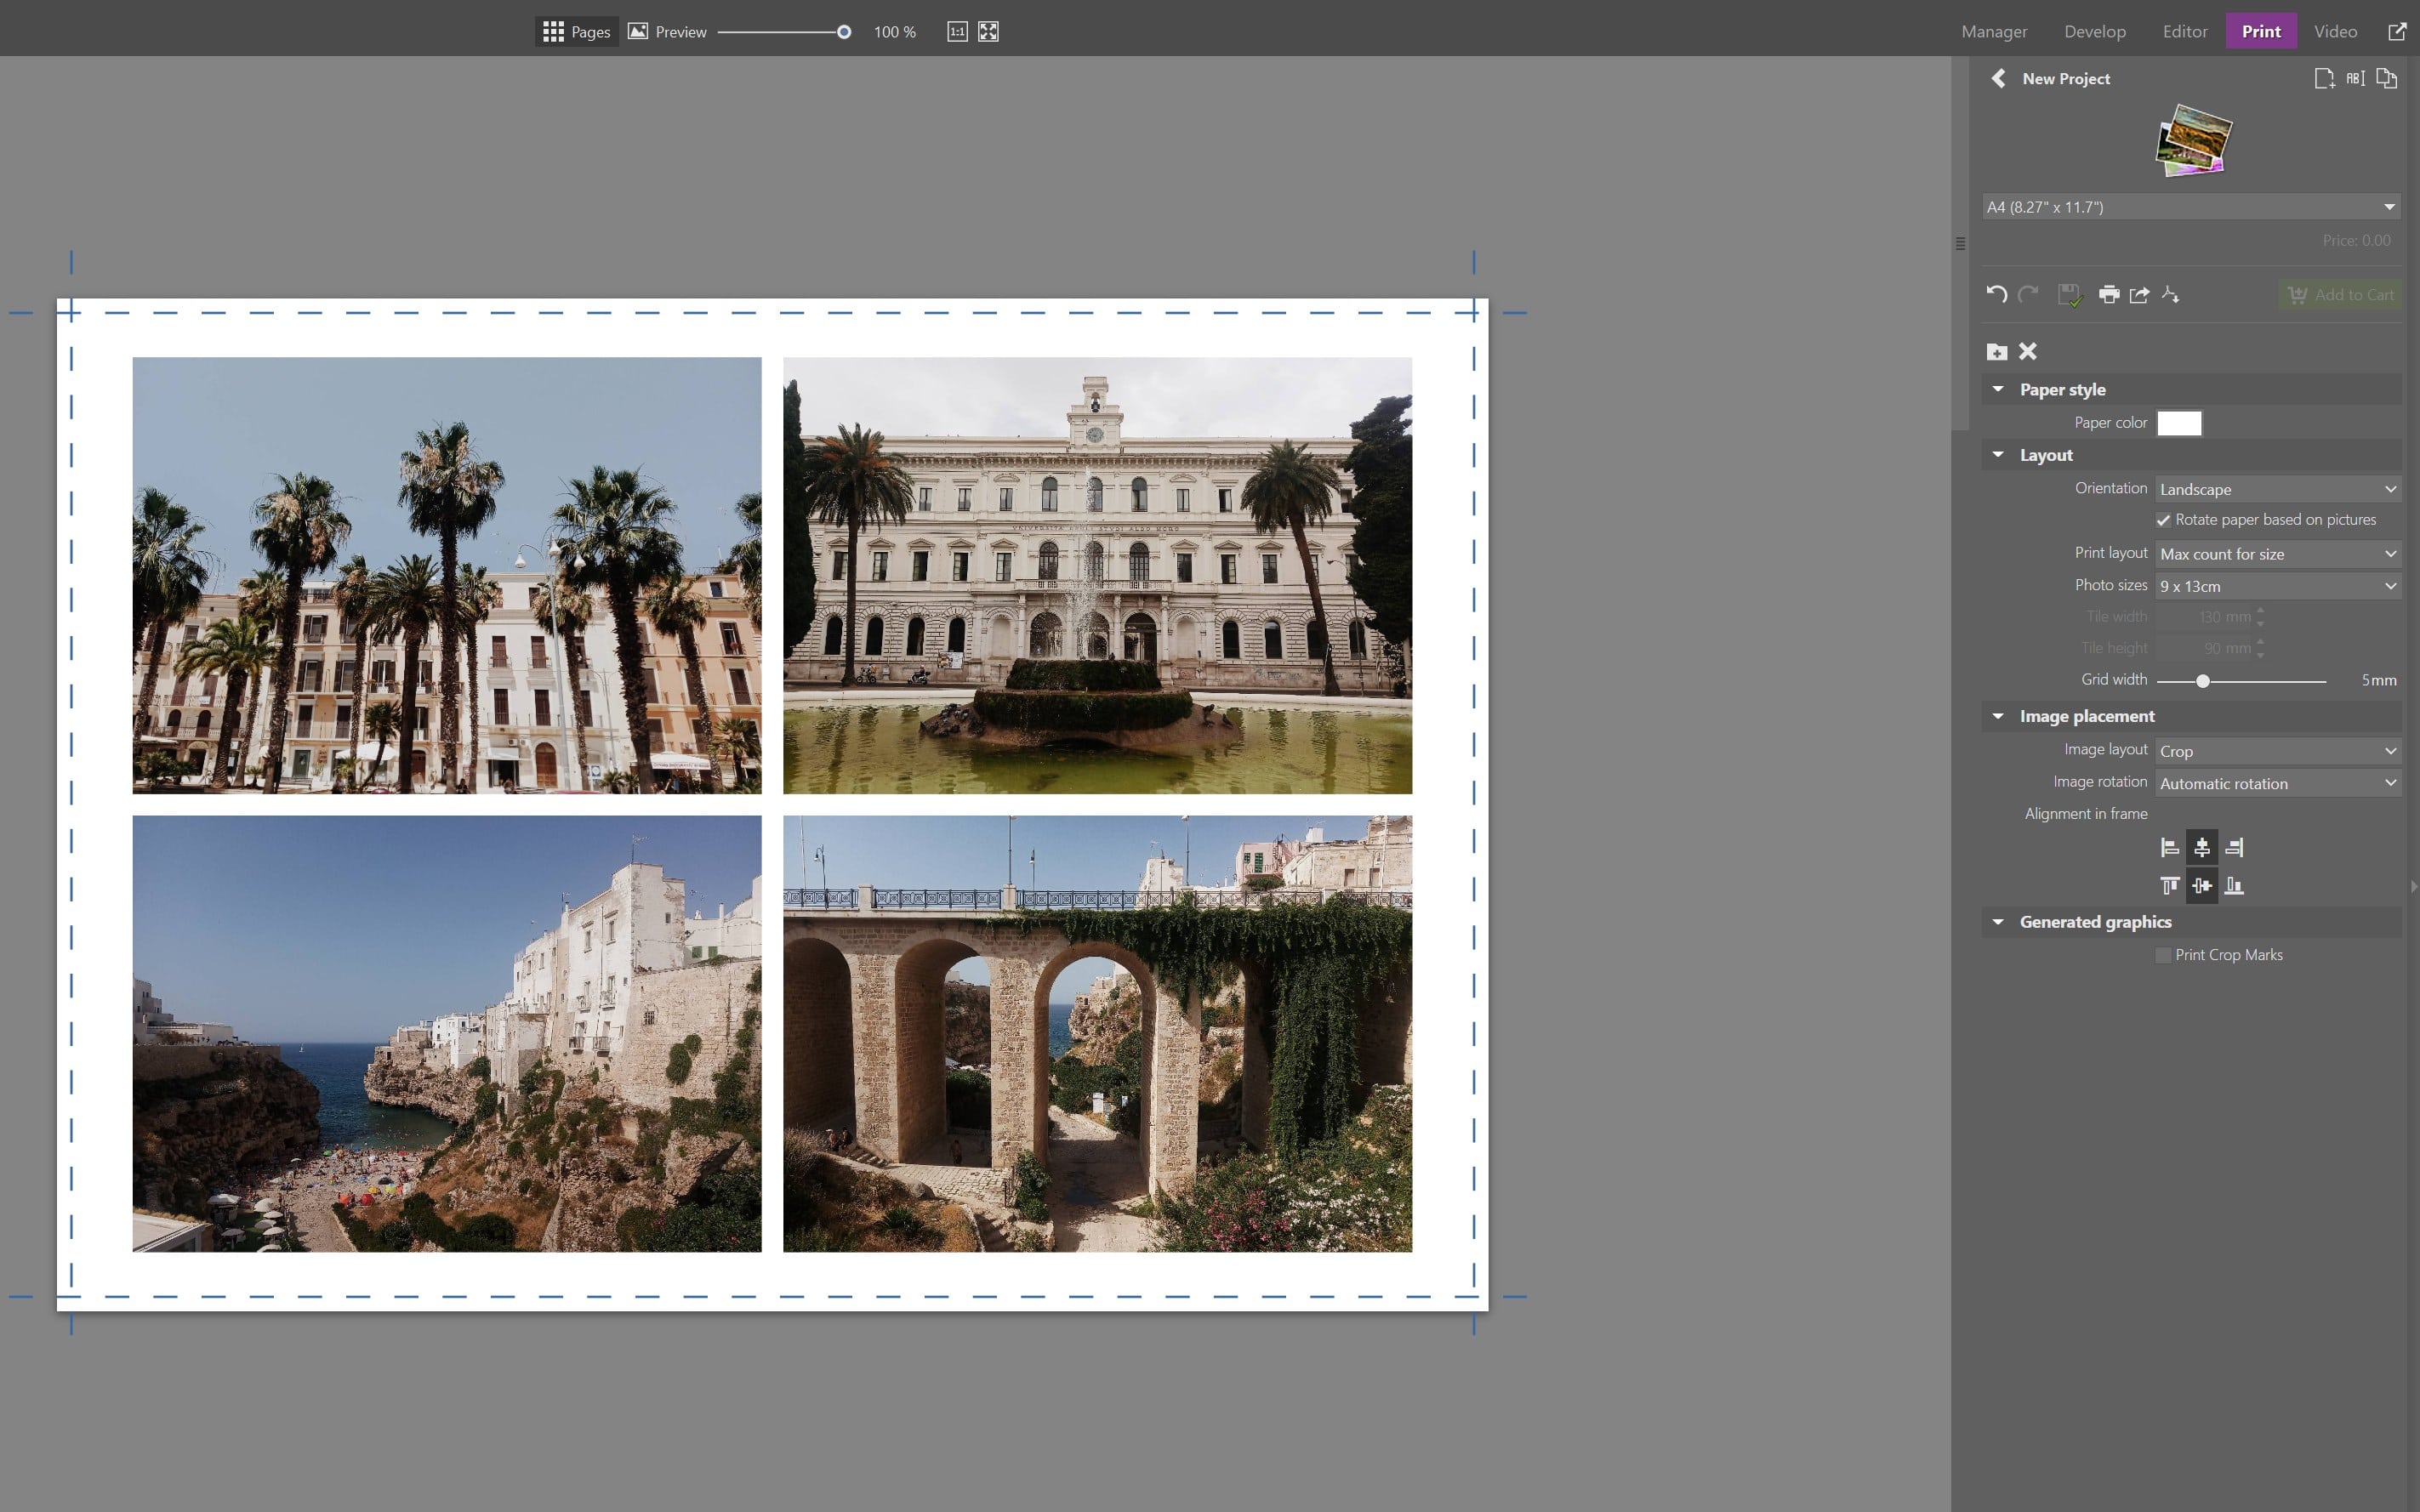
You can also print multiple photos on one page. If you have a classical printer for Letter or A4 paper and you want for example to print photos with a size of 9×13 cm, then in the Templates section’s Print Layout setting, choose the Max count for size option.
Then, just like before, drag the pictures for printing up from the bottom filmstrip into the large middle area of Zoner Studio.
The program then arranges your photos, with a size of a size of 9×13 cm, onto individual pages so that they fill them up as much as possible. And if you’re planning to cut out the photos, you definitely won’t want to forget to have the program add Crop Marks.
Create a Collage
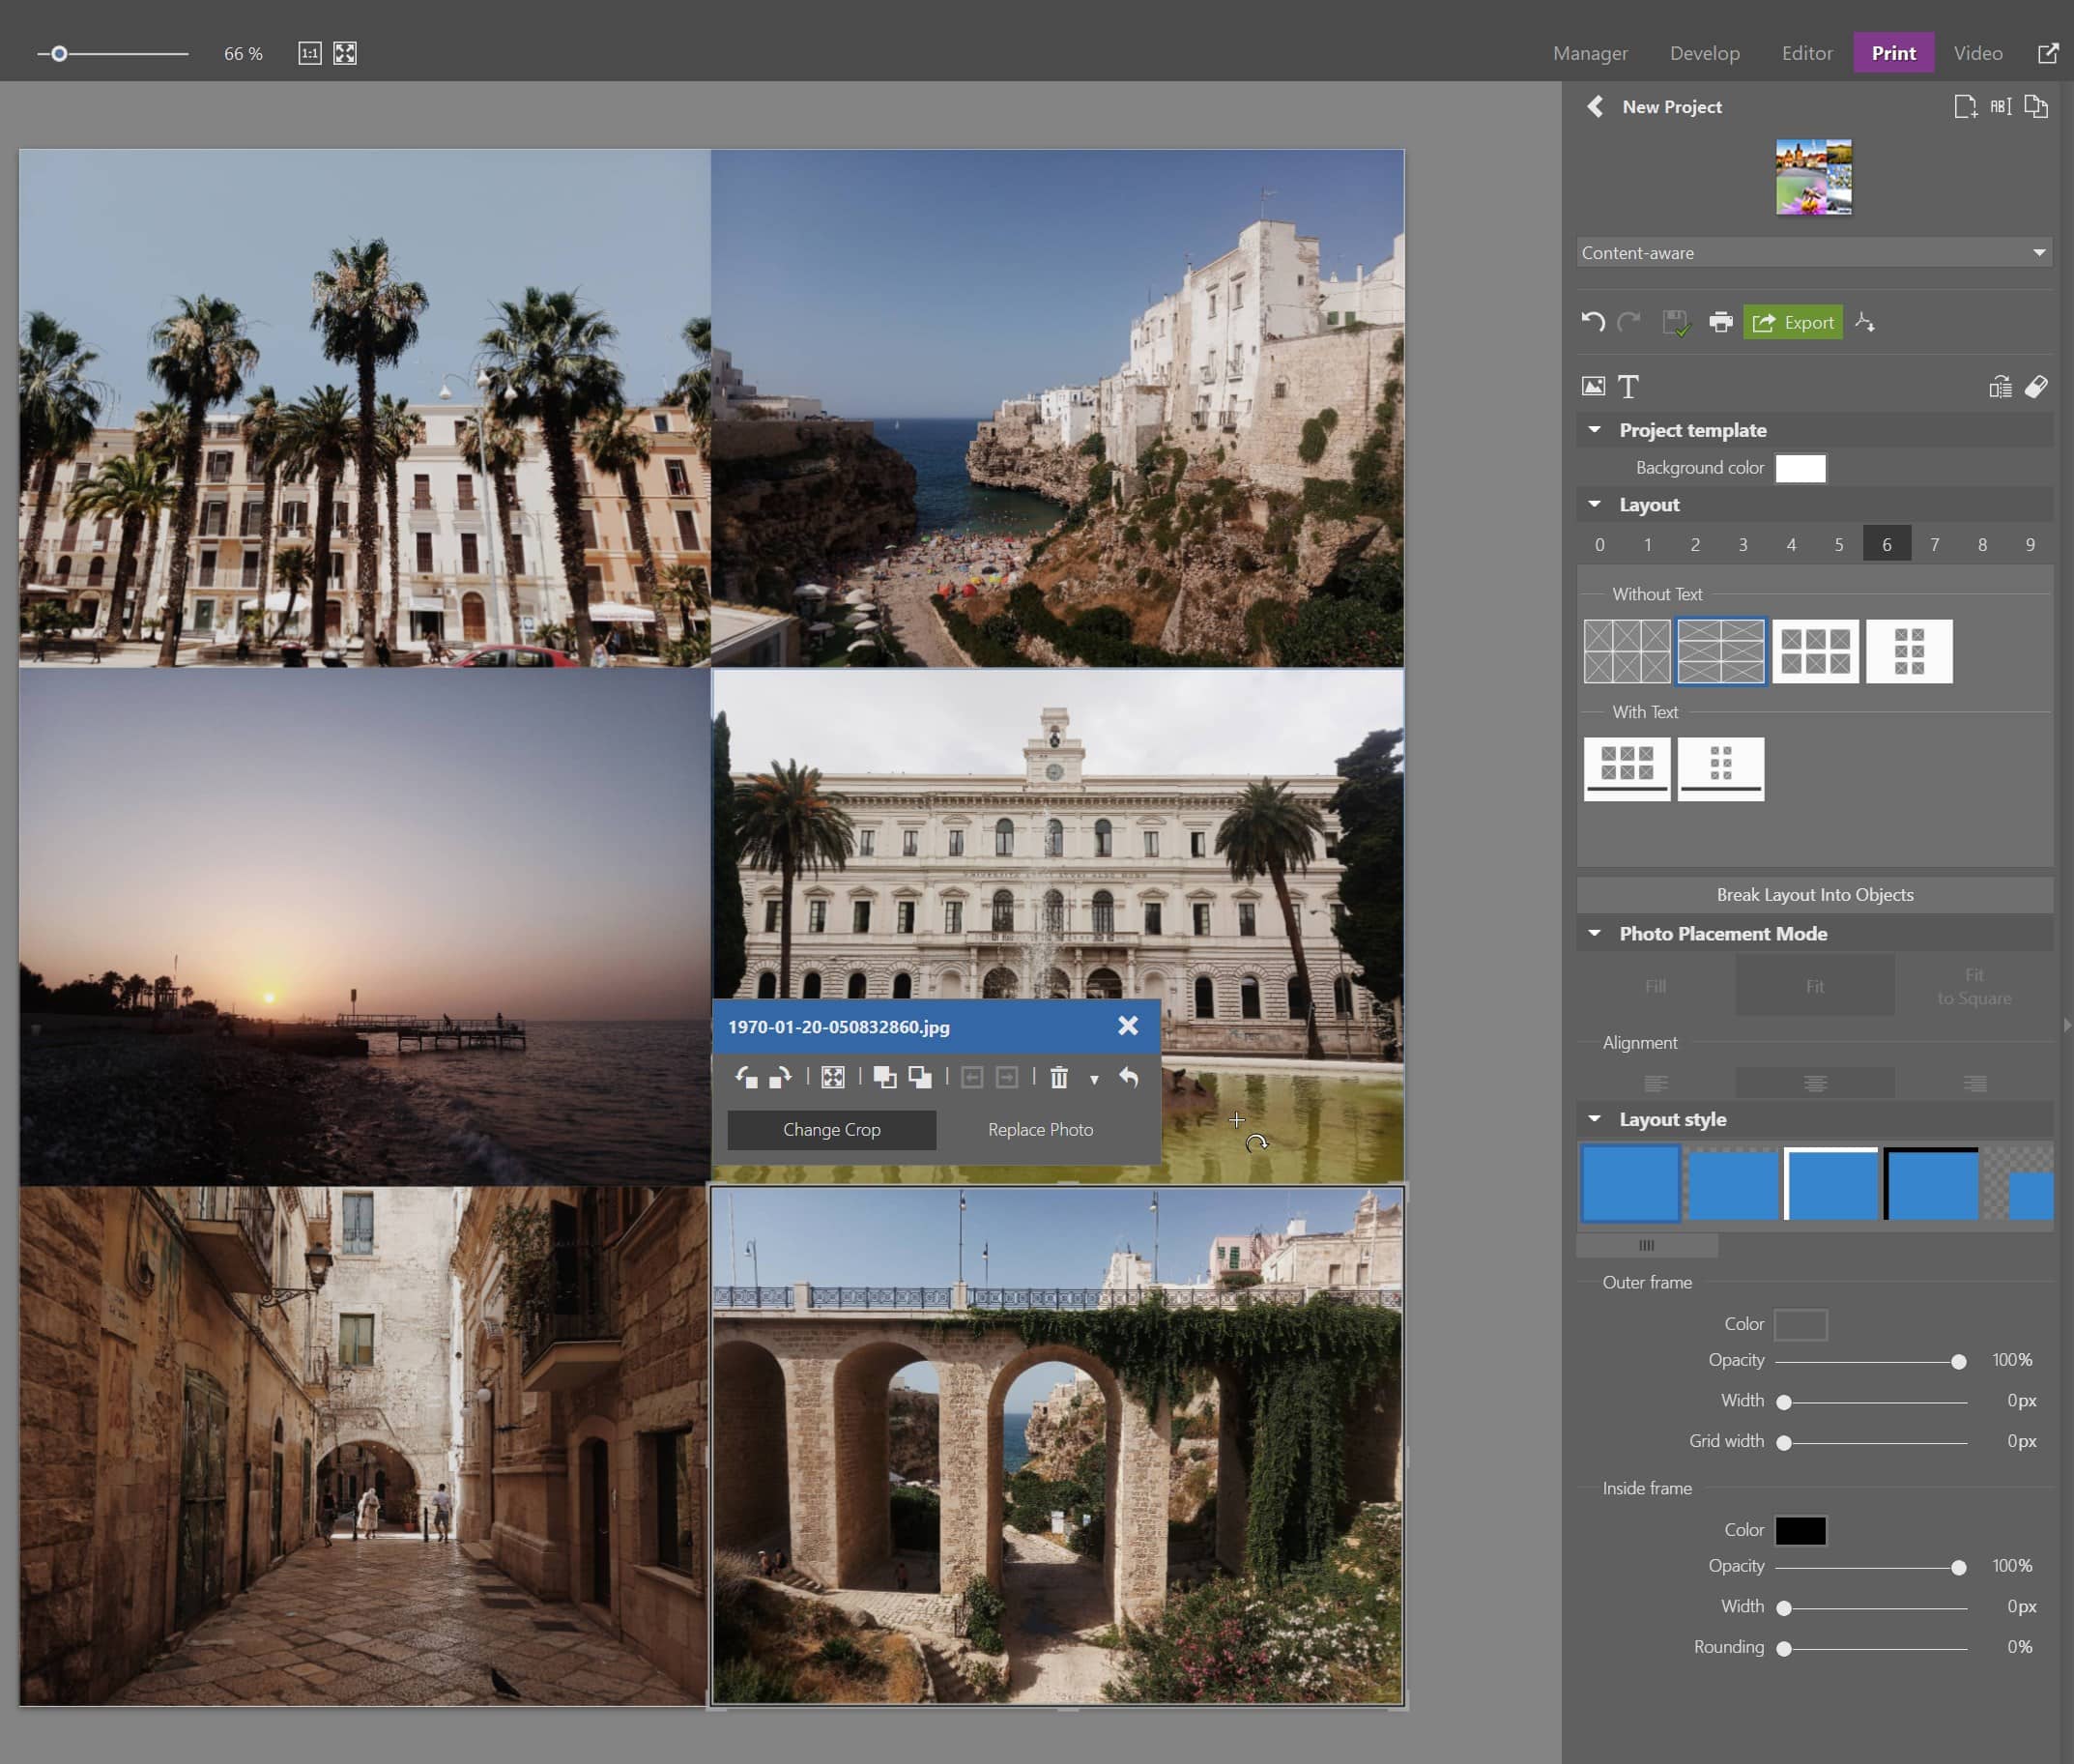
You can also place several photos onto a page more creatively, by using Collage in the Create module. It offers lots of templates for various numbers of photos. You can also give them different frames, and manipulate the collage’s individual photos.
Try out the other printing options in the Create module too. You can turn to these articles for advice:
Print Will Always Be There
We’re living in an era where photographs are mainly handled digitally, but let’s be honest—not even the crispest monitor can replace the feeling you get when you’re holding a physical, printed photo.
So try out printing in Zoner Studio yourself and transfer your memories to paper. Then you’ll definitely enjoy coming back to them even more.