Eliminate Distractions in Your Photos: Tips for Cleaner Composition
Distractions in your photos are among the most common mistakes beginners make. They draw the viewer’s attention away from the subject and ruin an otherwise good shot. In this article, we’ll show you how to spot distractions easily and eliminate them while shooting and editing. In the end, you’ll also see how cleaner compositions can improve your photos overall.
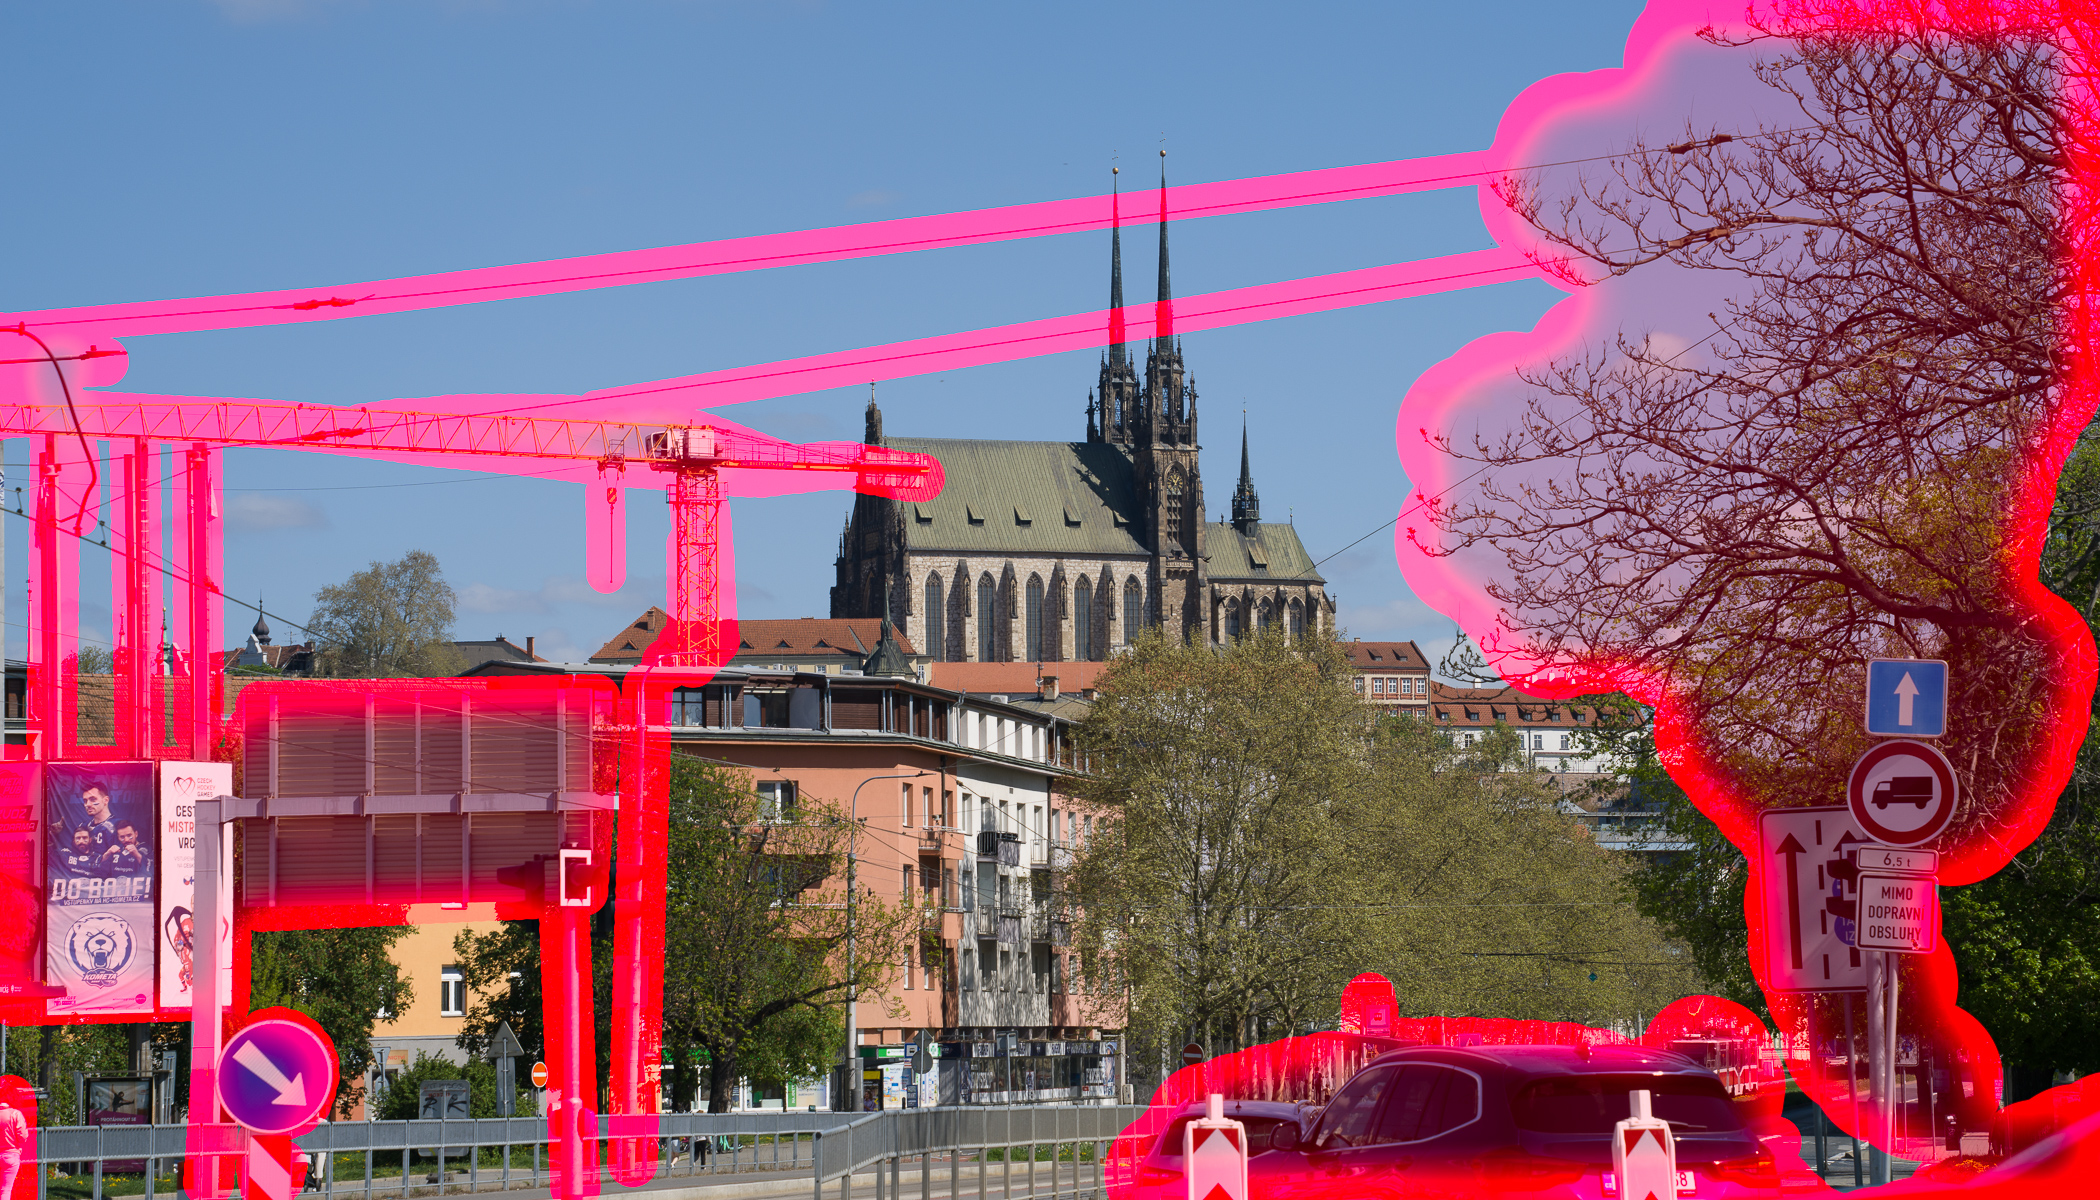
What counts as a distraction varies from shot to shot. In product photography, it might be tiny specks of dust. But here, we’ll look at examples from typical street scenes, where the distractions often include:
- Colorful plastic bins (especially yellow)
- People or parked cars
- Prominent advertisements or billboards
- Unwanted branches or wires
- Other clutter
Basically, anything that isn’t part of the subject can be distracting. When I’m taking a vacation photo of a castle, I don’t need a souvenir stand in the corner, especially not one with a big sign saying that dwarf statues are sold out. Though that might make for a different kind of photo.
Let’s look at how to deal with common composition issues while shooting. More experienced photographers handle many of these instinctively, but it’s still good to remind yourself of the options.
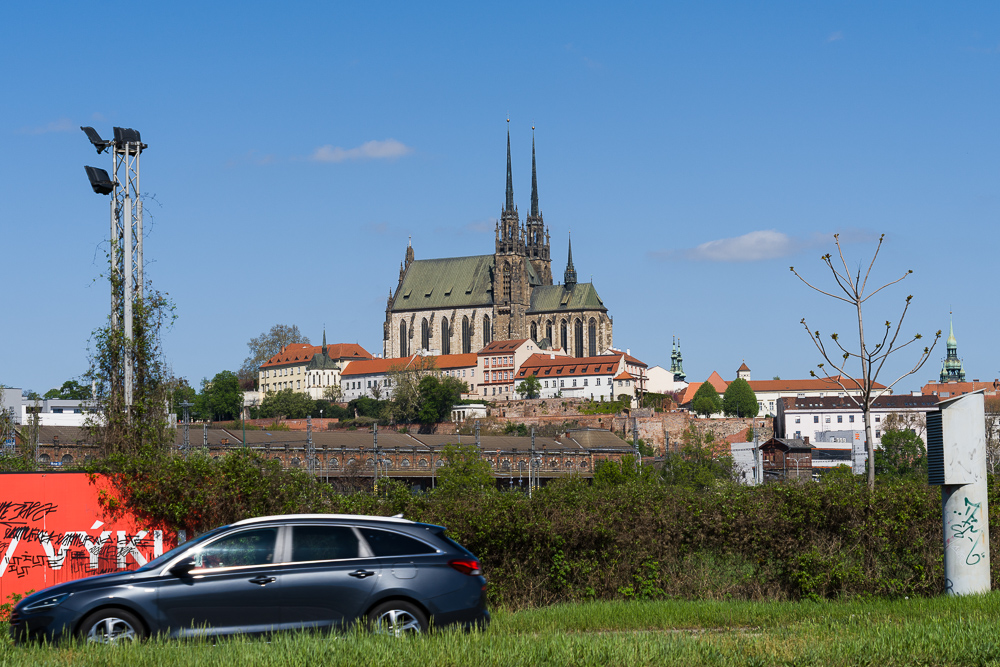
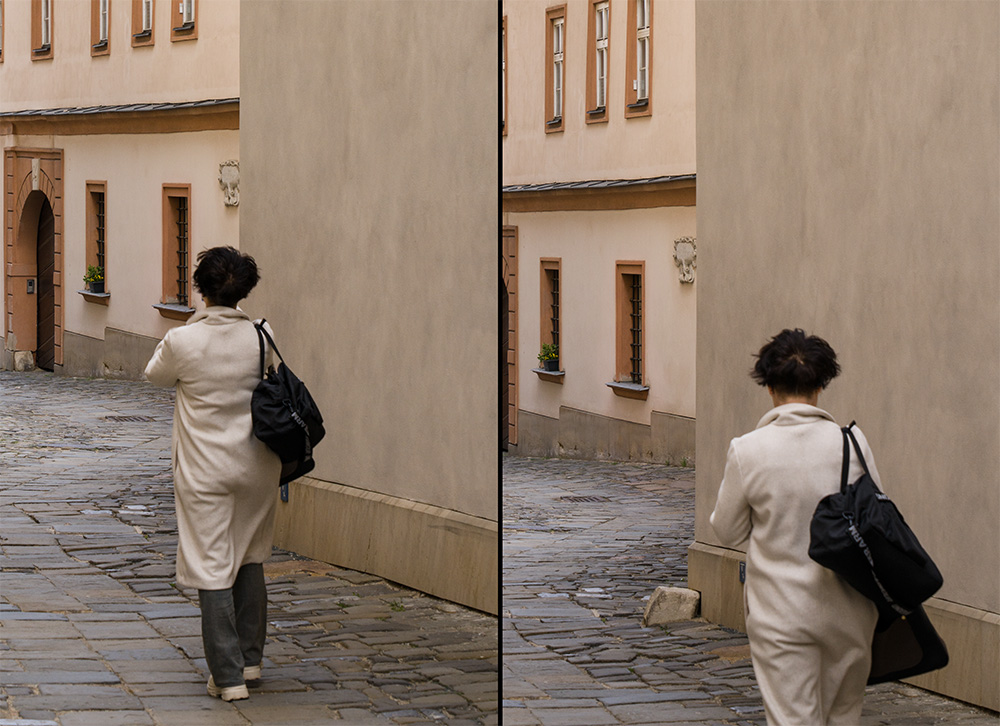
Issues at the edges
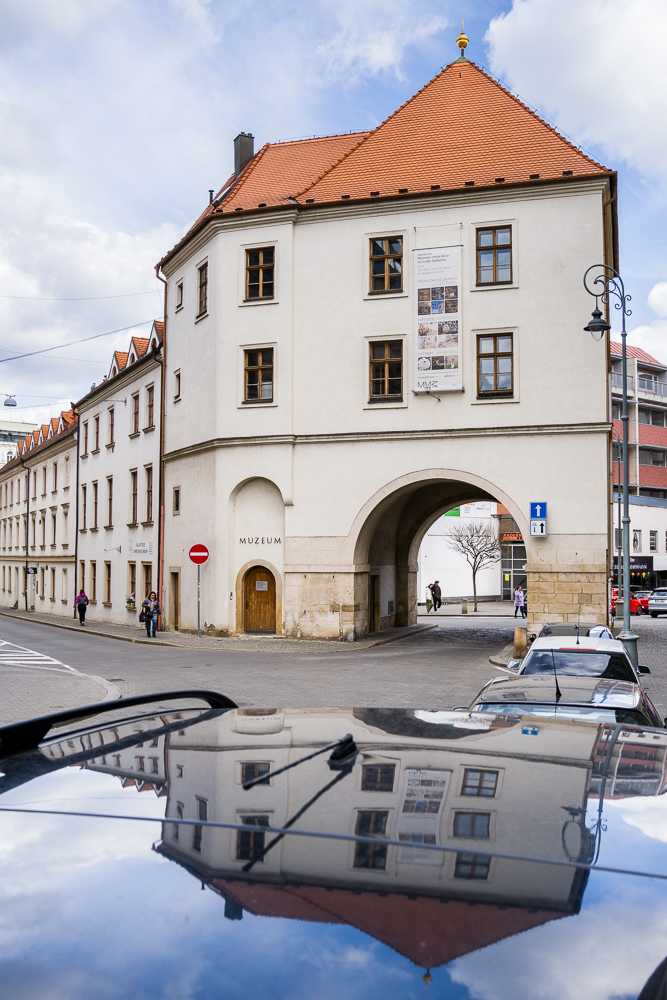
If something is distracting on the sides of the frame, the simplest fix is to move closer to your subject. This helps eliminate visual clutter at the edges.
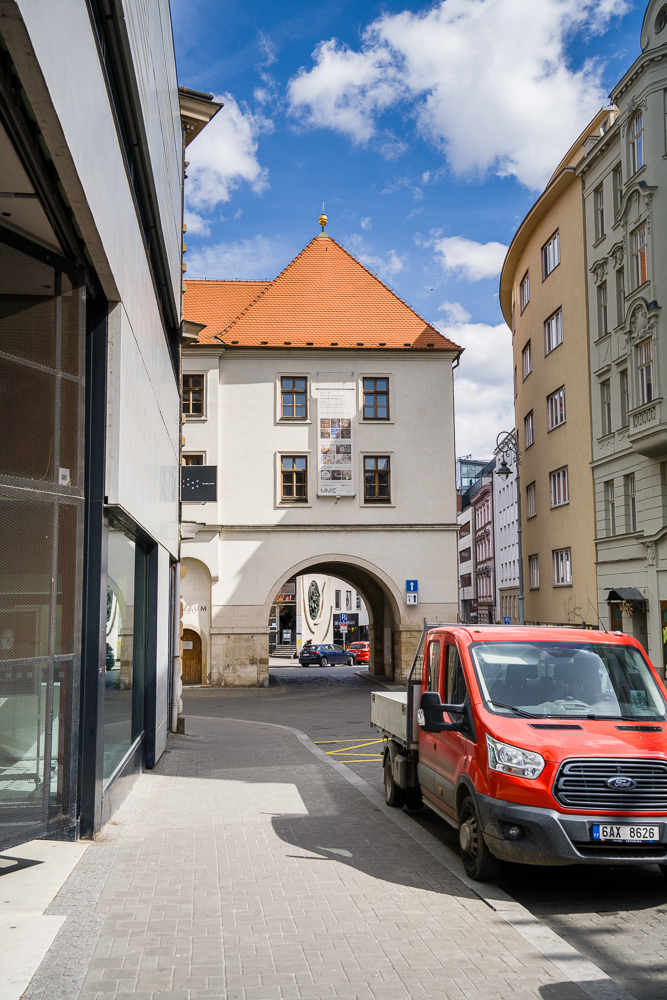
If moving closer isn’t an option, try moving to the side, rotating the camera, or zooming in, if your gear allows. Each approach changes the perspective in a different way and may even improve the shot. It’s worth experimenting. With smaller subjects, even a slight shift makes a visible difference. But for larger scenes, like castles or landscapes, you may need to move several meters to see real change.
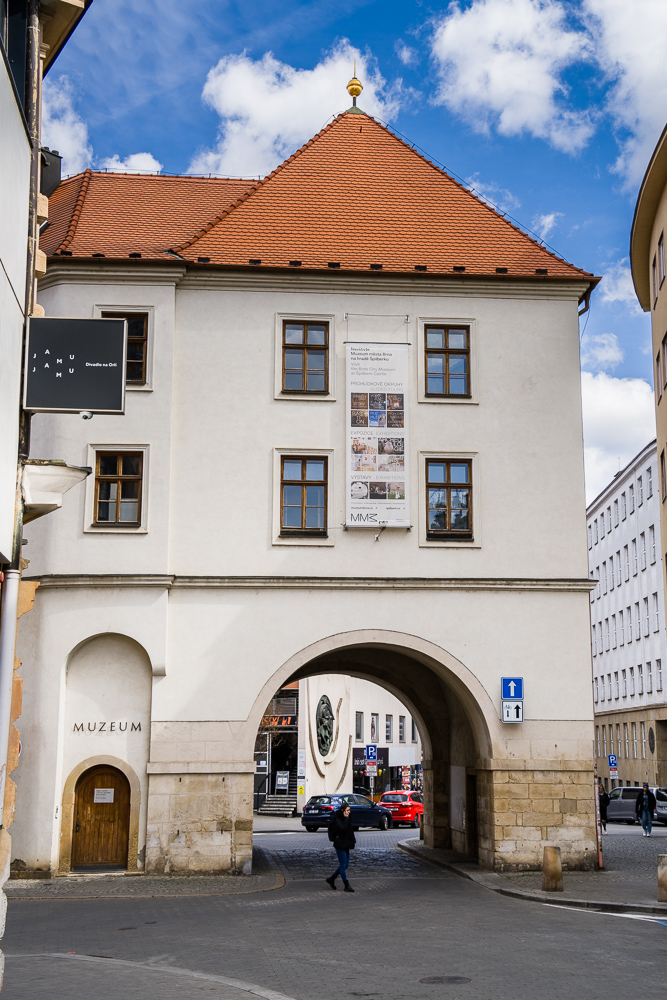
Another approach is to go in the opposite direction and include the distraction and use it for framing.
Distractions in the center
Now we’re in tricker territory: when the distraction is right where the subject is and there’s nowhere else to look.
There’s not always a perfect solution, but one trick is to hide the distraction behind something else. If you’re shooting a portrait, try placing the distracting element directly behind your subject.
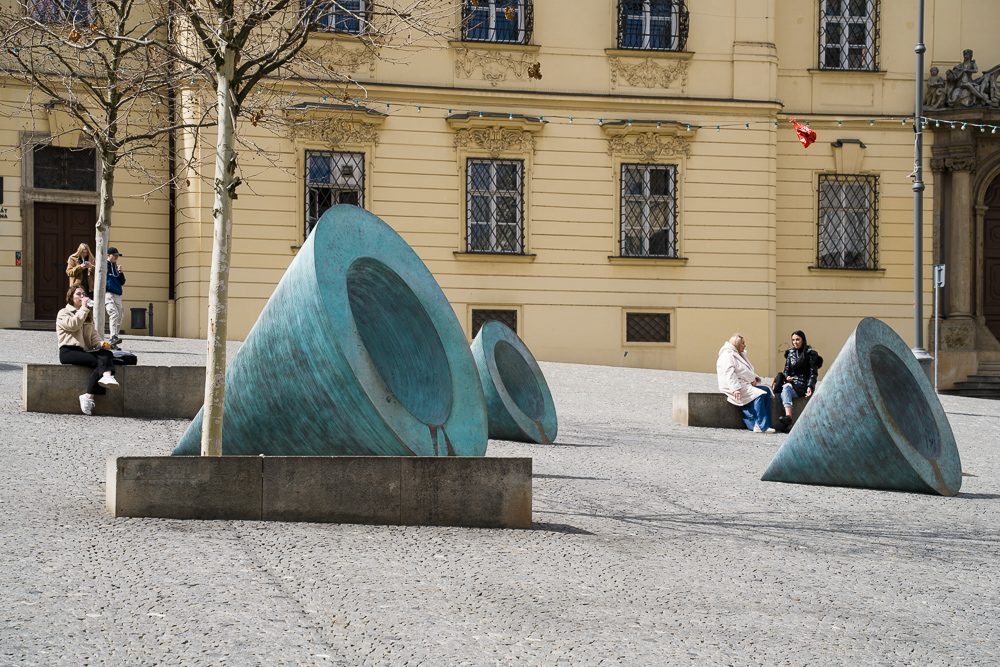
Unfortunately, this trick can also backfire. For example, if you’re shooting a group of fifty people, don’t choose a low fountain as a background. It will end up completely hidden behind the group.
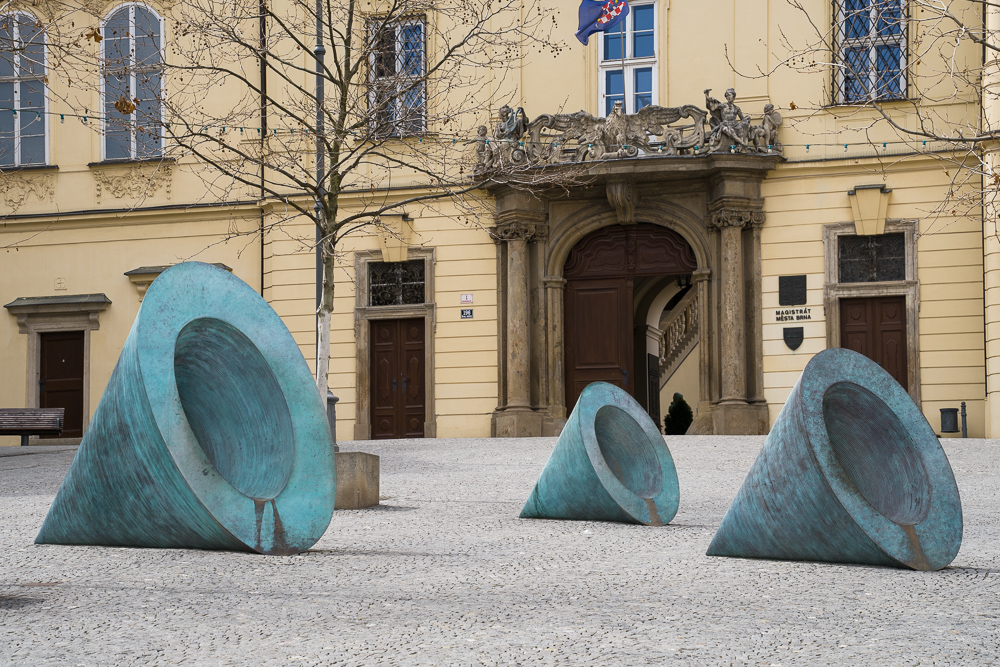
Repeating elements
It’s always worth looking for repeating patterns. Pictures with repetition are eye-catching at first glance, but to maximize their impact, you need to minimize distractions.
In practice, this means sticking to the repeating section and excluding everything else. The result is a clean photo that visually looks like a slice from a larger scene.


Fine-tune composition with cropping
Sometimes you can’t get the perfect composition during shooting. That’s when additional adjustments like cropping can help.

Along with cropping, you can also rotate to straighten horizons or use perspective correction to straighten parallel lines.
Because of this, it’s often better to shoot a bit wider and fine-tune later. With experience, you’ll start to anticipate how much room you need for cropping.

Reduce distractions with darkening and/or desaturating
If removing the distraction isn’t an option, try darkening the area slightly. Obviously, you don’t want a black hole in your photo, but subtle darkening around the edges can go unnoticed.
Likewise, over-saturated colors can be toned down using local desaturation.


Retouching for complex cases
Sometimes, your only option is retouching. We have in-depth tutorials on retouching in other articles, but it’s good to think about retouching while you shoot.
Retouching algorithms and photographers’ skills are constantly improving, but the difficulty of retouching depends on the scene. Sometimes it’s worth waiting for a tourist to move or shifting your camera slightly to make the retouching easier.

Need to remove distractions from your photos but don’t know how? Learn how it’s done in our article How to Retouch Away Wires, Trash, and More in Your Photos.
It gets easier with practice
For experienced photographers, this article is probably just a refresher. However, if you’re a beginner, one thing is clear: Thinking before you press the shutter button makes a big difference. Consider what is at the edges of the image, or what you’ll retouch later. Over time, this all becomes a routine that you do almost instinctively.
There are no comments yet.